…or Hydroxide discoveries 🙂
Intro
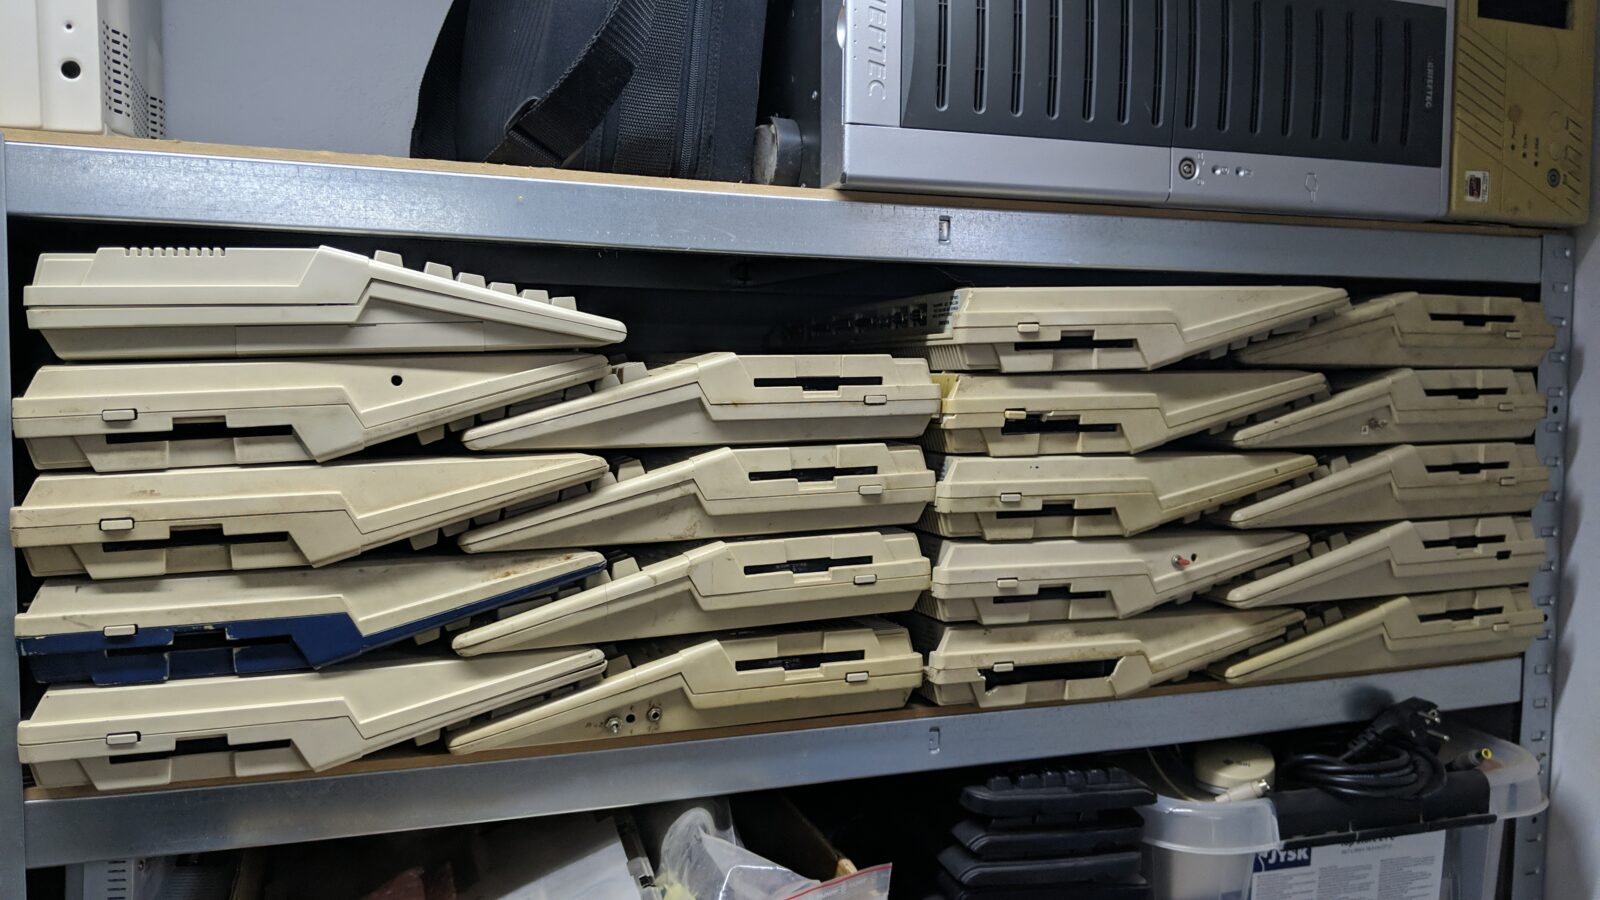
If you are a long-time reader of my blog, you probably know that I bought some pallets of retro hardware a few years ago. Only twenty Amiga 500s survived unrefurbished since then. (there is one more not visible in a pic)
For the past few years, I’ve restored hundreds of retro machines to their original state (sometimes with minor mods) and I am kinda bored with it. Time to try something different.
I’ve decided to create a fresh series of posts where I’ll try to describe upgrades and visual mods of the above A500s. Every A500 from the above stack will be unique and will be described in a separate blog post. Once such Amiga is finished and tested, I will create an eBay auction with it. This is post number 1 out of 20.
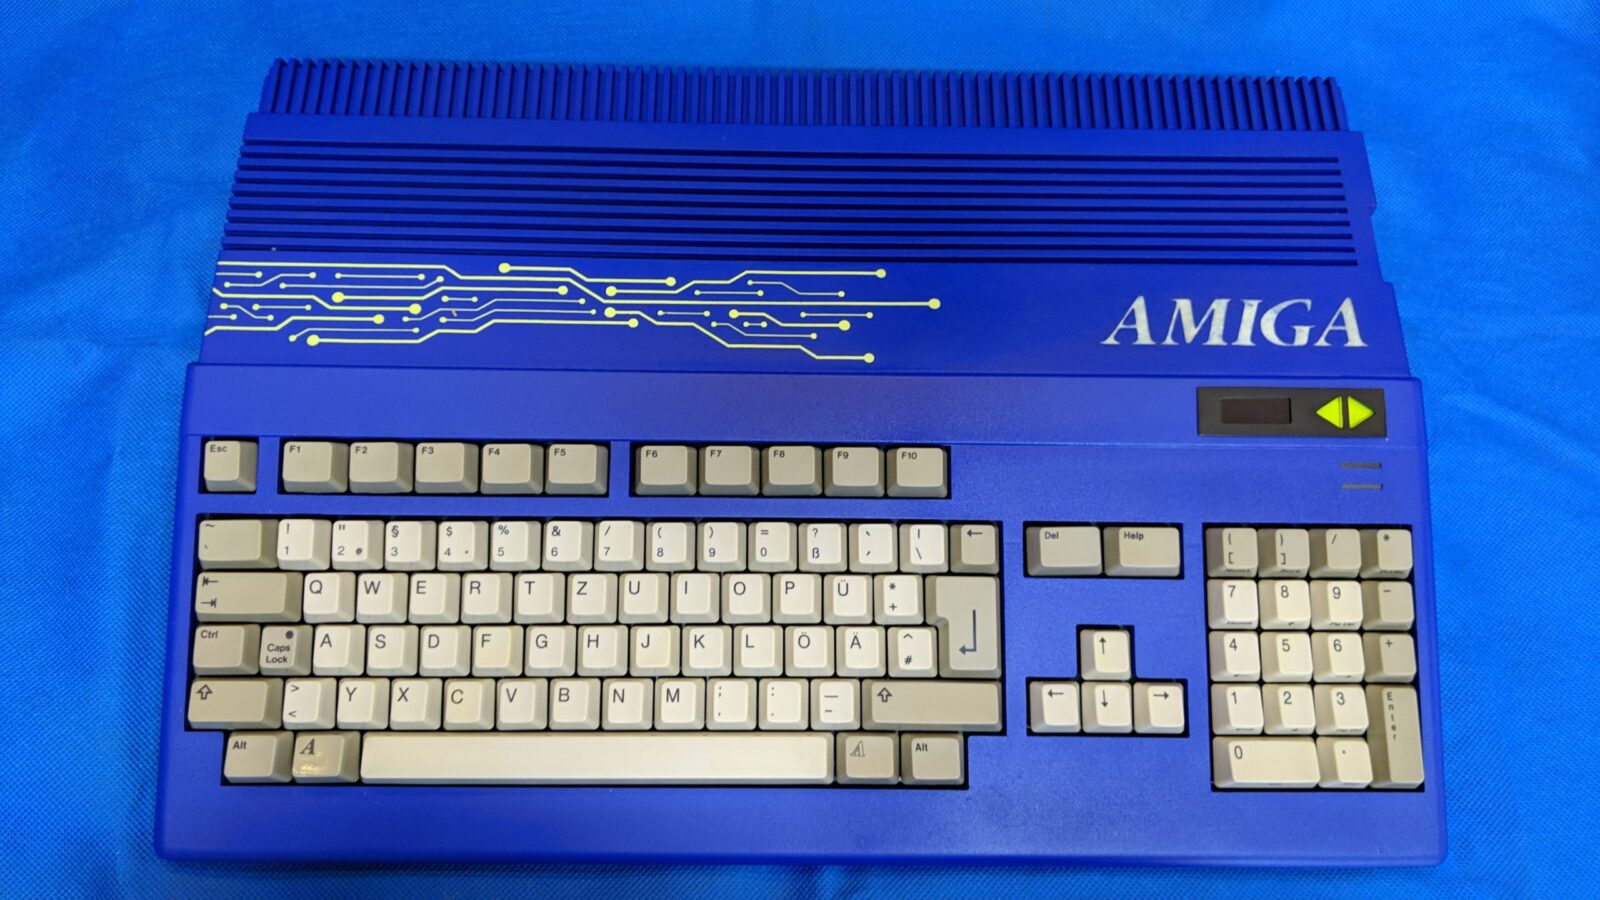
Today, I will focus on the special unit – fourth from the top in the left column on the above pic. It is special because this is the one that brought the whole blog post series idea to life.
Oh! This is going to be a long post 😉
Overview
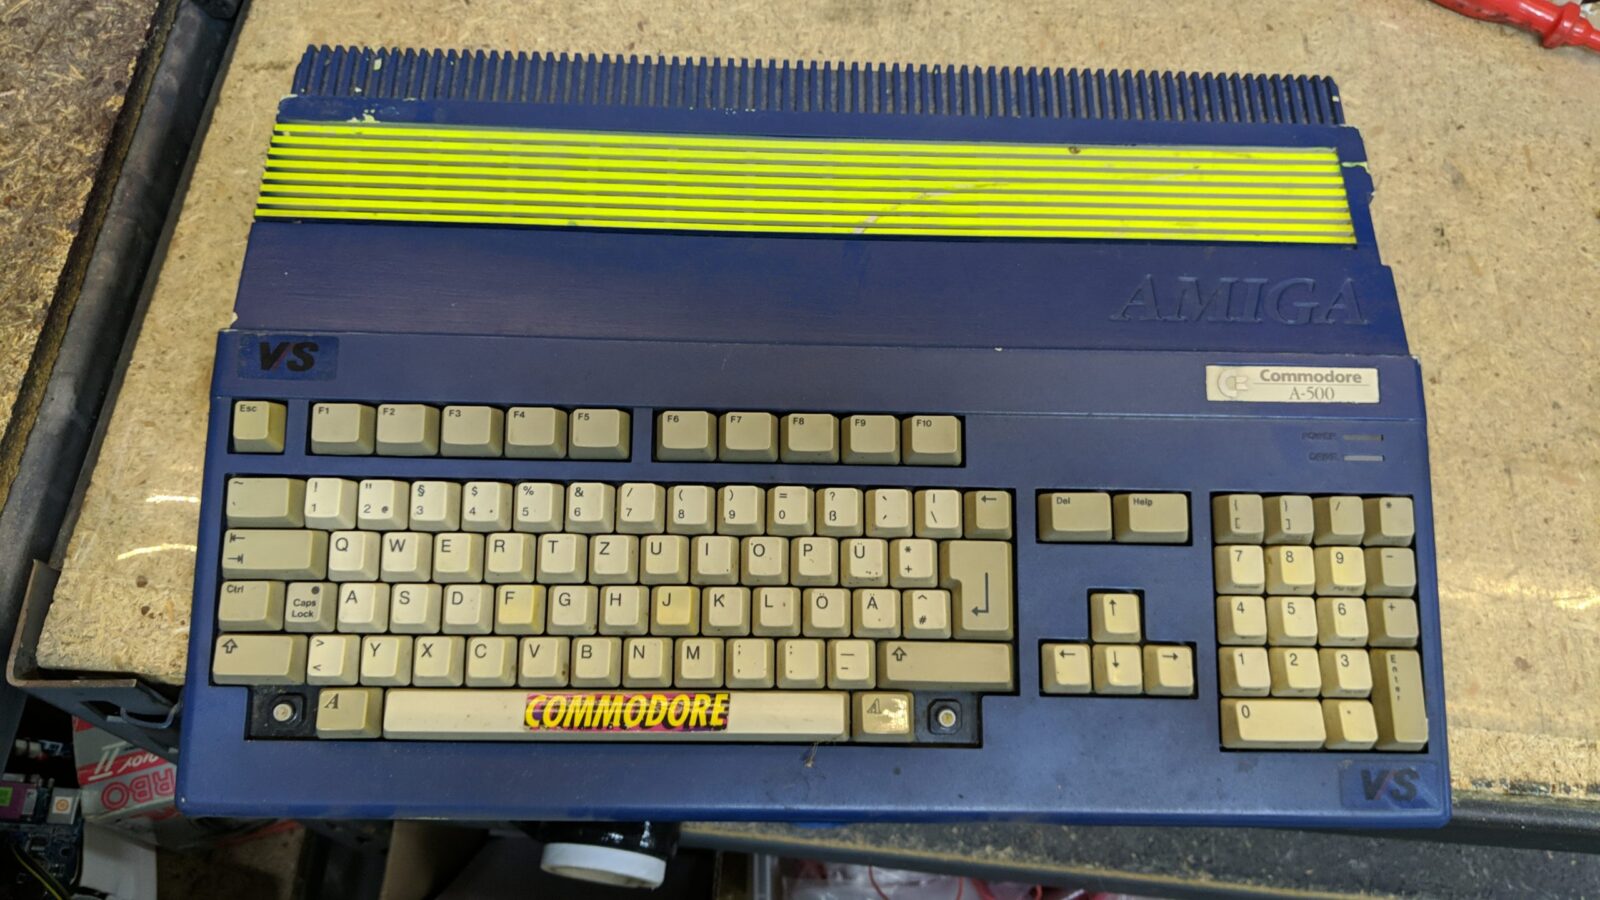
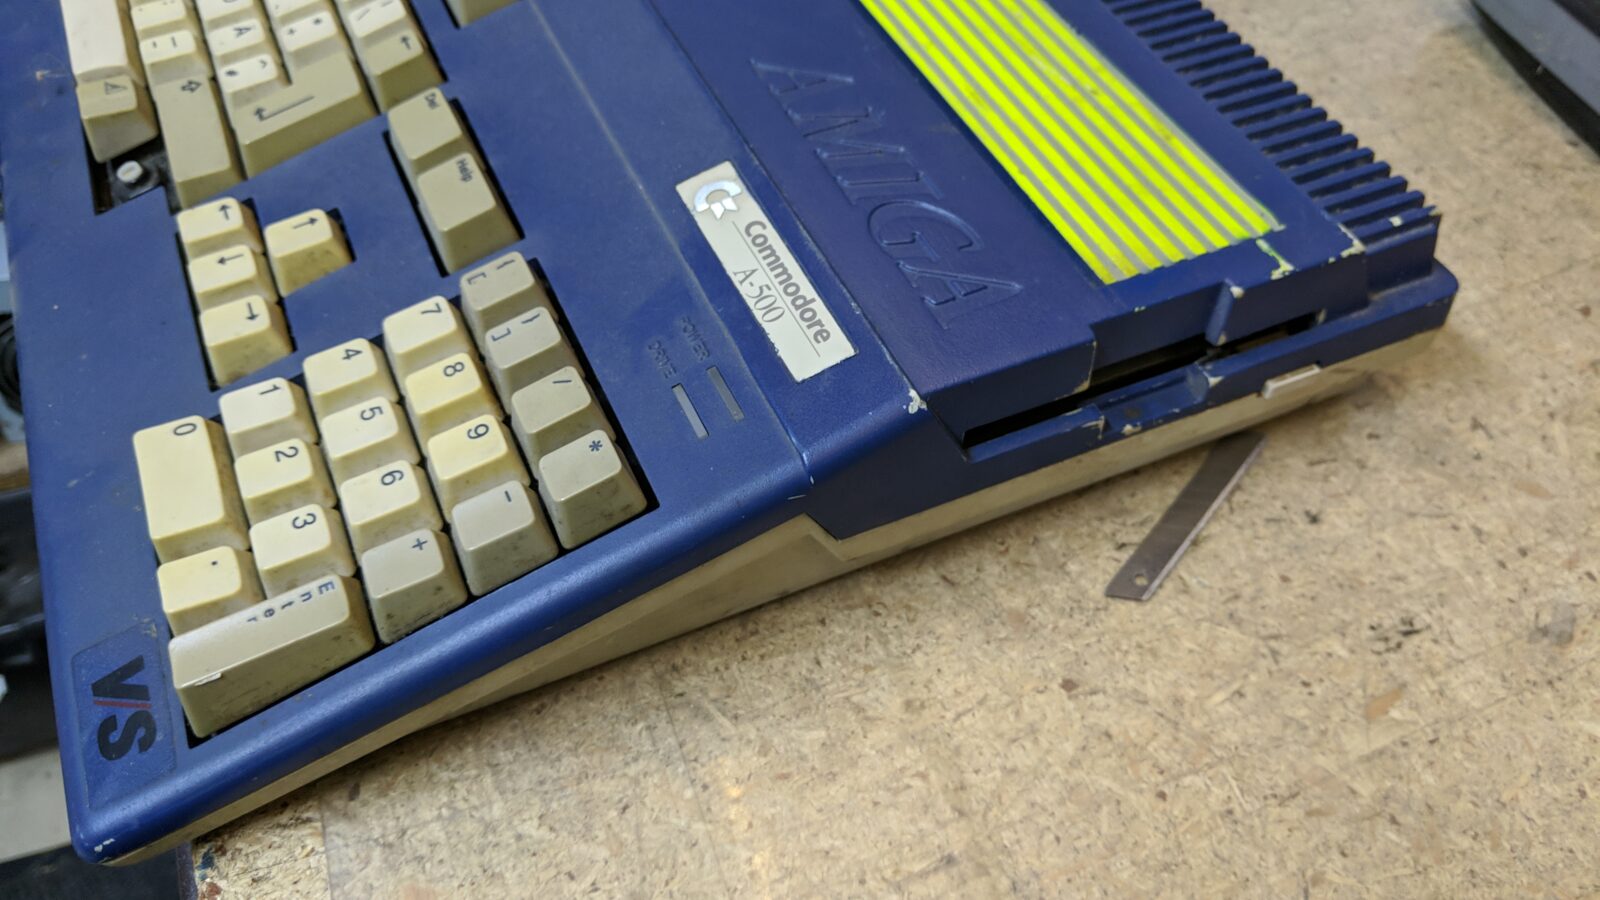
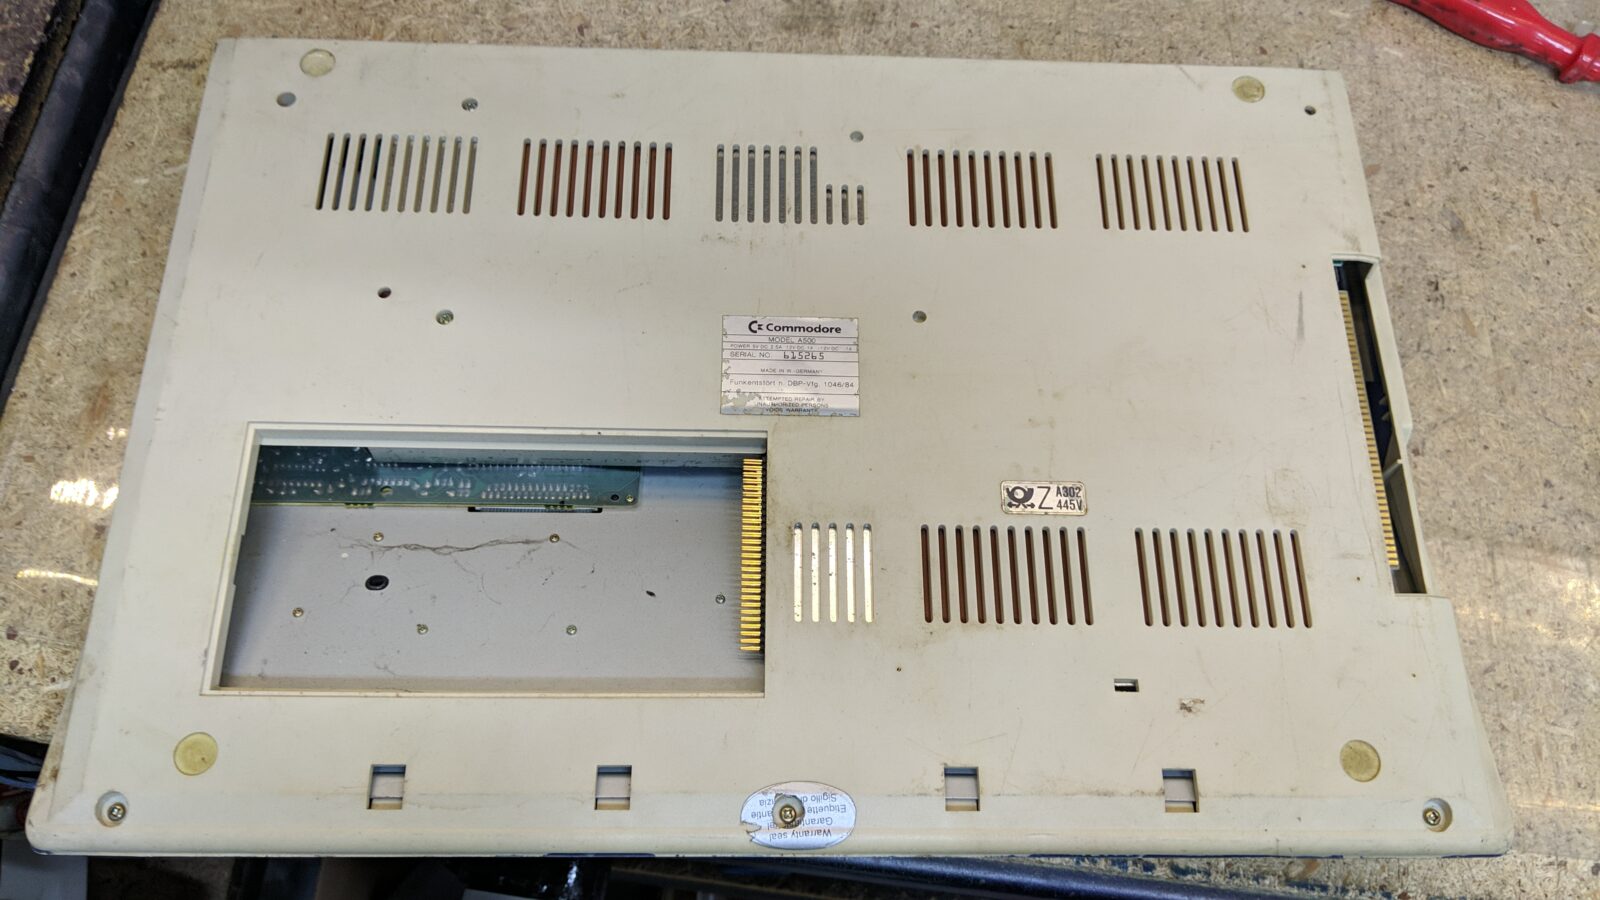
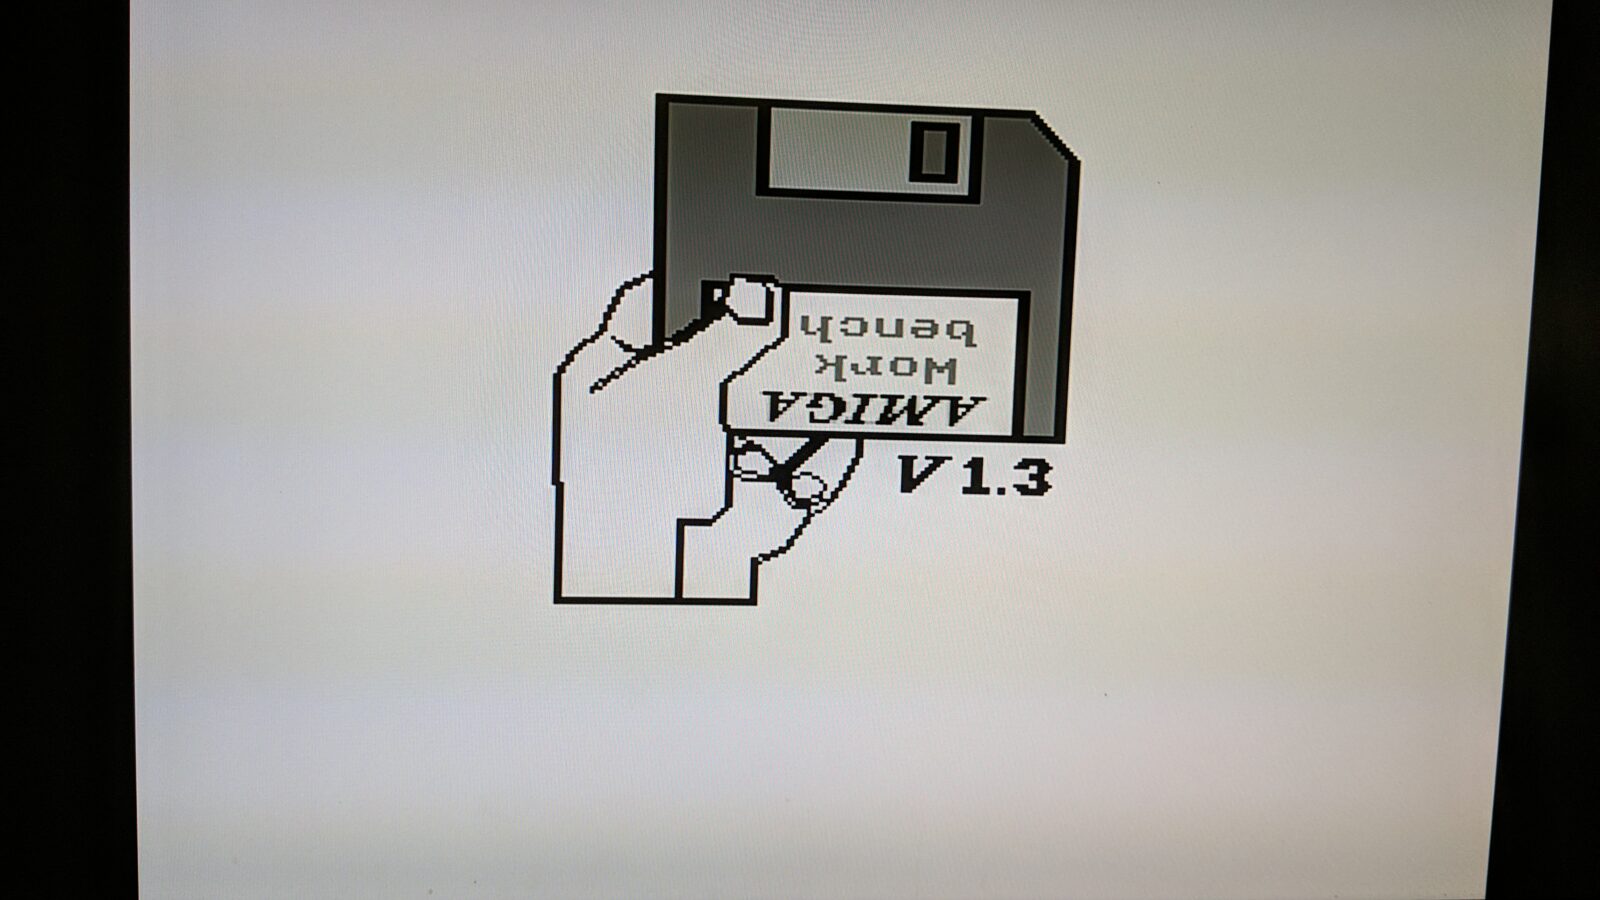
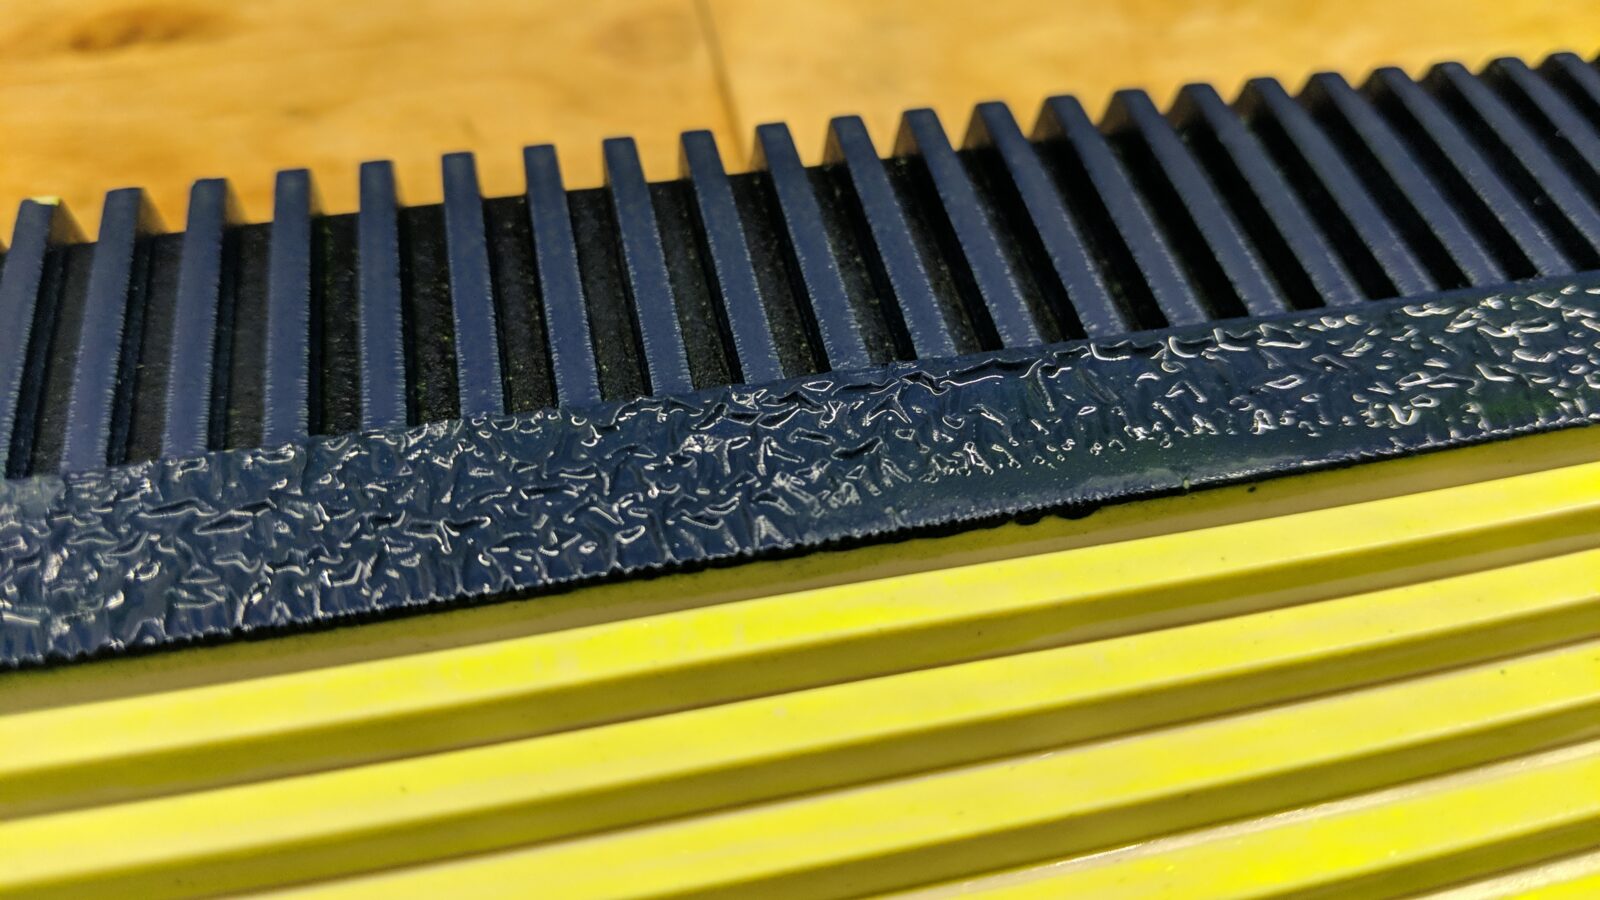
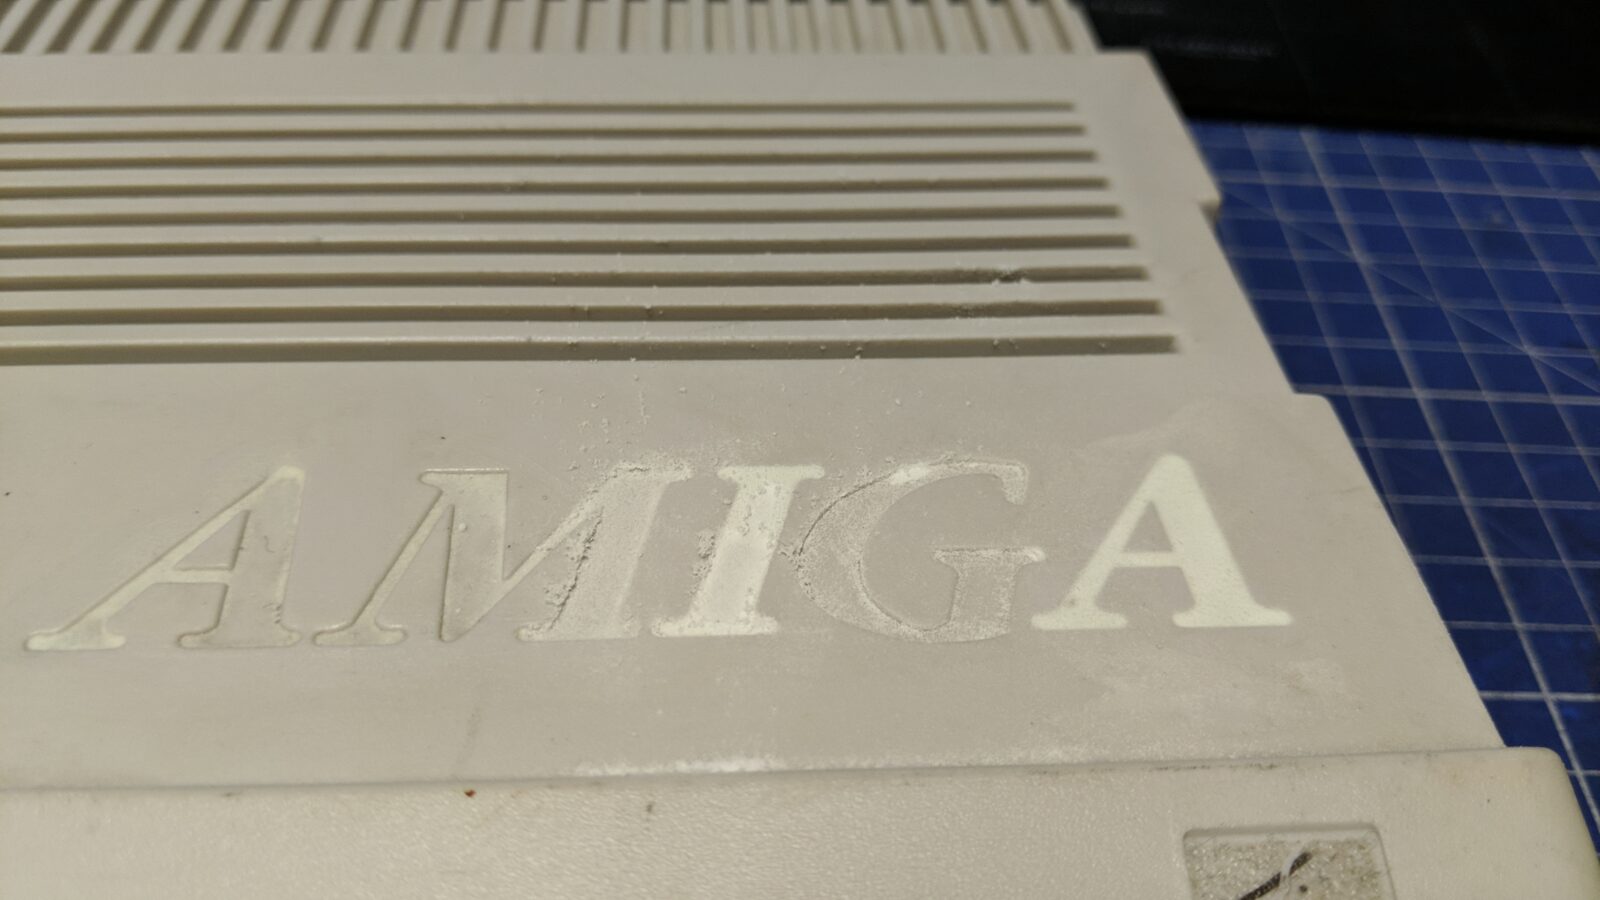
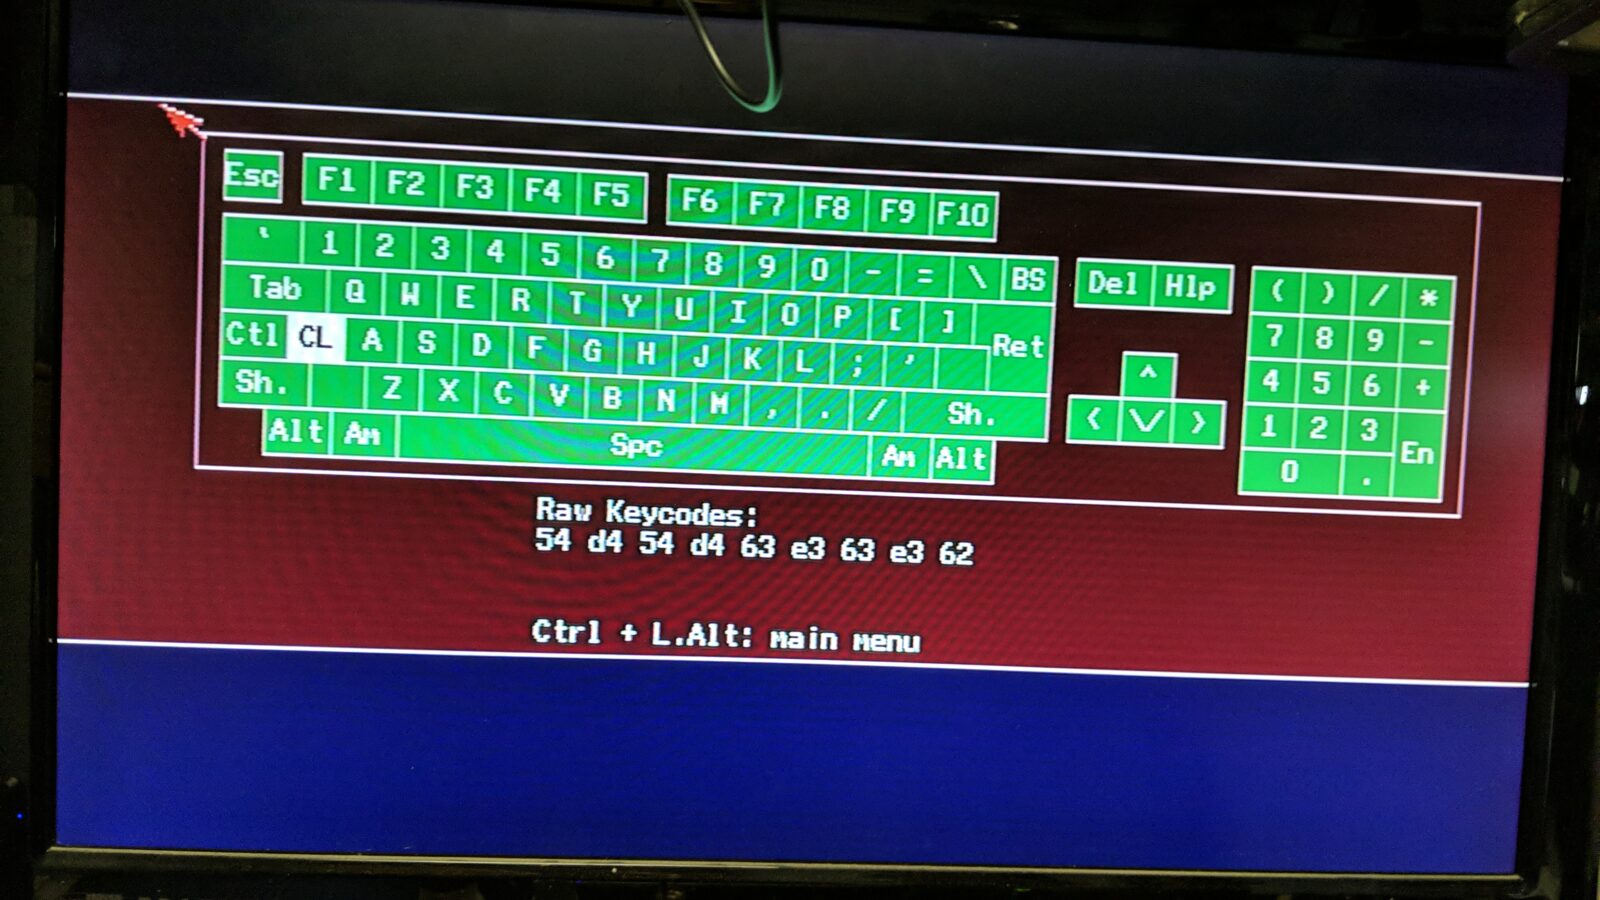
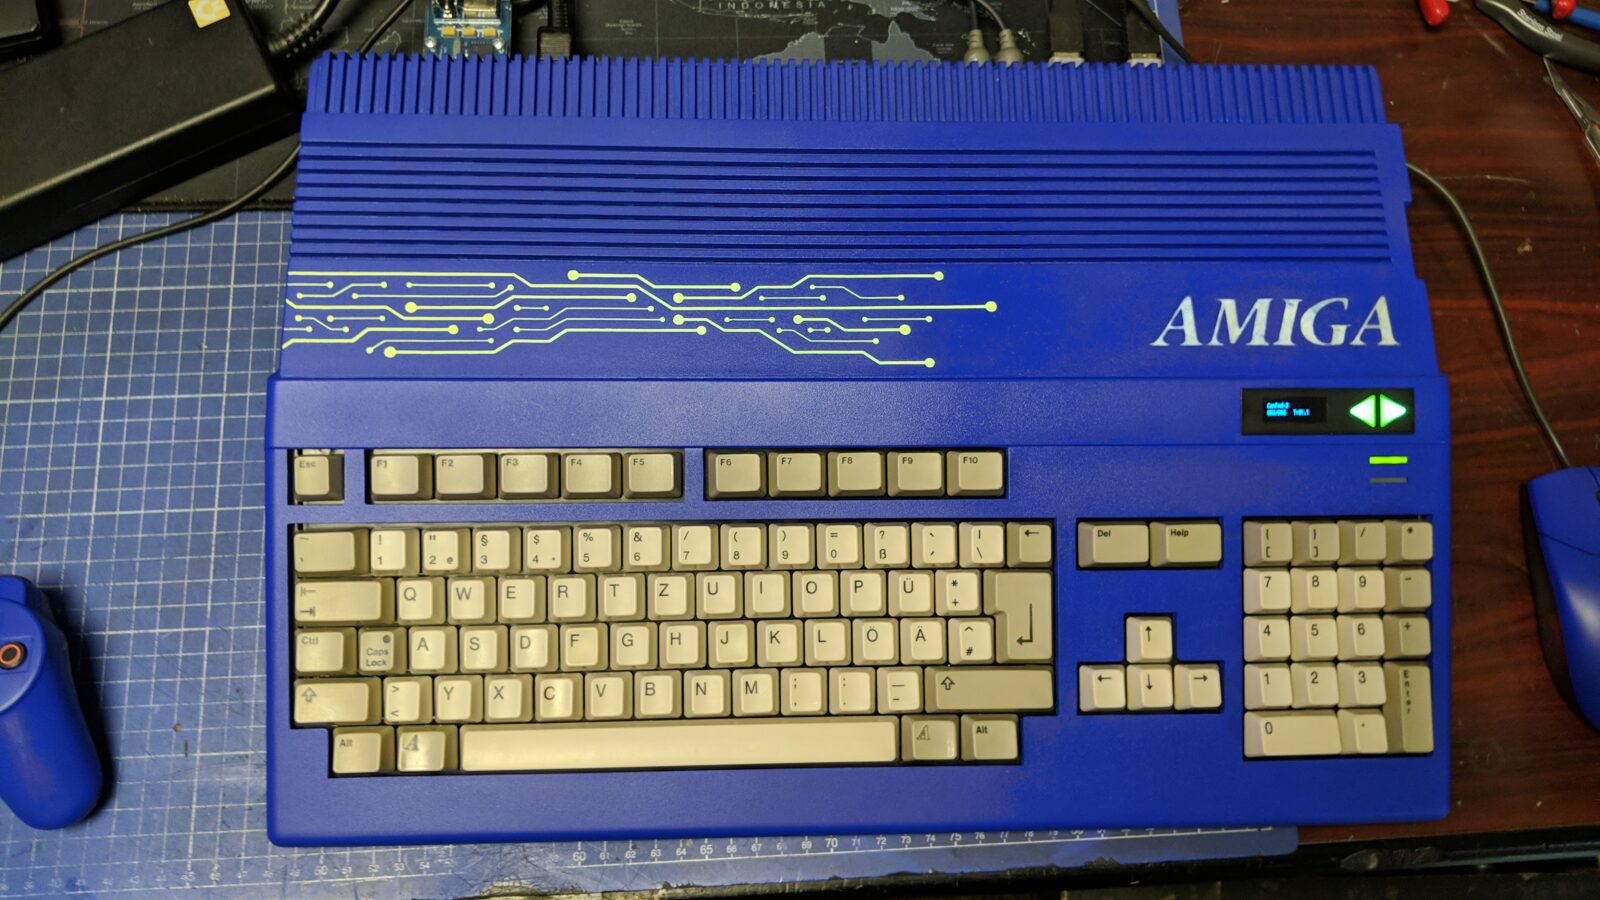
This particular unit was painted dark blue with a fluorescent grill (more on that idea later). It was covered in stickers, missing some keycaps, a trapdoor, and a side cover. It booted fine but the floppy drive was not working properly, some keys didn’t work at all and it was badly beaten in general. Let me show you how it looked.
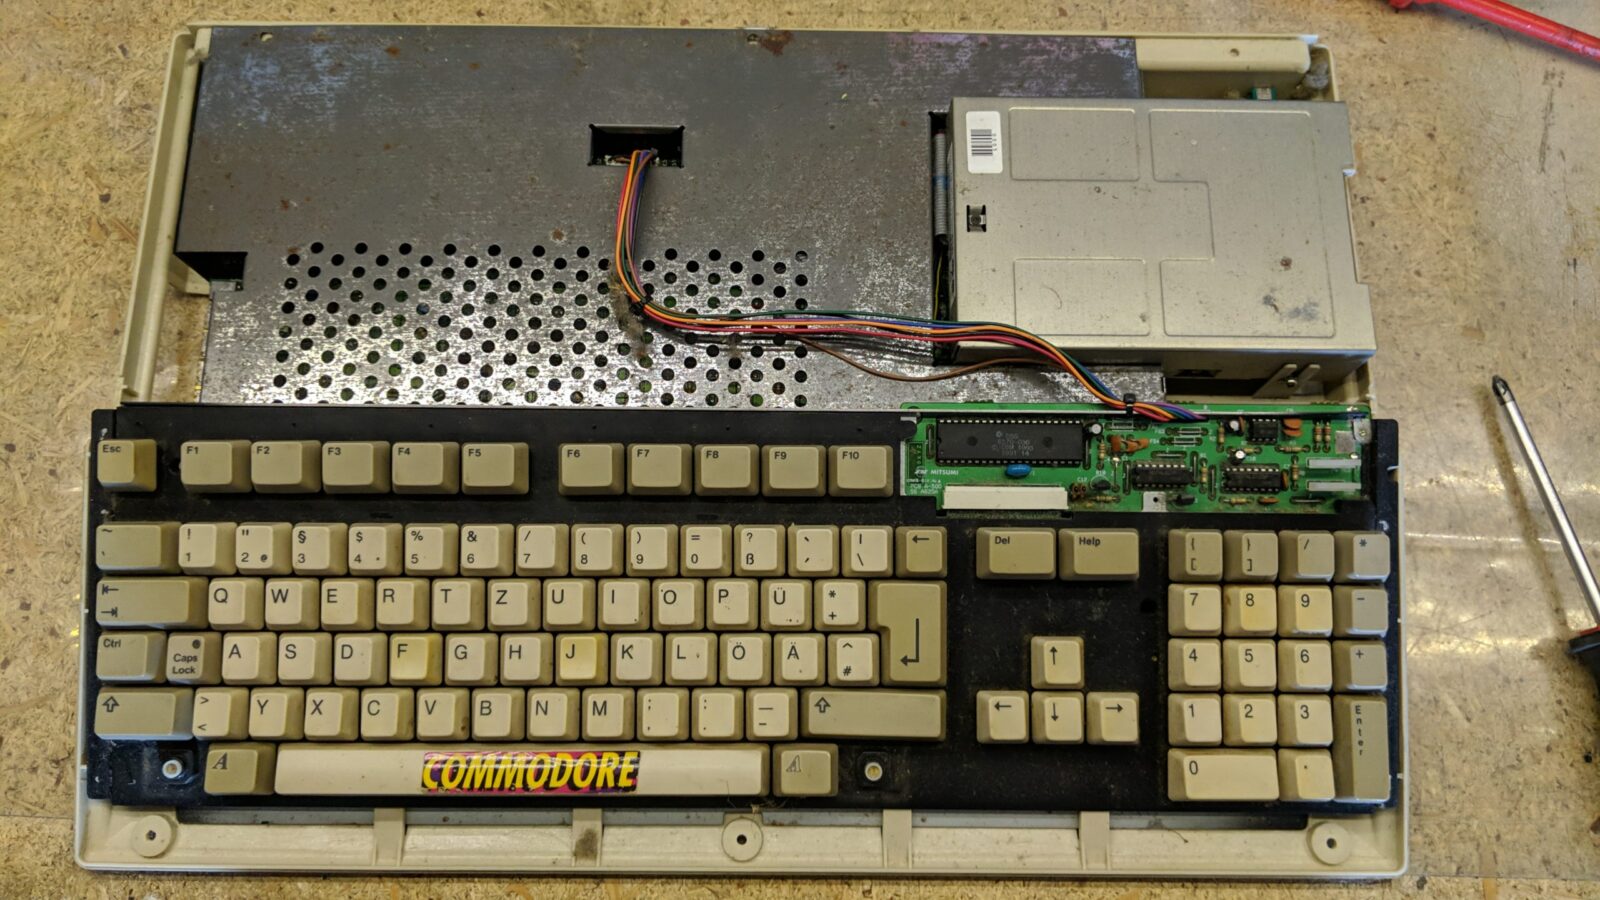
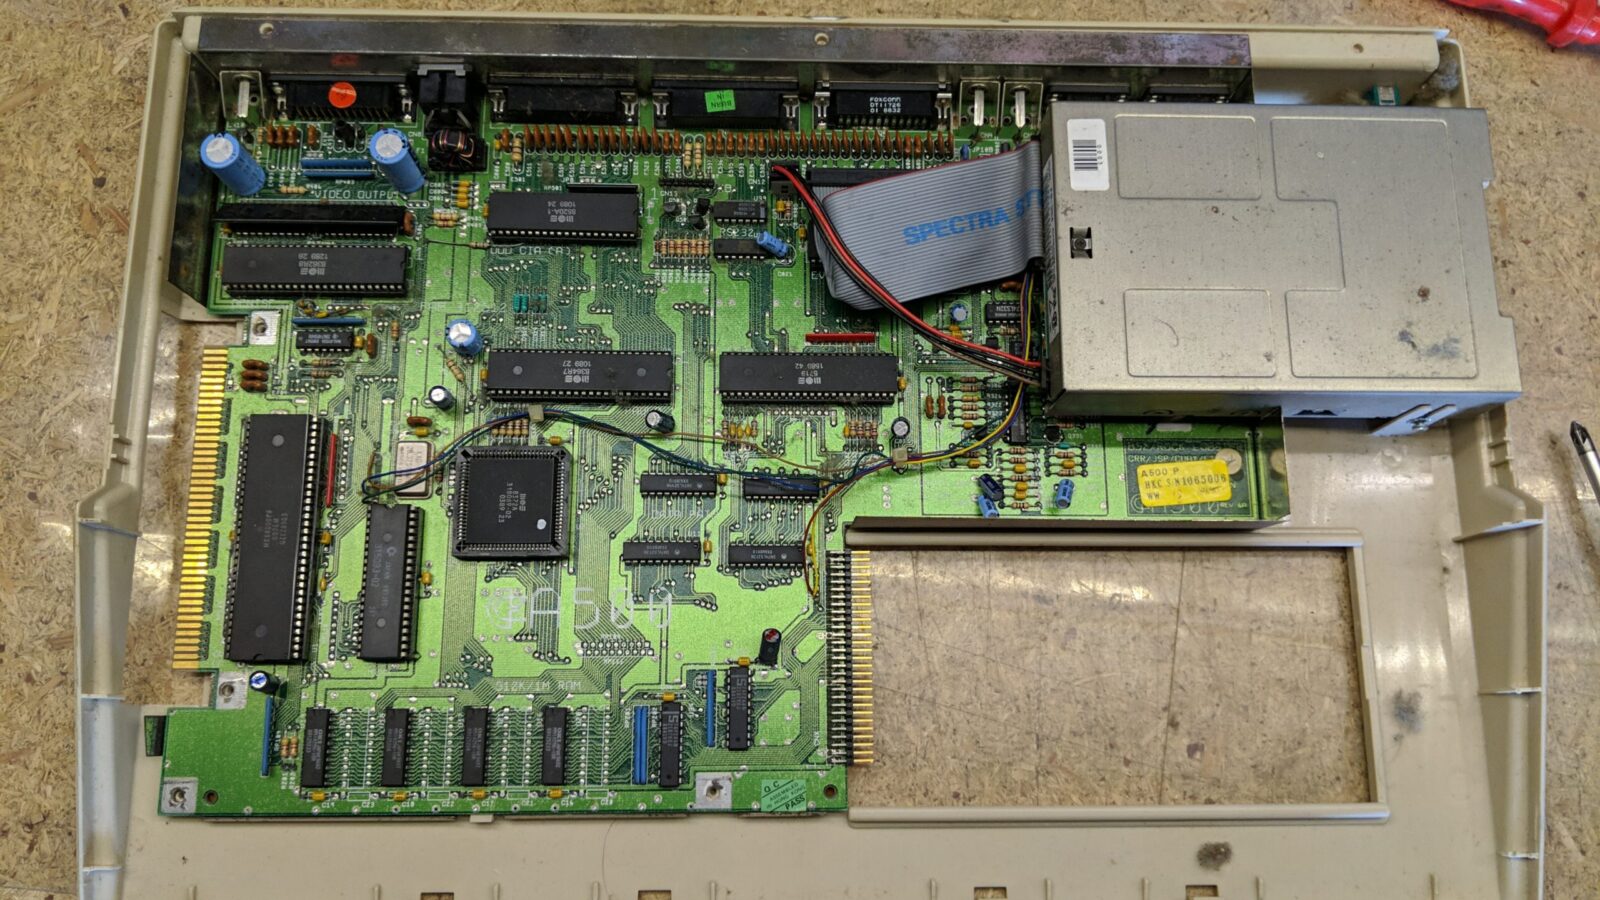
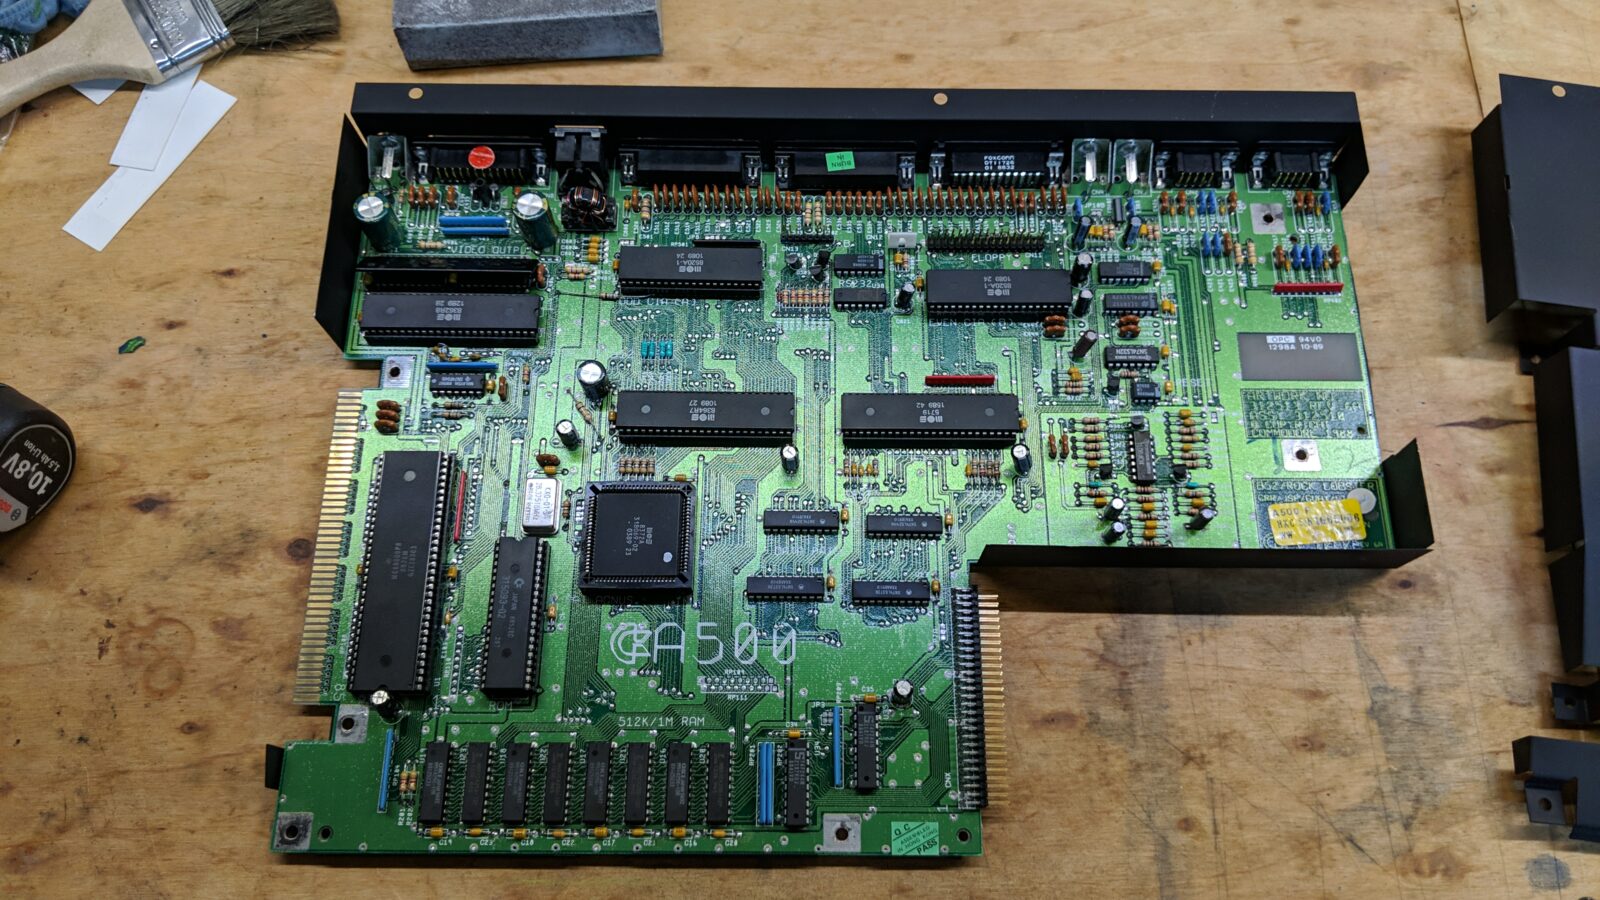
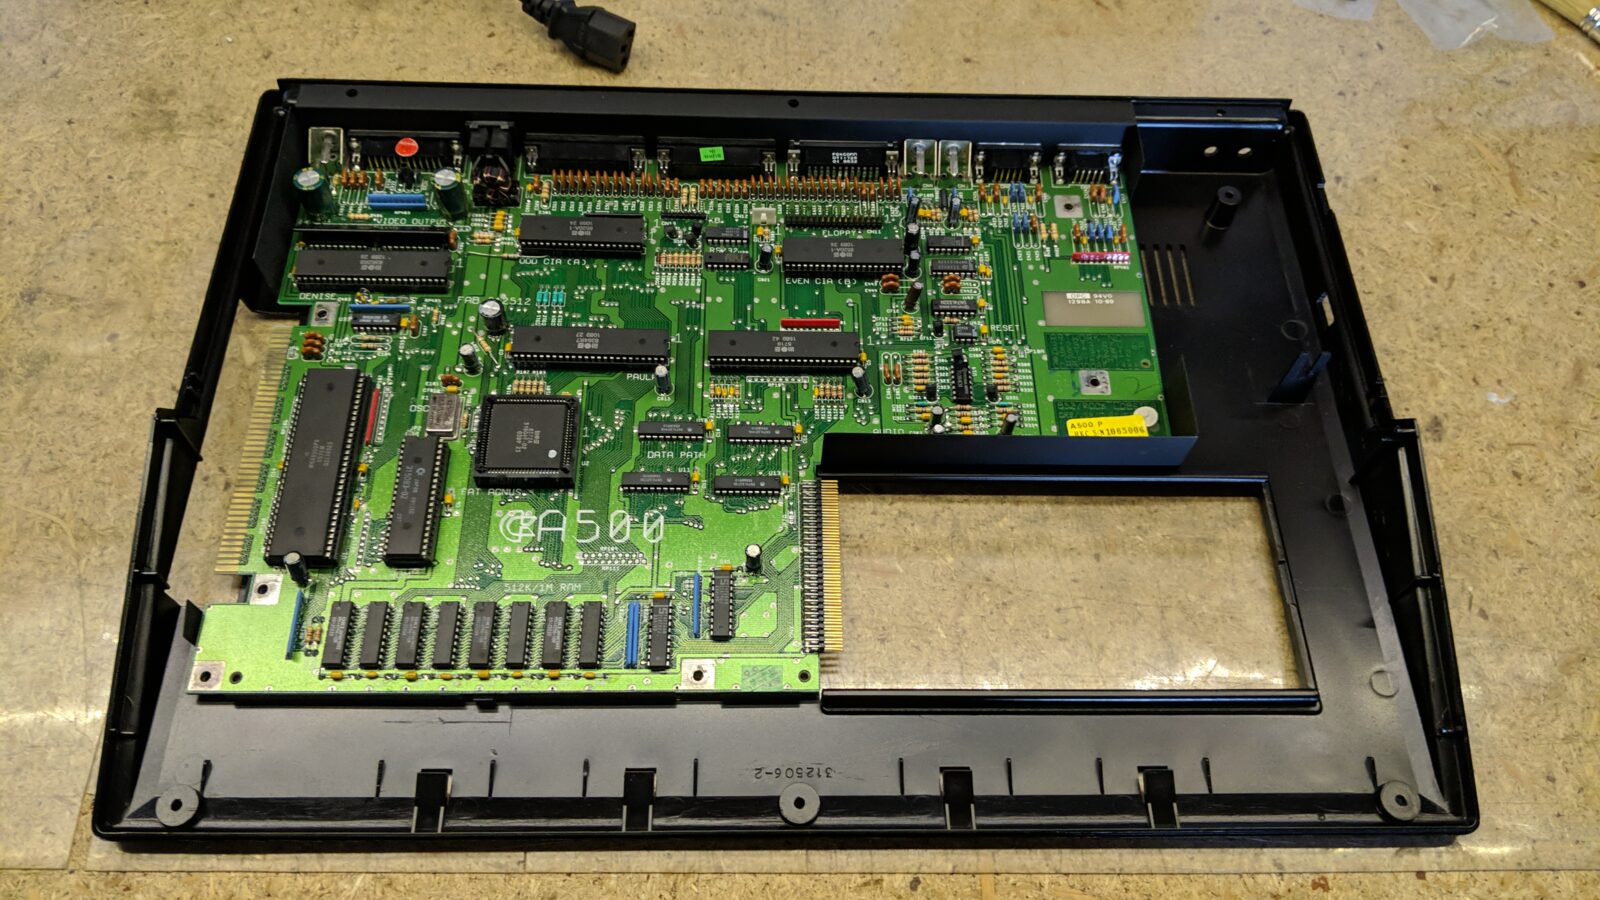
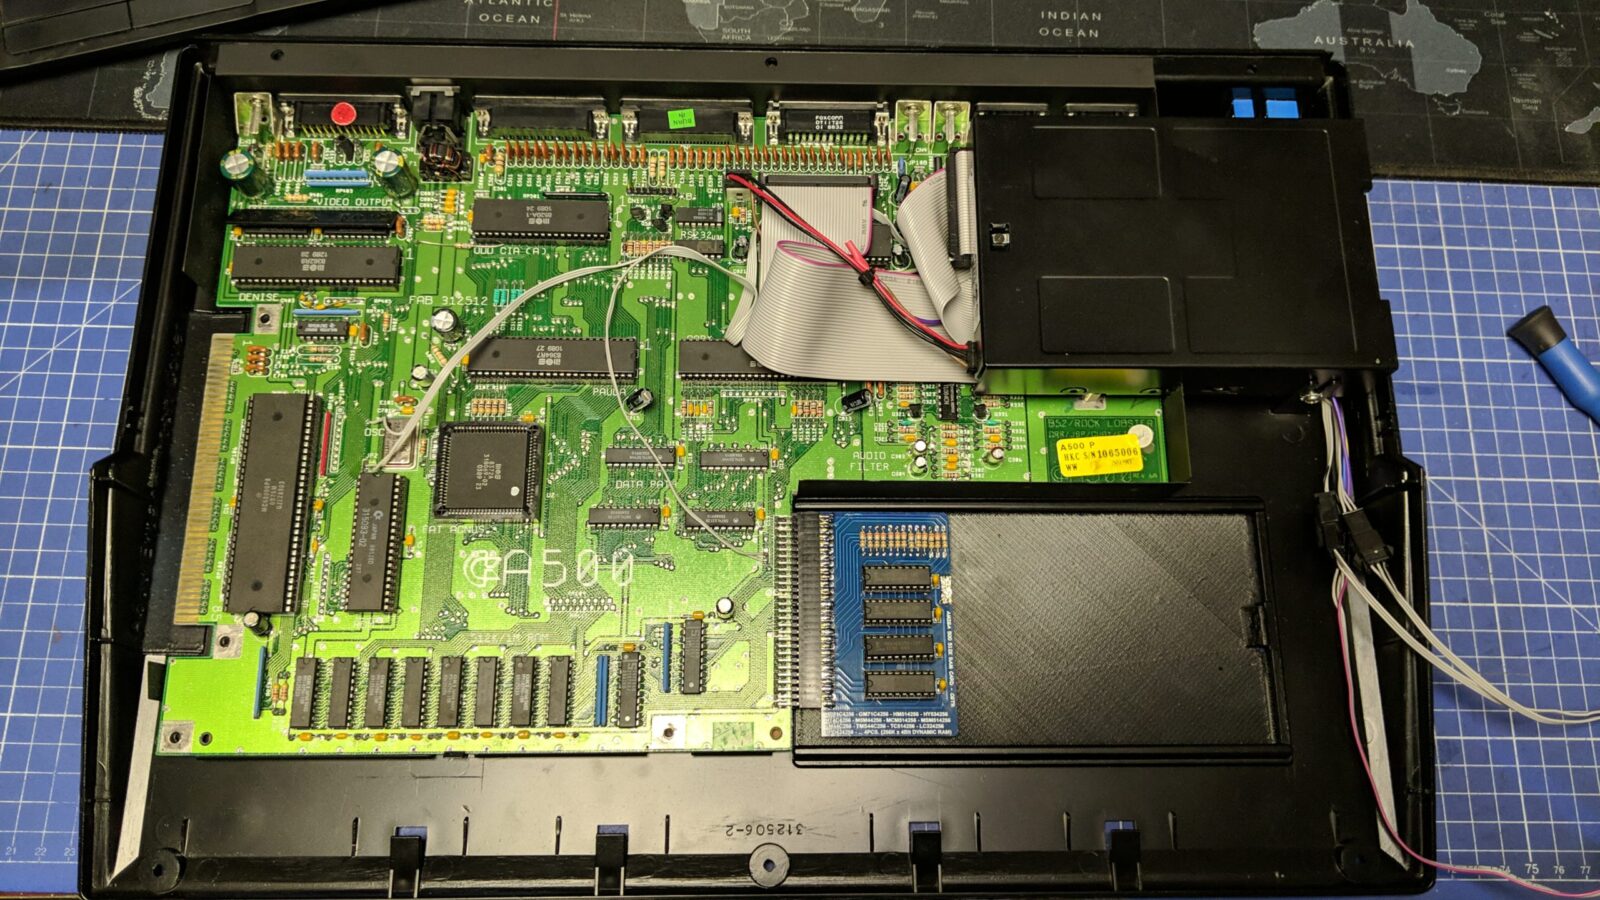
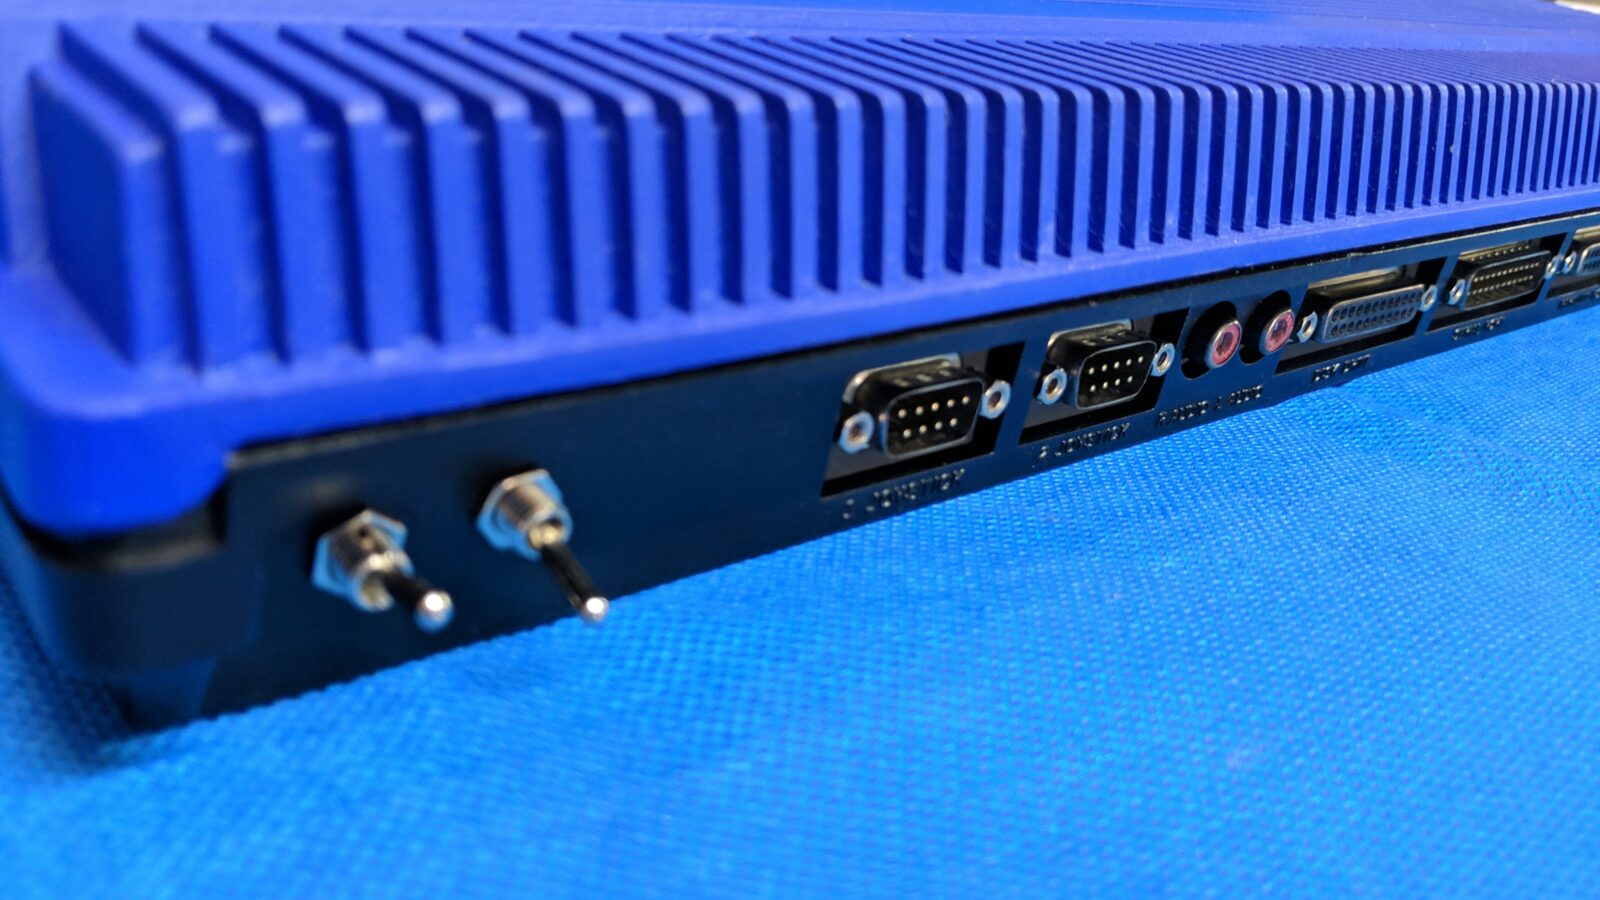
The motherboard
I am not the greatest fan of re-capping if it is about A500 but this time I had to do it as looks like humidity and bad storage conditions took their toll on these caps. A lot of caps didn’t keep to their original specs so I’ve decided to replace all of them.

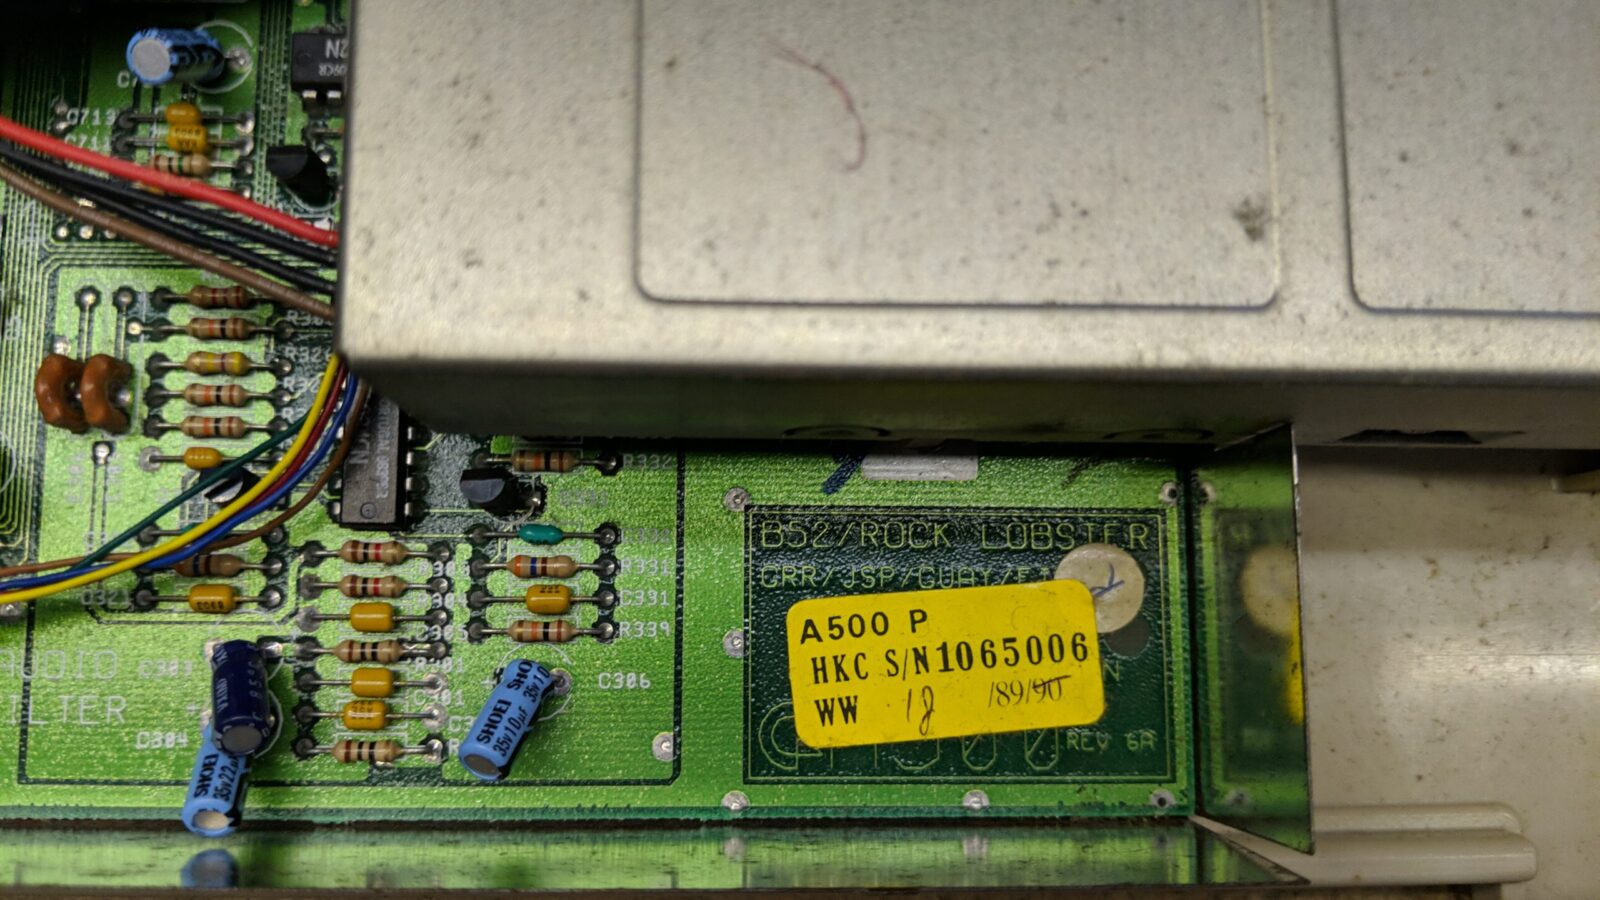
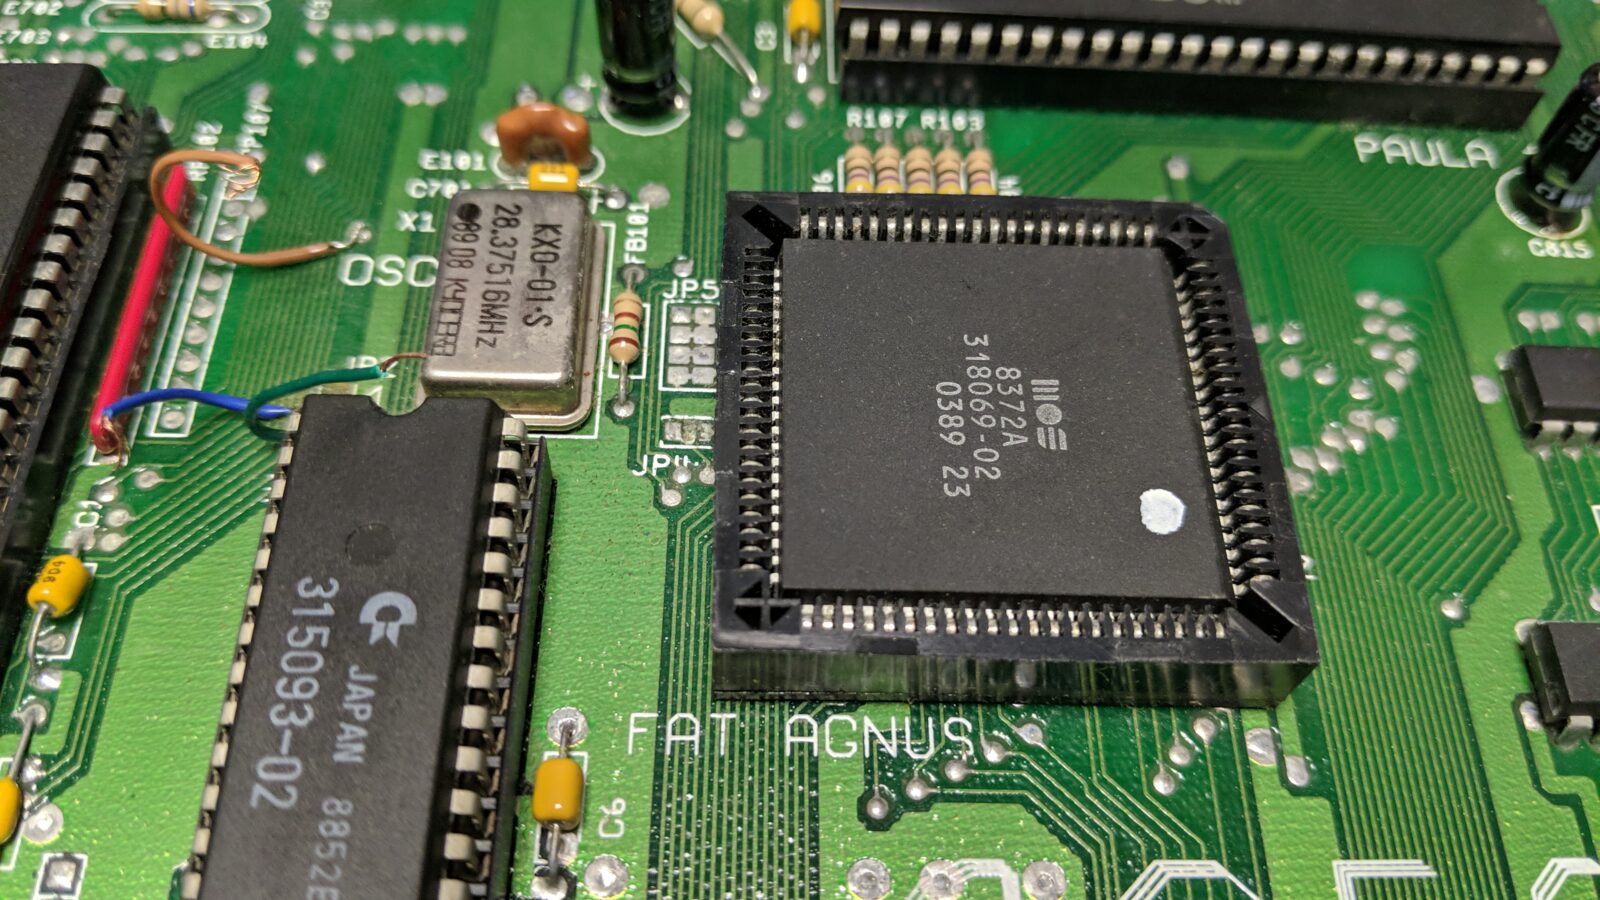
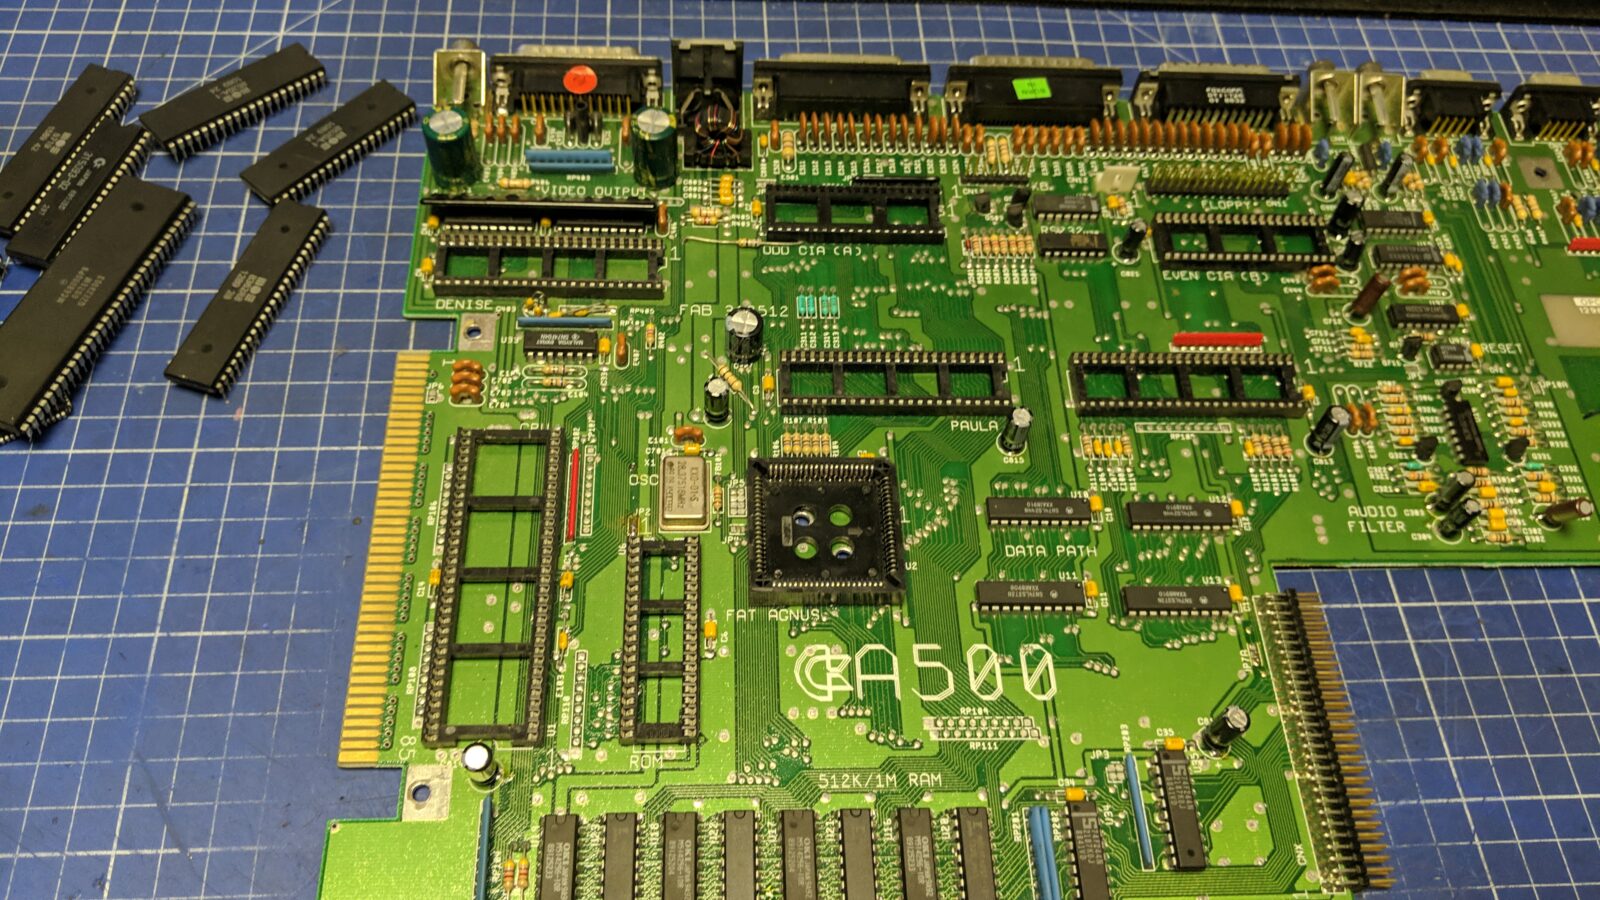
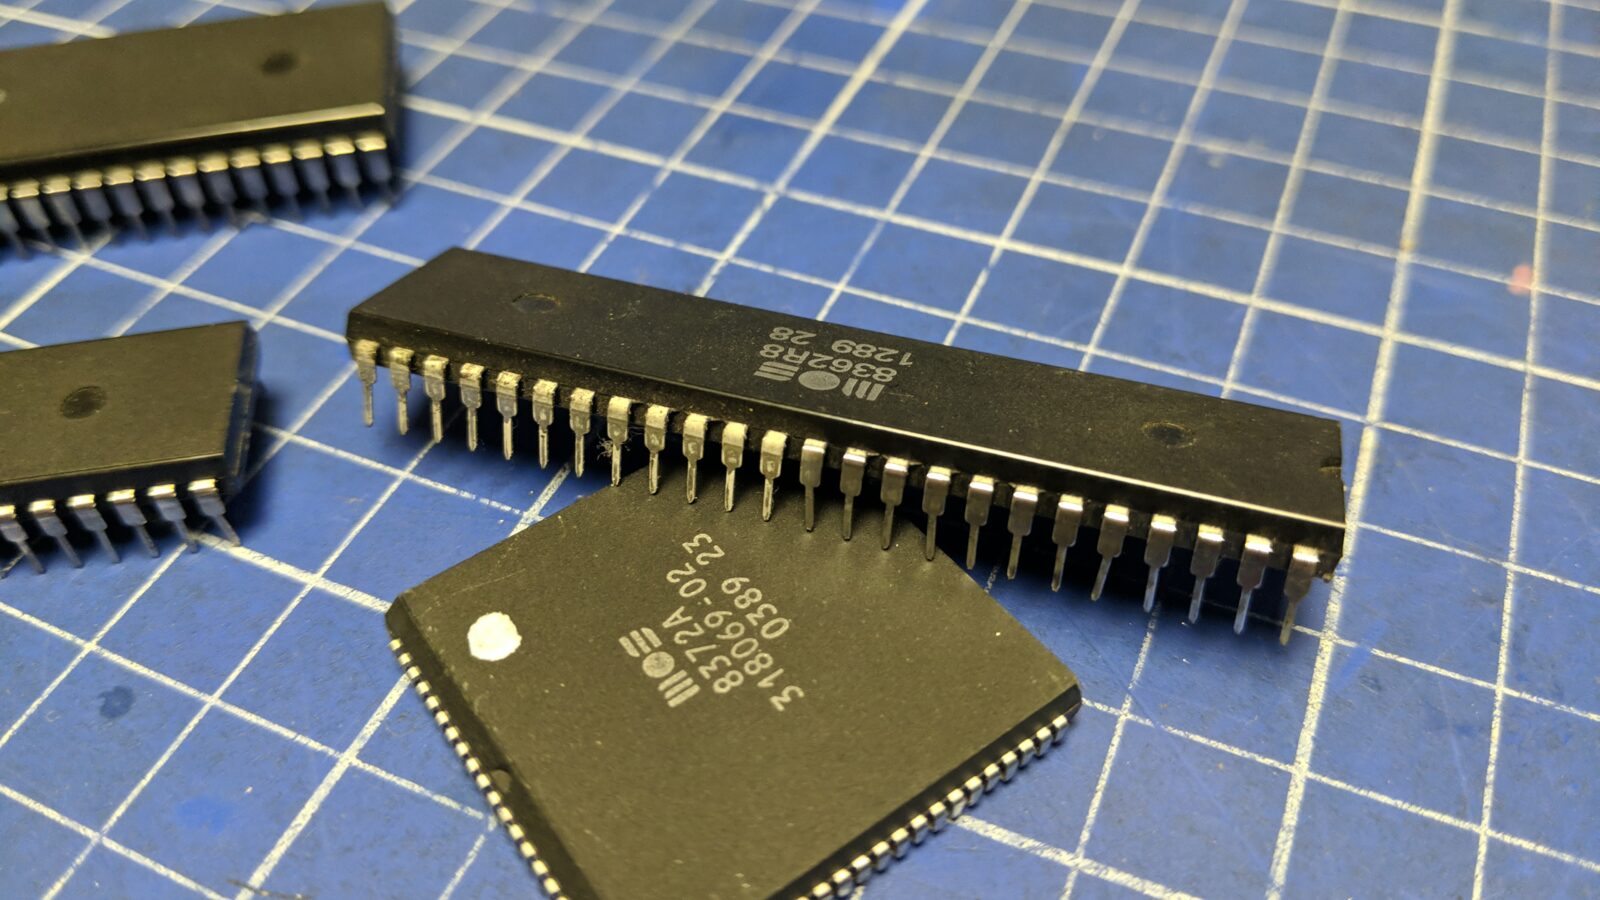
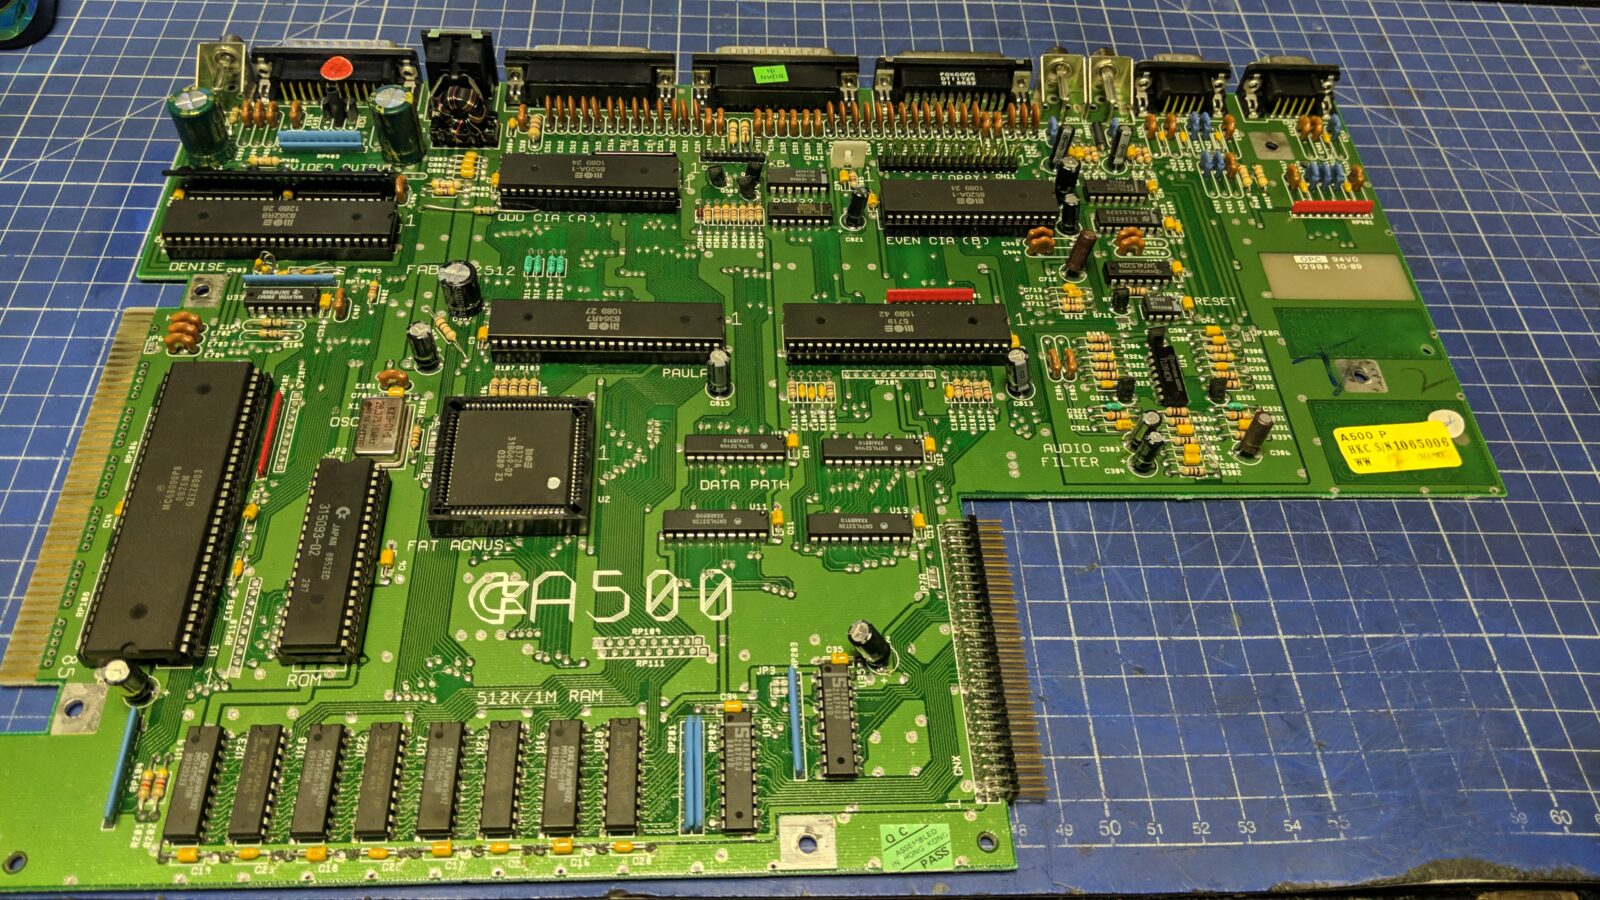
This is a rev. 6A motherboard and has 8372 Agnus which allows CHIP RAM upgrade up to 1MB.
You can read more about A500 RAM upgrades in the following blog posts:
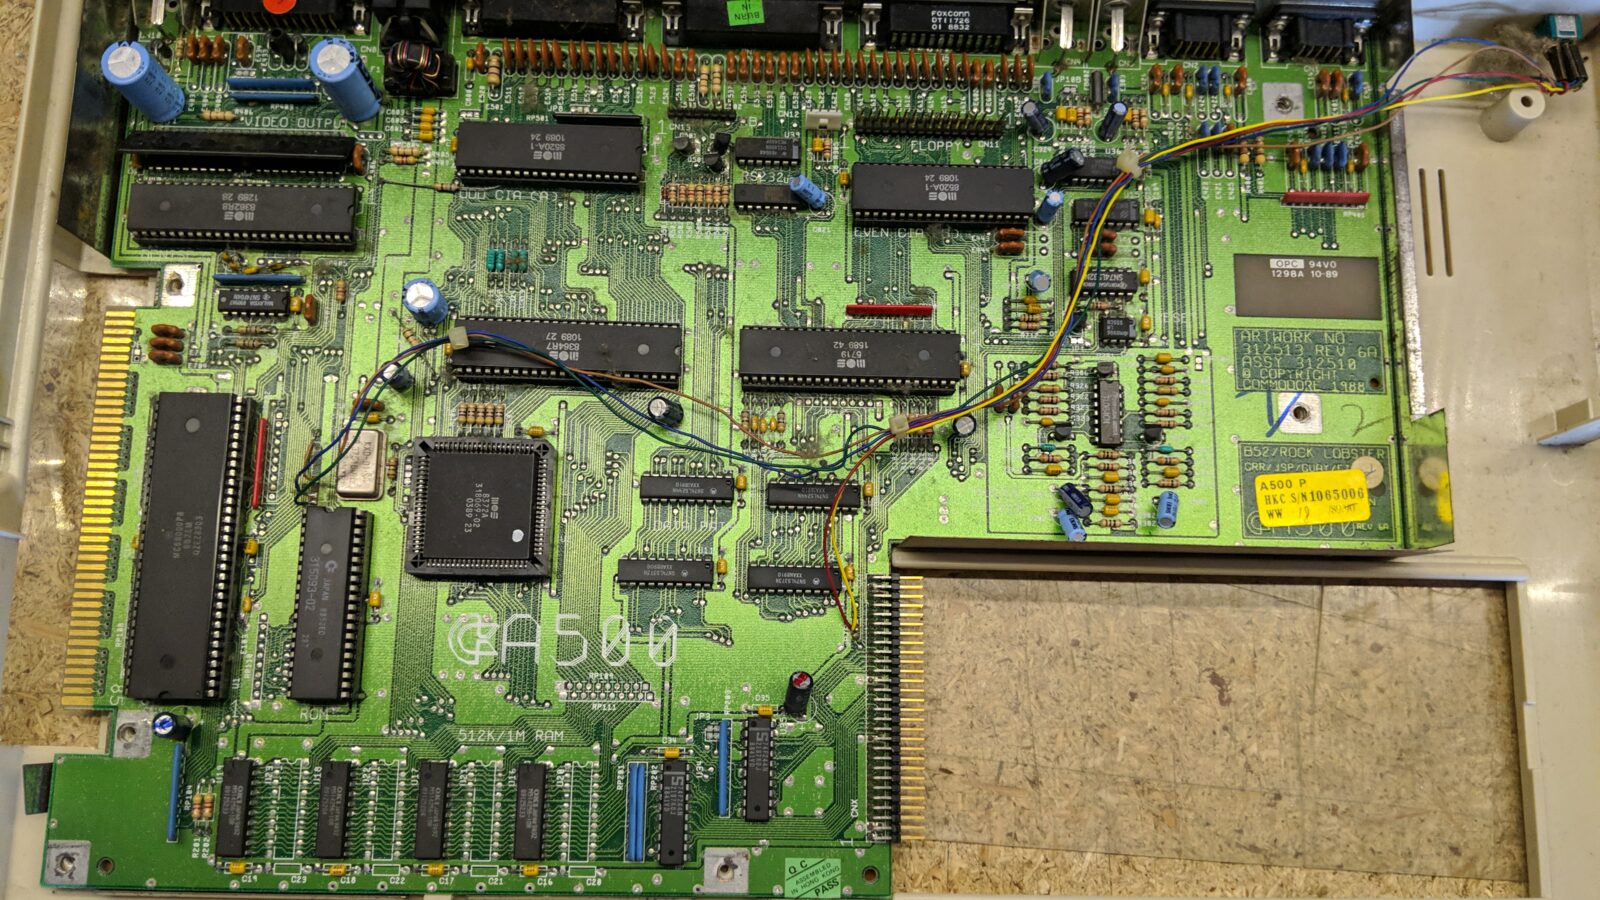
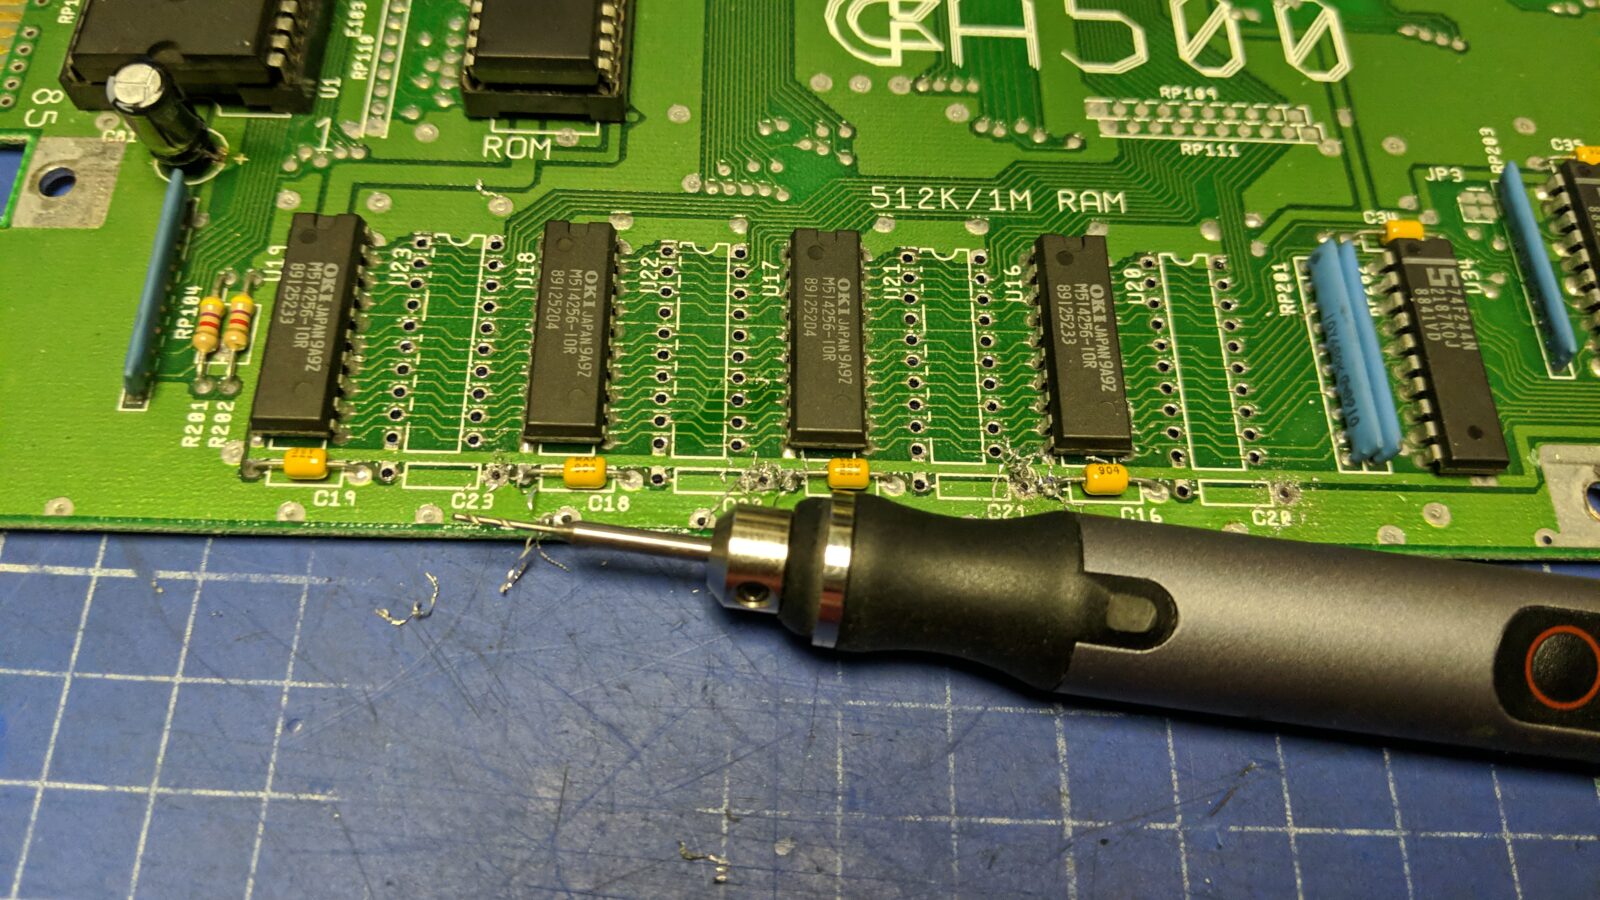
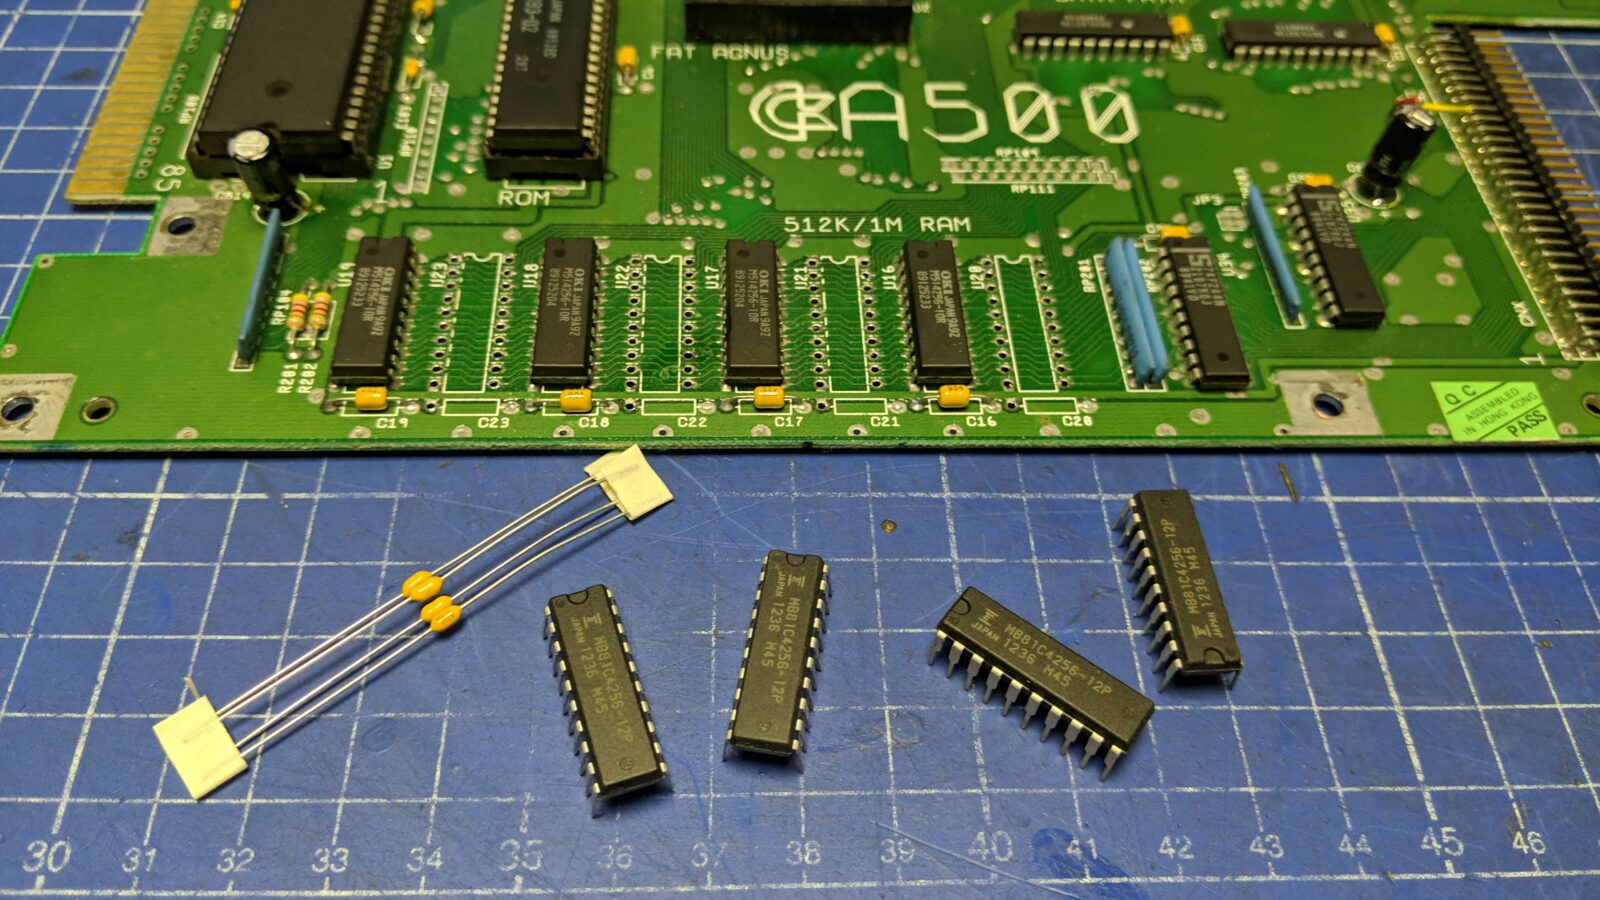
Naturally, this was my next move. I’ve added four additional chips along with corresponding capacitors.
I often find motherboards where unpopulated spots are filled with solder. Sometimes it is hard to remove this solder due to the great heat capacity of a ground plane. In such cases, I usually use a micro drill to remove it.
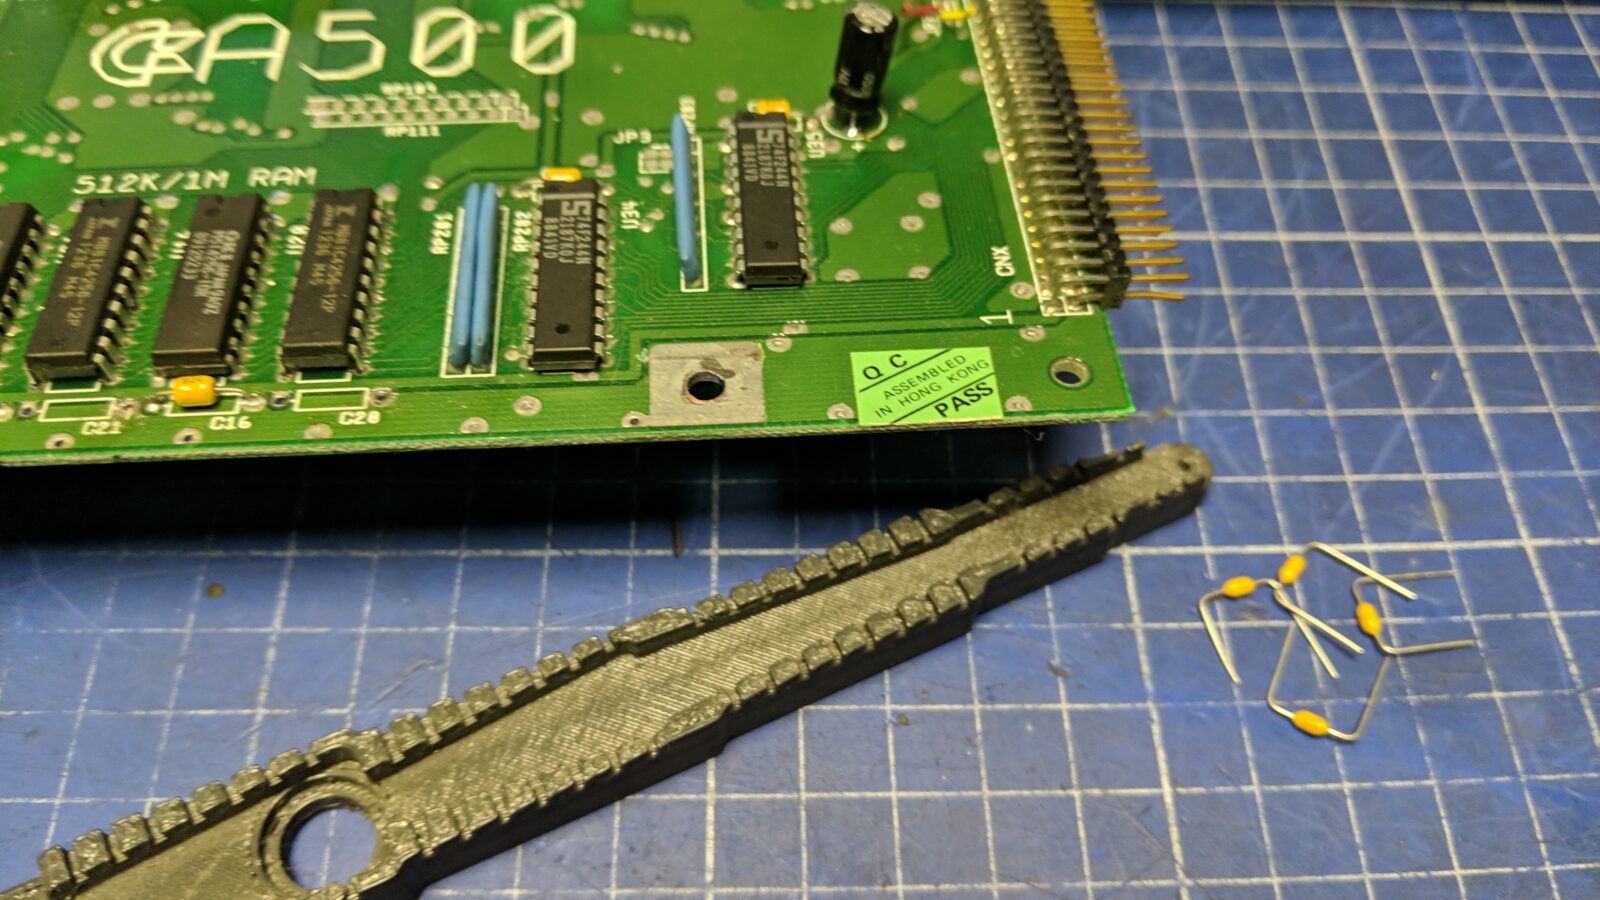
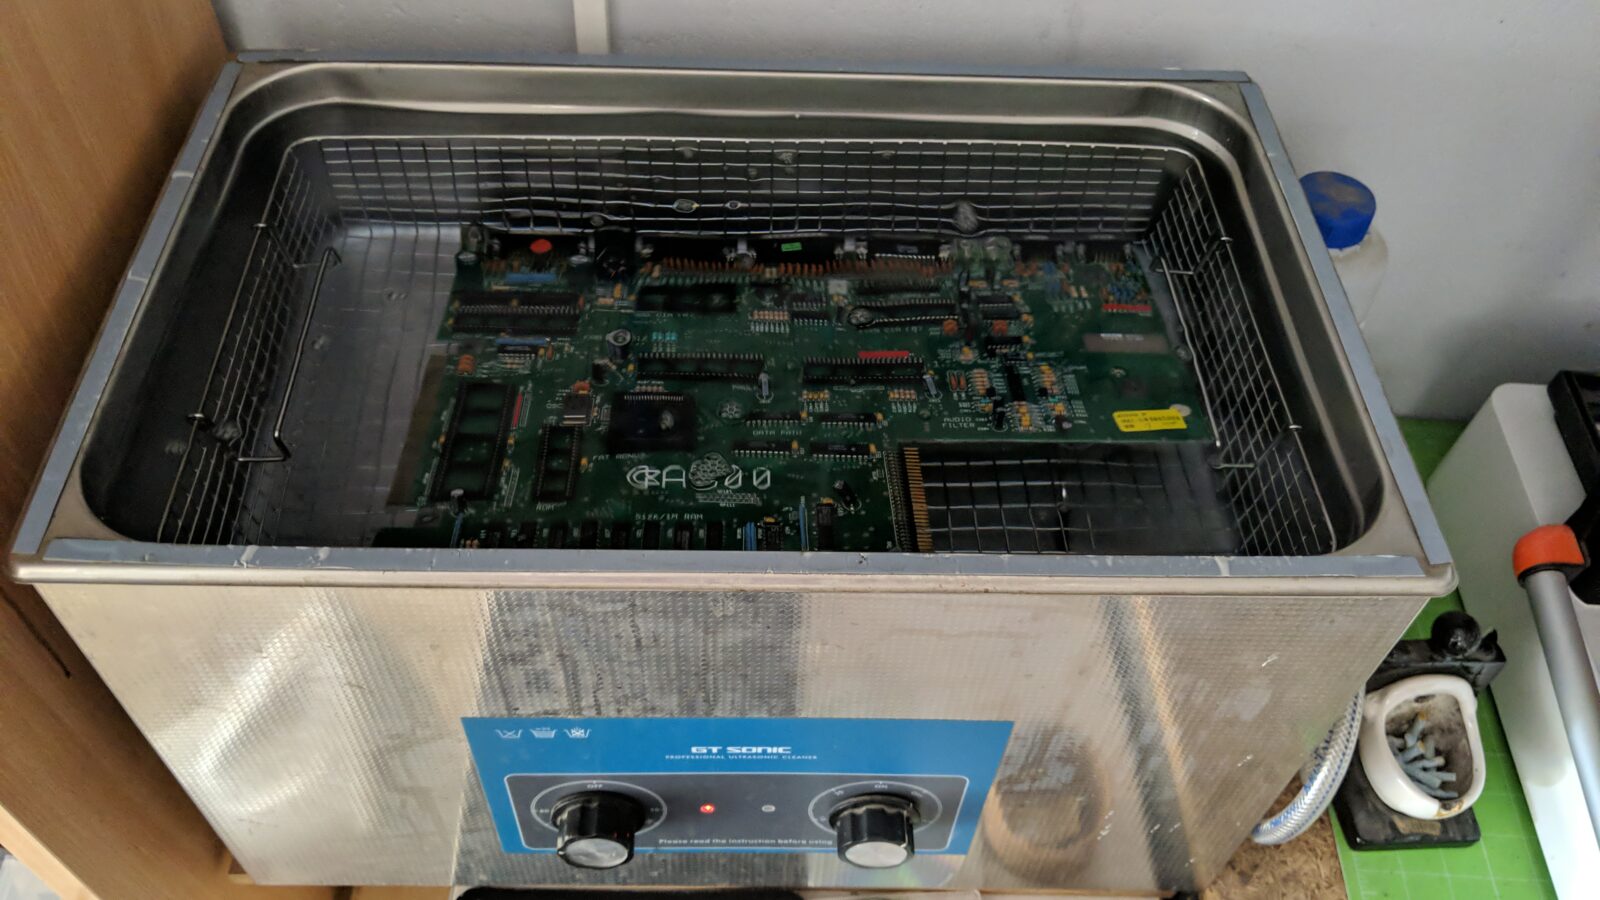
Next, all of the socketed chips were removed and cleaned with steel wool as well as ports and connectors, sockets were treated with deoxidizing fluid, and the motherboard was finally ready to take an ultrasonic bath.
For comparison, in the below picture, the right half of the chip is already cleaned.

The board is ready for further mods.
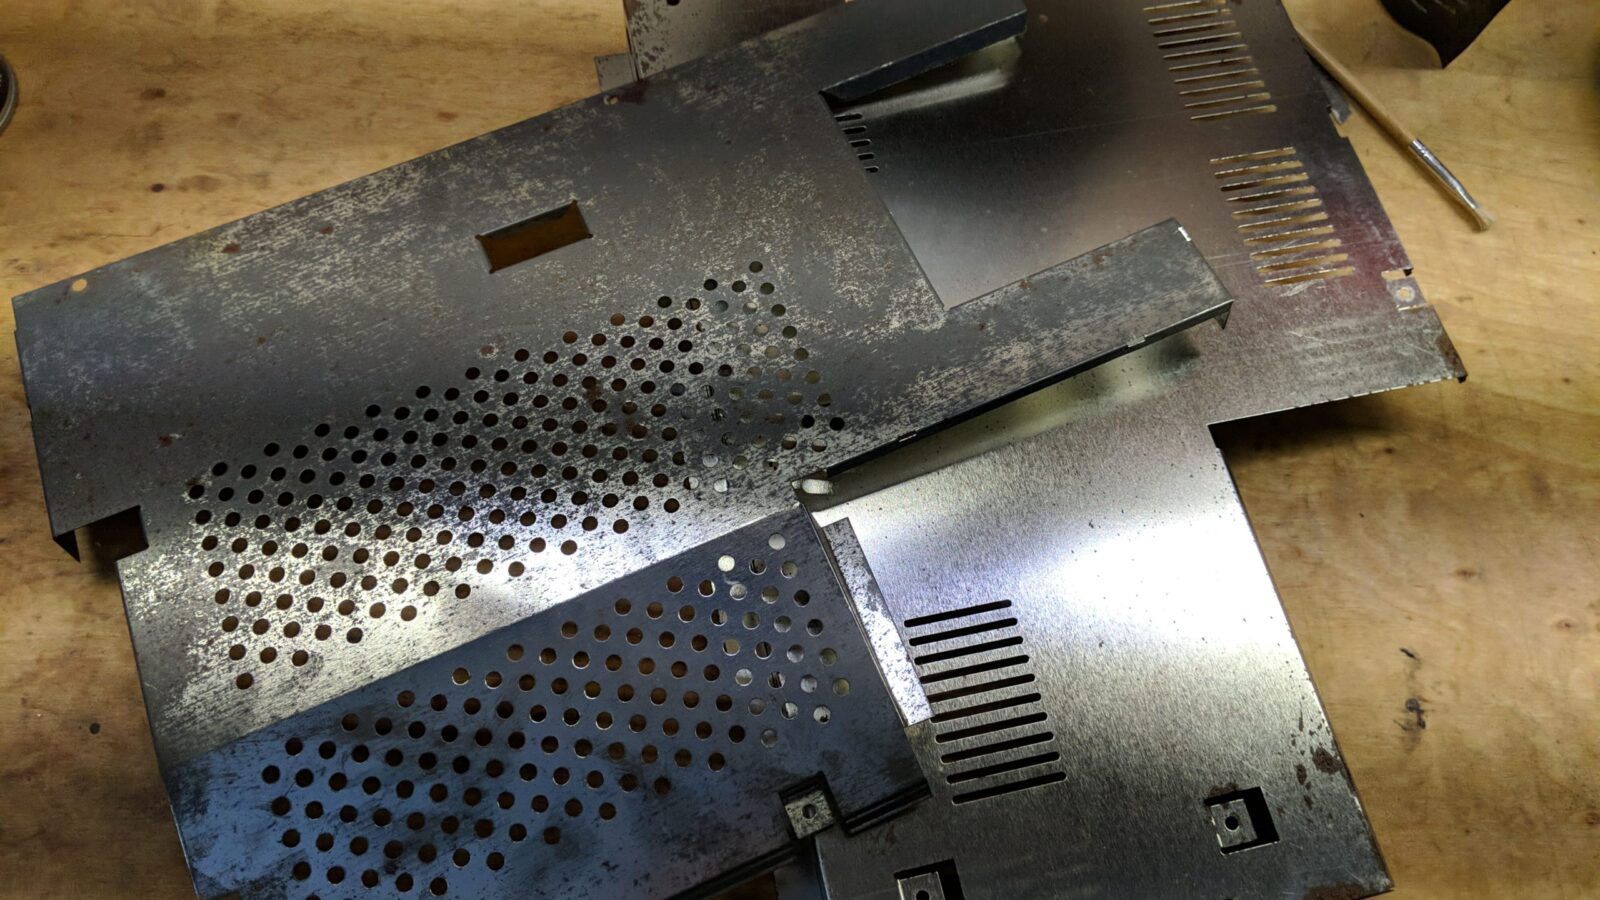
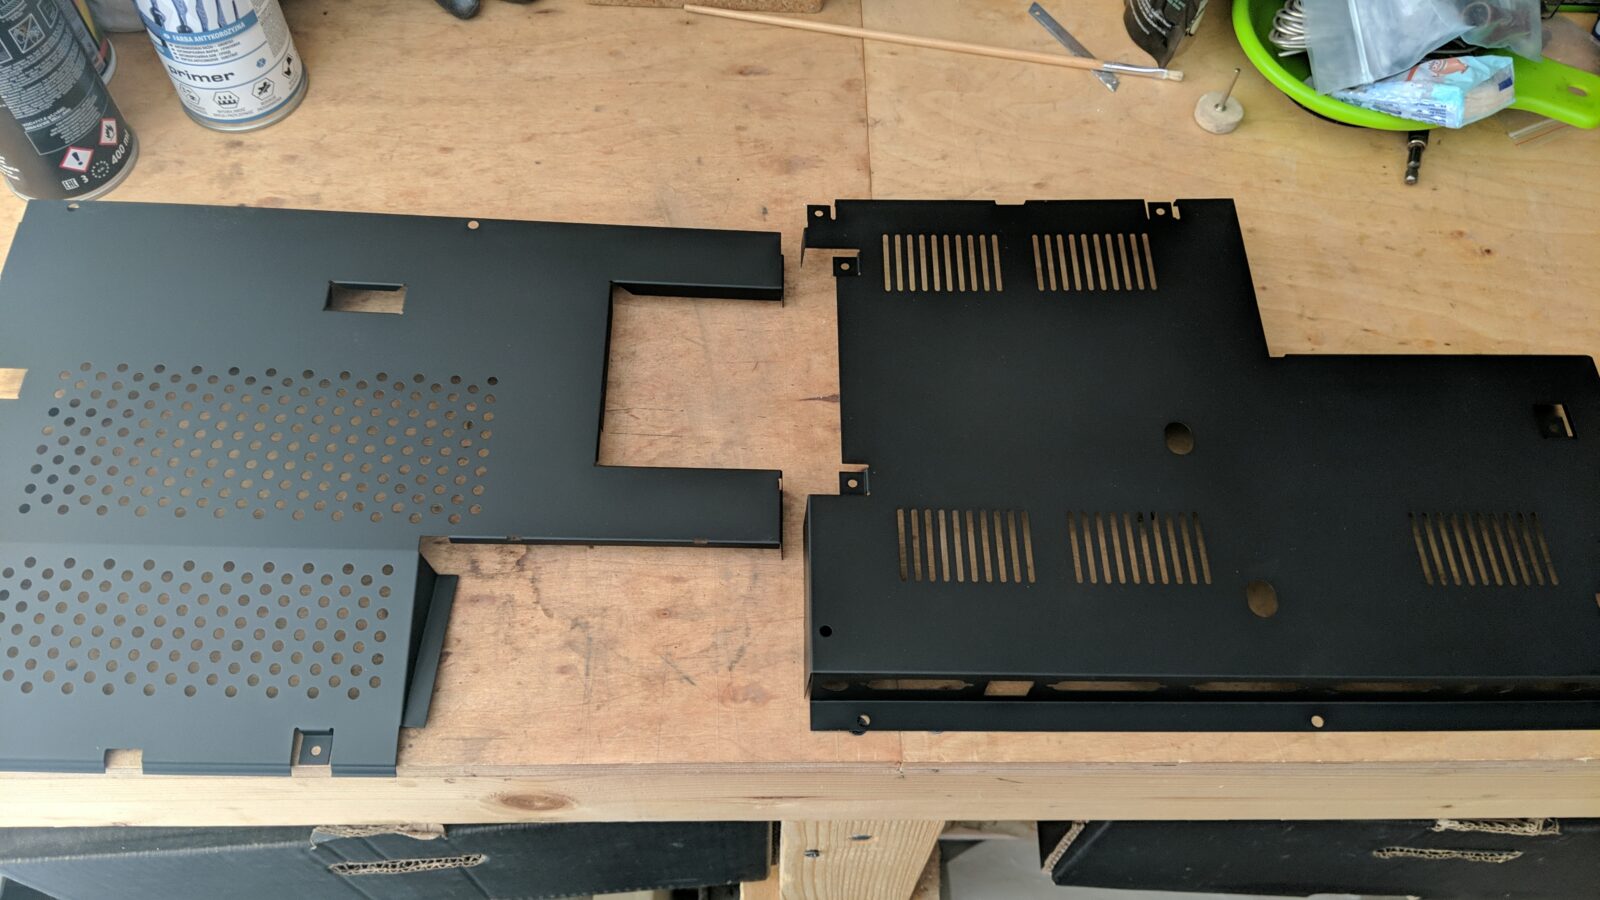
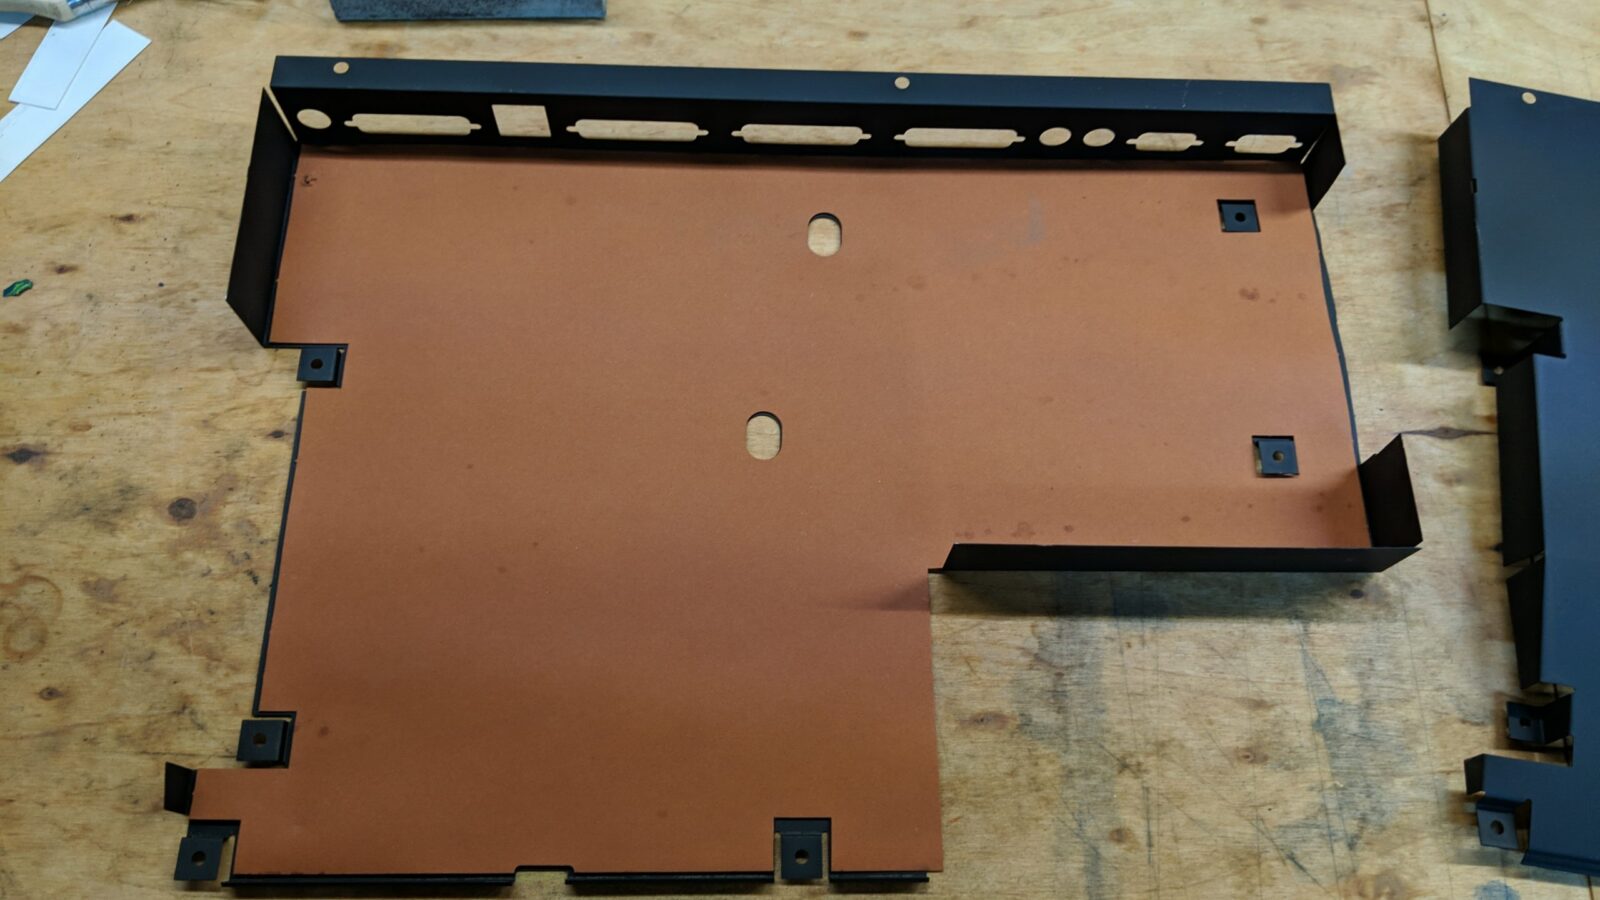
Internal shield
After removing the rust and other gunk, I painted the internal shield matt black.
The case
Here comes the crucial part that shaped this project along with a great discovery for all modders out there.
Initially, I wanted to bring this Amiga back to stock condition but as the situation was developing, I changed my mind. More on it in a minute.
To bring it back to stock, I had to remove the paint somehow. I think I’ve tested every possible solvent I had in my garage. Acetone, toluene, acetic acid, xylene, mineral oil, gasoline, breaking fluid, IPA, and several other hydrocarbons that I’ve no idea how to call in English lol. You name it!
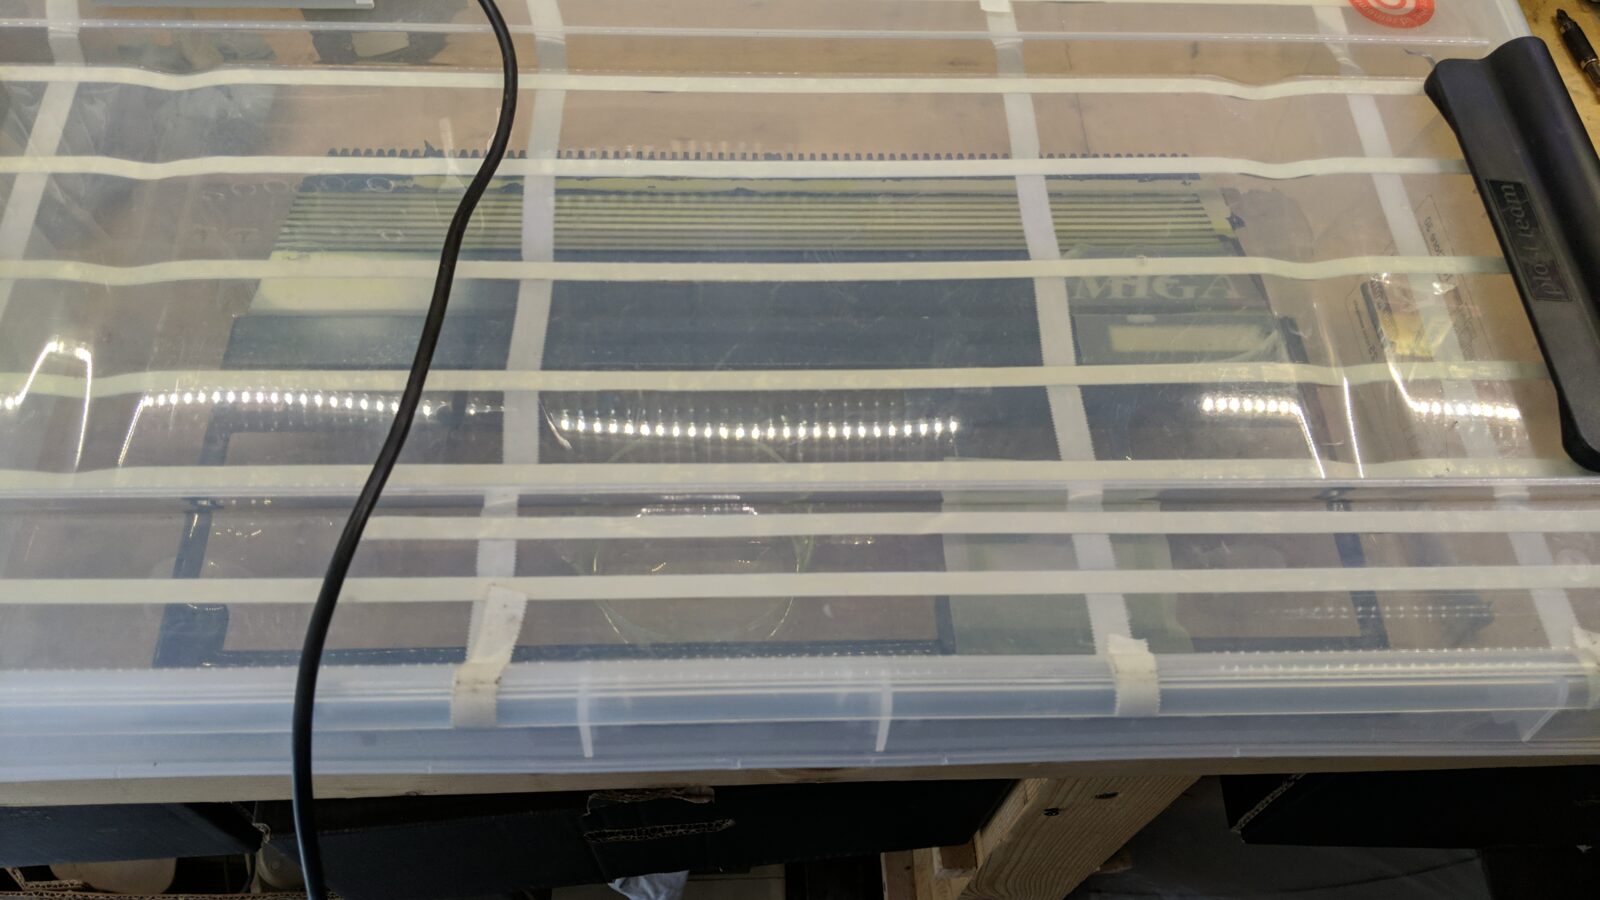
I’ve also tested several removal methods like vapor cooking in a closed container or even using an aerograph to evenly distribute the solvent. Nothing worked.
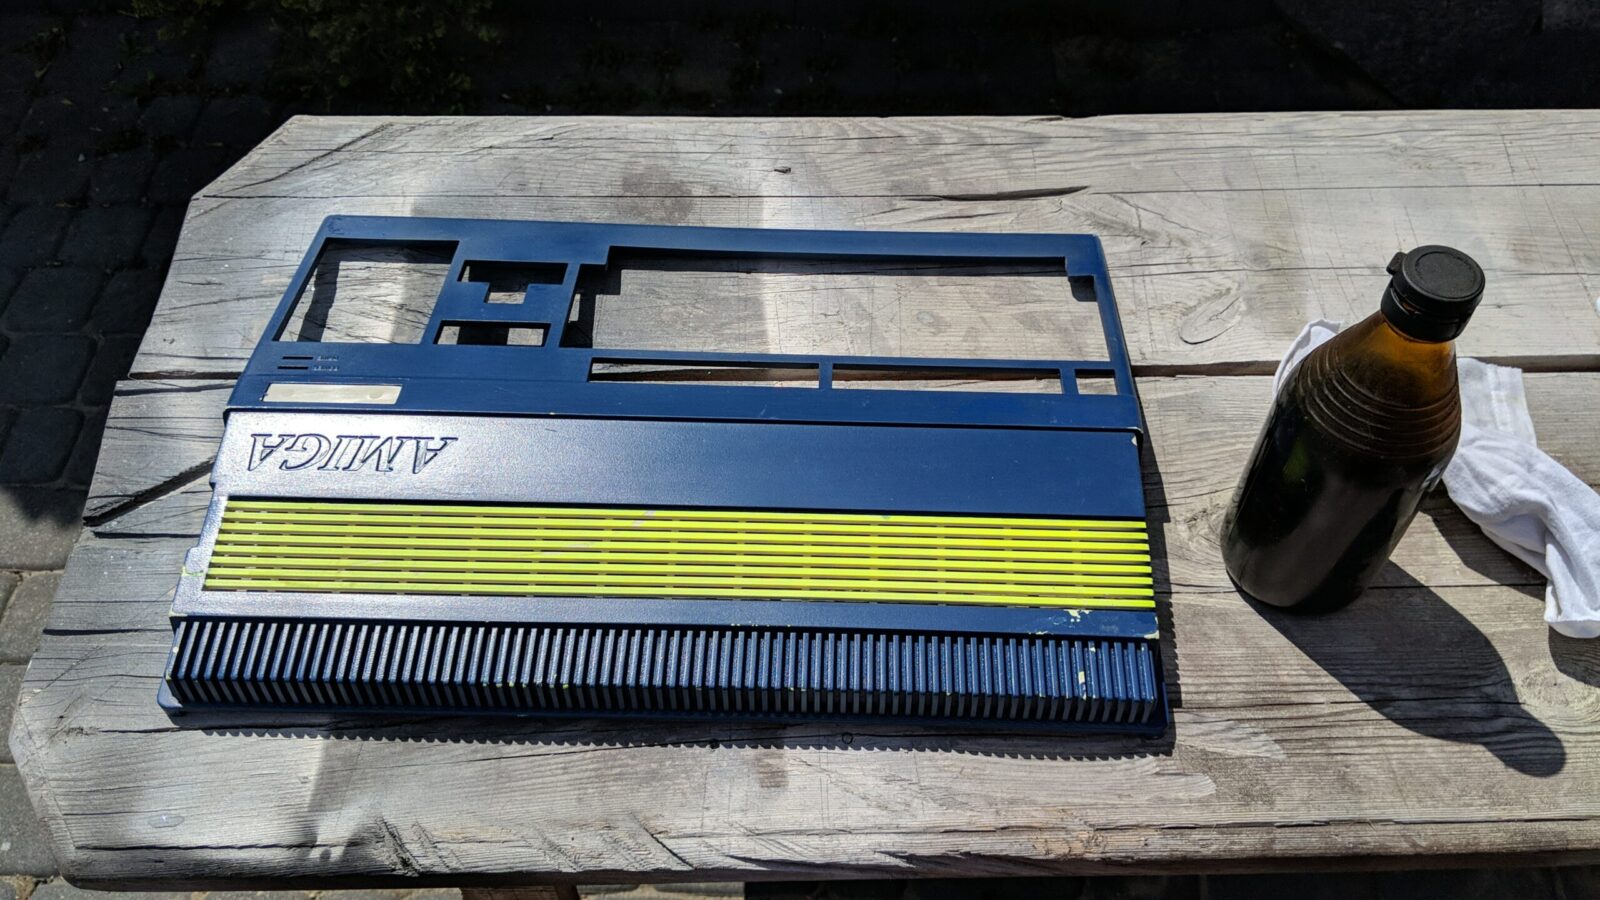
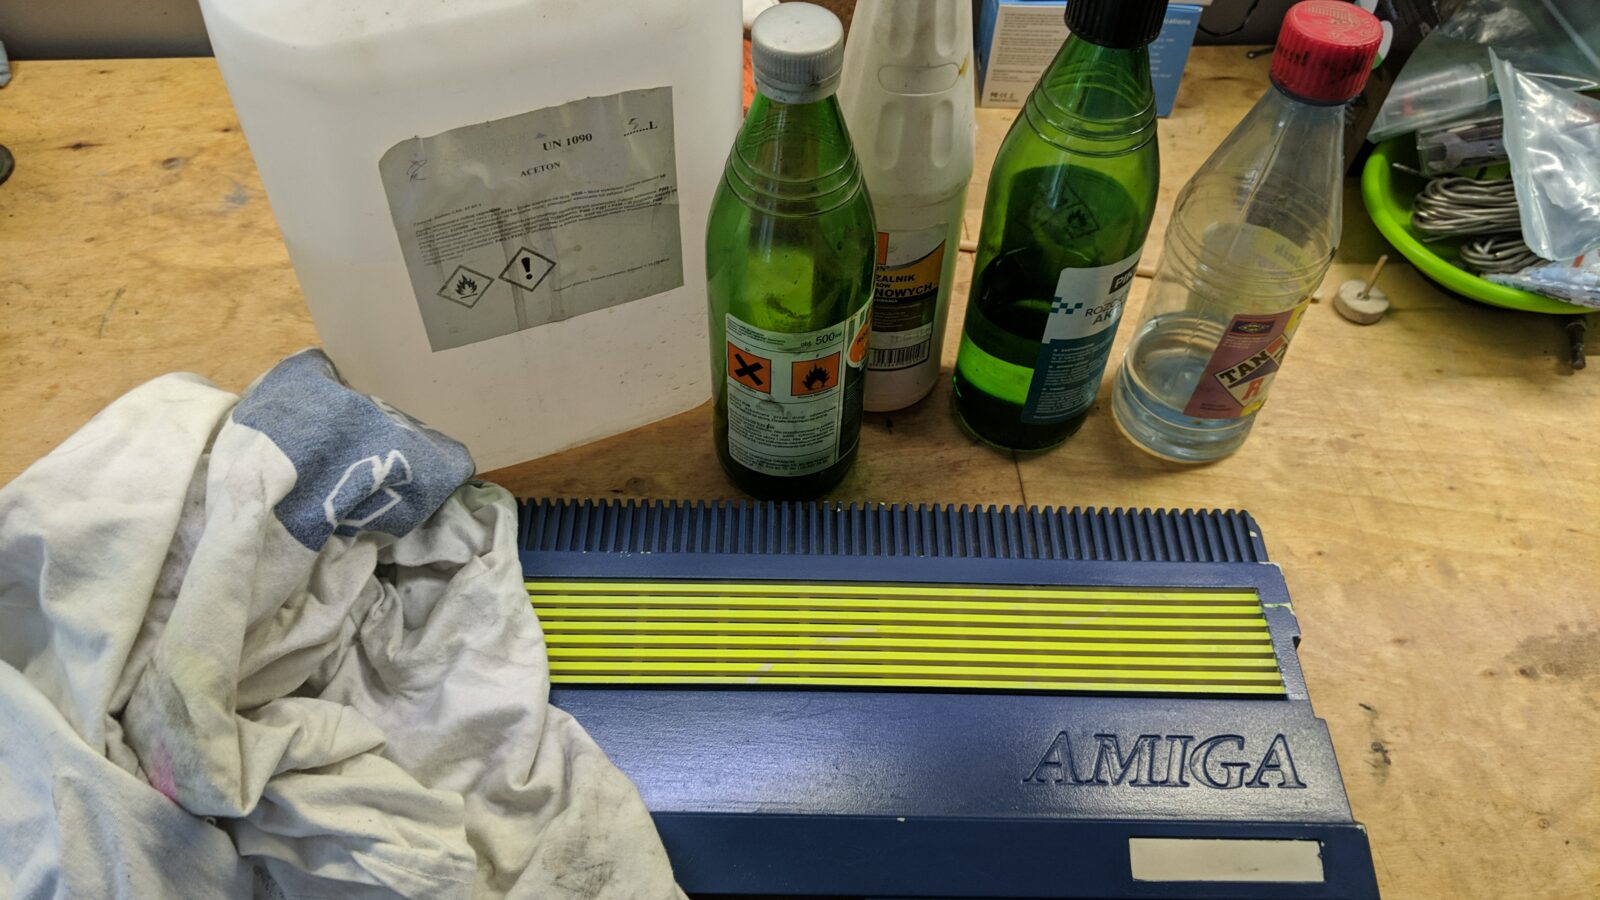
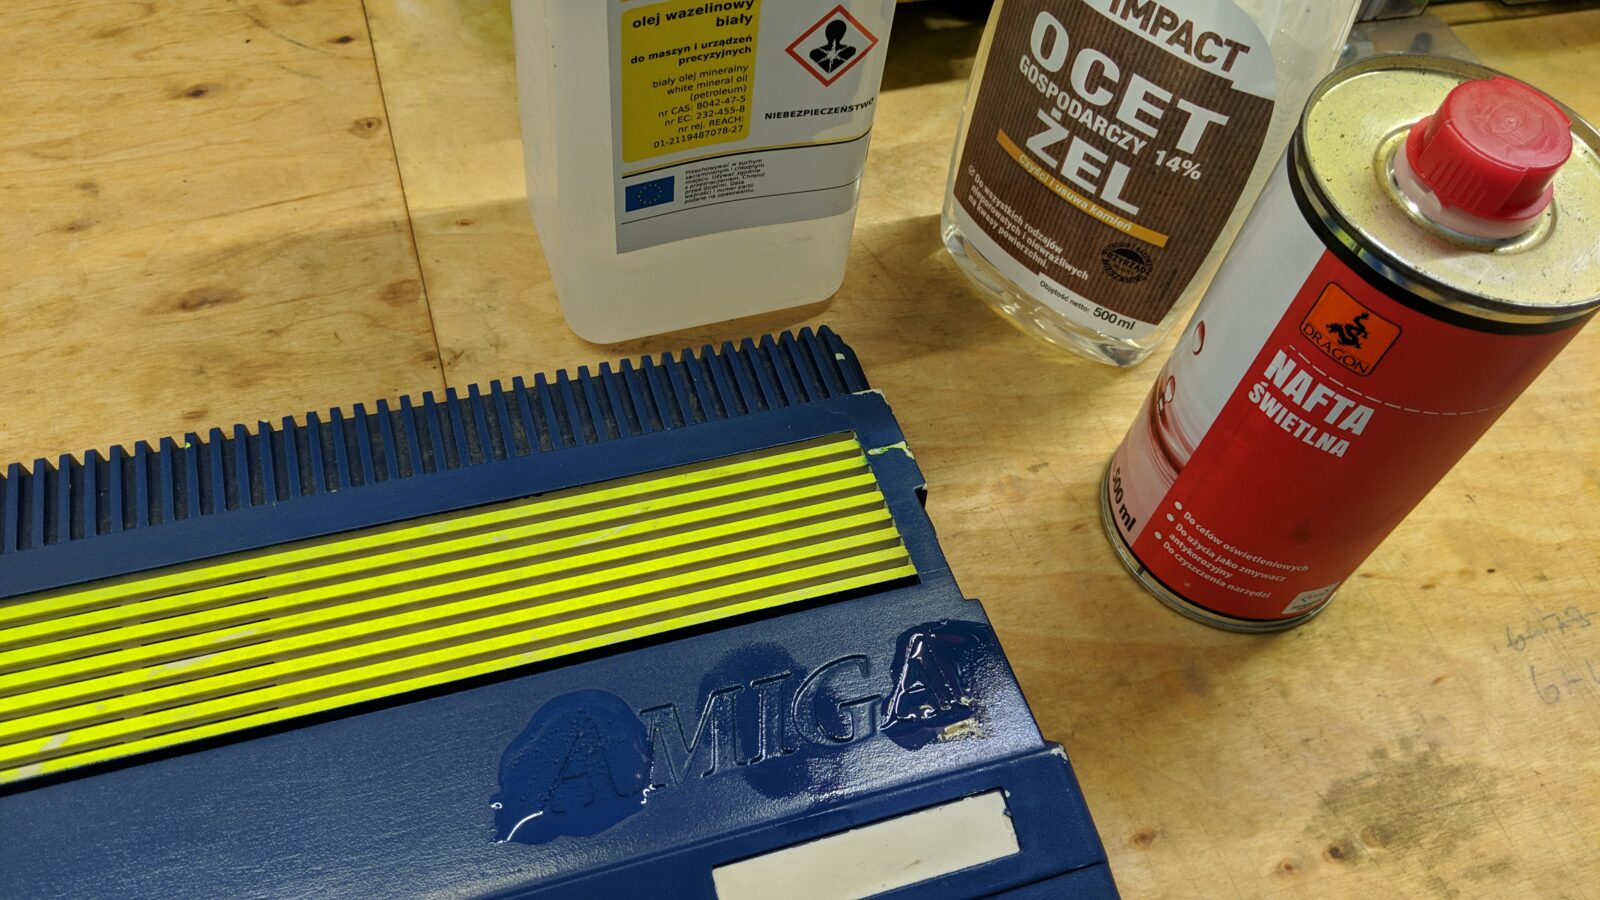
Only Xylene slightly affected this stubborn paint however, it destroyed the original plastic under the paint …

I was just about to give up and prepared a sanding tool to remove the paint mechanically.

The paint-stripping discovery
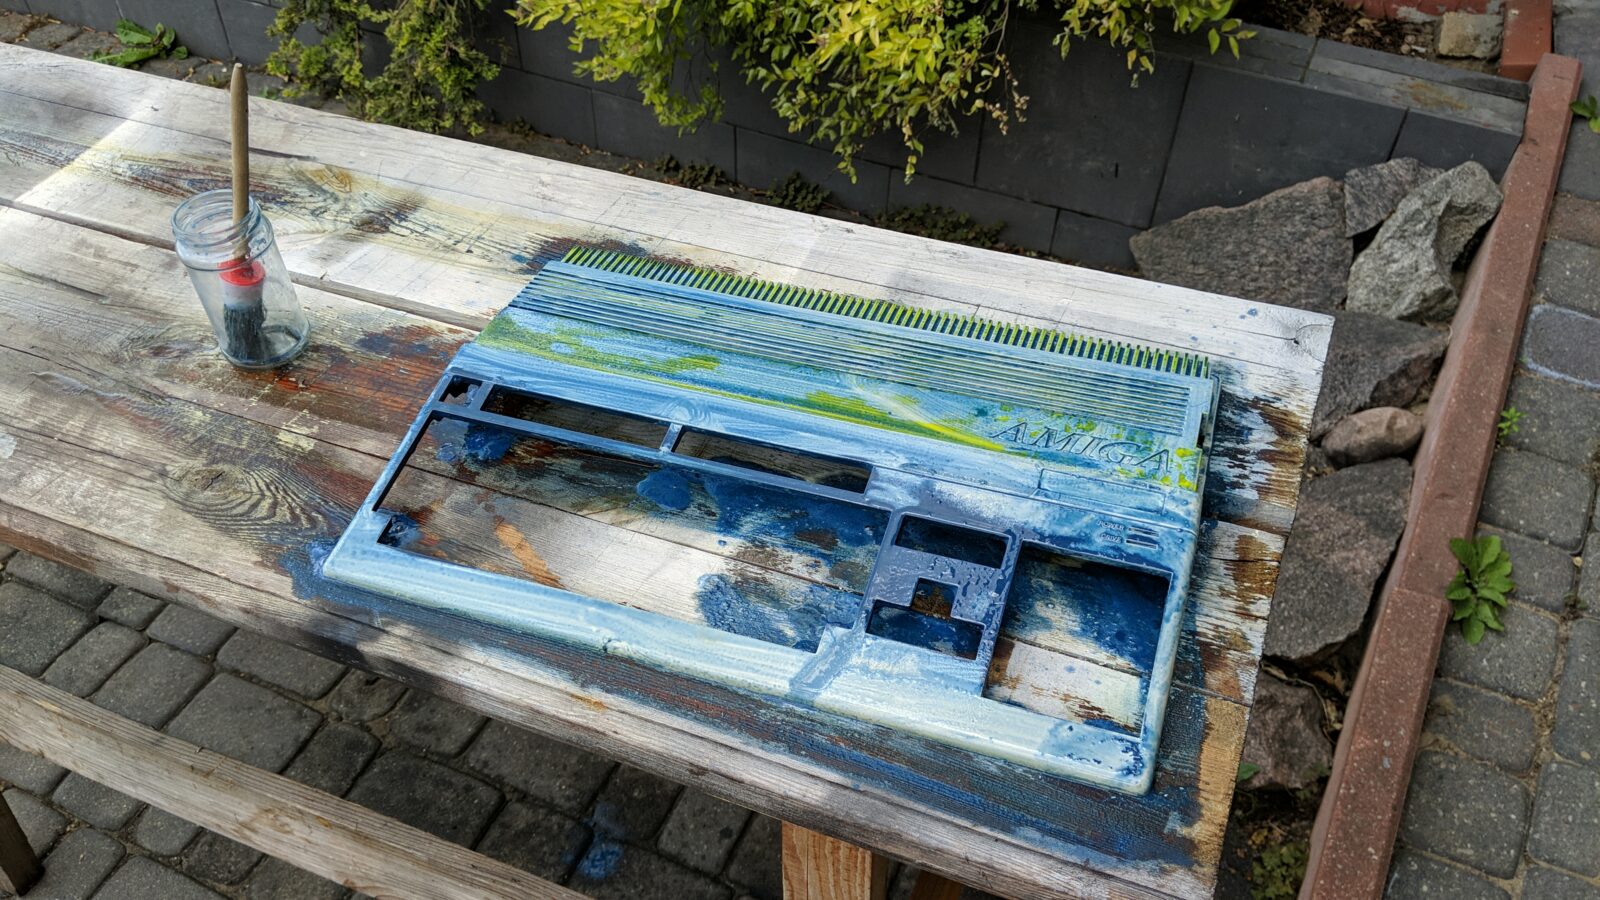
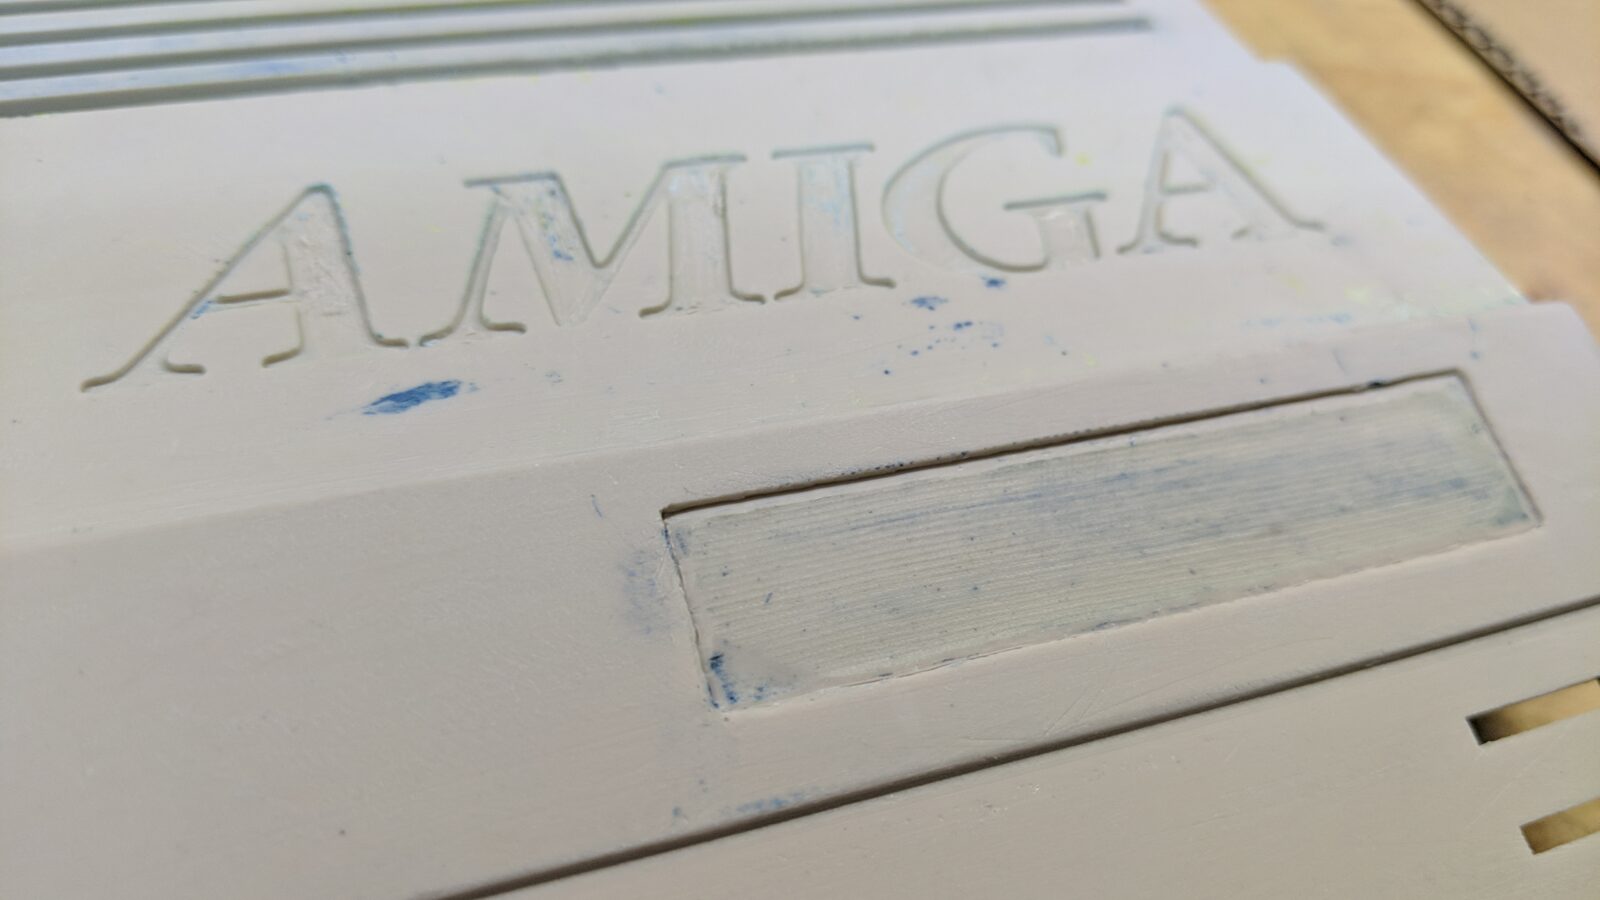
As I said, I wanted to move on with the project and sand the paint off. Suddenly I was like … Oh yeah! this one more thing might work! CONCENTRATED SODIUM HYDROXIDE SOLUTION!

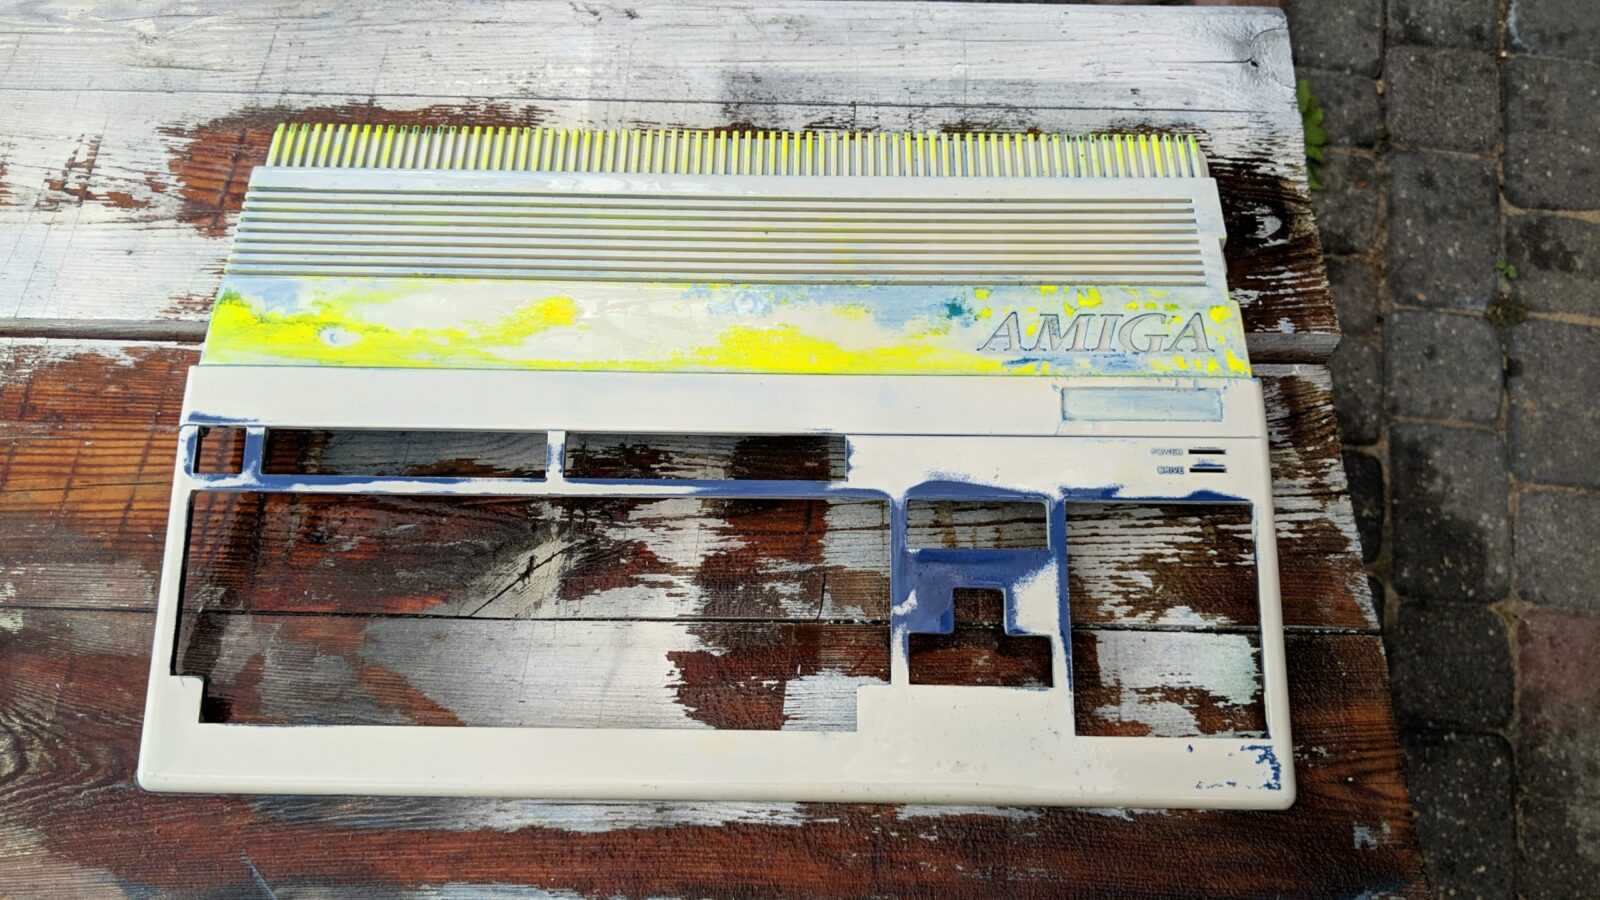
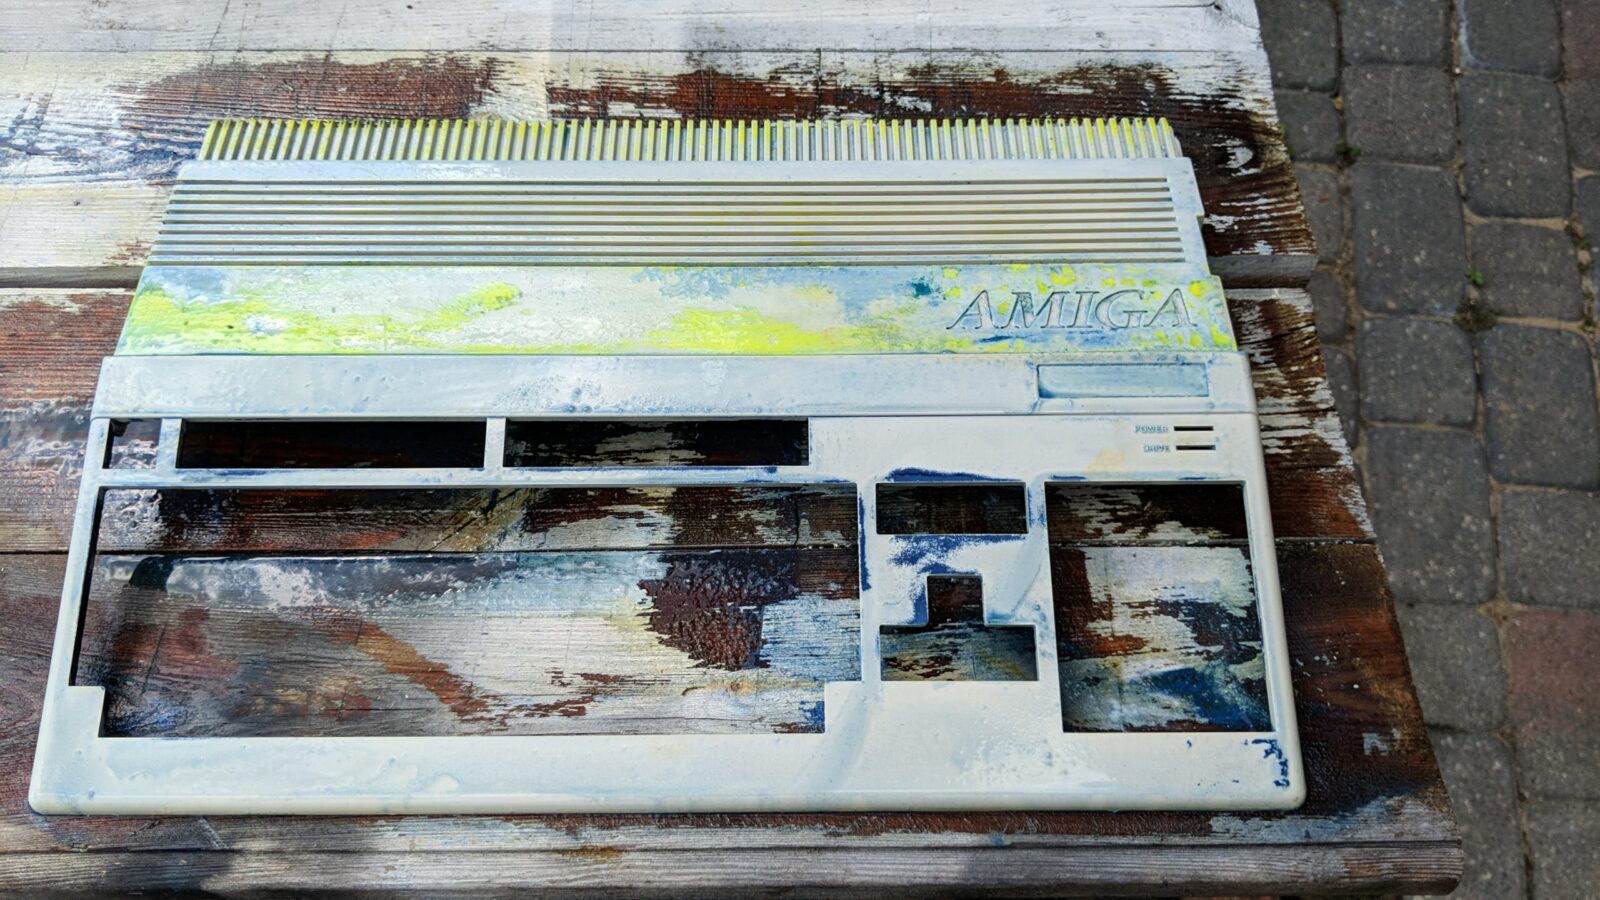
I quickly set a test solution and covered the stubborn paint with it. Look at the results below!

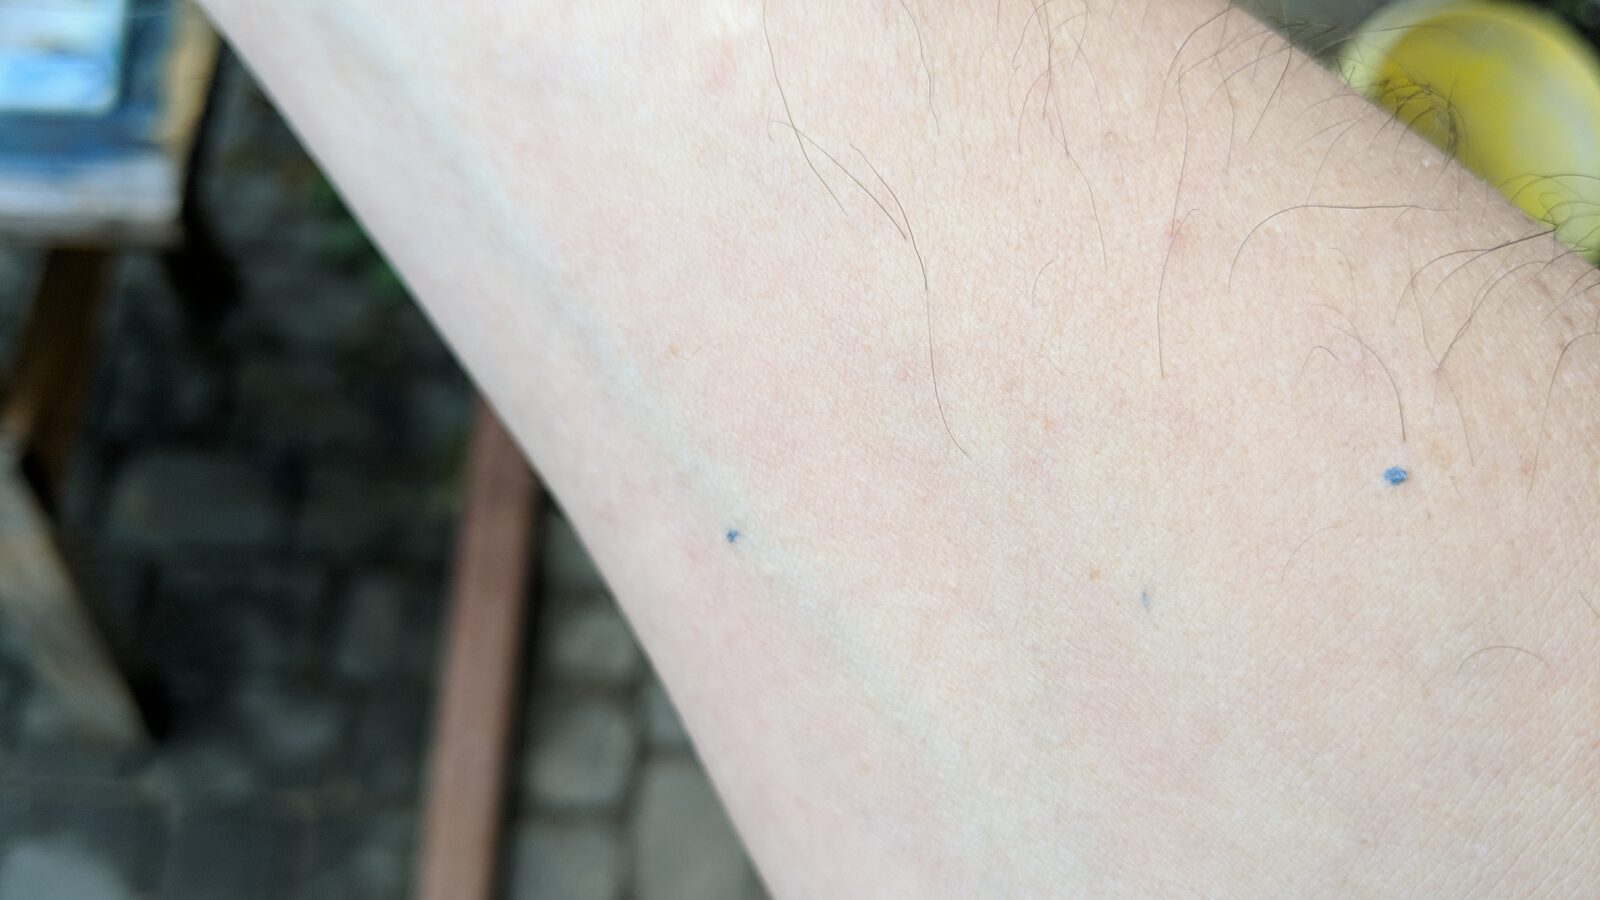
Now, a few WARNING words. While working with concentrated Sodium Hydroxide solutions, wearing protection equipment is A MUST!!! A tiny drop of it in your eye might leave you blind. This is NOT A JOKE!
Please, use gloves and eye protection at all times while working with it!!!
Such a tiny drop as seen on my forearm burned as hell.
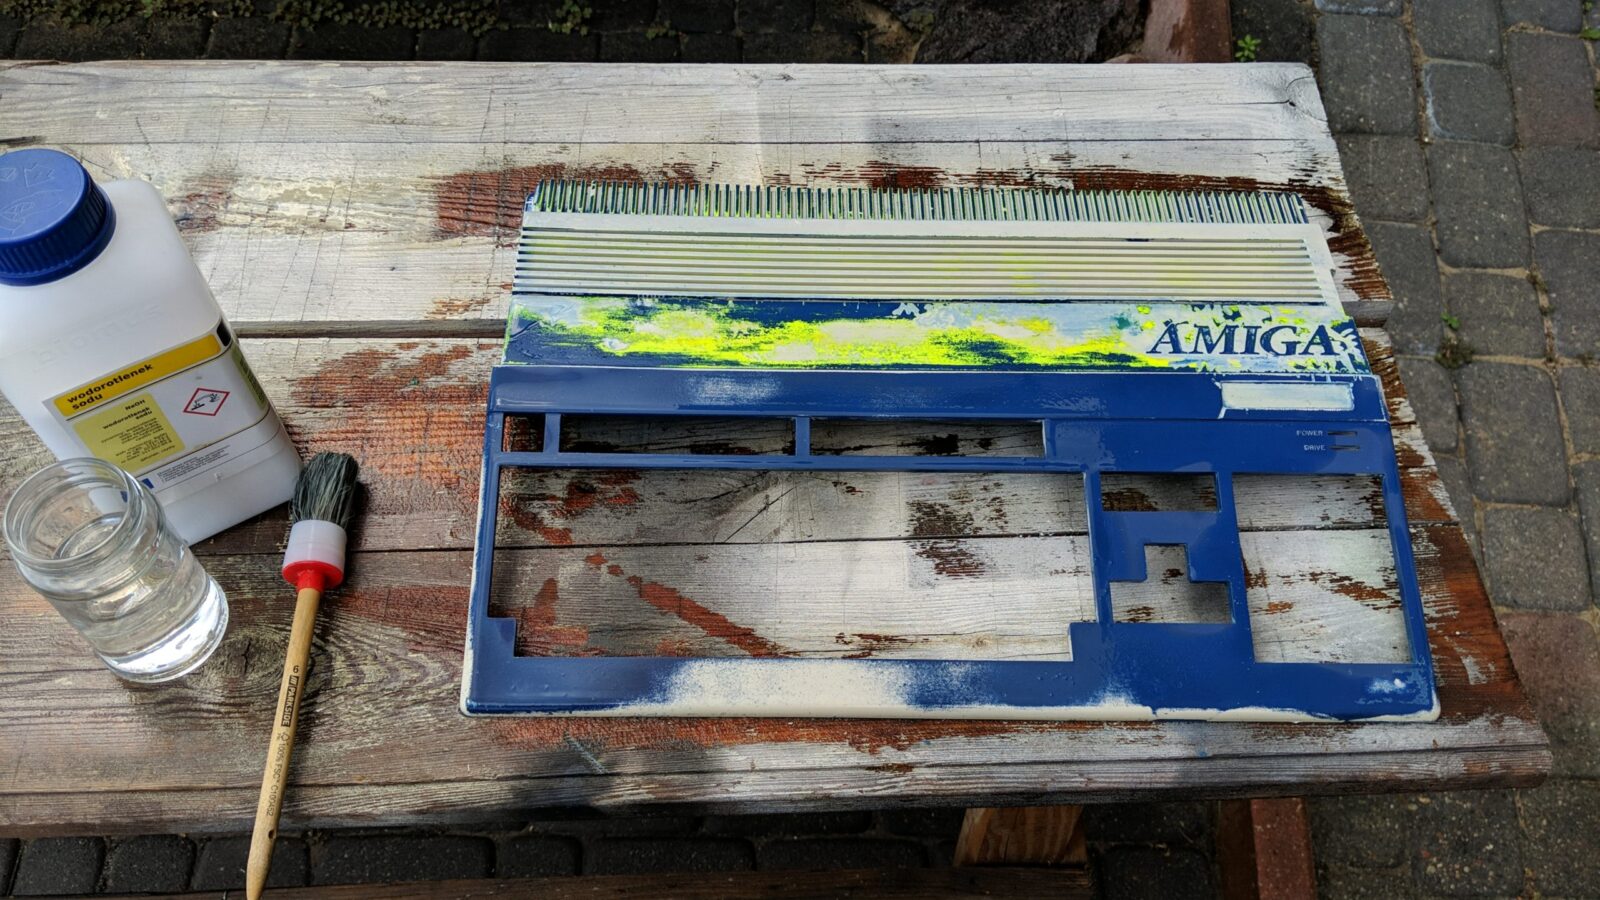
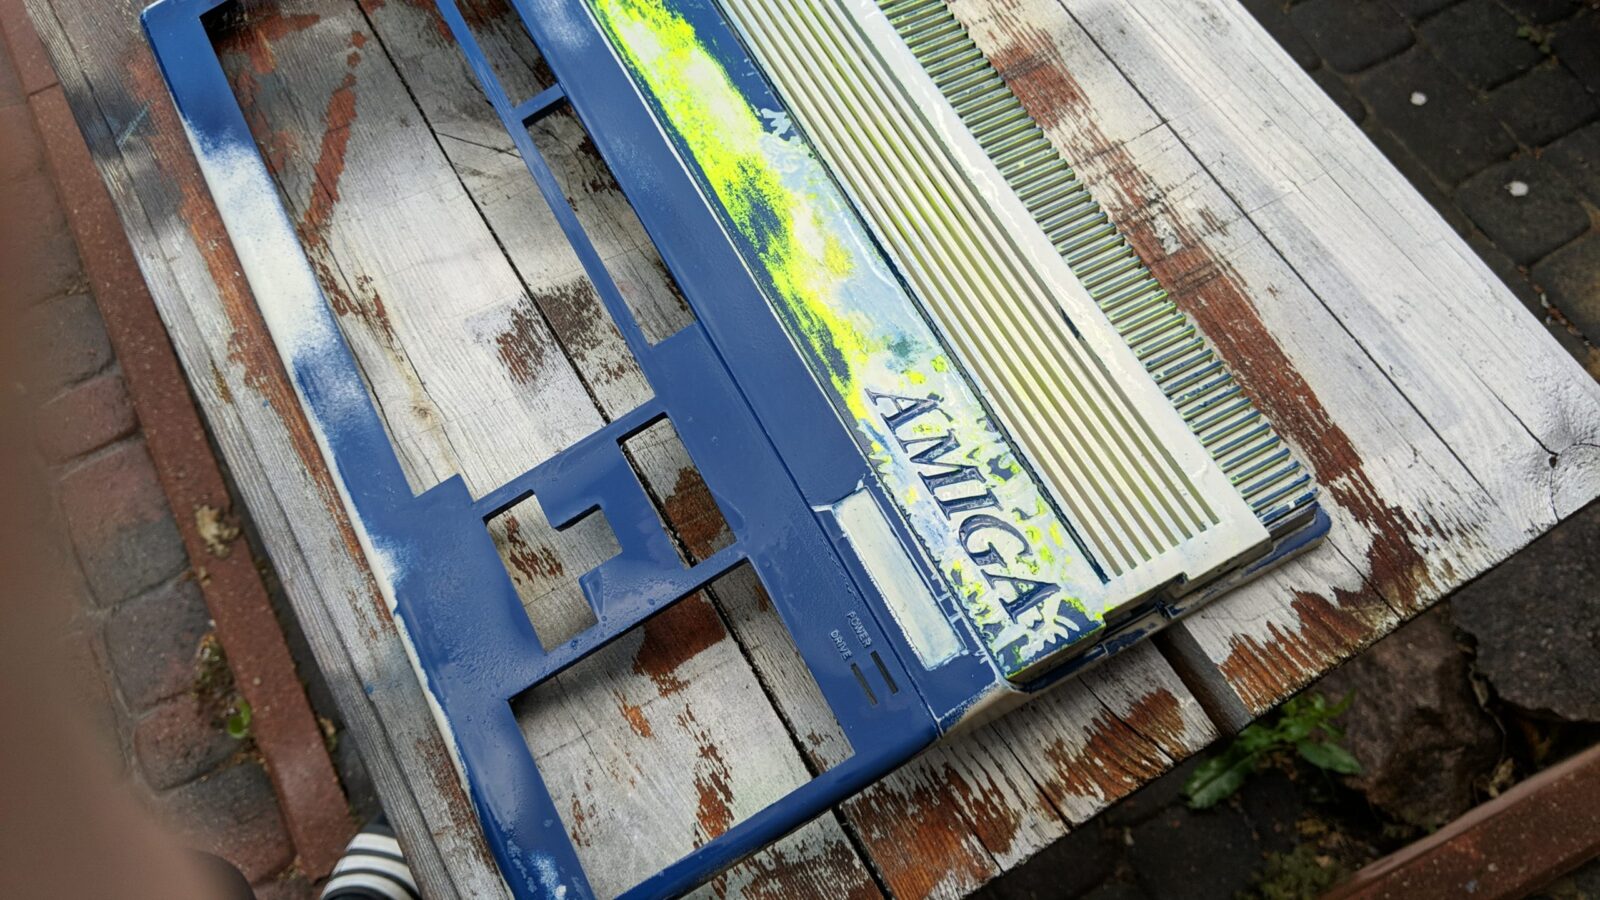
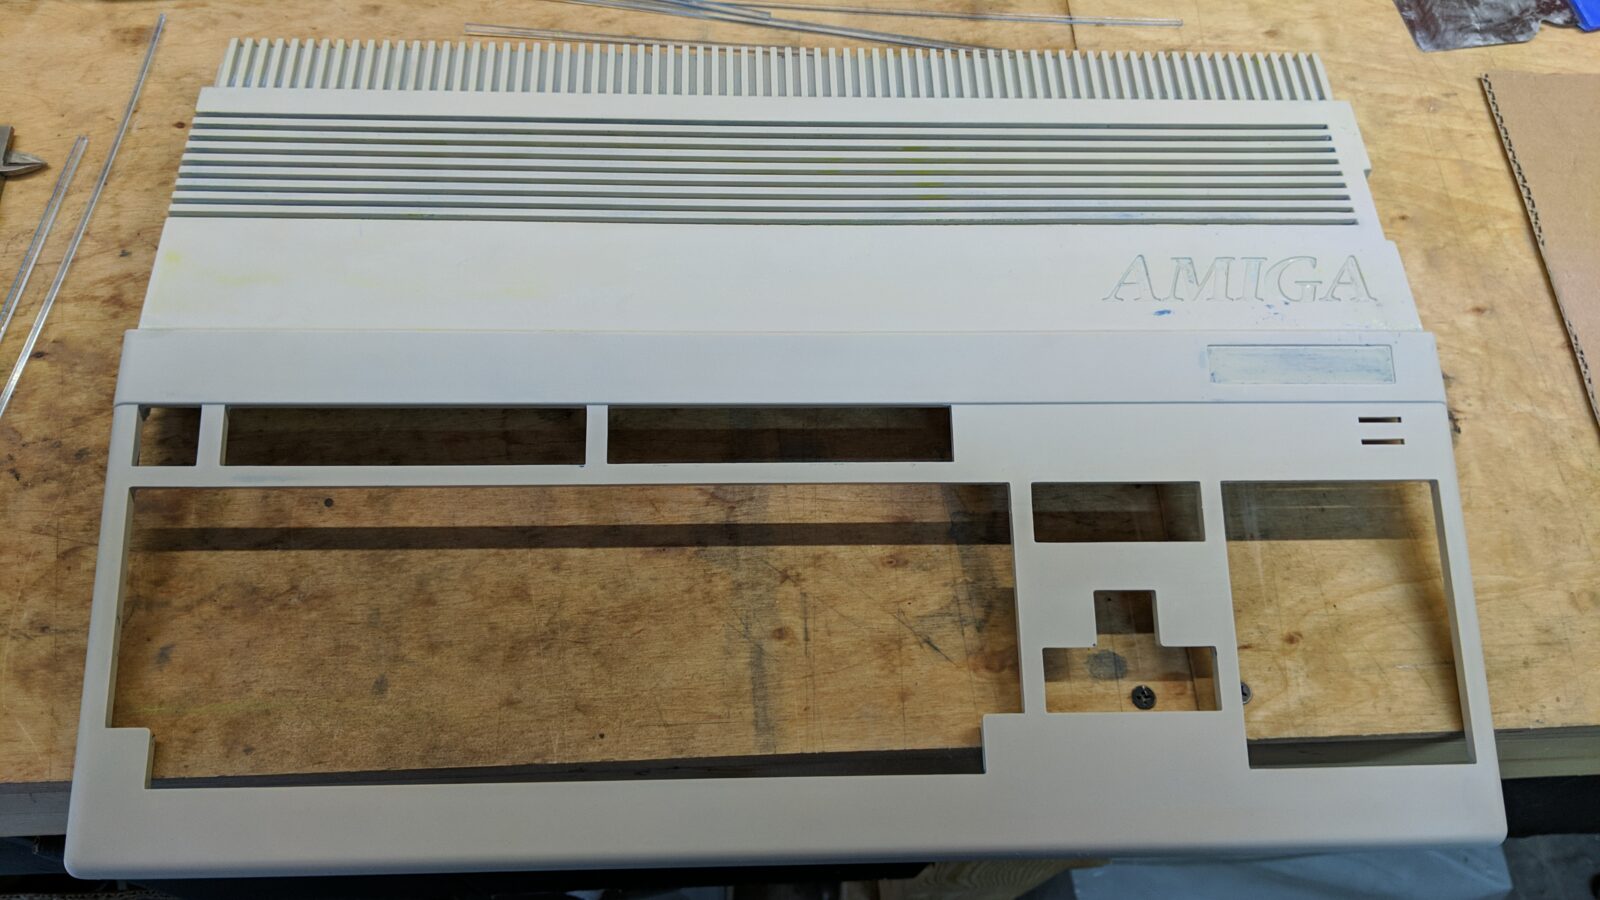
To remove the paint, I had to run it in several steps – apply Sodium Hydroxide, rinse it all off with water, apply Hydroxide again, and rinse it with water again, etc., etc.
Why this method rocks you might ask? Well, simply because it does not damage the original plastic!
Further case mods
Unfortunately(or not:), this case was already damaged by Xylene during the solvent testing phase.
This is when I decided the case will be repainted with the same (or close) colors but with a twist. The whole “Pimp My Ami” idea was born! 😀
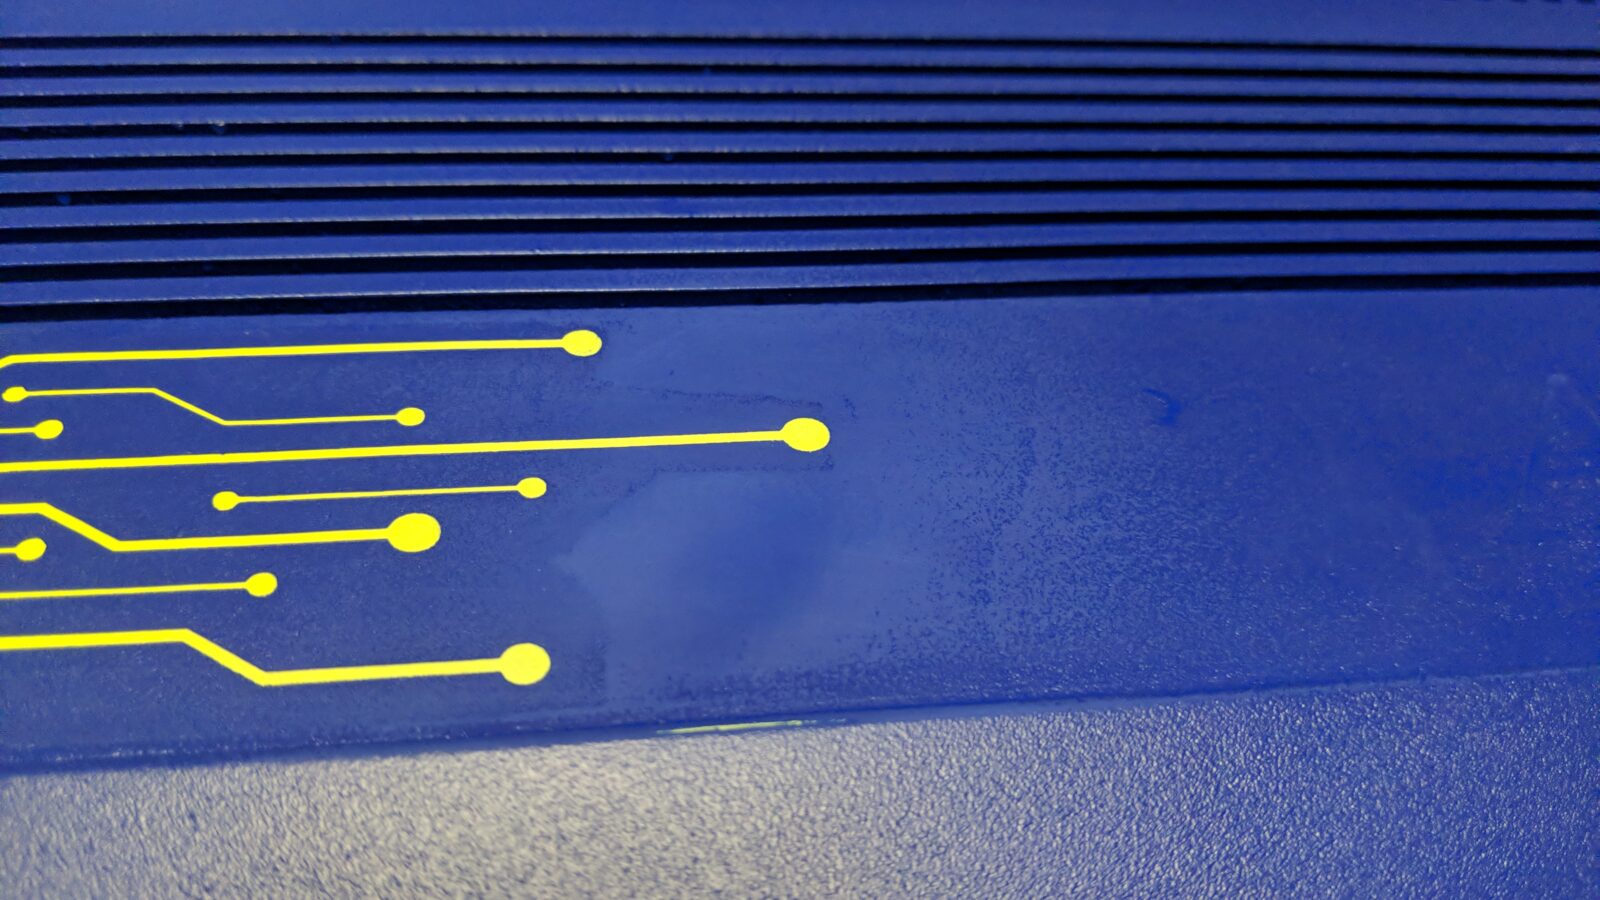
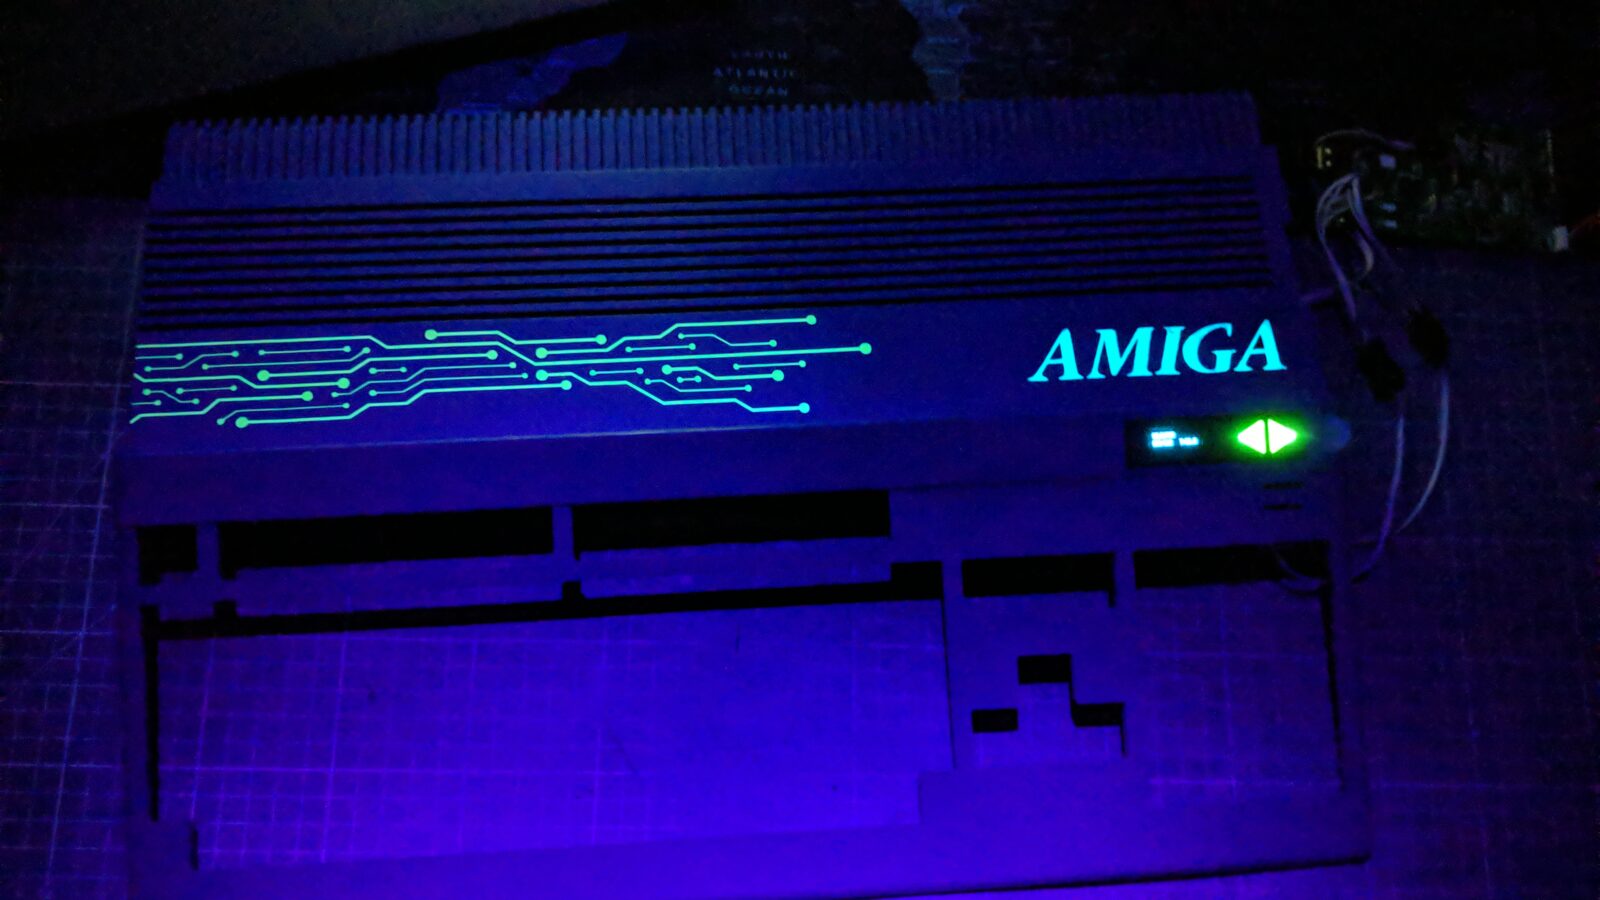
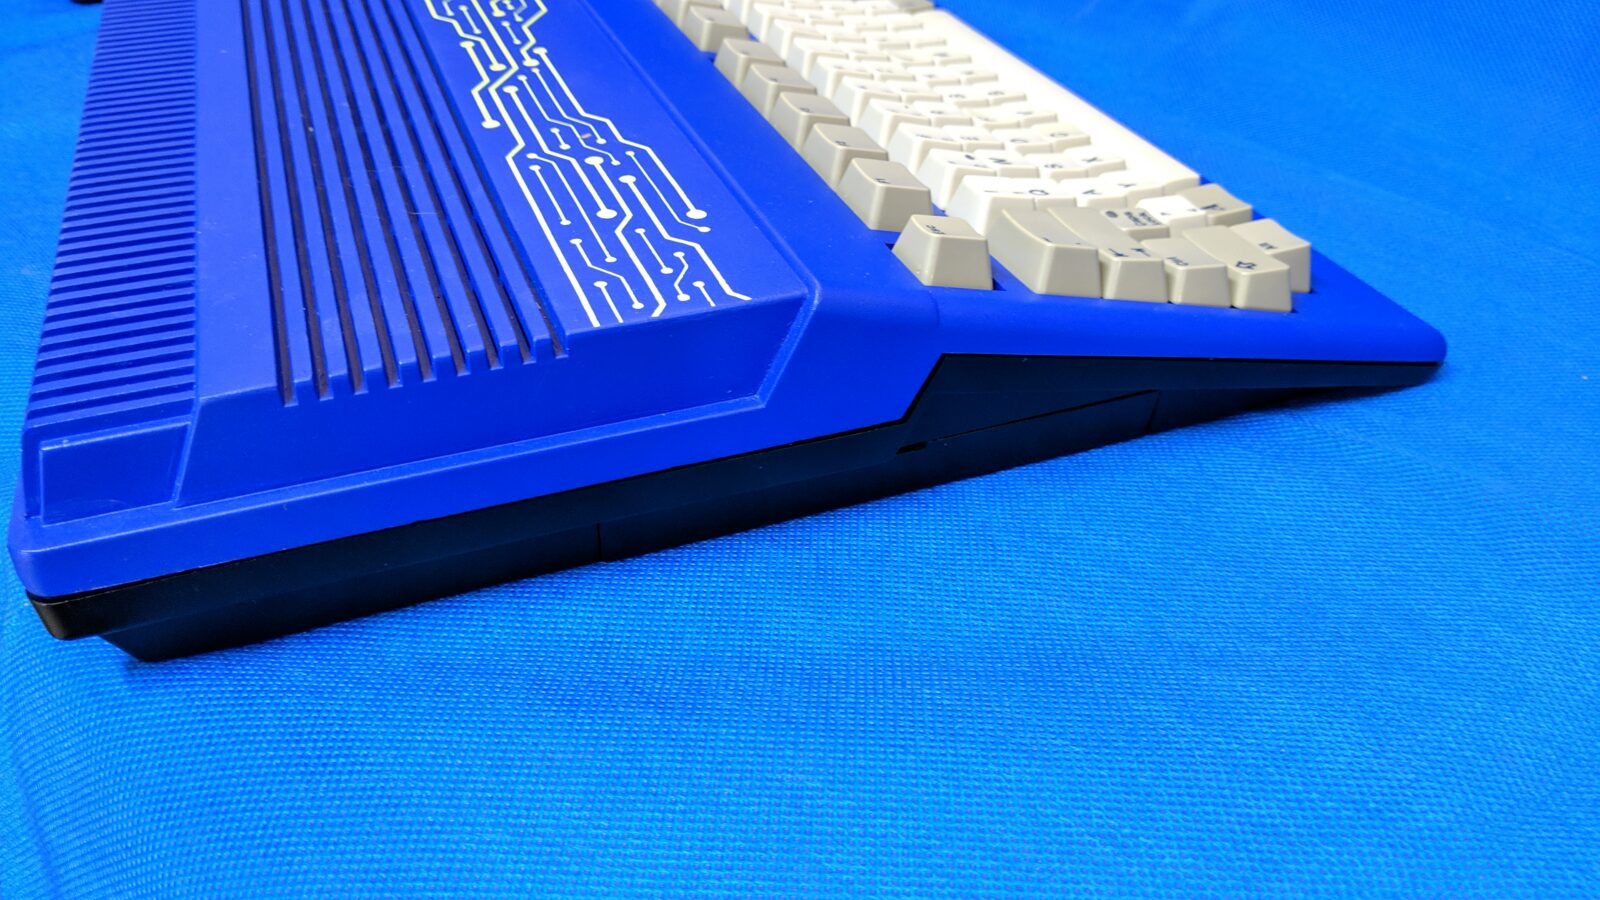
The fluorescent “circuit” thought came to my head and I immediately started to work on it.
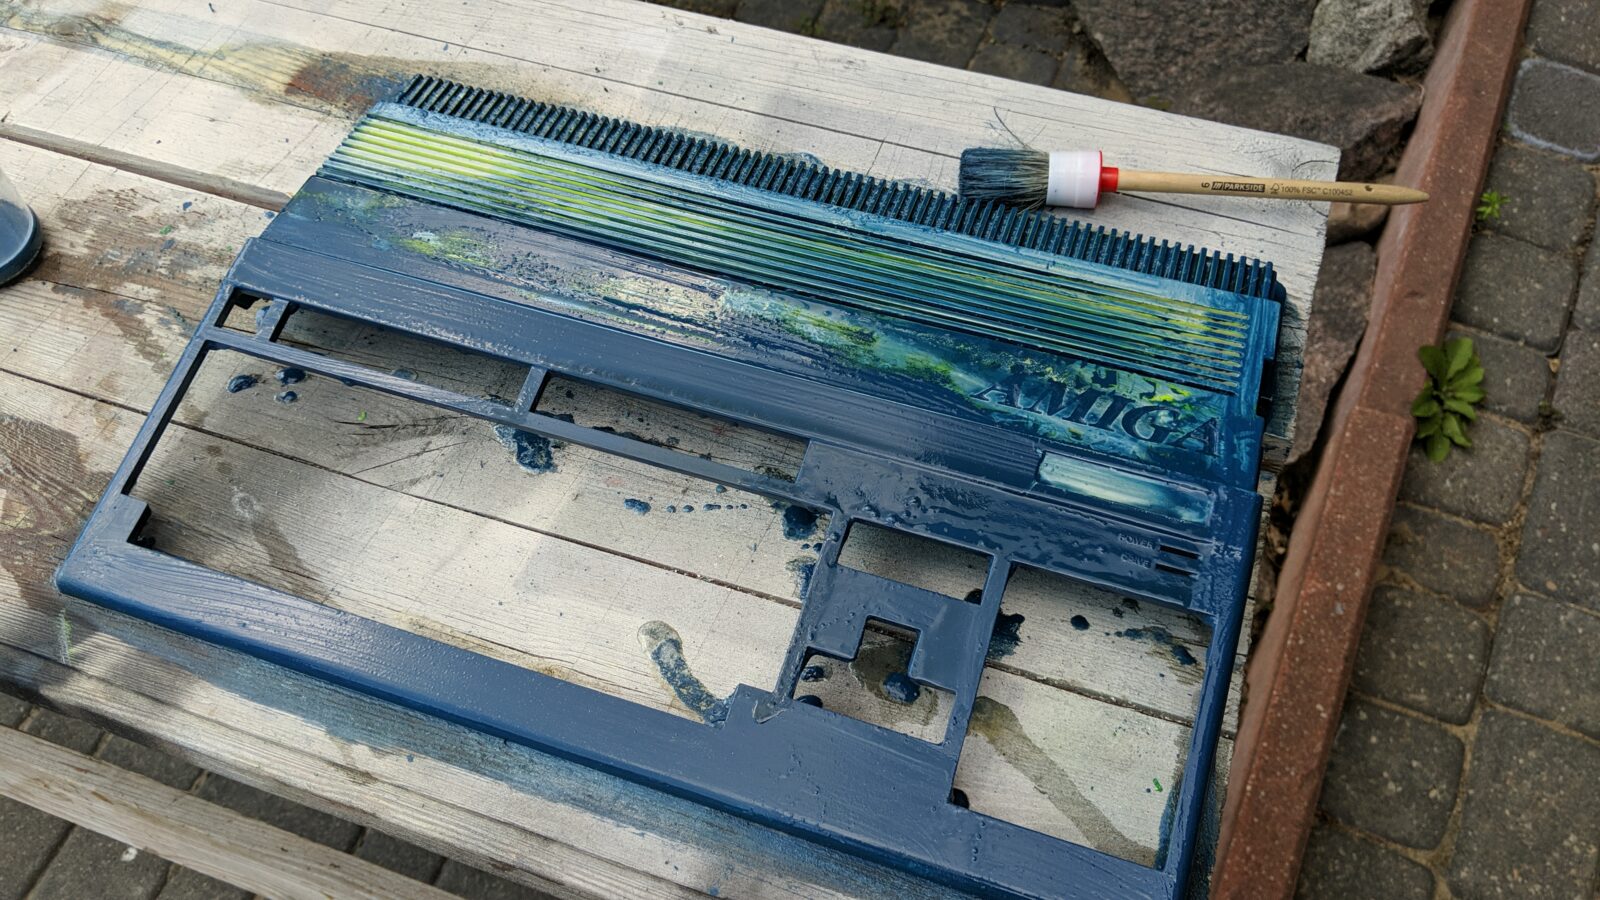
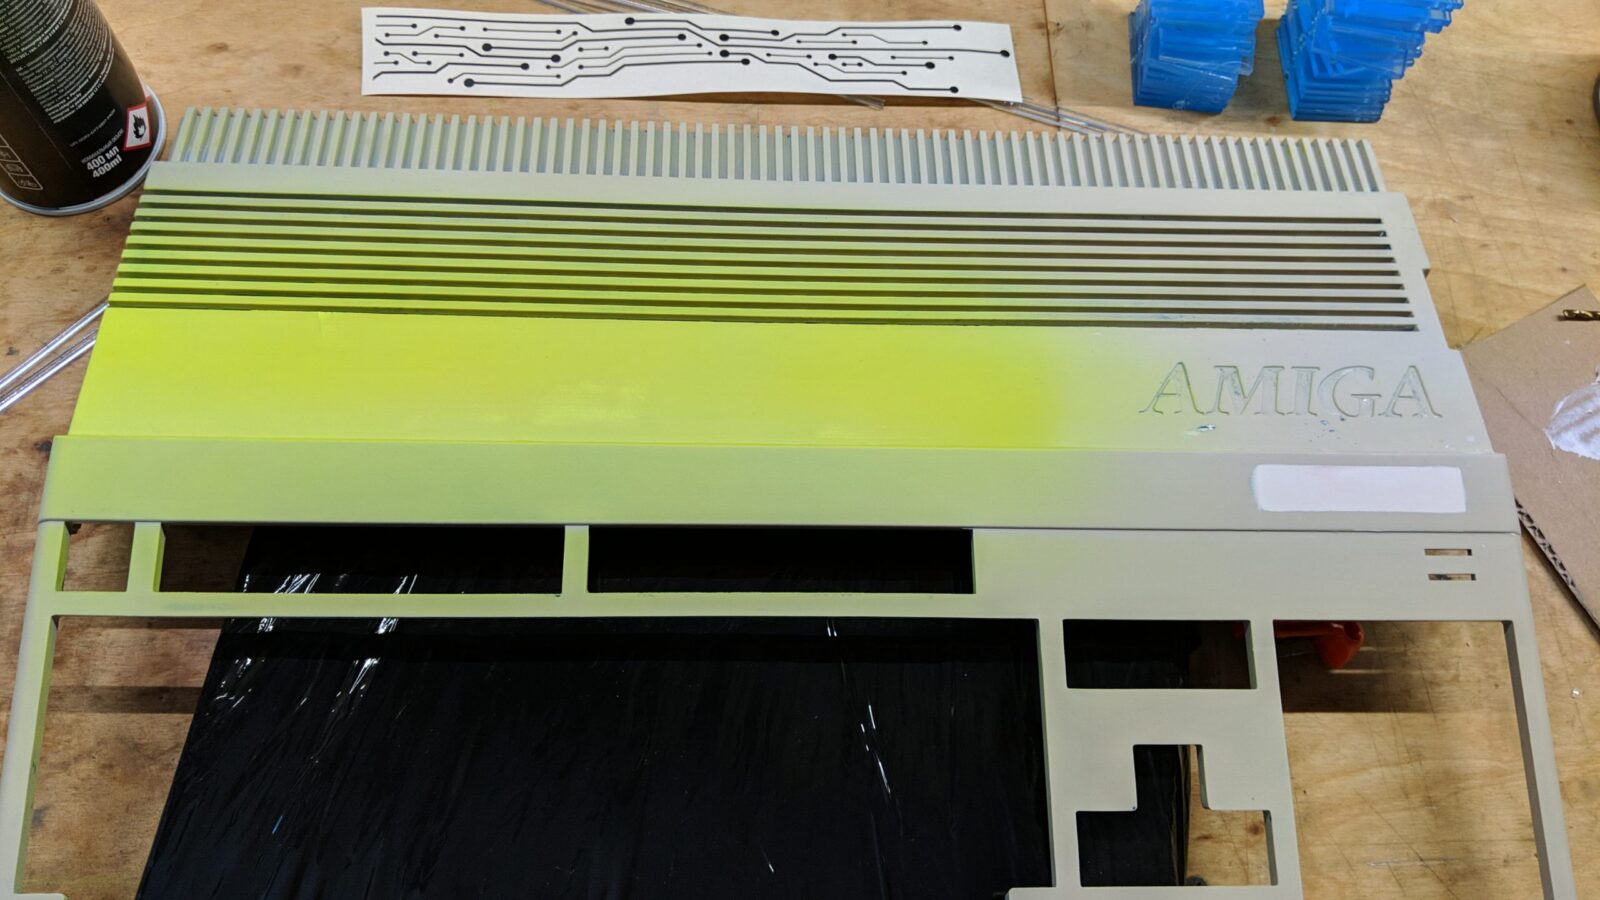
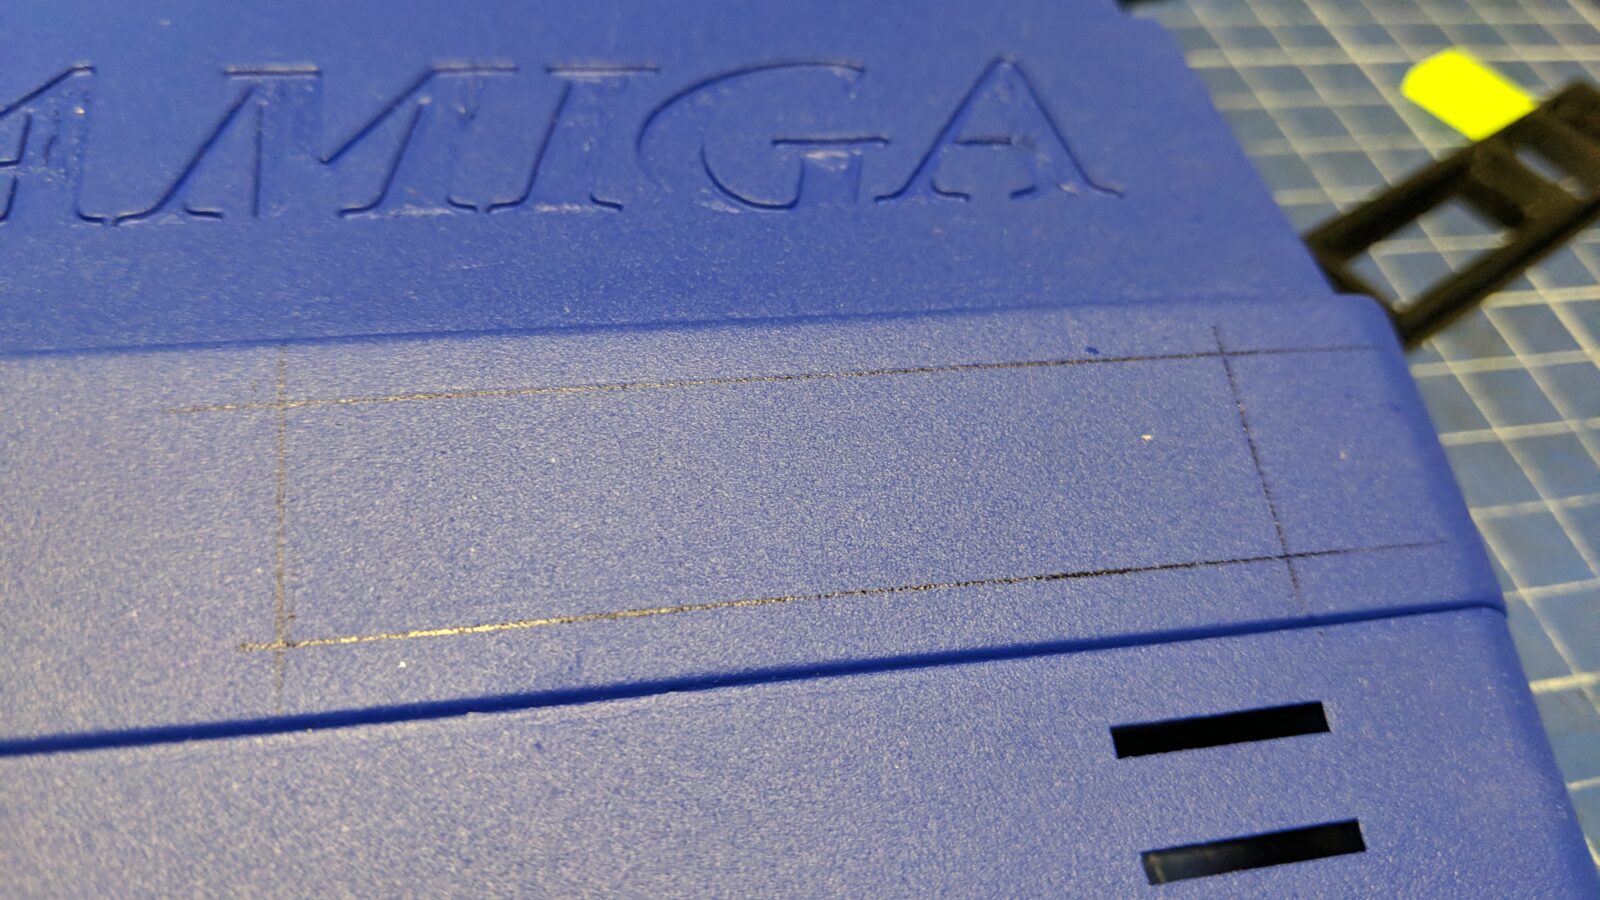
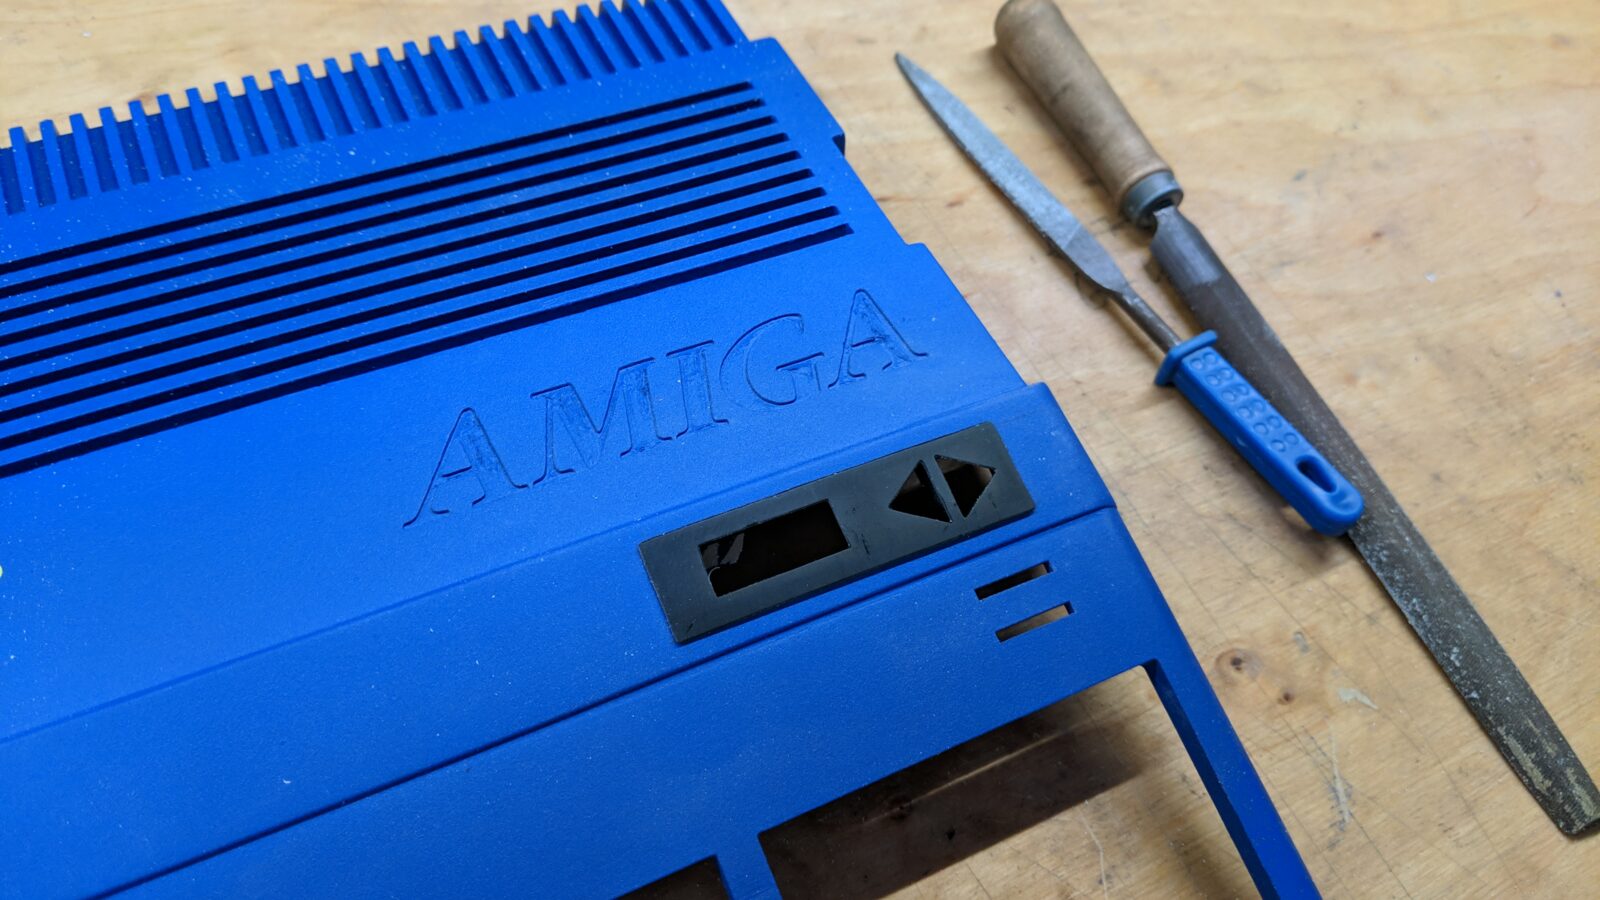
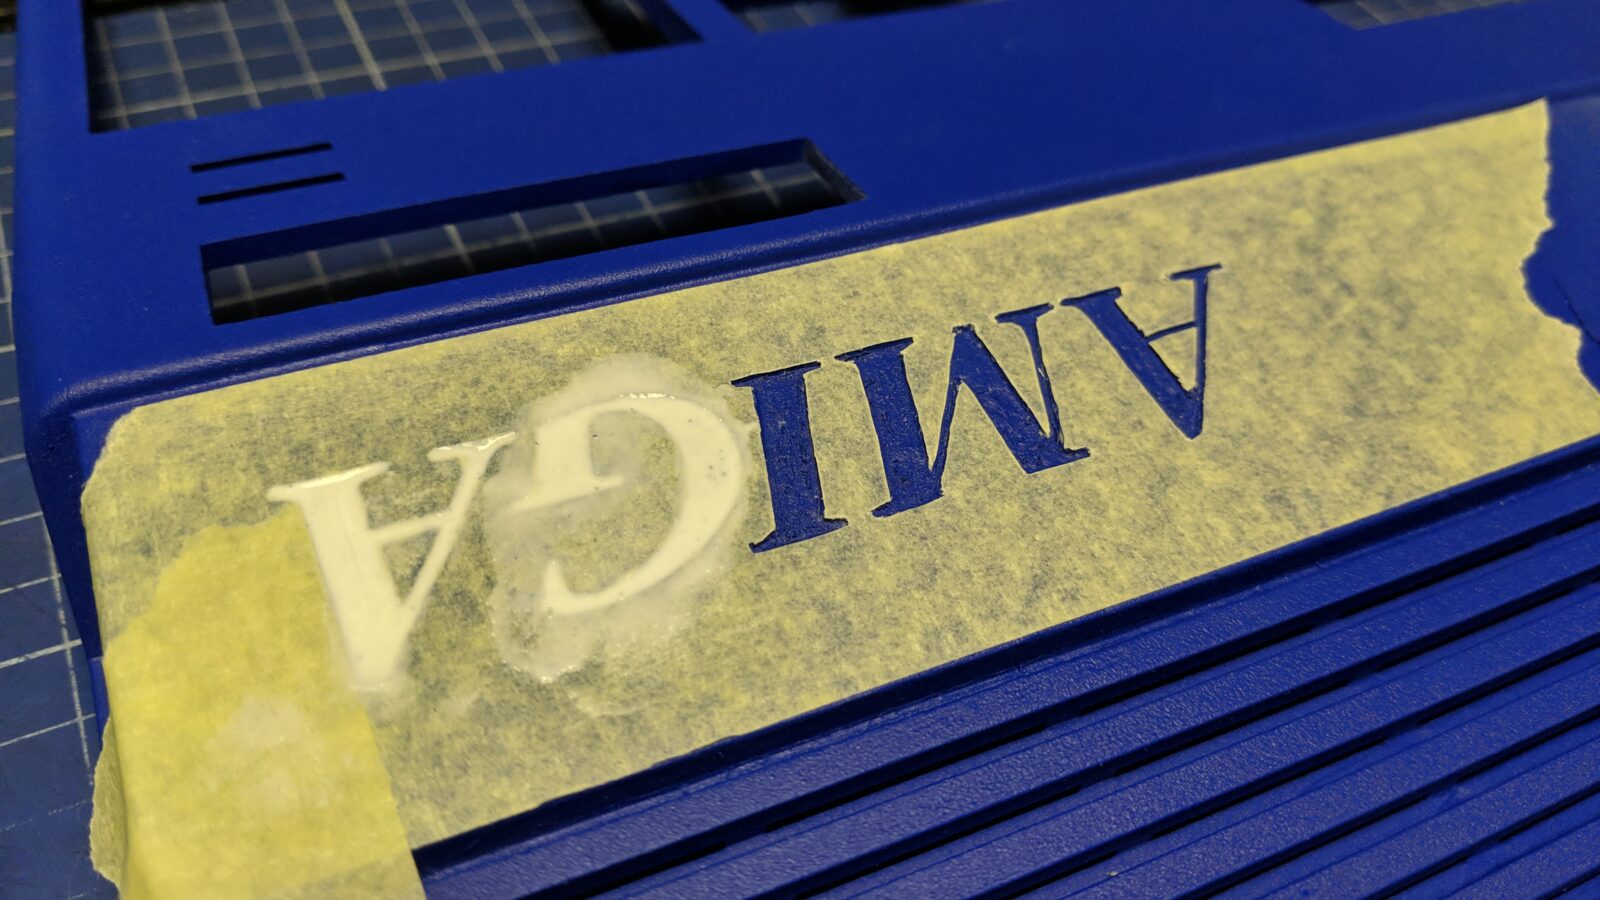
First, I had to repaint the case with a fluorescent color. I’ve also putty-filled the Amiga badge spot.
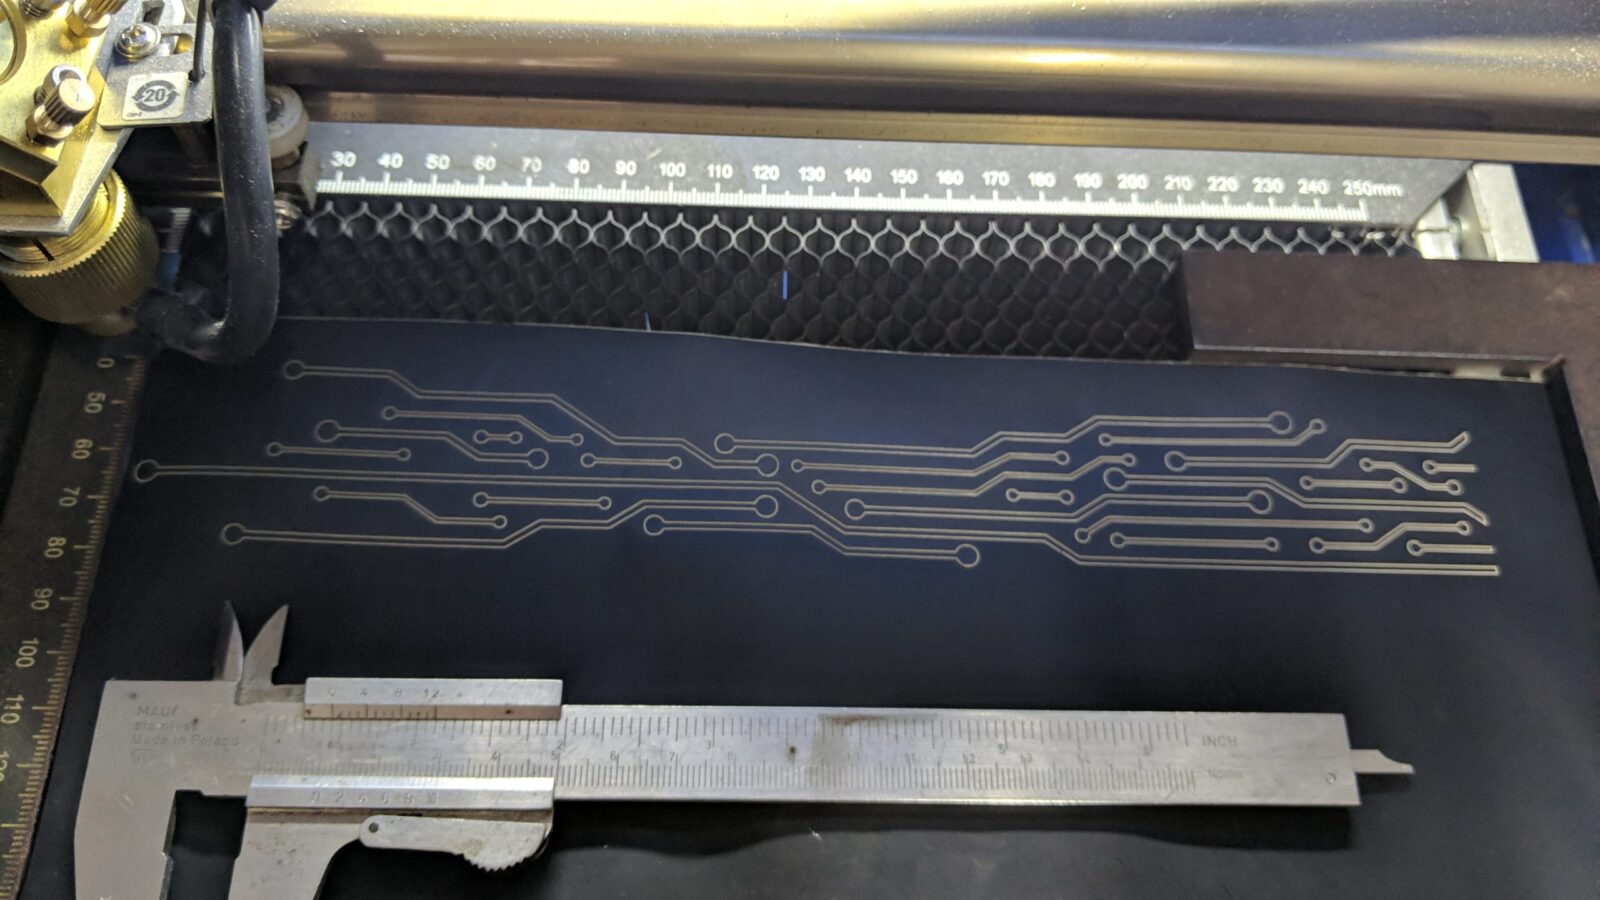
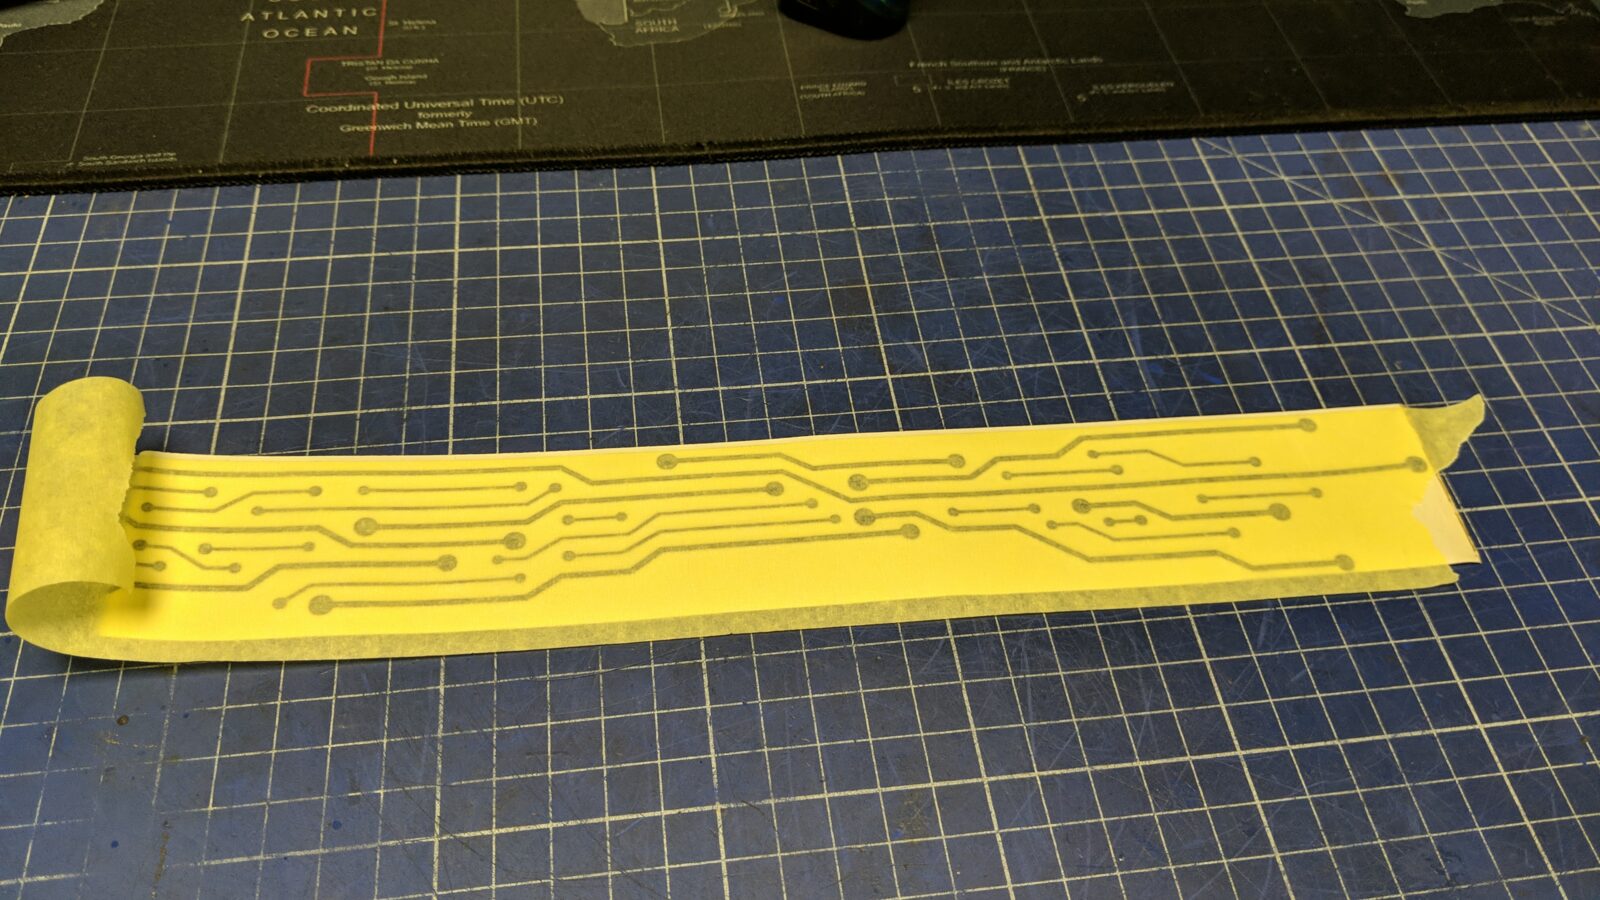
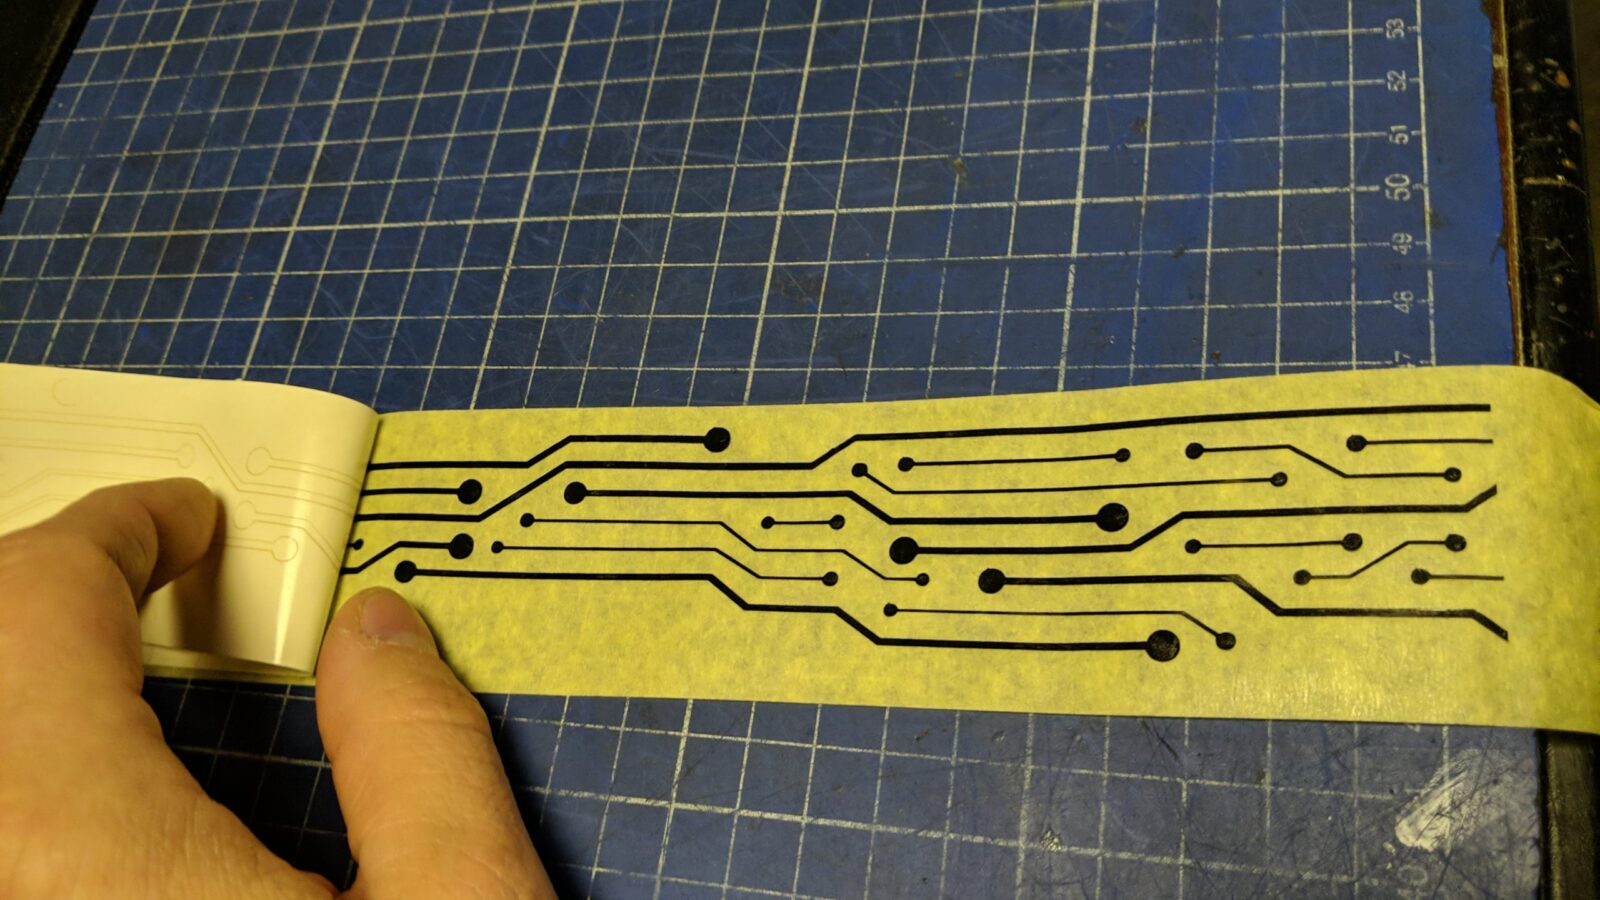
Laser cutter and Inkscape to the rescue! 😀
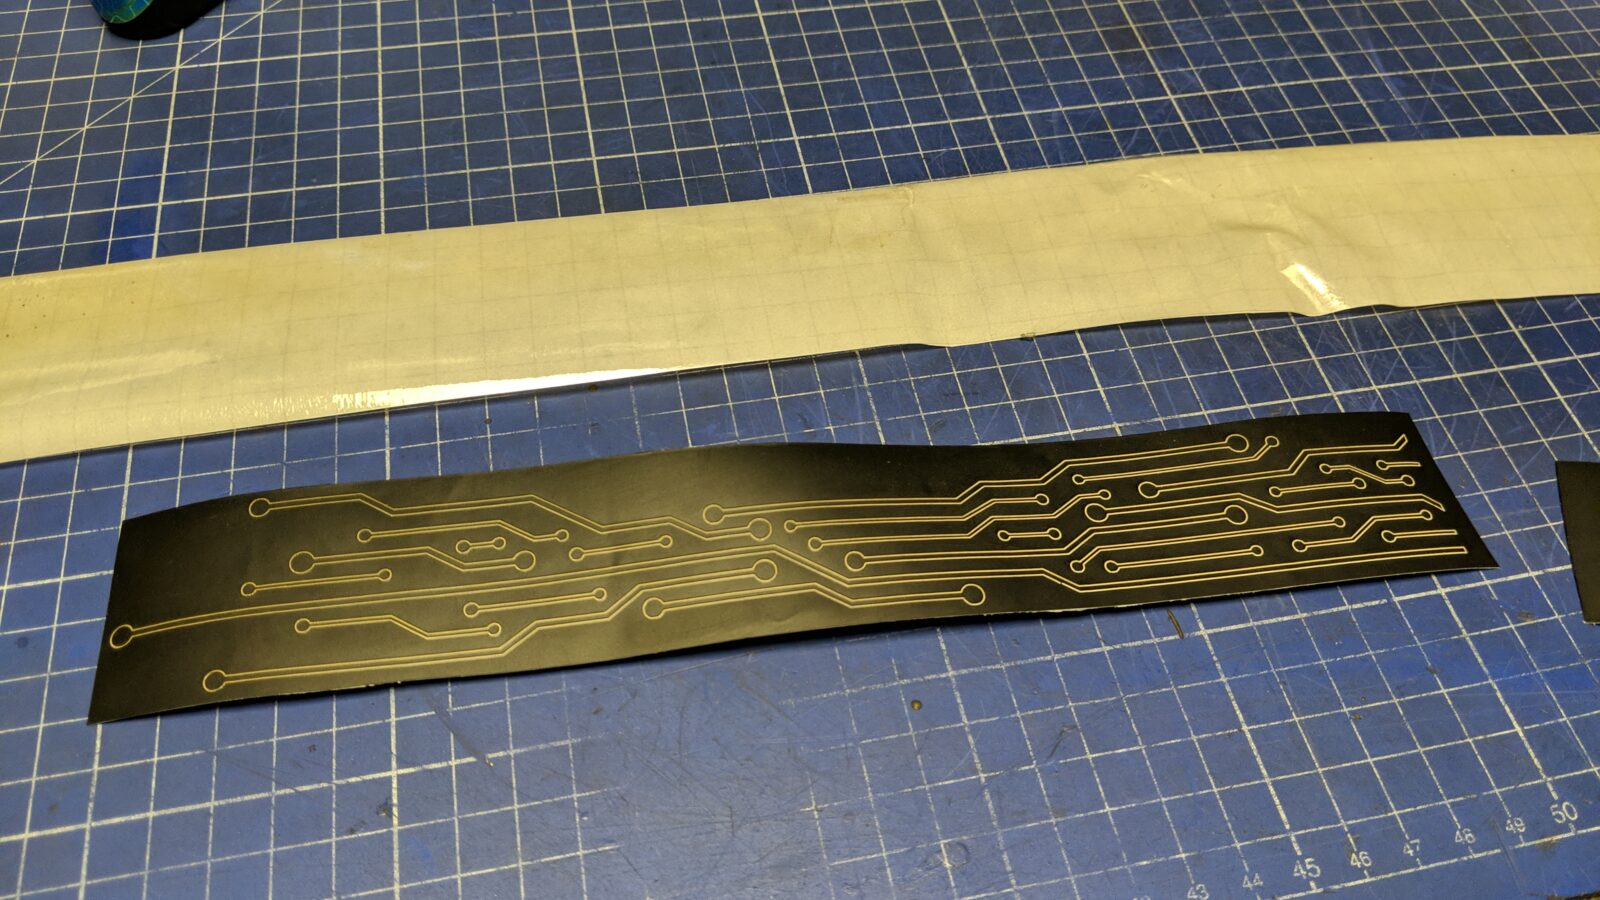
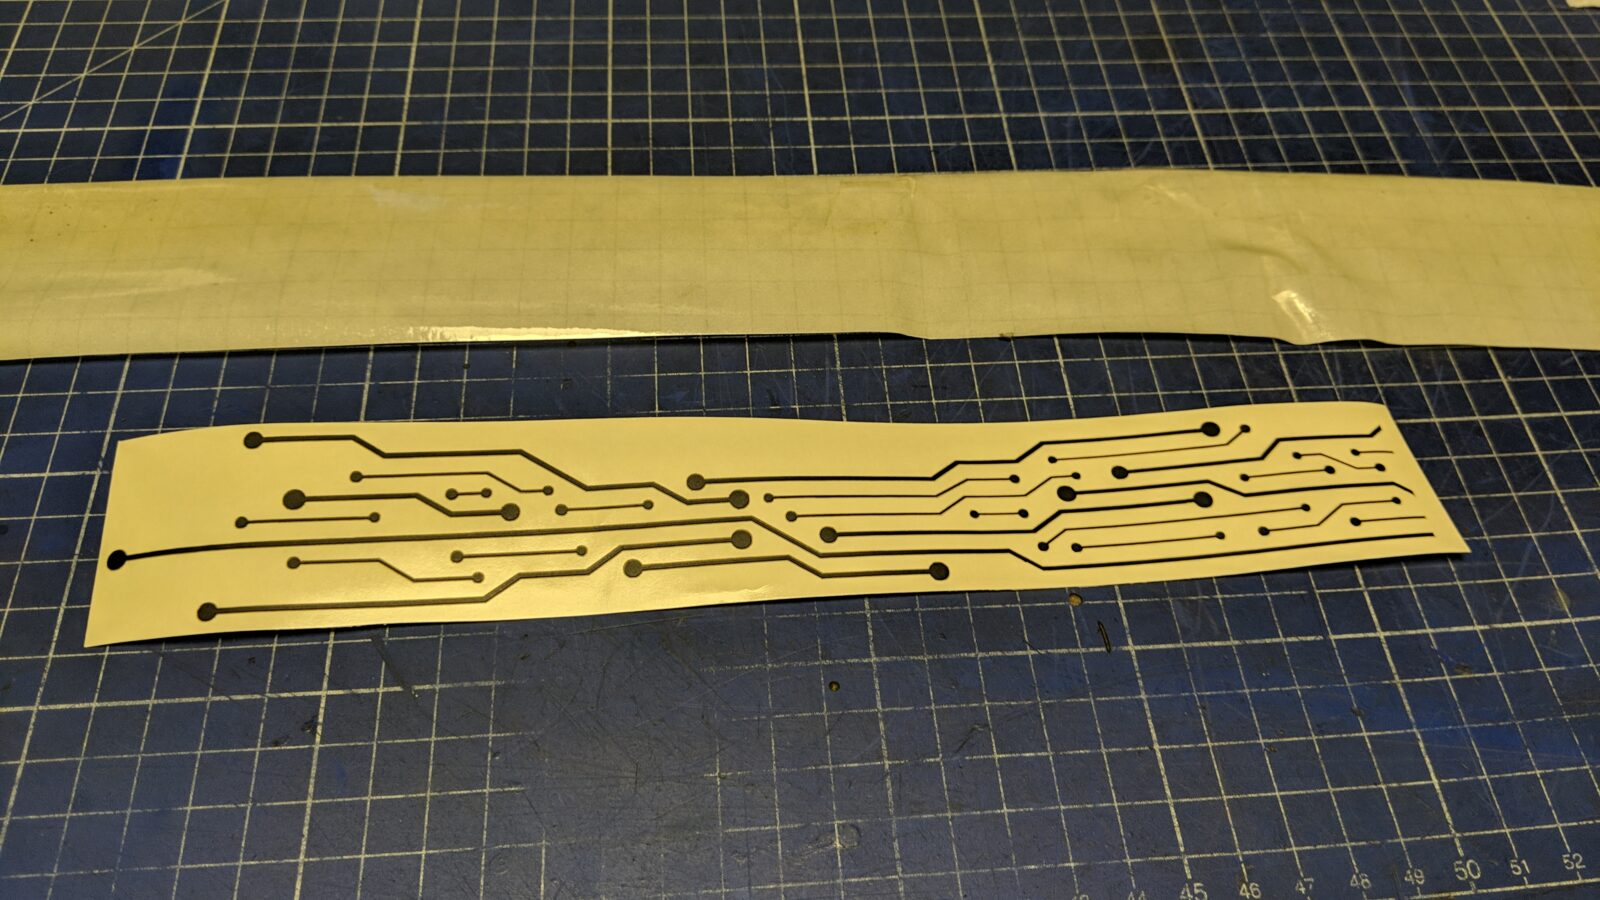
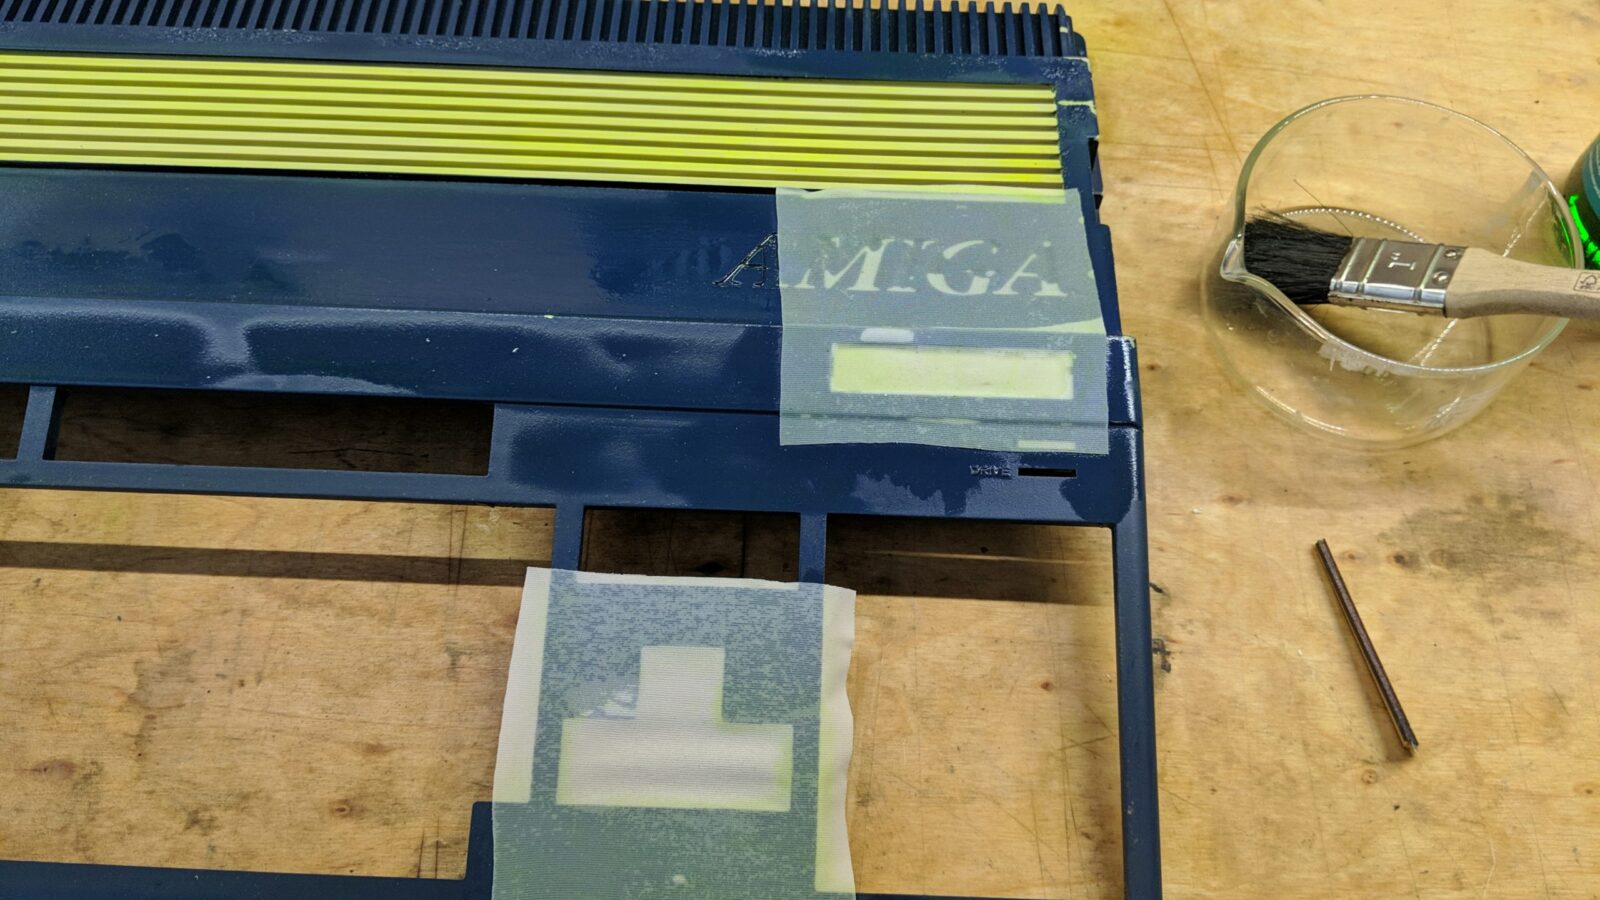
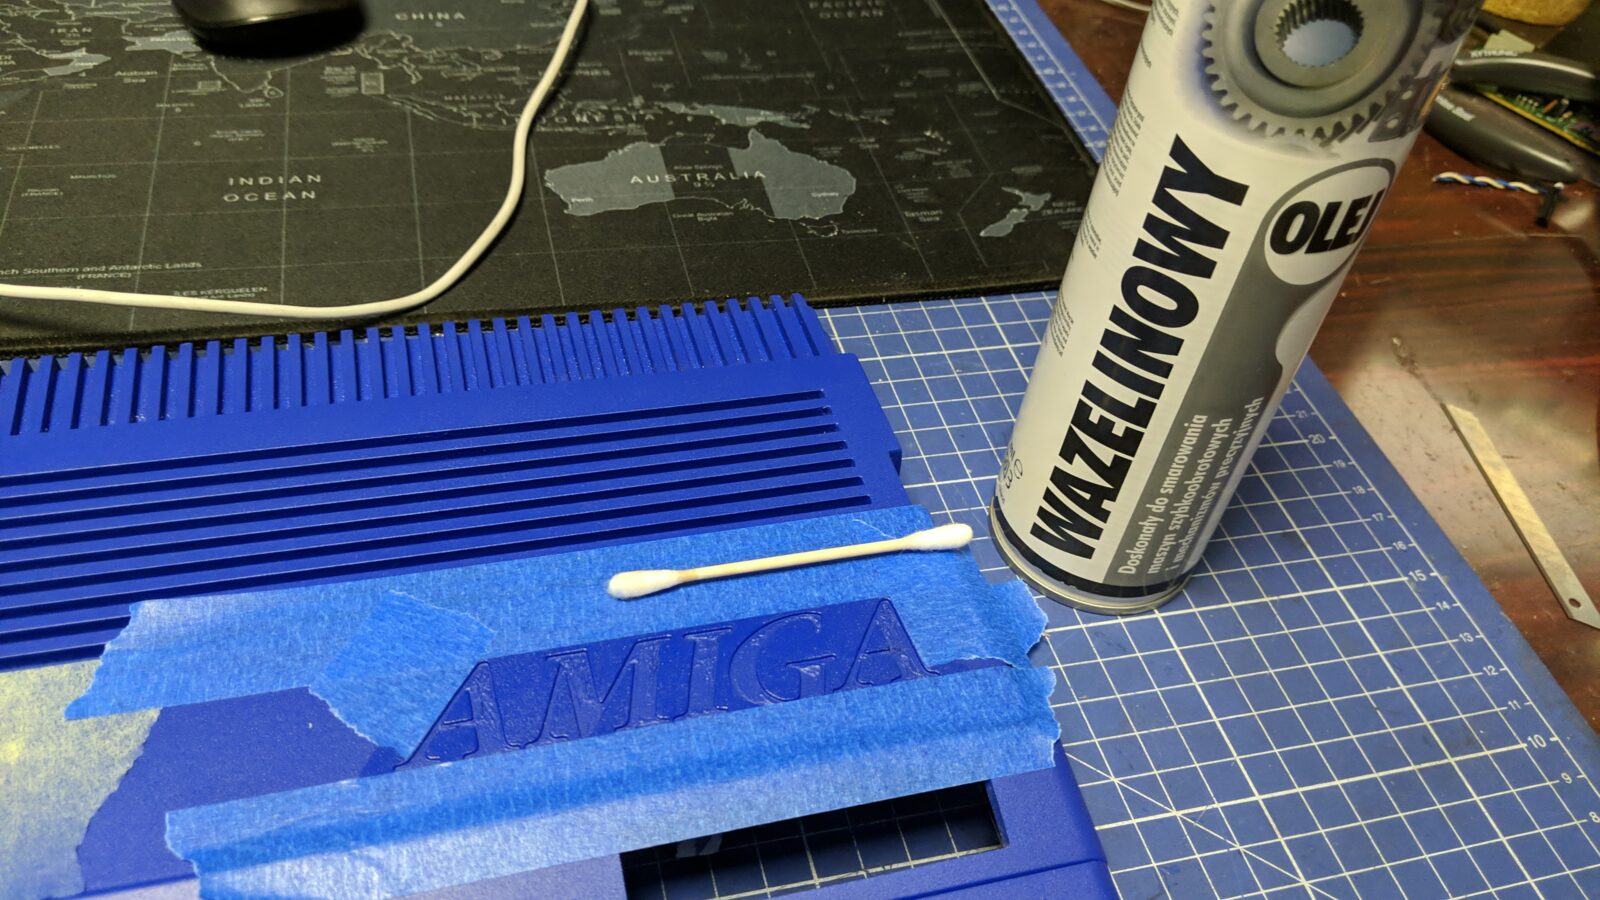
Next, I used painter’s tape to transport the vinyl to the case.
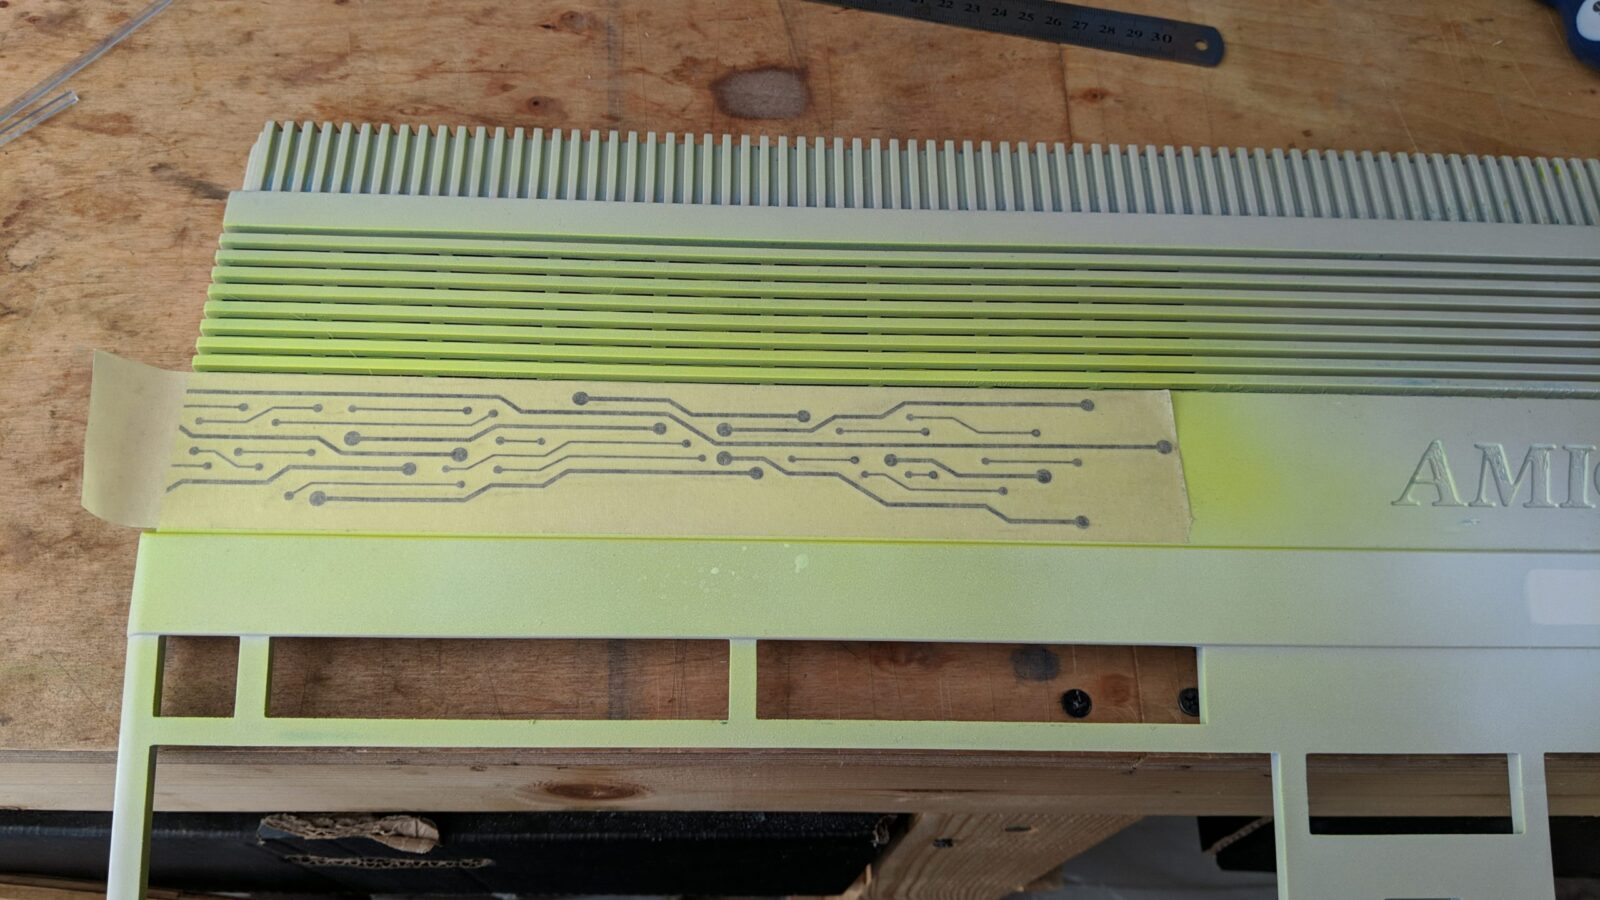
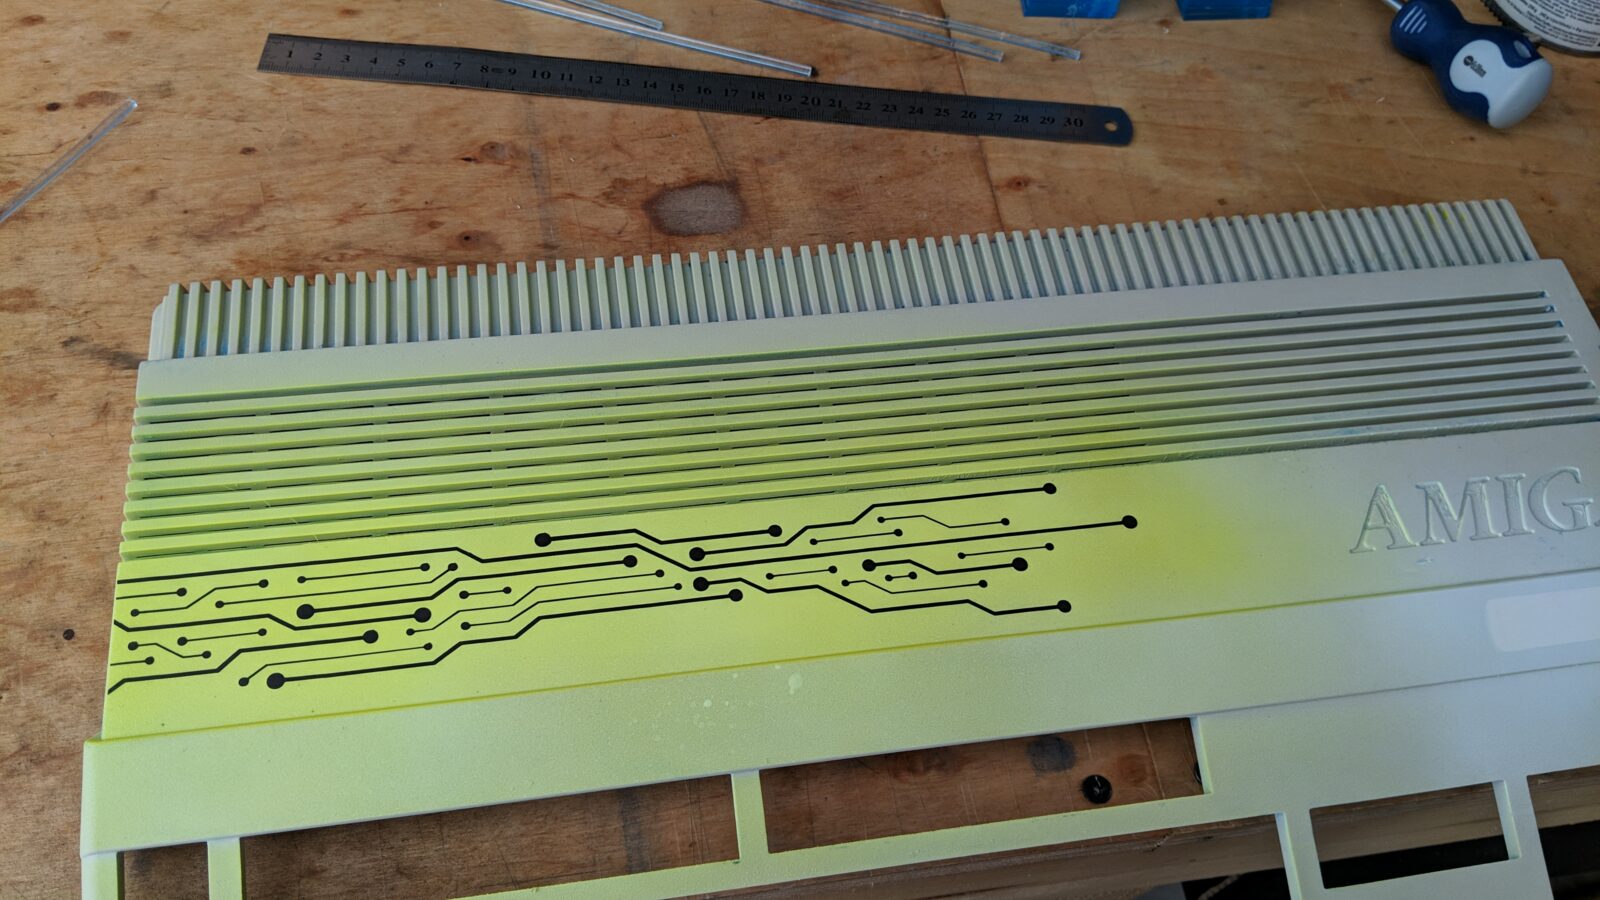
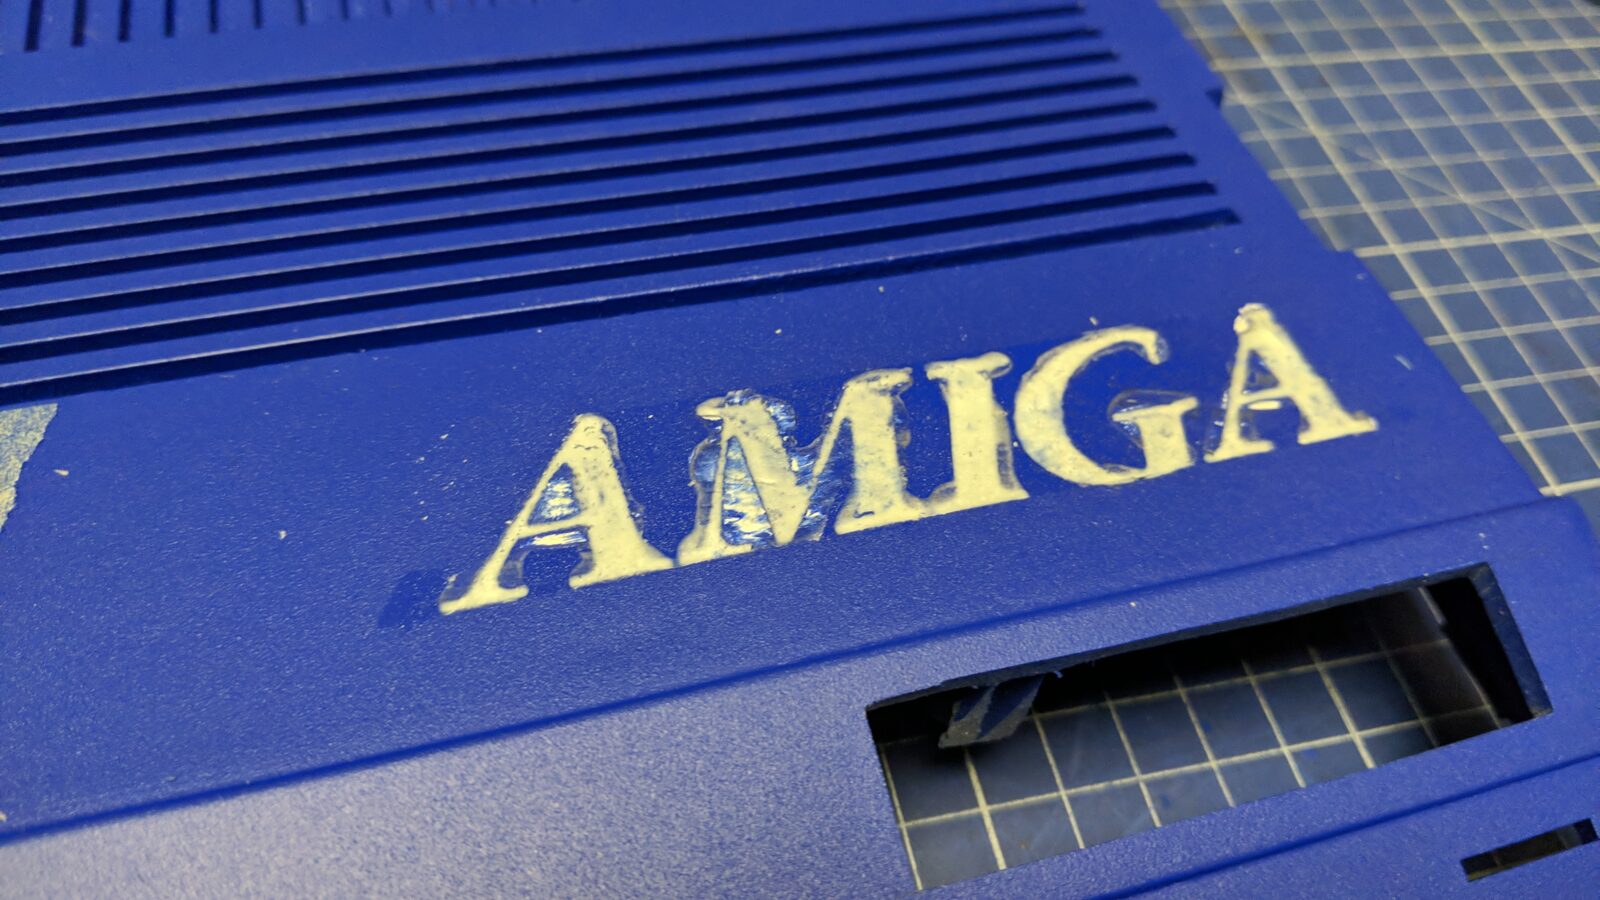
I admit I made a mistake at this stage and painted the case in navy blue color which turned out to be a problem when filling the AMIGA logo with photo-luminescent infill. Anyway, this is how it looked after painting.
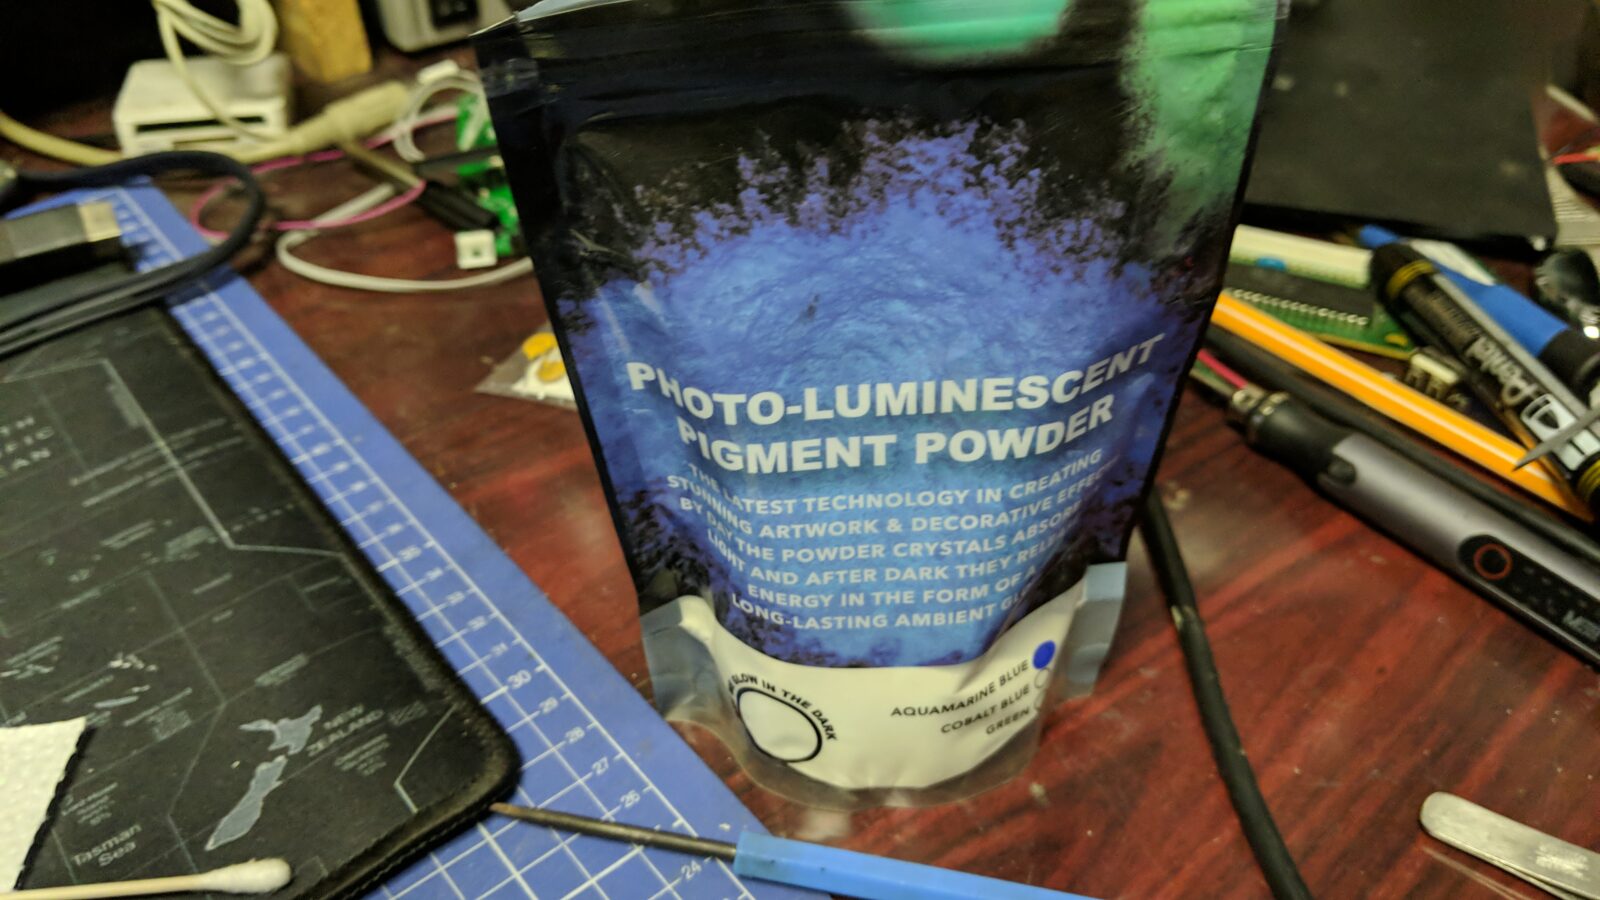
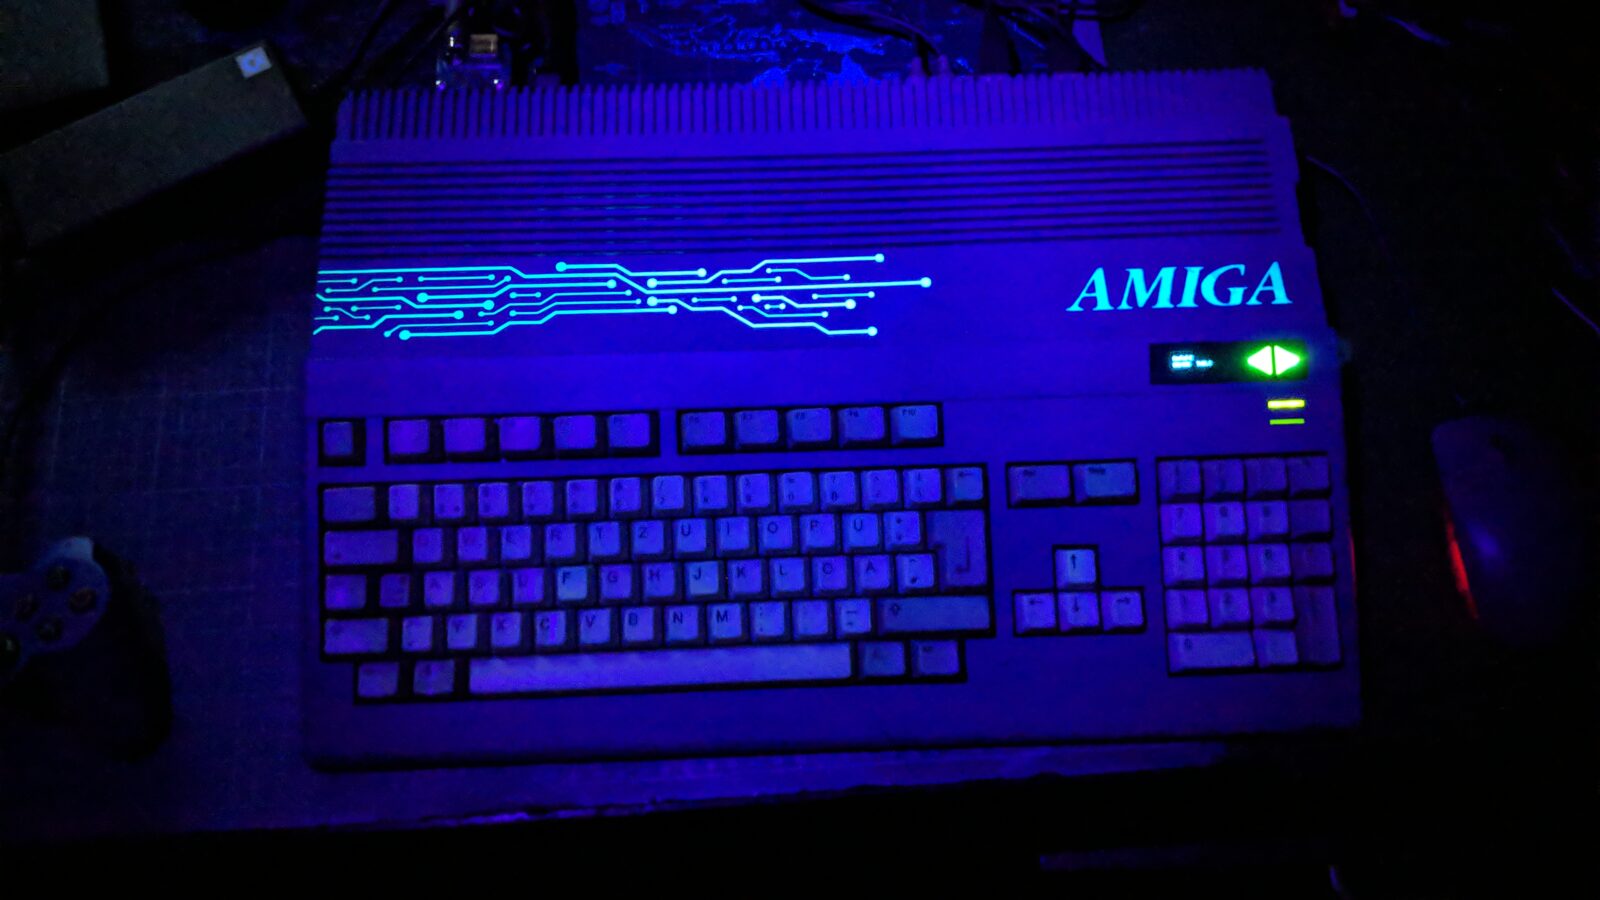
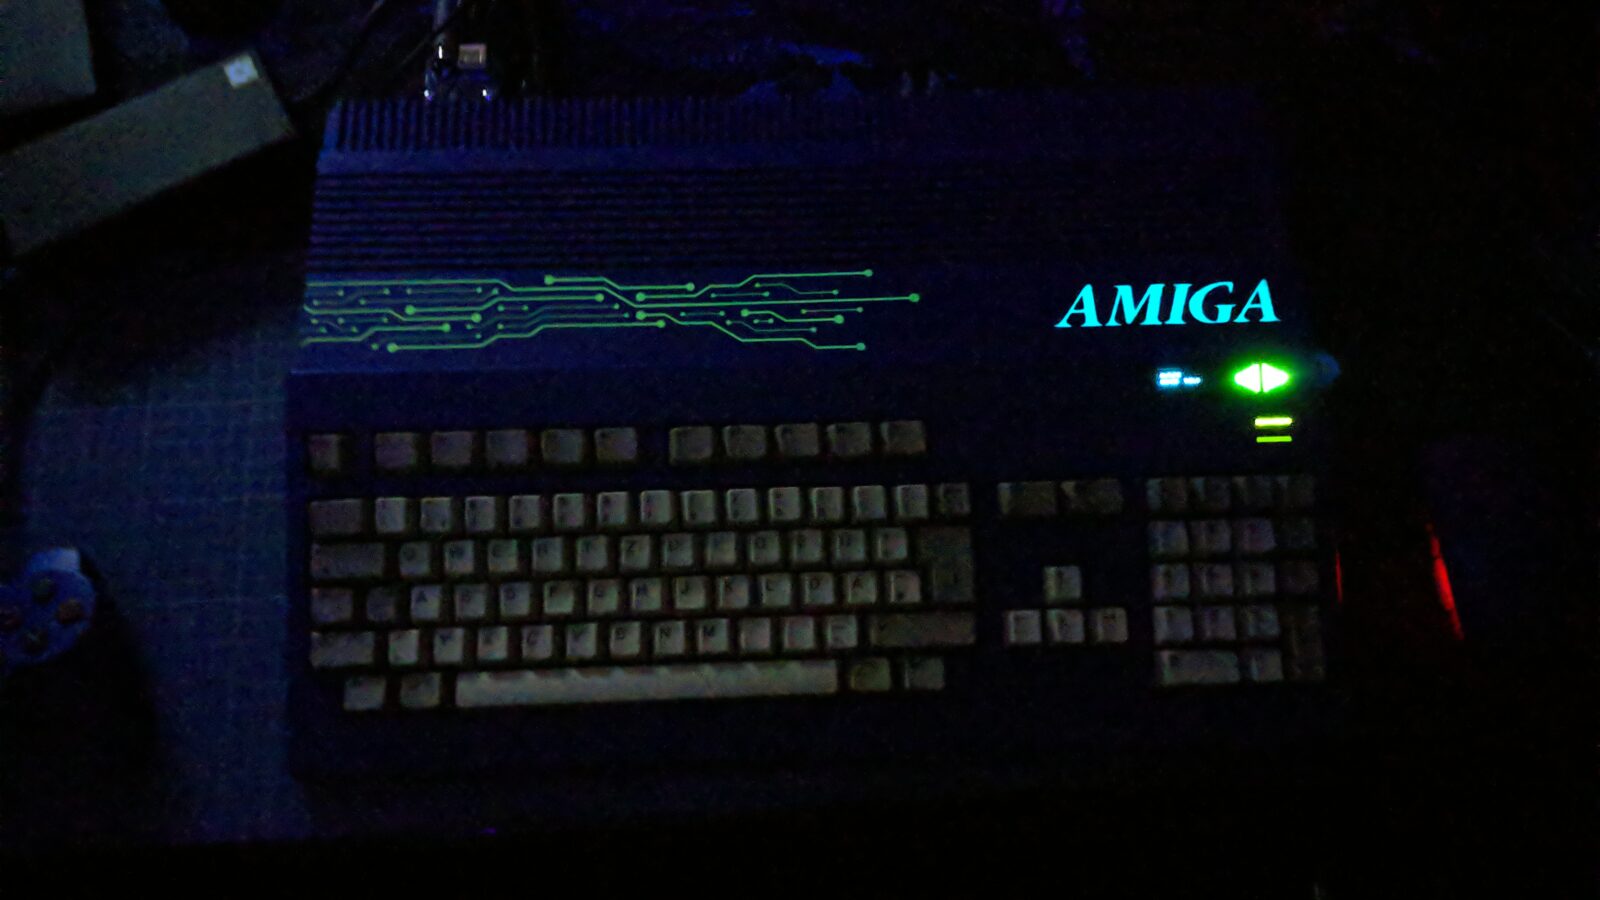
Hold on! Photoluminescent infill?!
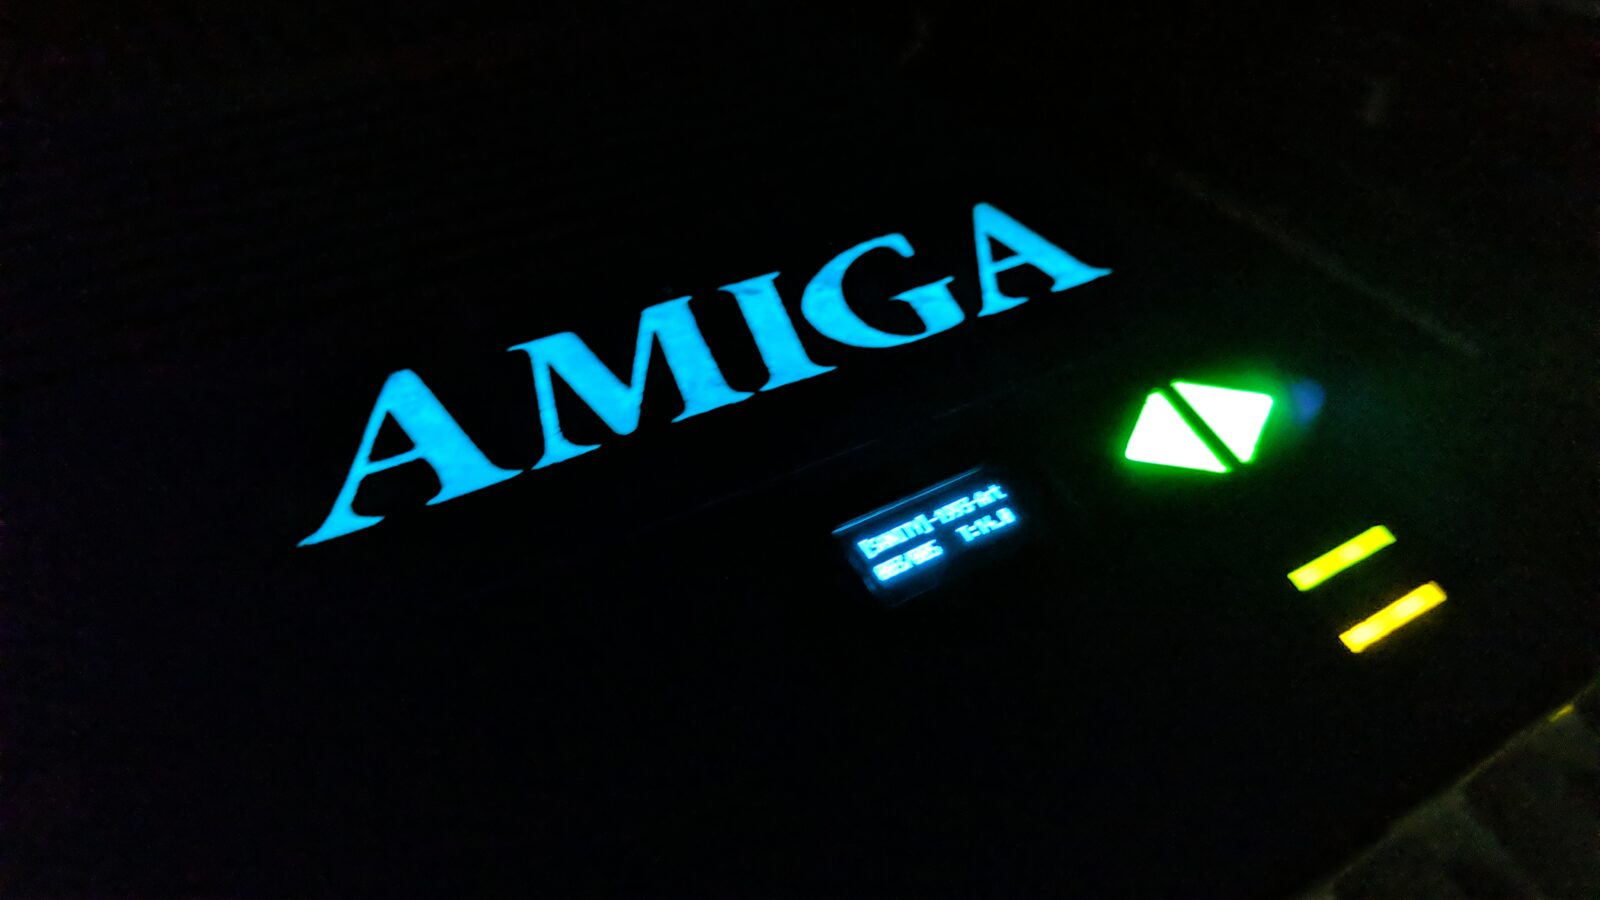
Yes! I wanted to make the AMIGA logo glow in the dark!
Below are some initial tests on my waste case.
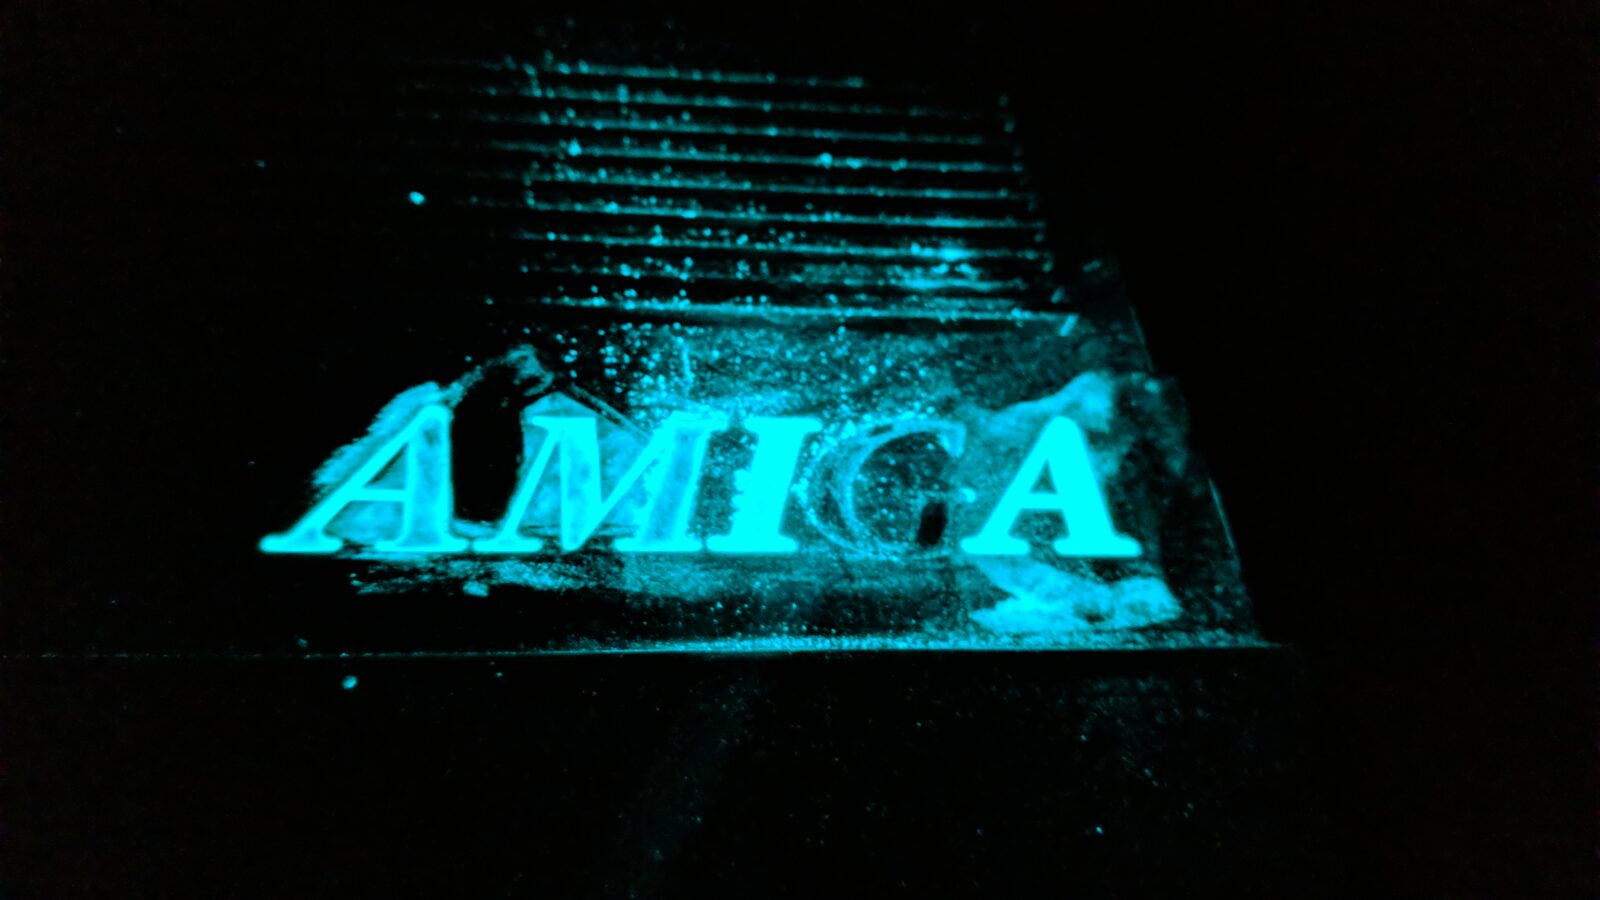
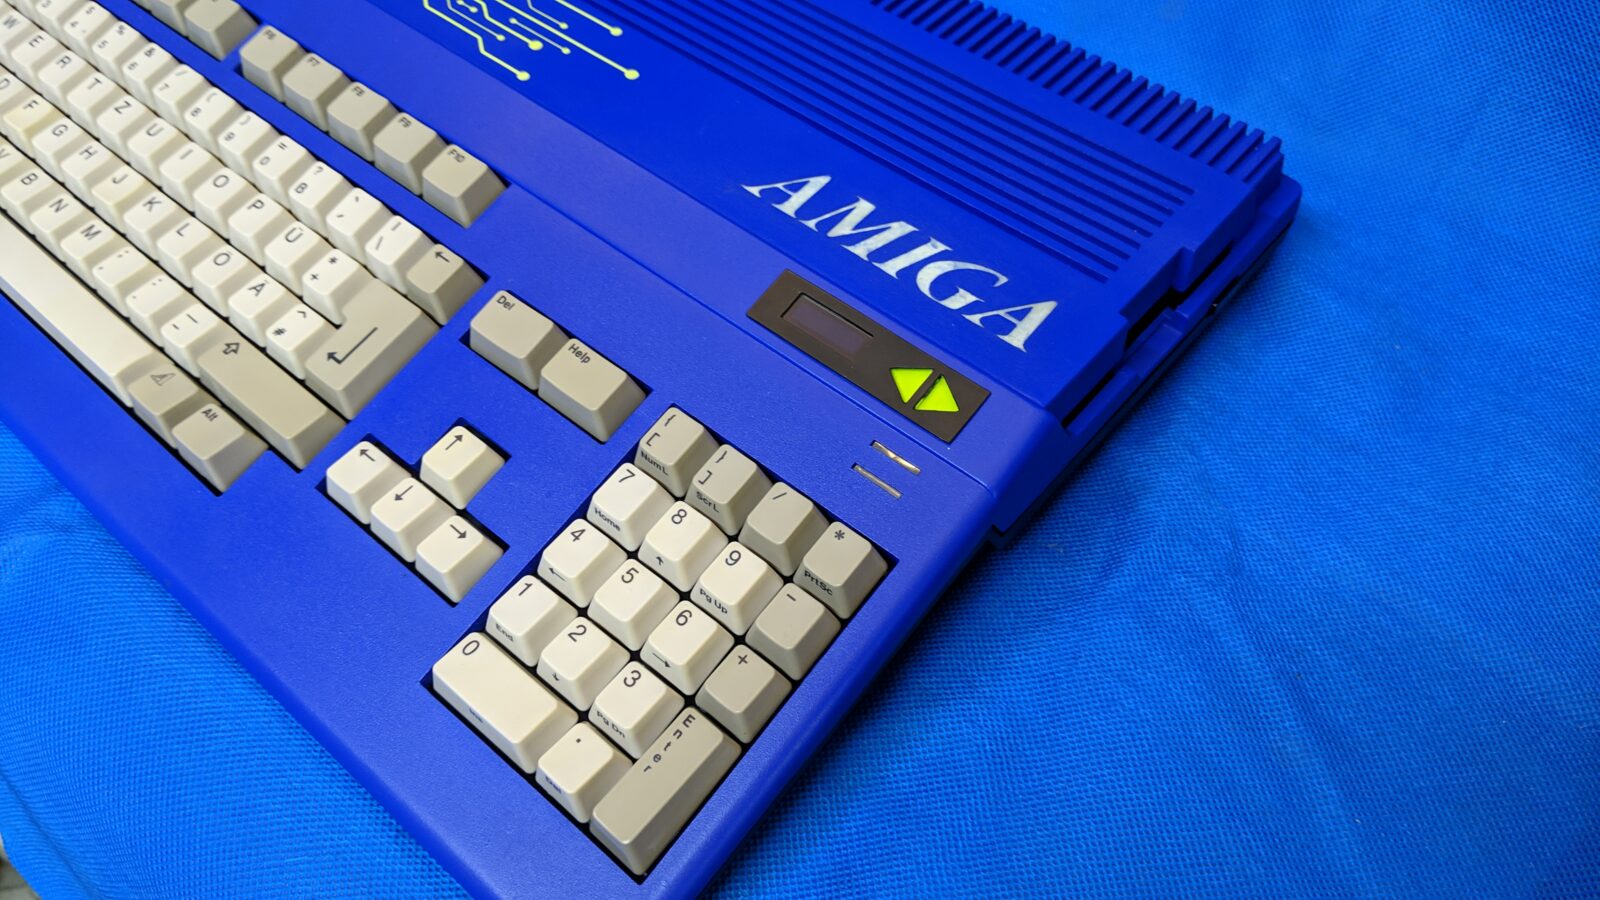
Glowing logo
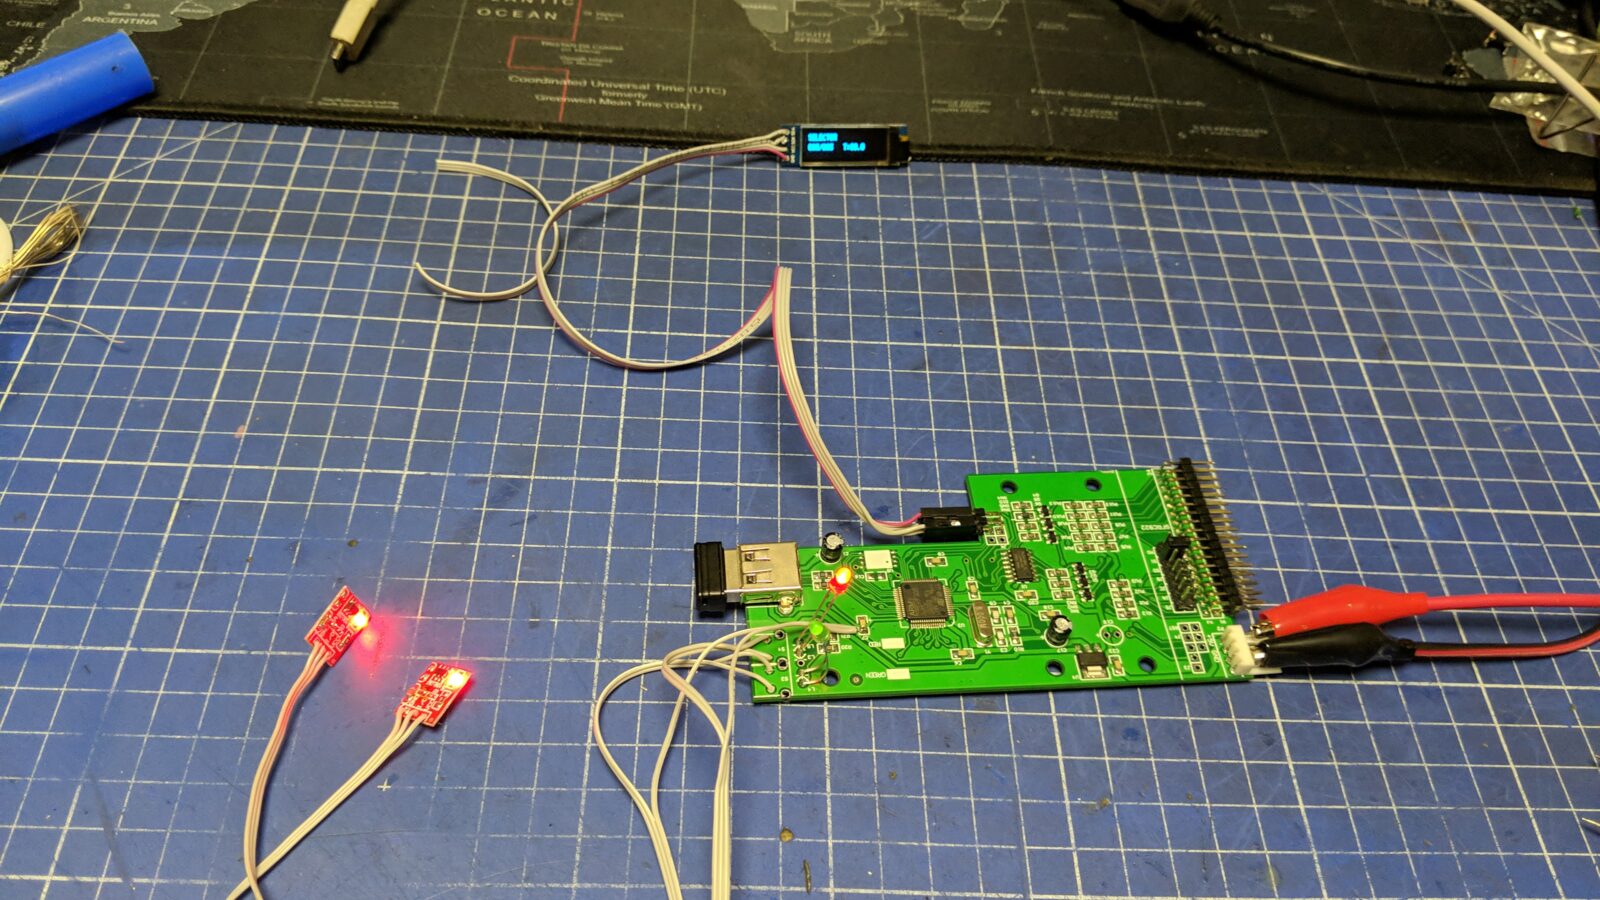
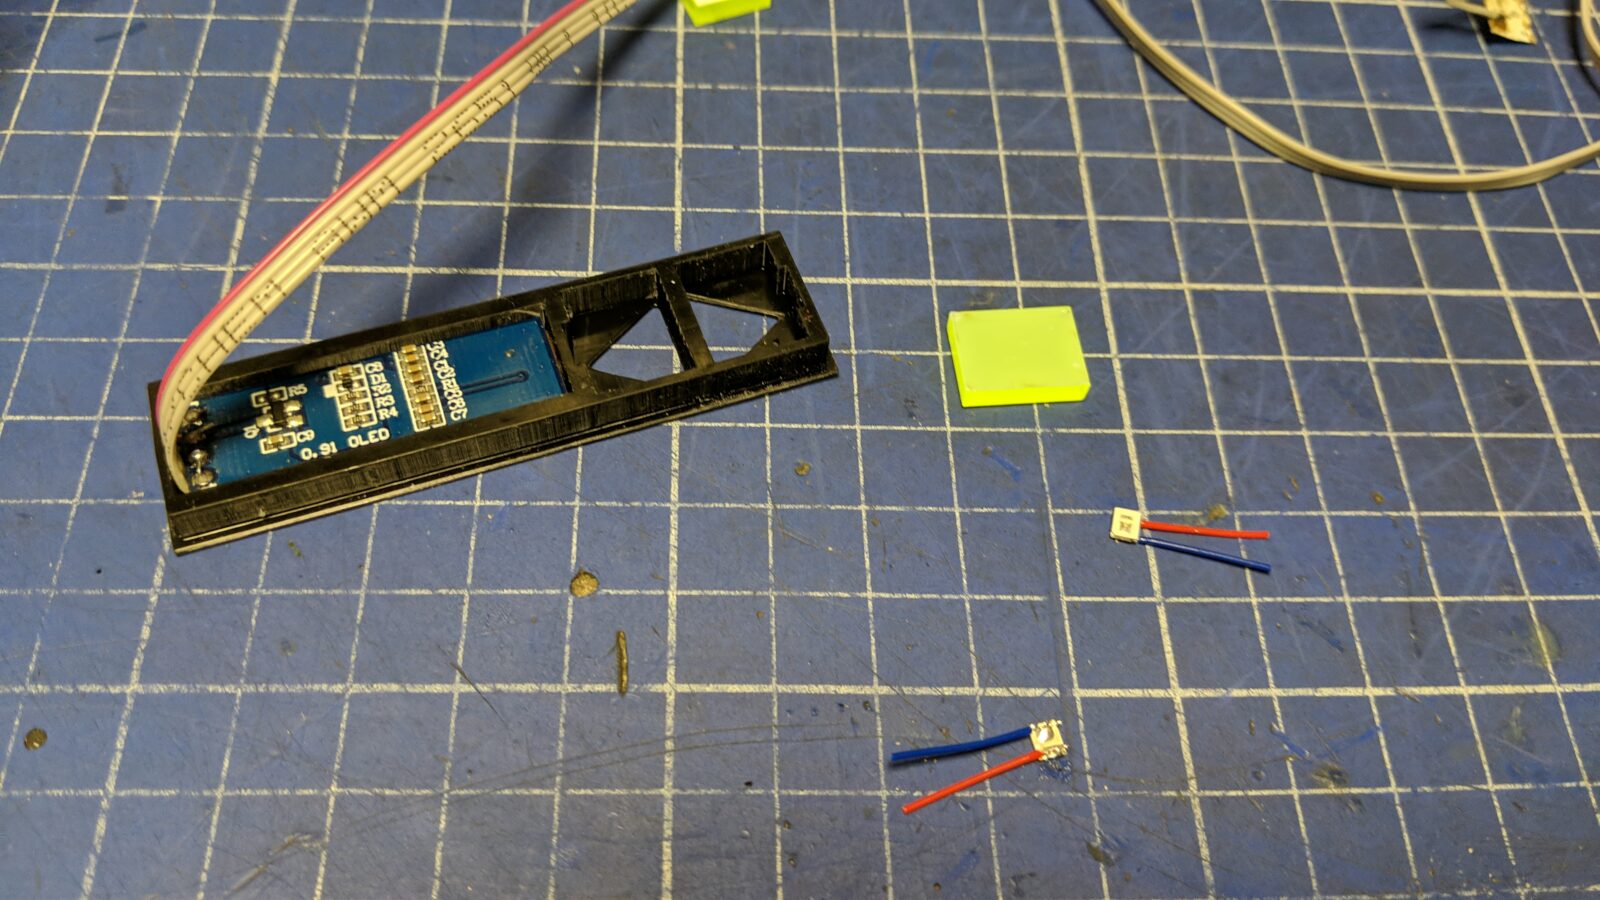
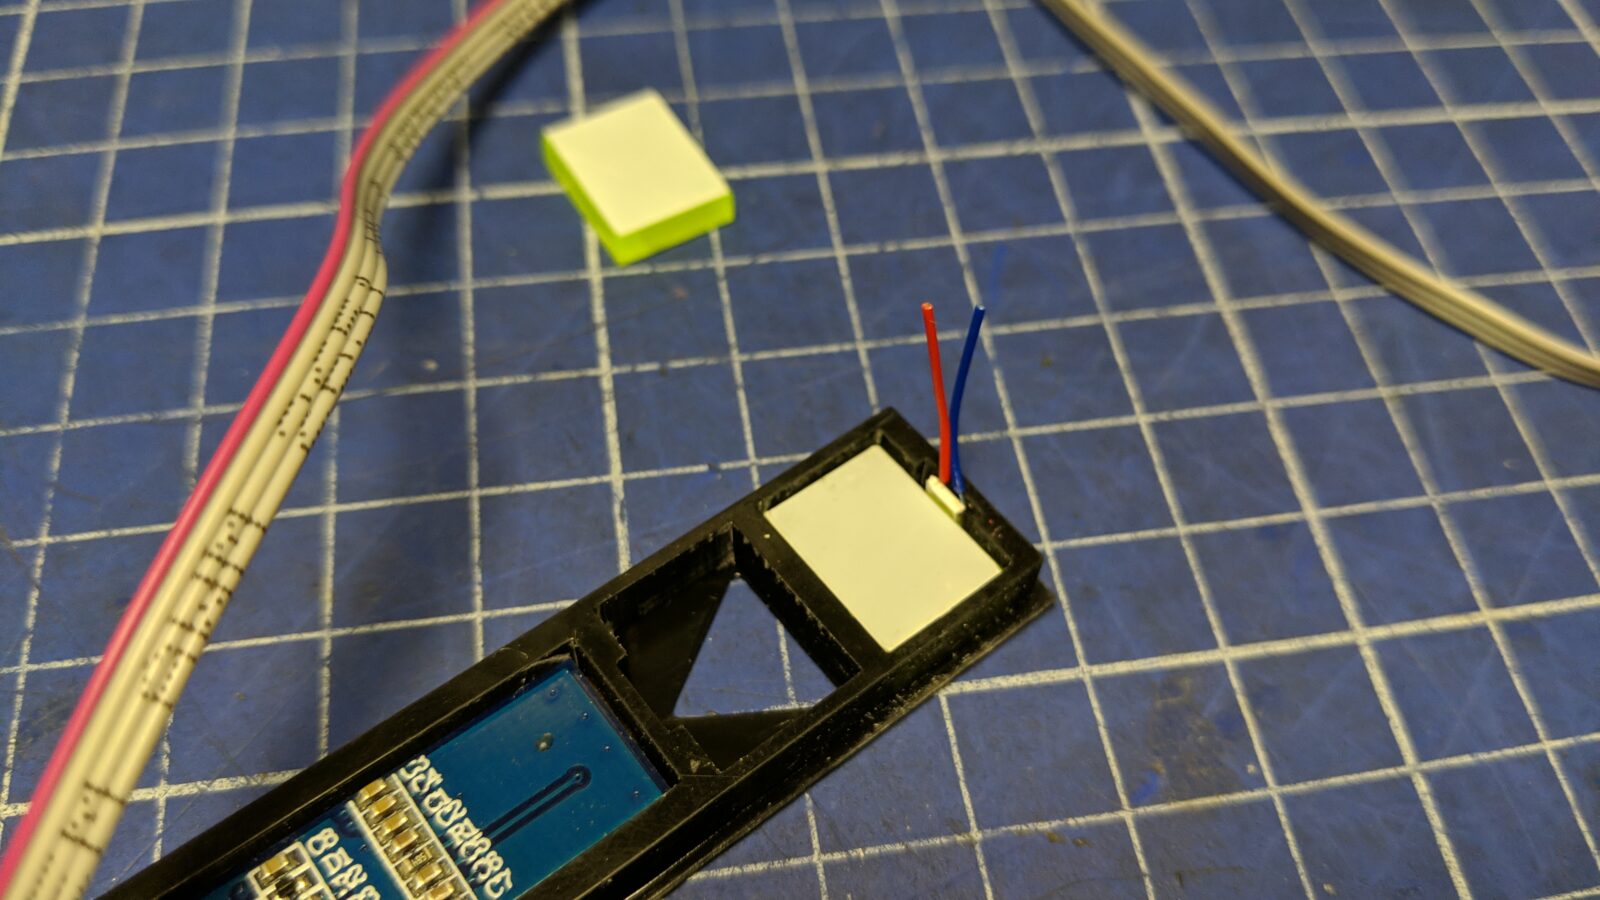
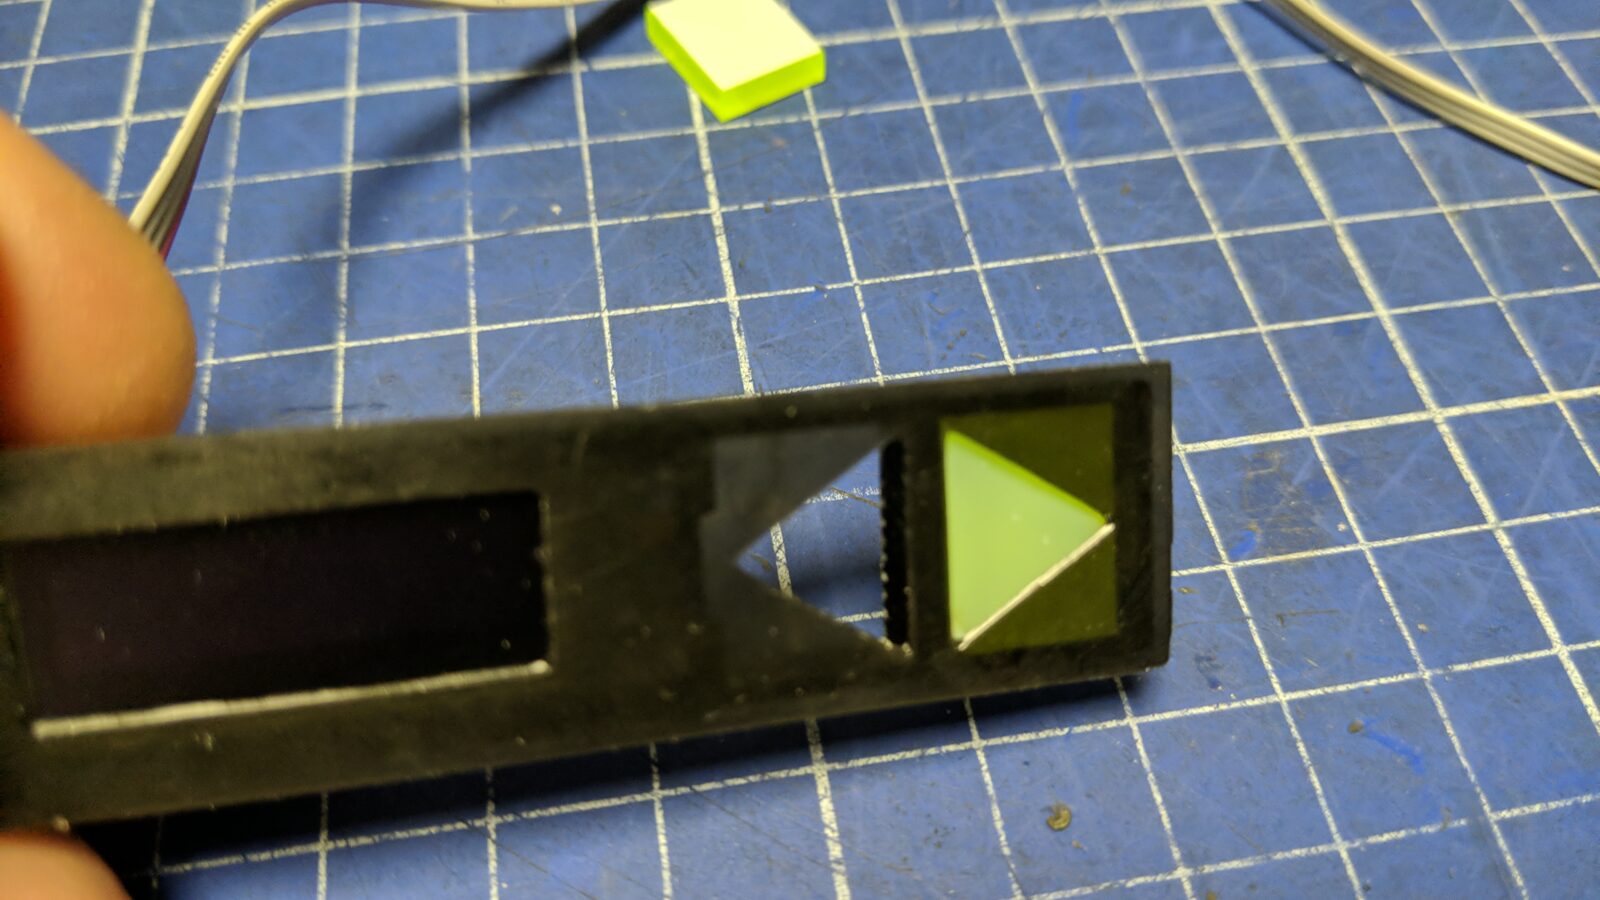
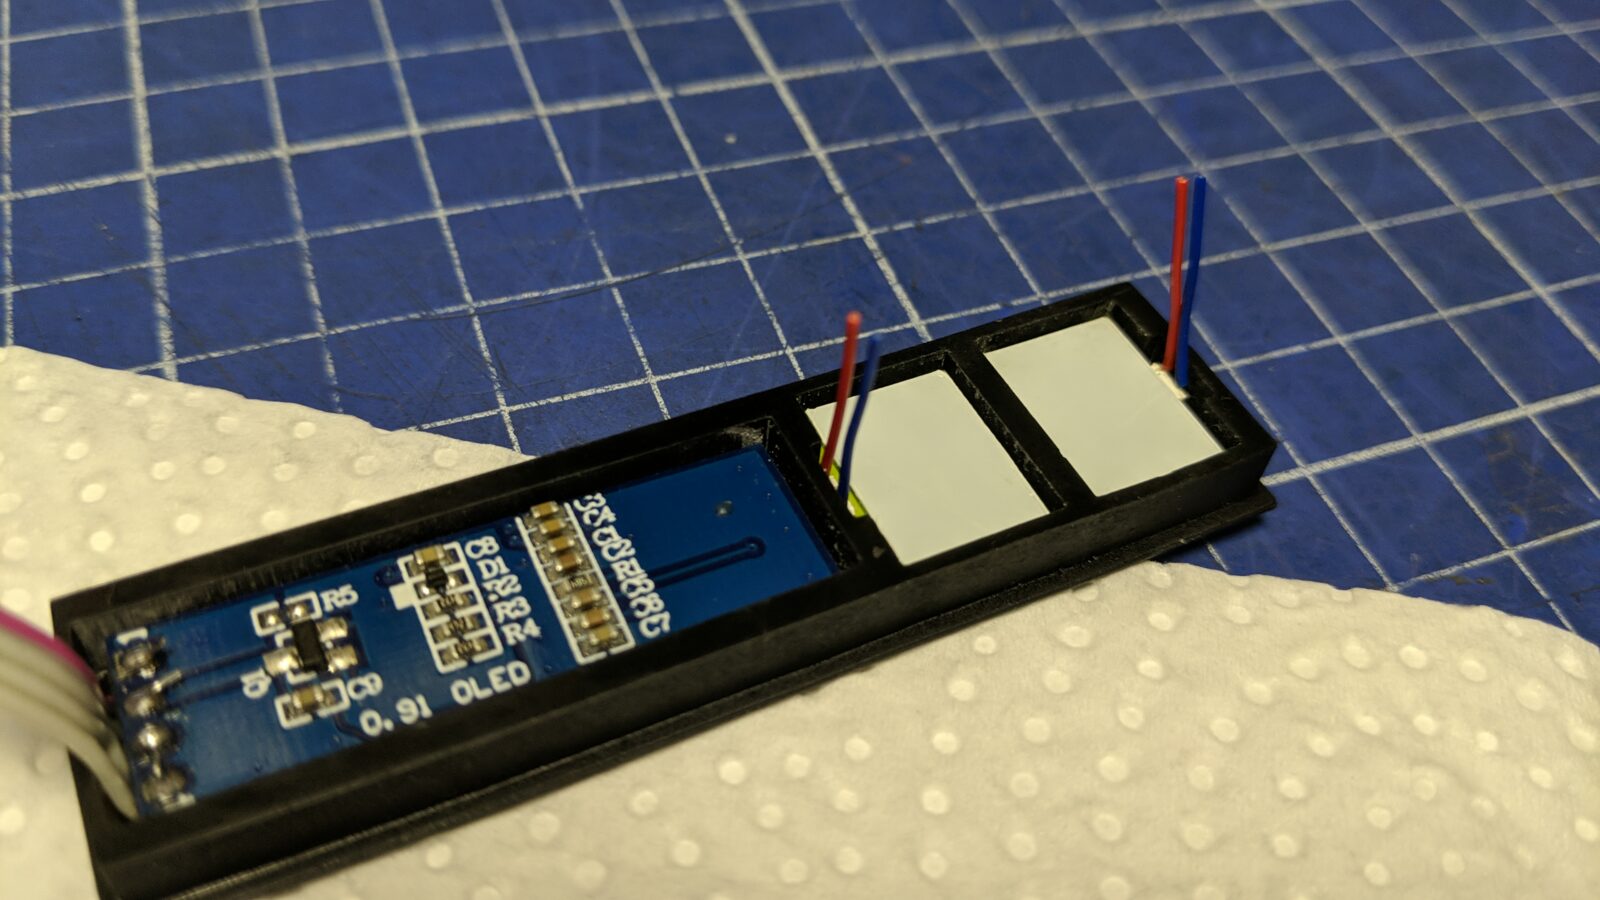
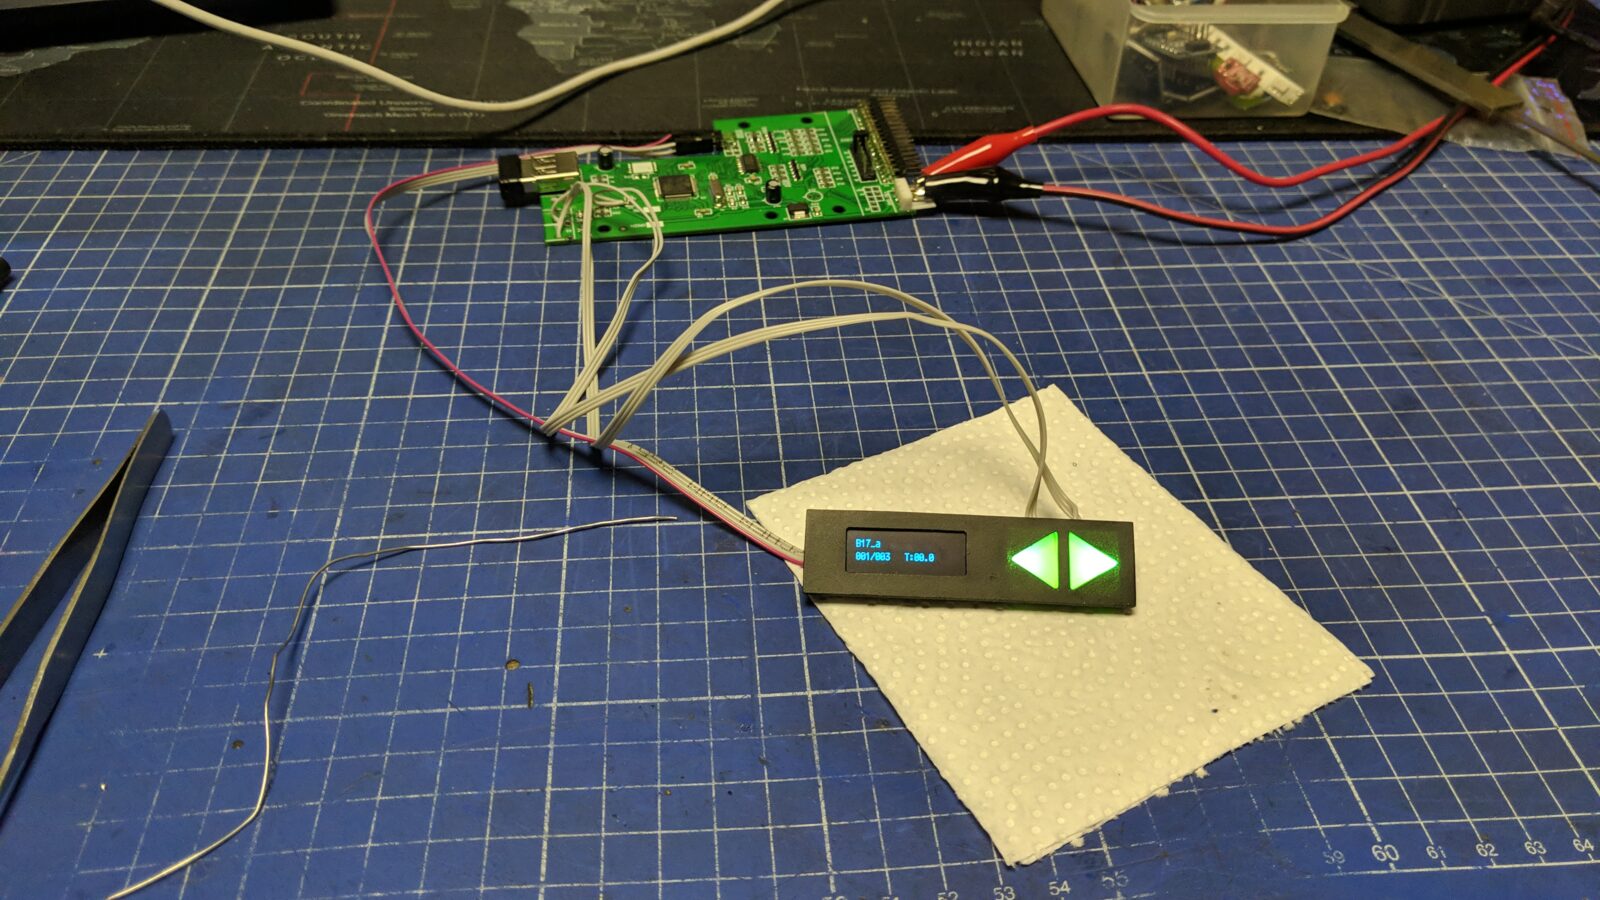
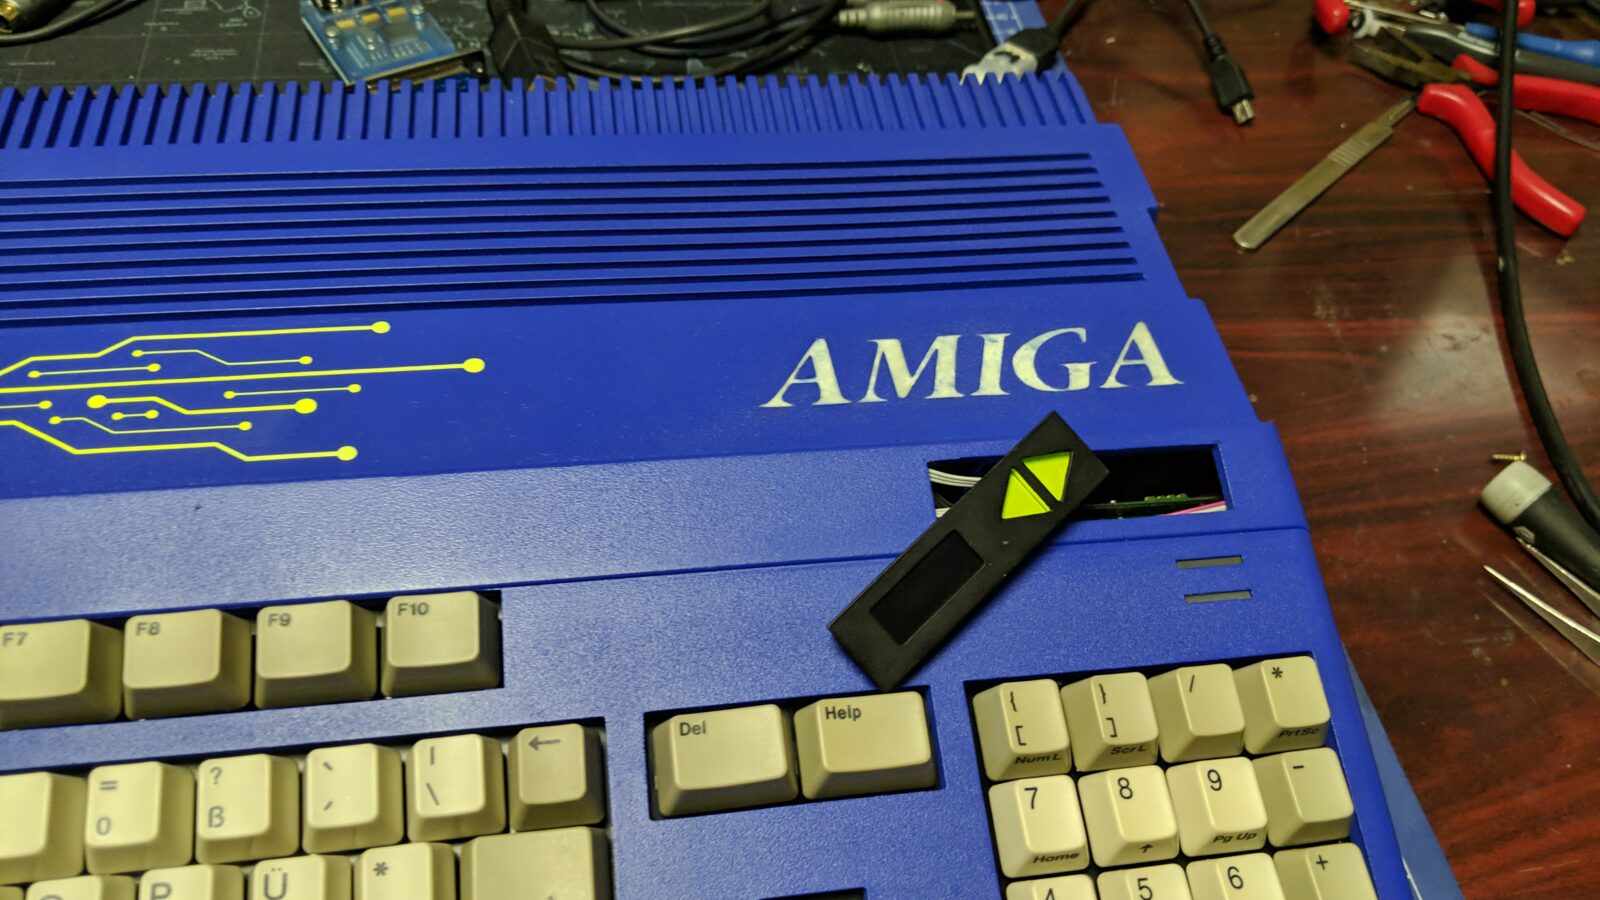
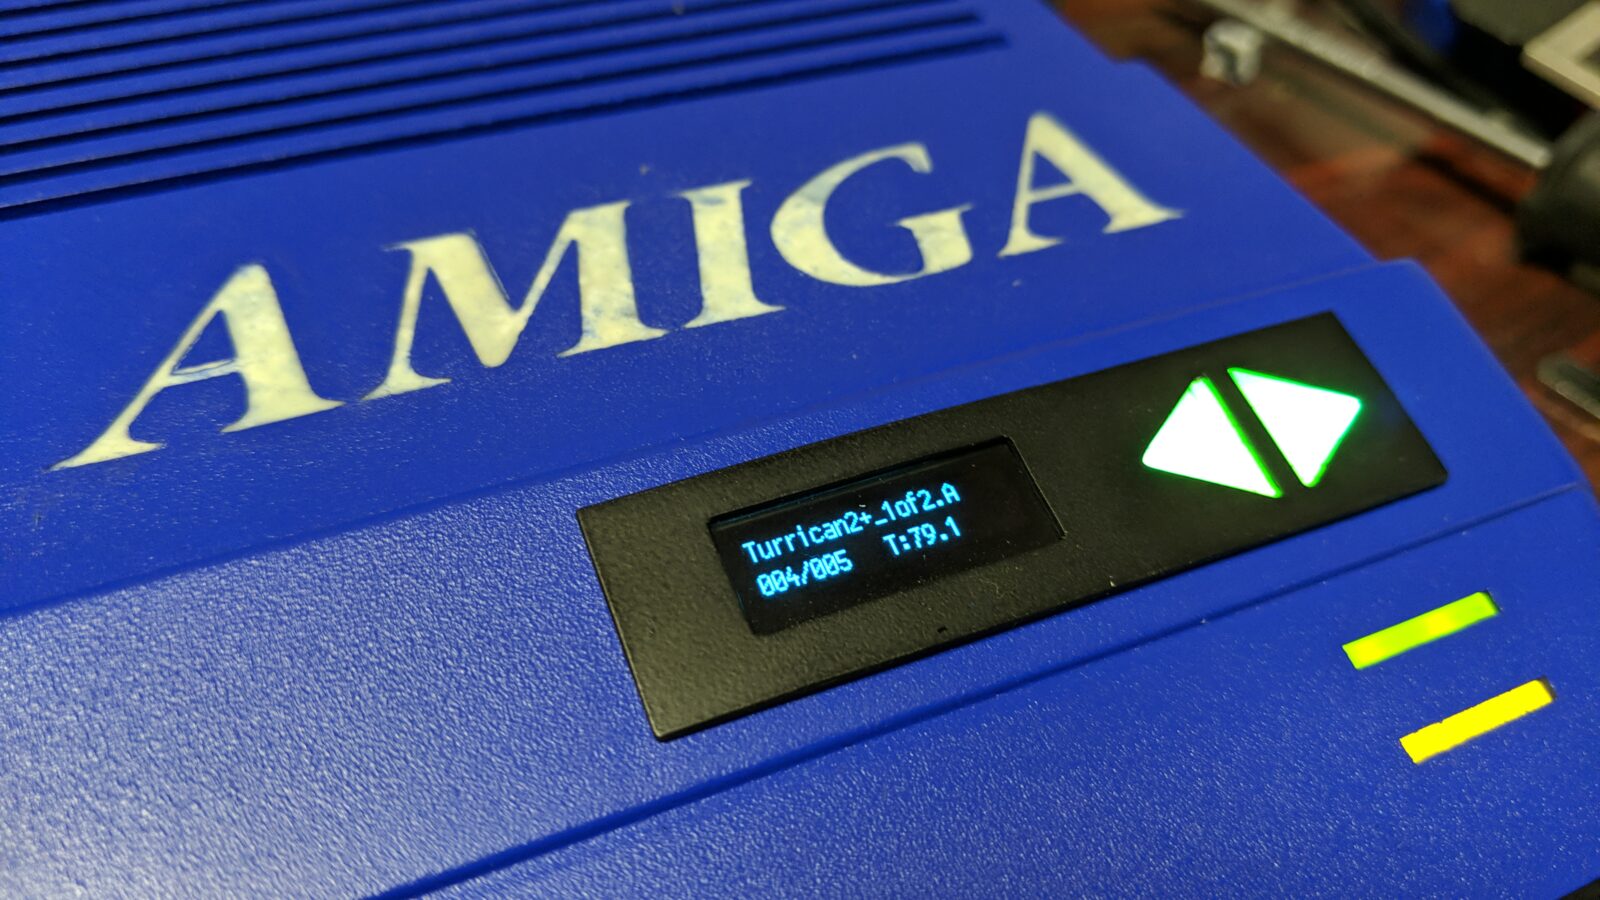
I also wanted to have a mini GOTEK panel with OLED LCD and touch-controlled buttons to swap disks. I did a quick design and UV resin printed the case for LCD and other circuitry.
I’ve cut out the space for it right in place of the original badge.
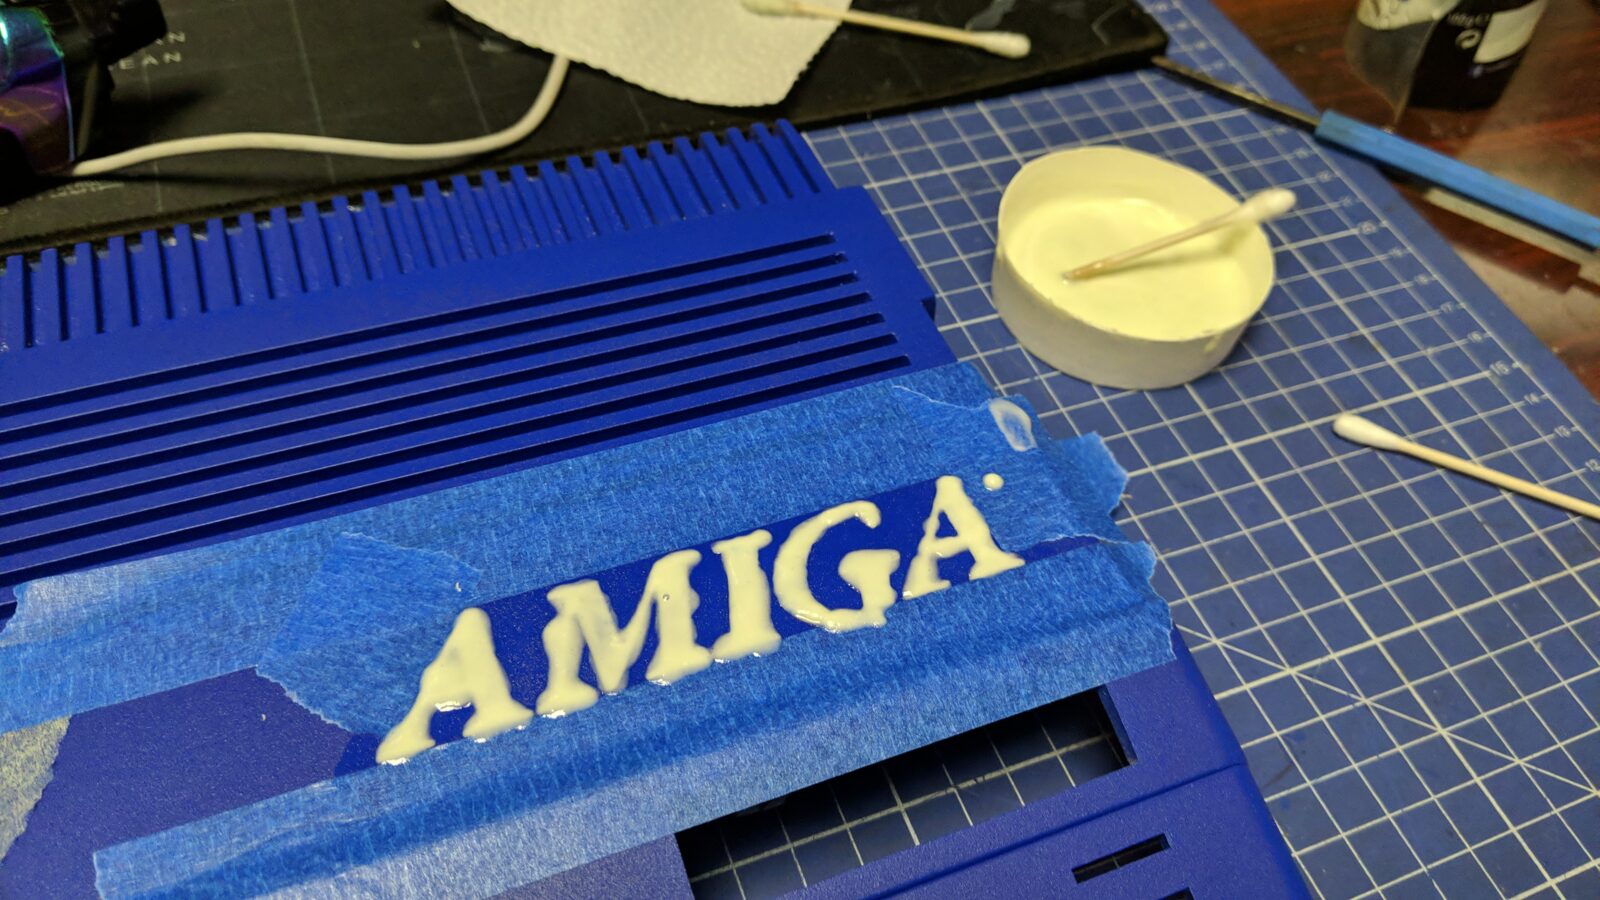
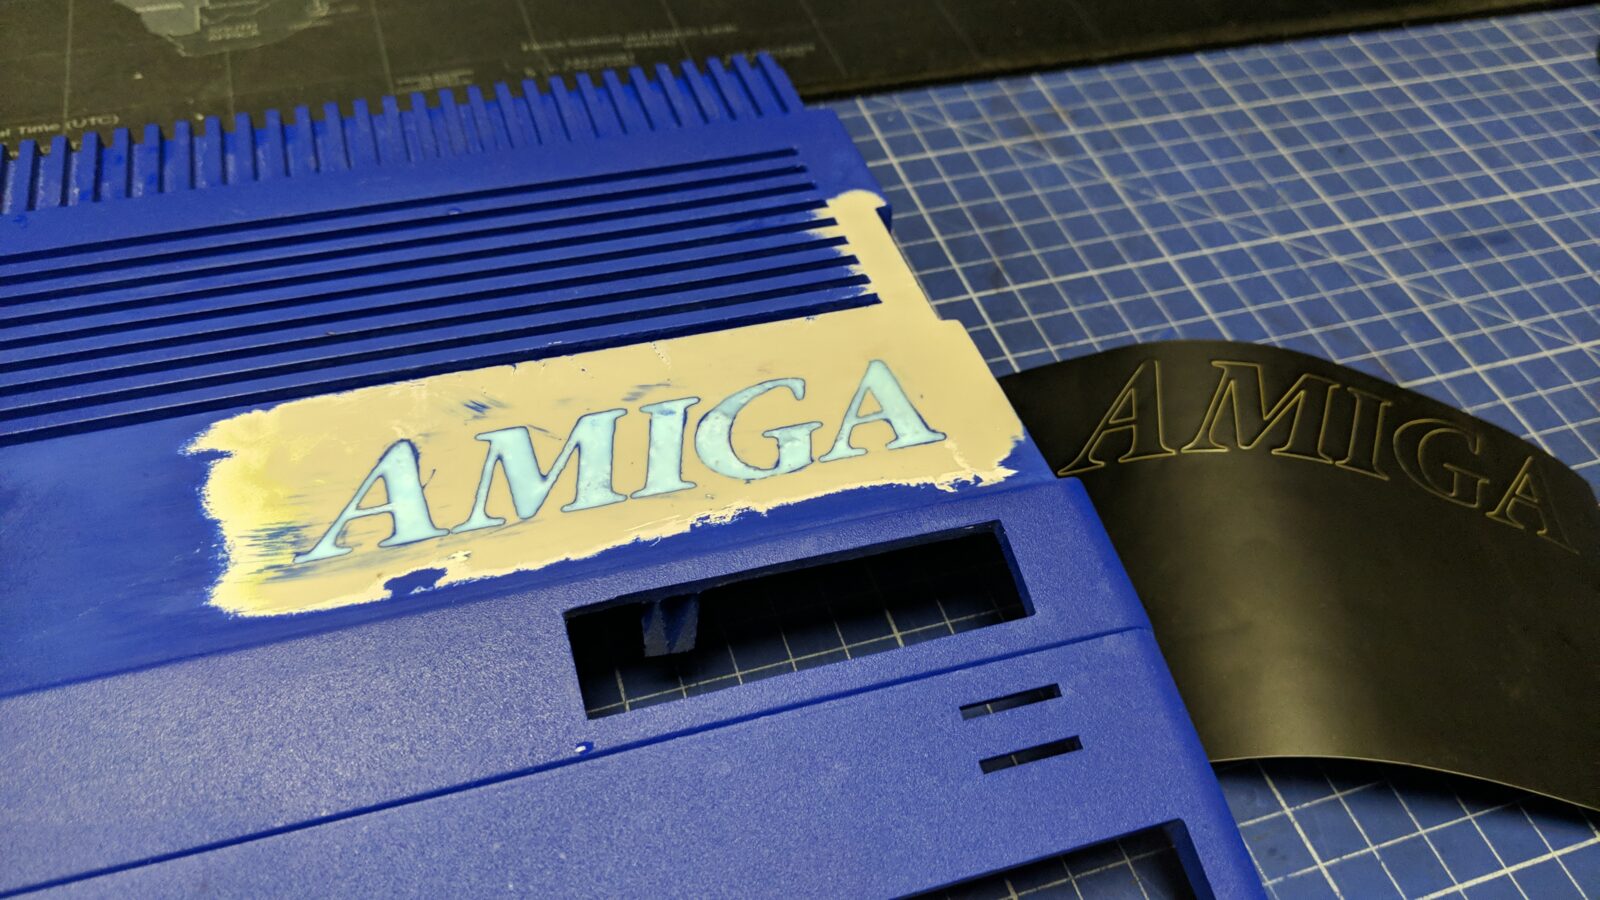
Now the hard part. Remember when I wrote that I made a mistake and should have filled in the logo before painting? Now you’ll see why this was a mistake. Turns out it is very hard to fill the already painted part without messing it up, but let me present the idea first.
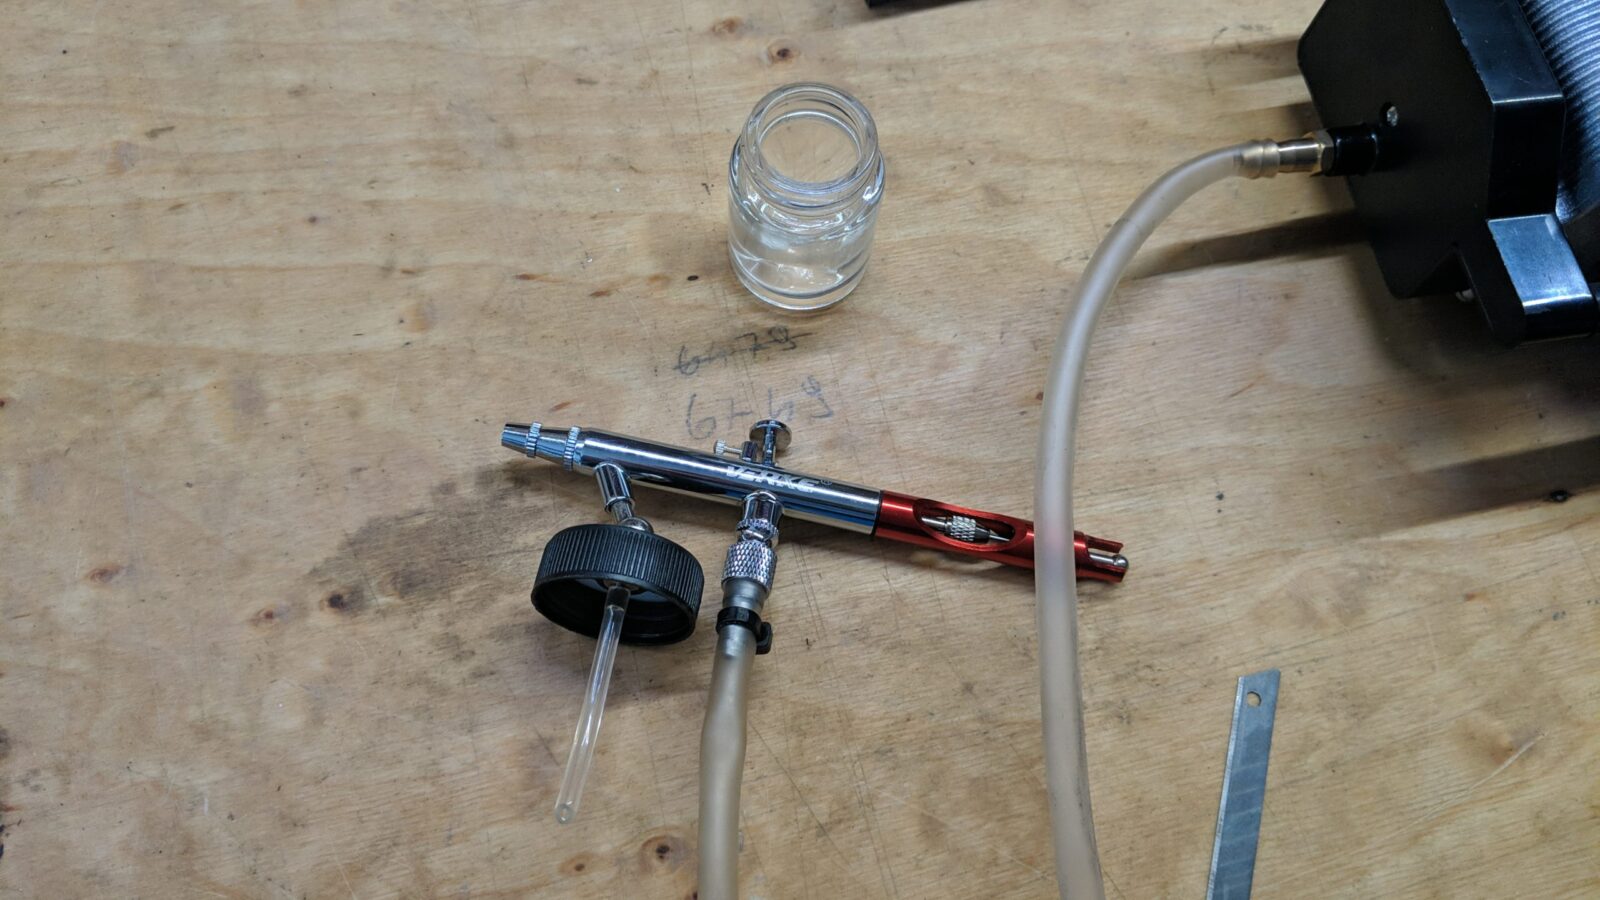
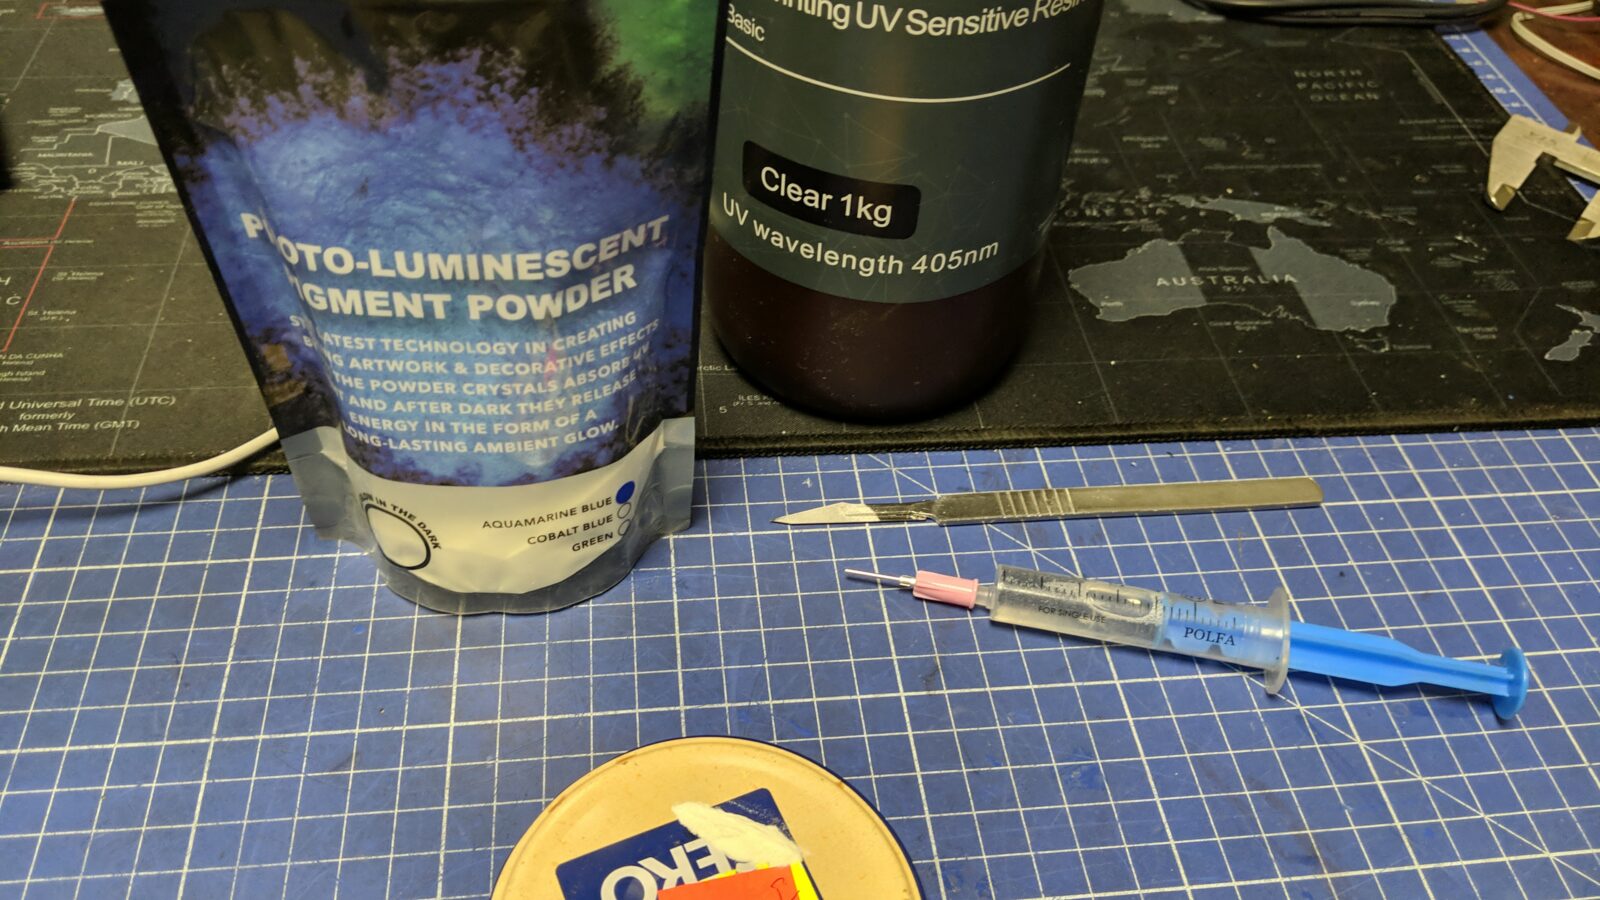
I have this photo-luminescent pigment powder that I wanted to use for this project. To make things harder, I wanted to achieve a marble-like effect in daylight.
I had to choose a proper solution for it. I started with transparent spray paint by simply adding the powder to it. This turned out to be a disaster as it dissolved the blue paint …
I had to sand it off, remove it and start over.
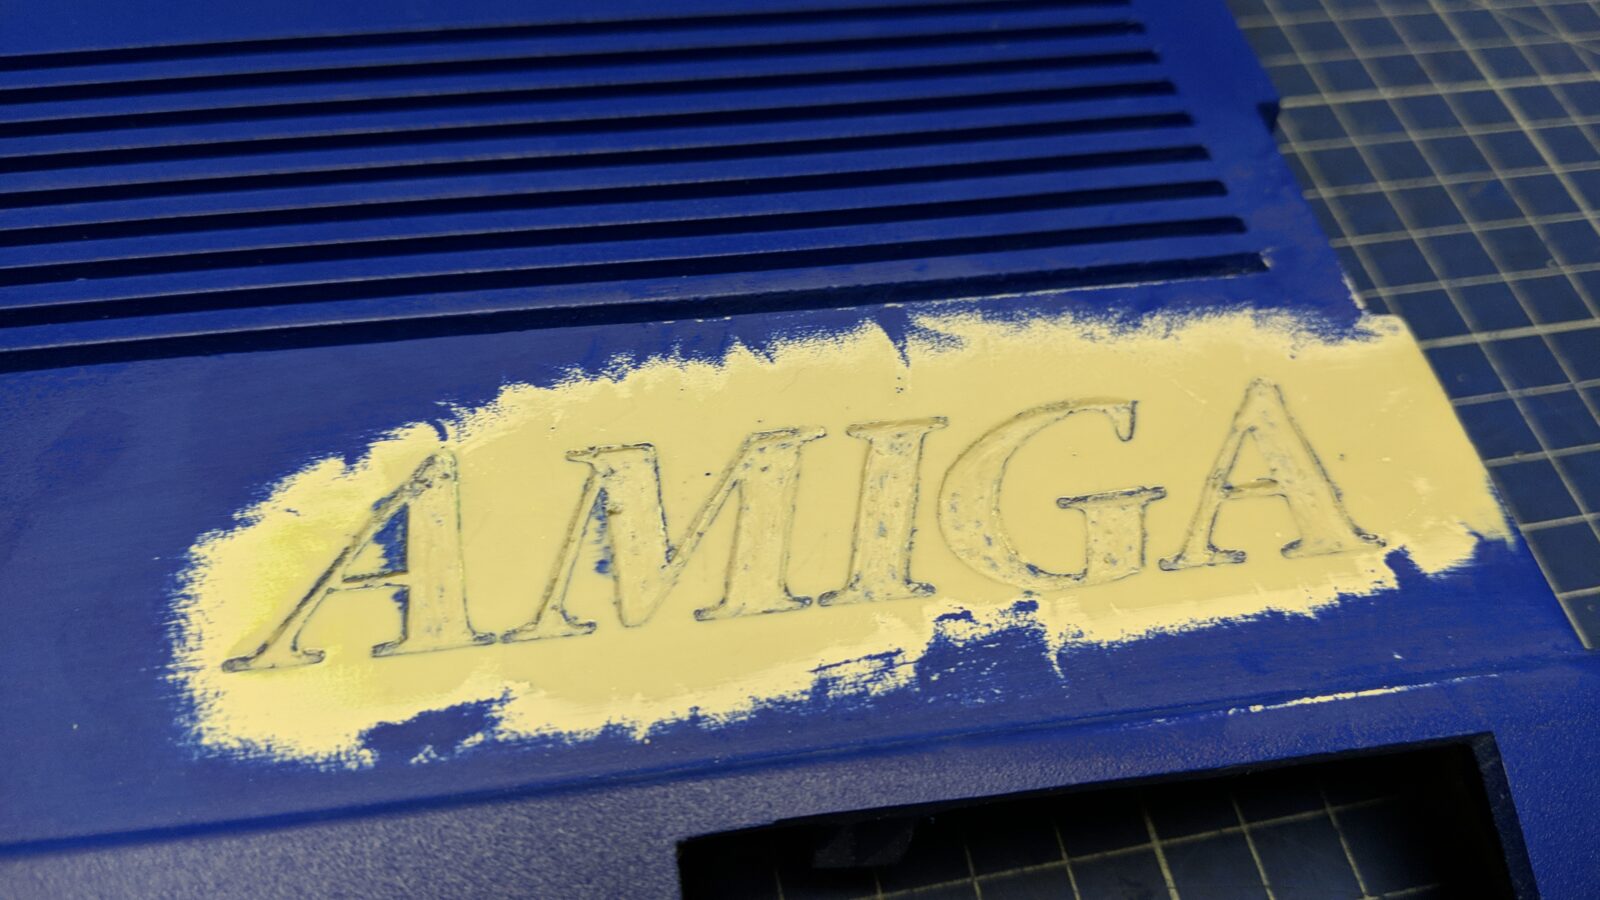
The next idea was to mix the powder with a transparent UV resin. That one turned out to be a better option and I even got the marble-like effect but it all was still far from perfect…
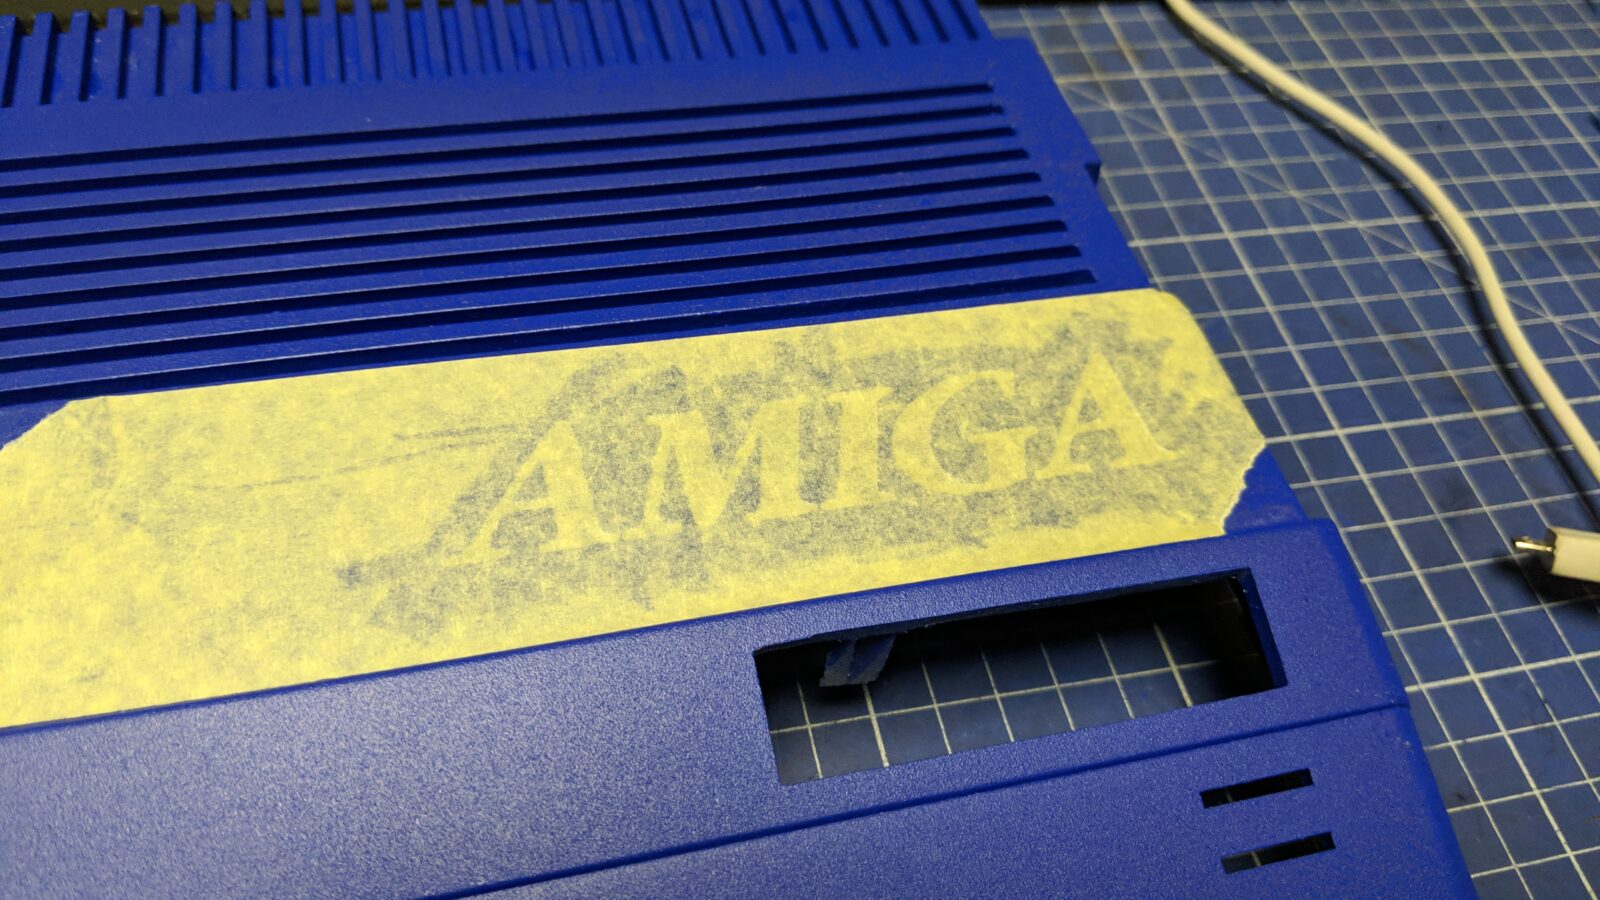

I had to sand it off again, apply some corrections, then switch to the last idea – the last-cut vinyl logo – and paint it all blue again.
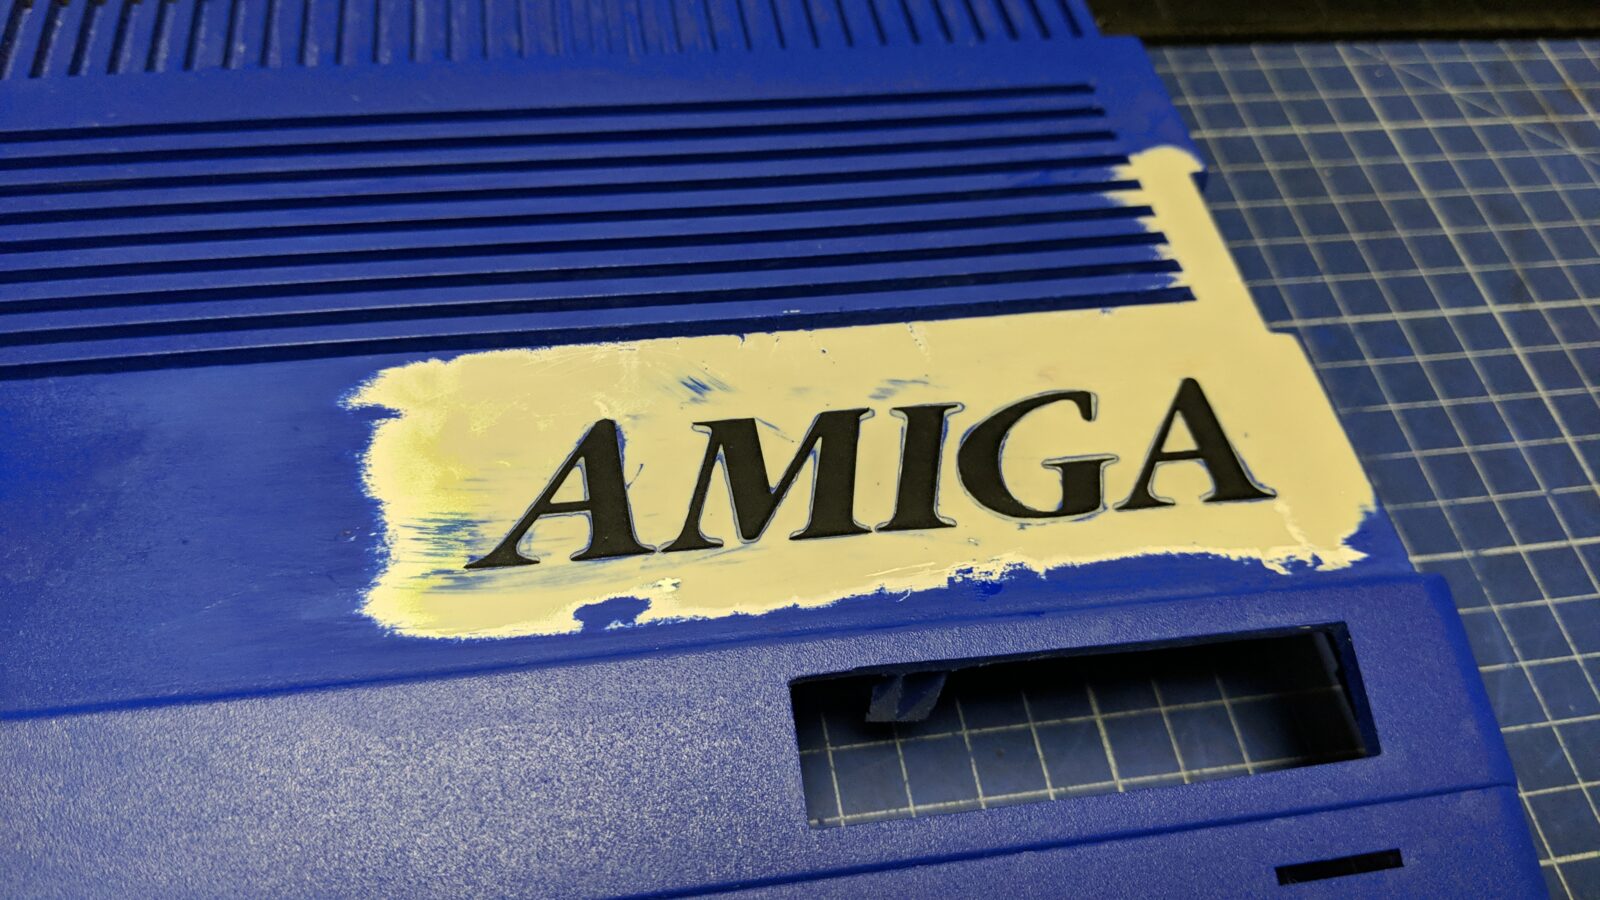
Now it started to look as I wanted it to look … but left some issues in a different spot that I had to address again … meh …
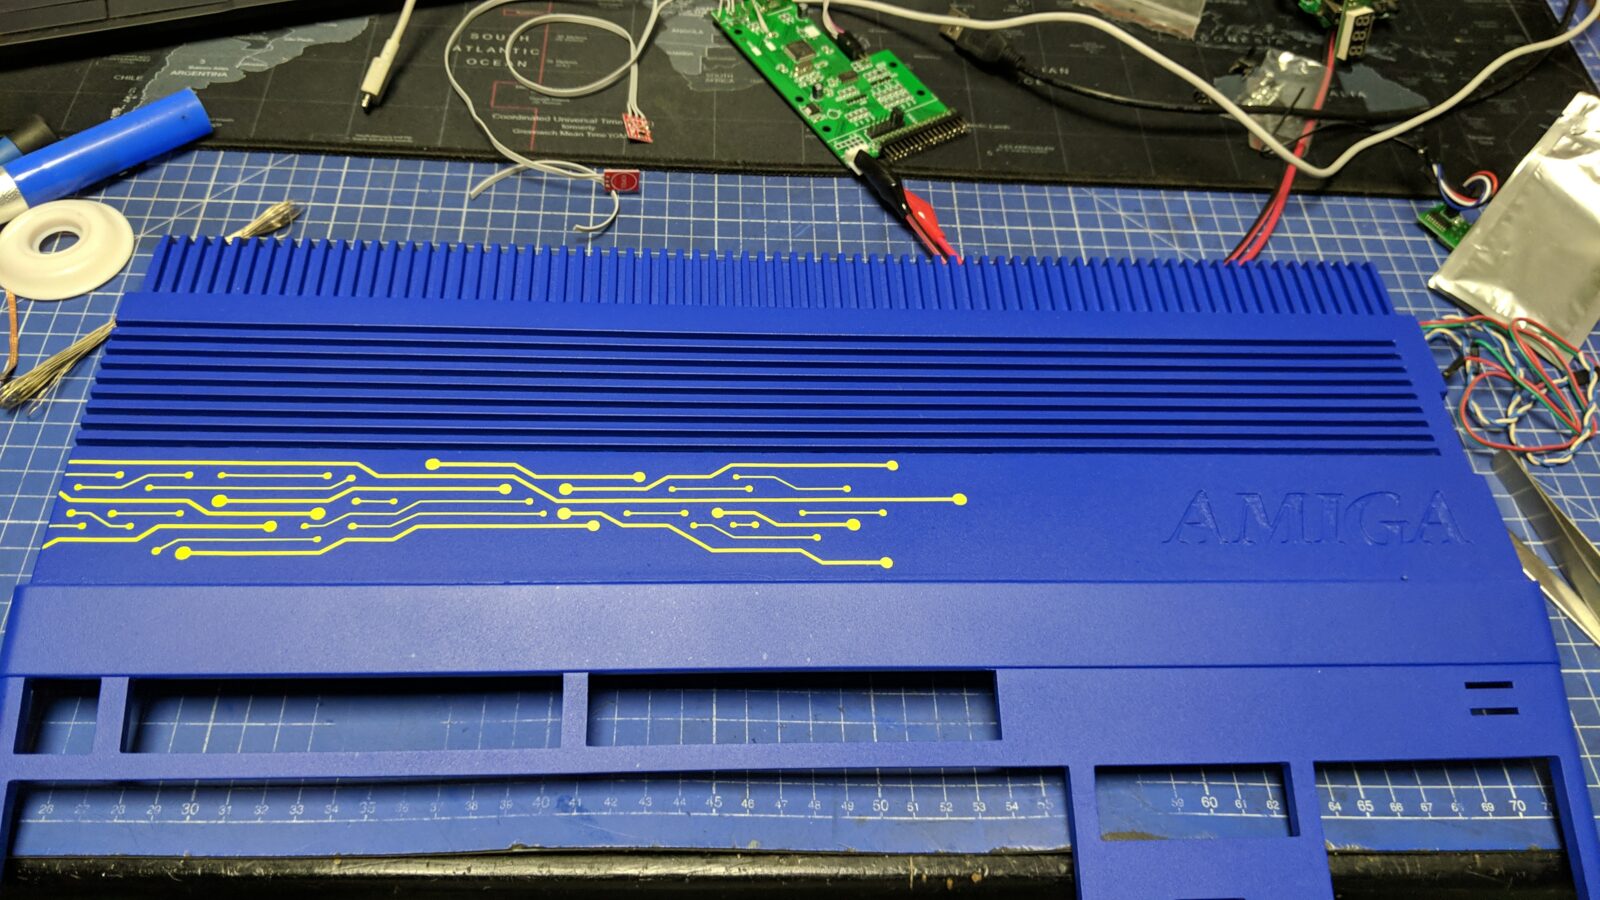
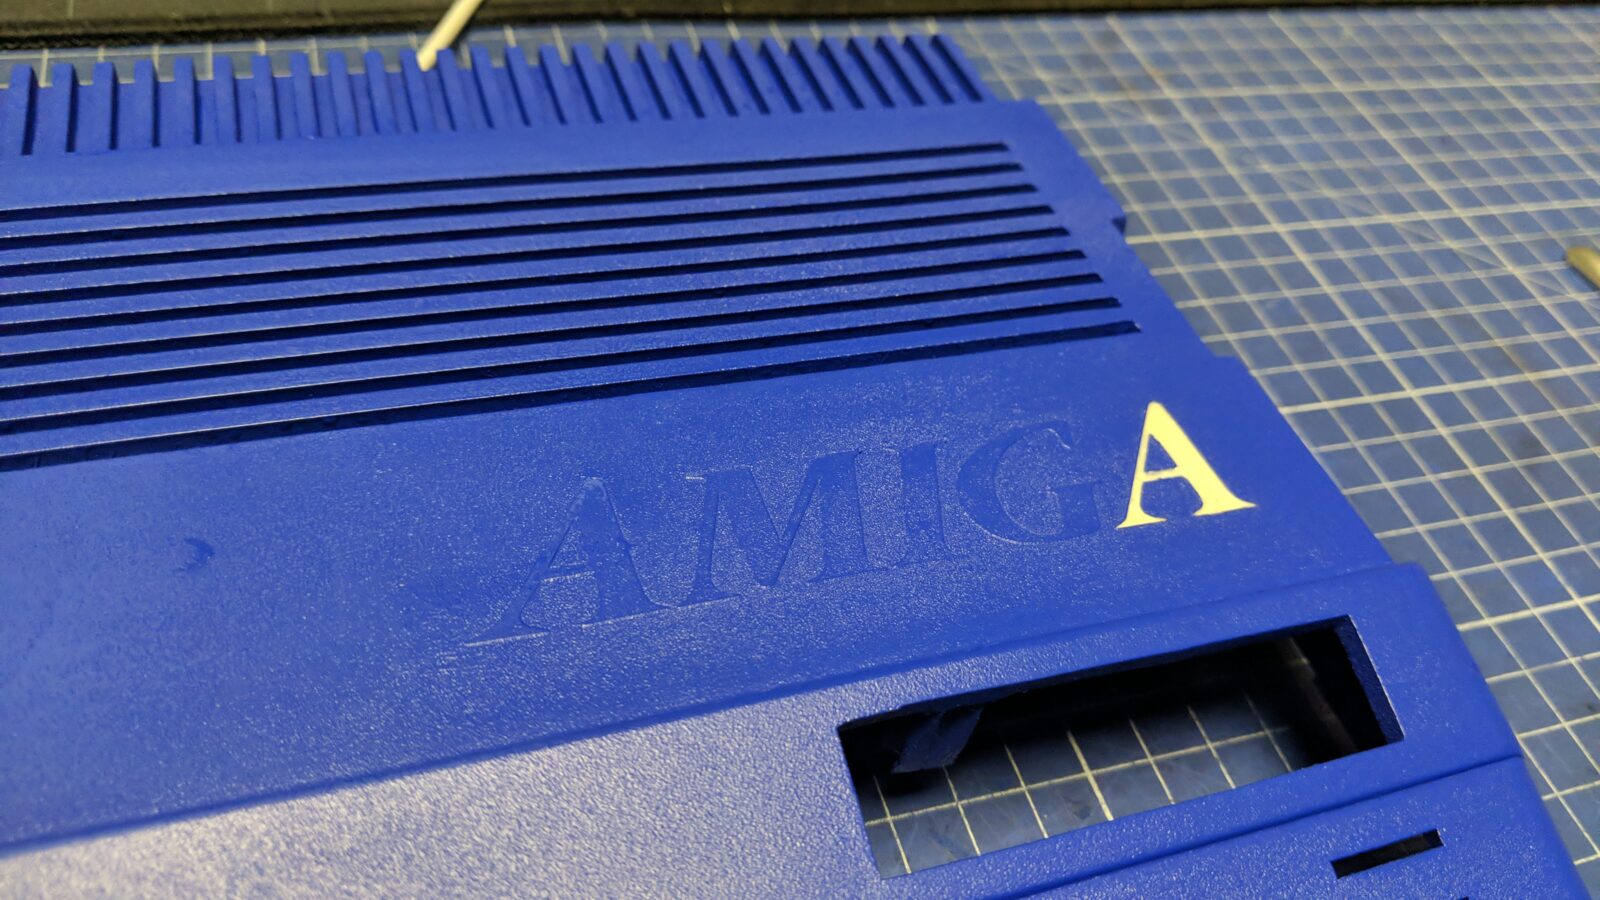
Anyway, after tons of work spent on correcting the mistake that could be avoided, I’ve ended up with this:

Gotek
Time to pimp a Gotek too 🙂
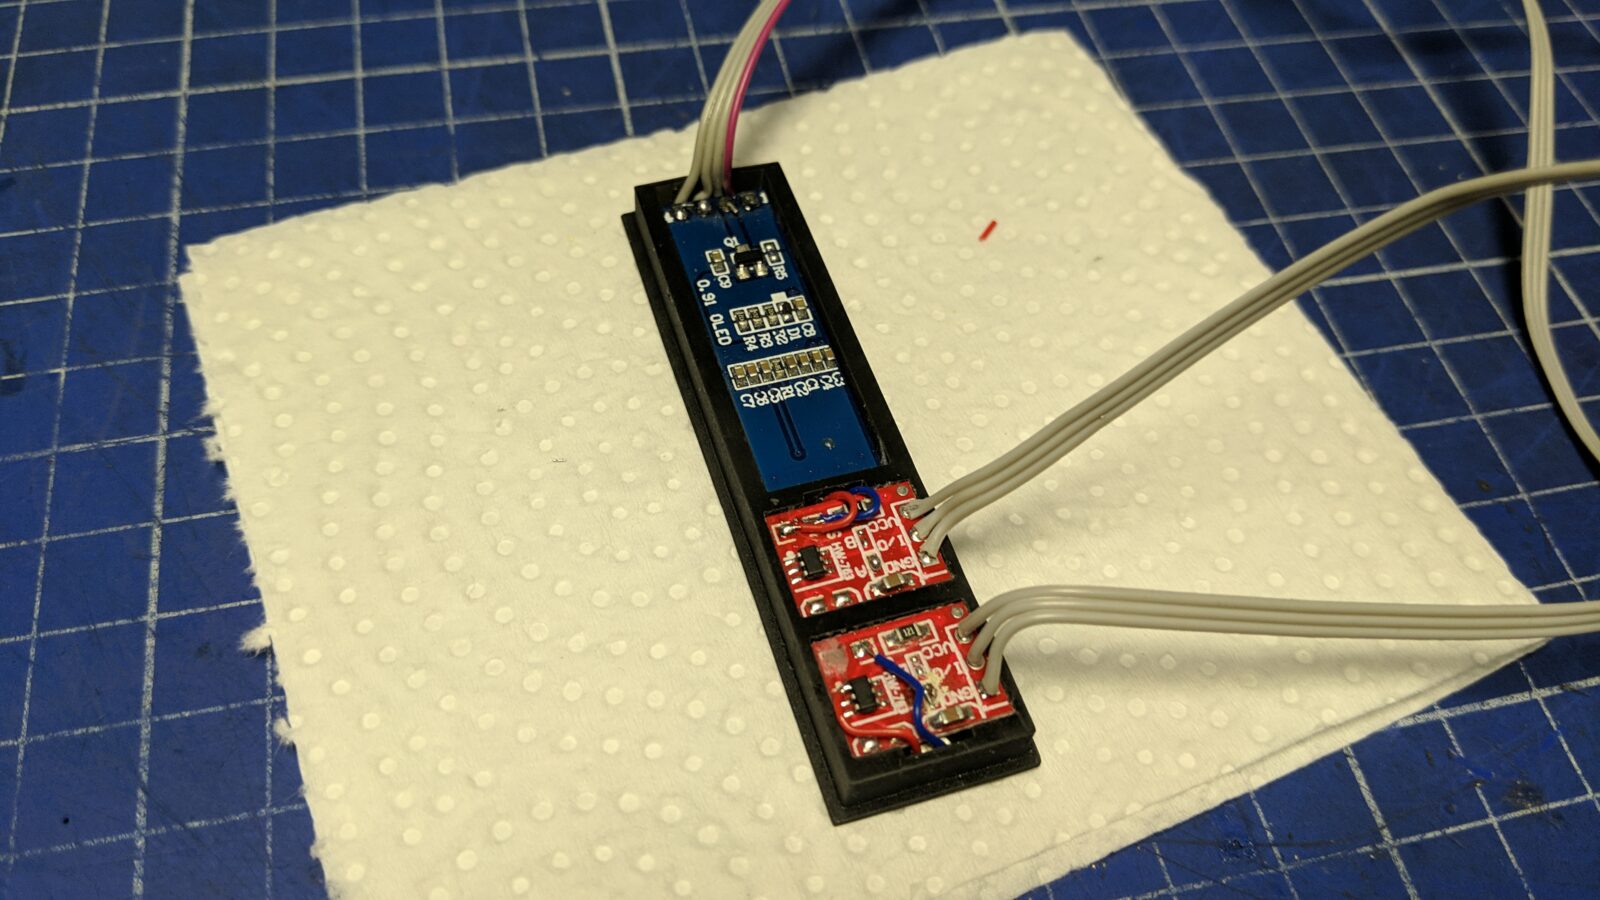
I’ve used simple touch-sensitive sensors connected in place of the original TACT switches. The OLED LCD mod is well known to everyone and is supported by the great FlashFloppy firmware by Keirf.
Additionally, I had to laser-cut some inserts out of fluo-colored acrylic and add some UV LEDs to make it glow nicely. Touchpads are lit up all the time unless you close your finger to it.
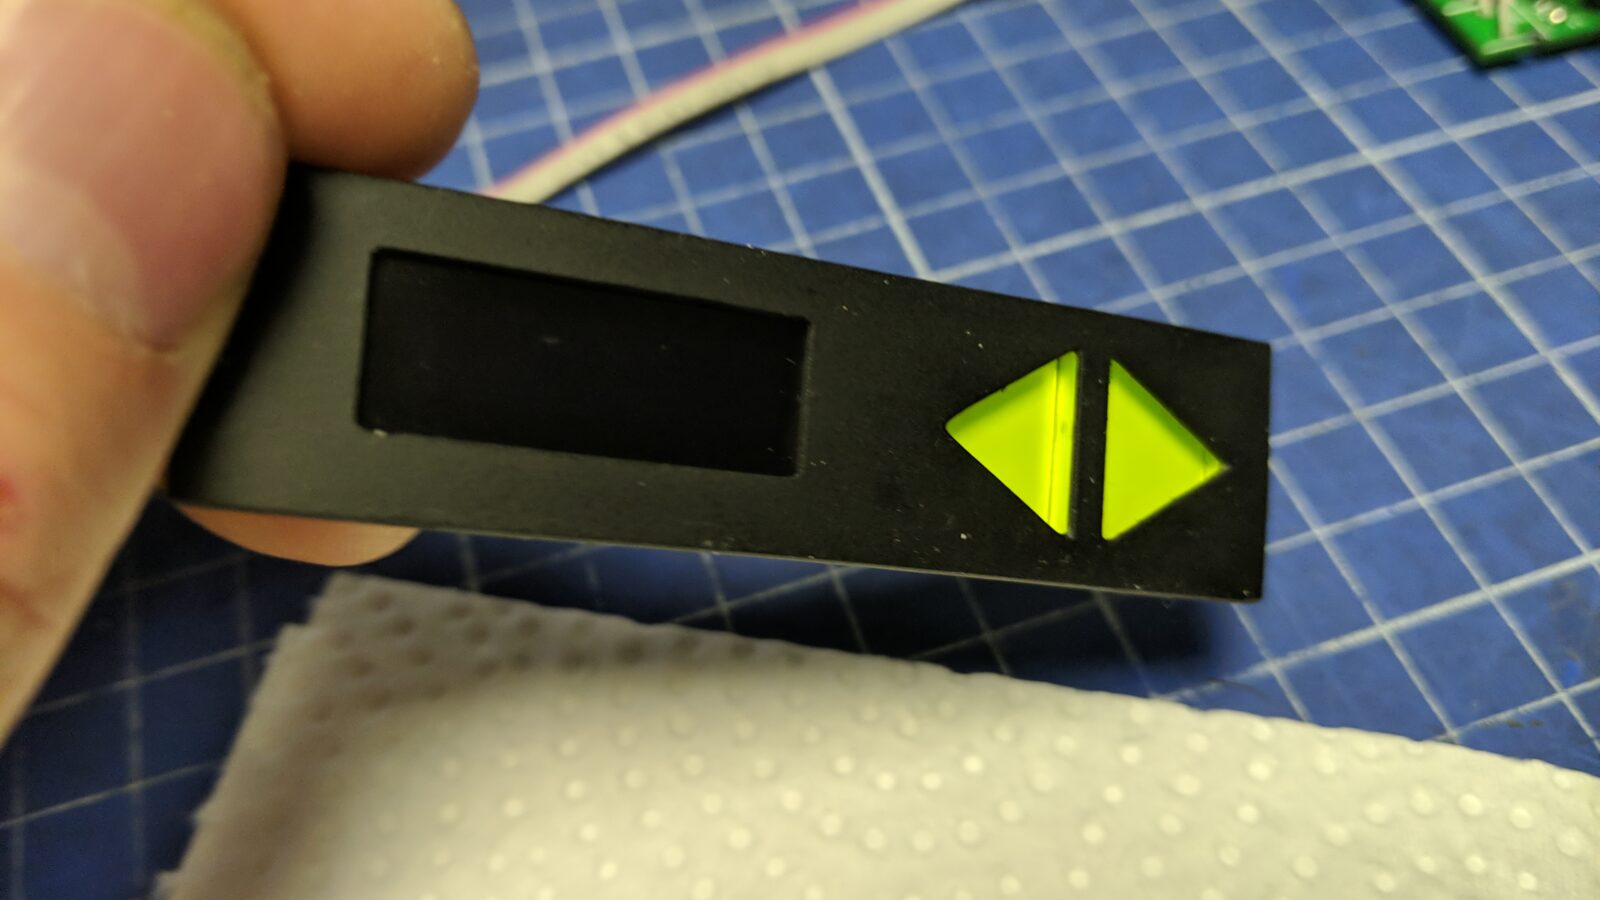
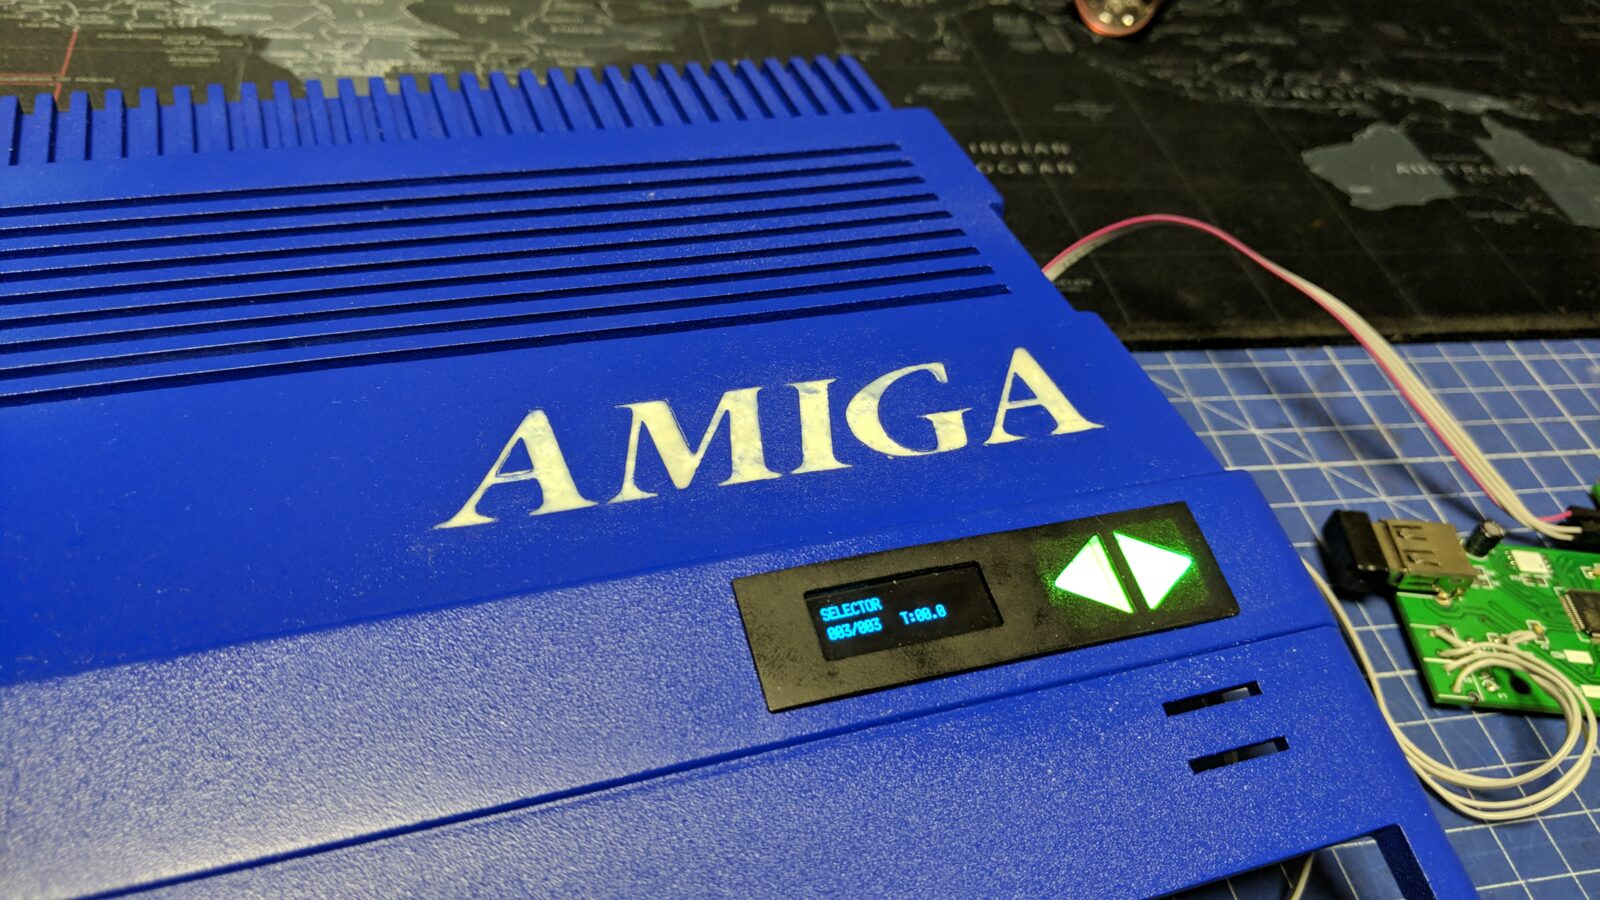
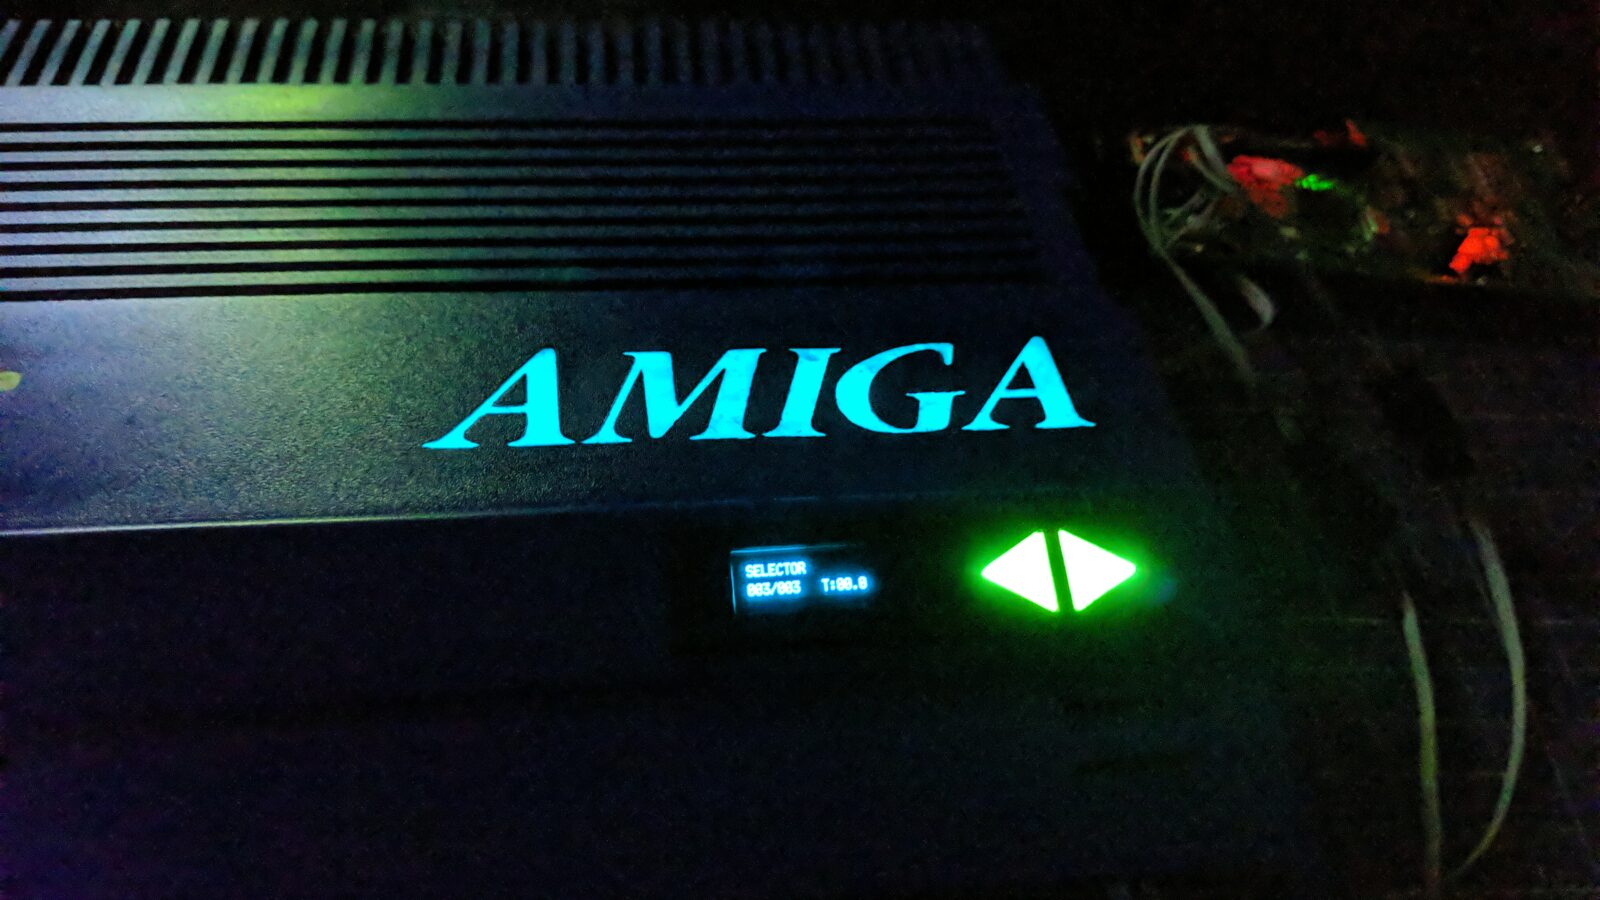
Here is how it looks installed in full light.
Semi-dark

Dark
With a bit of UV light for fun 🙂
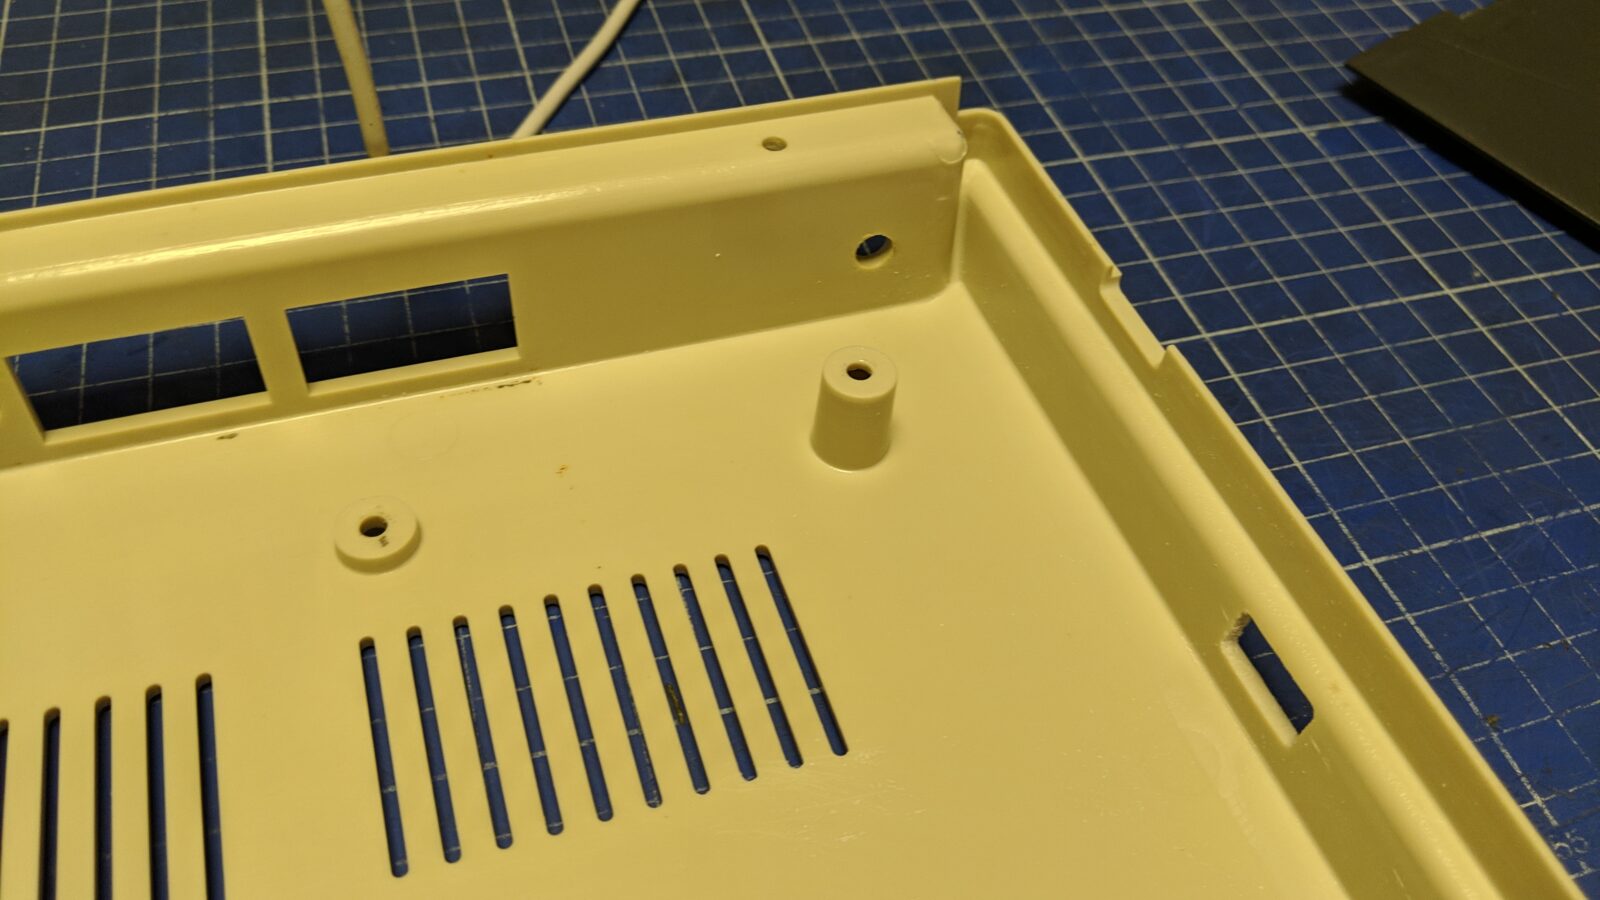
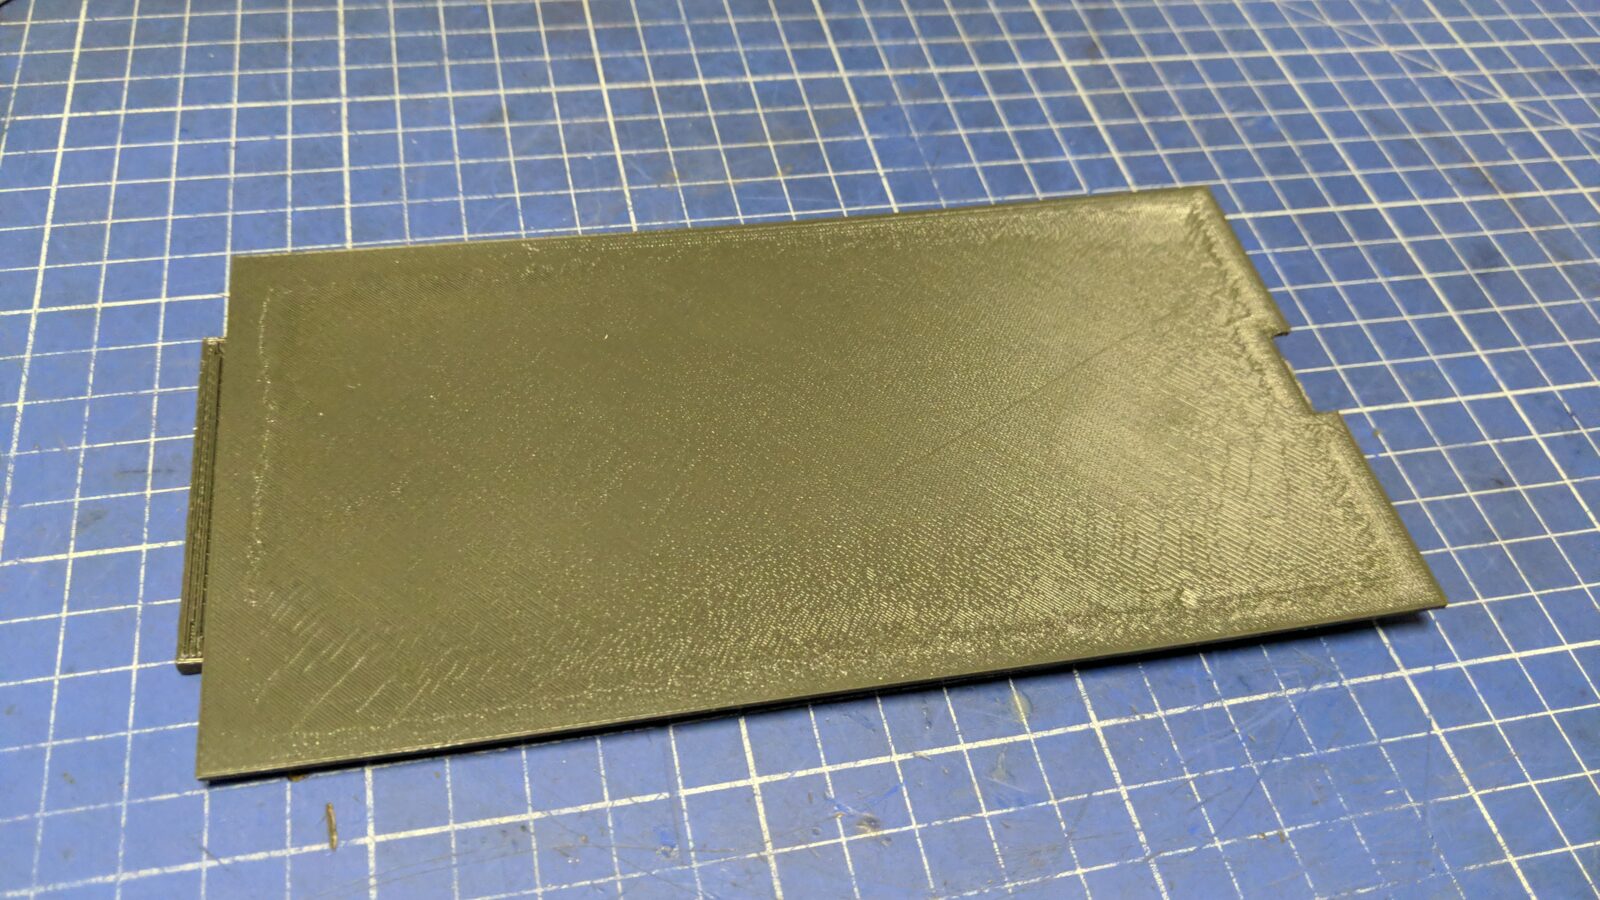
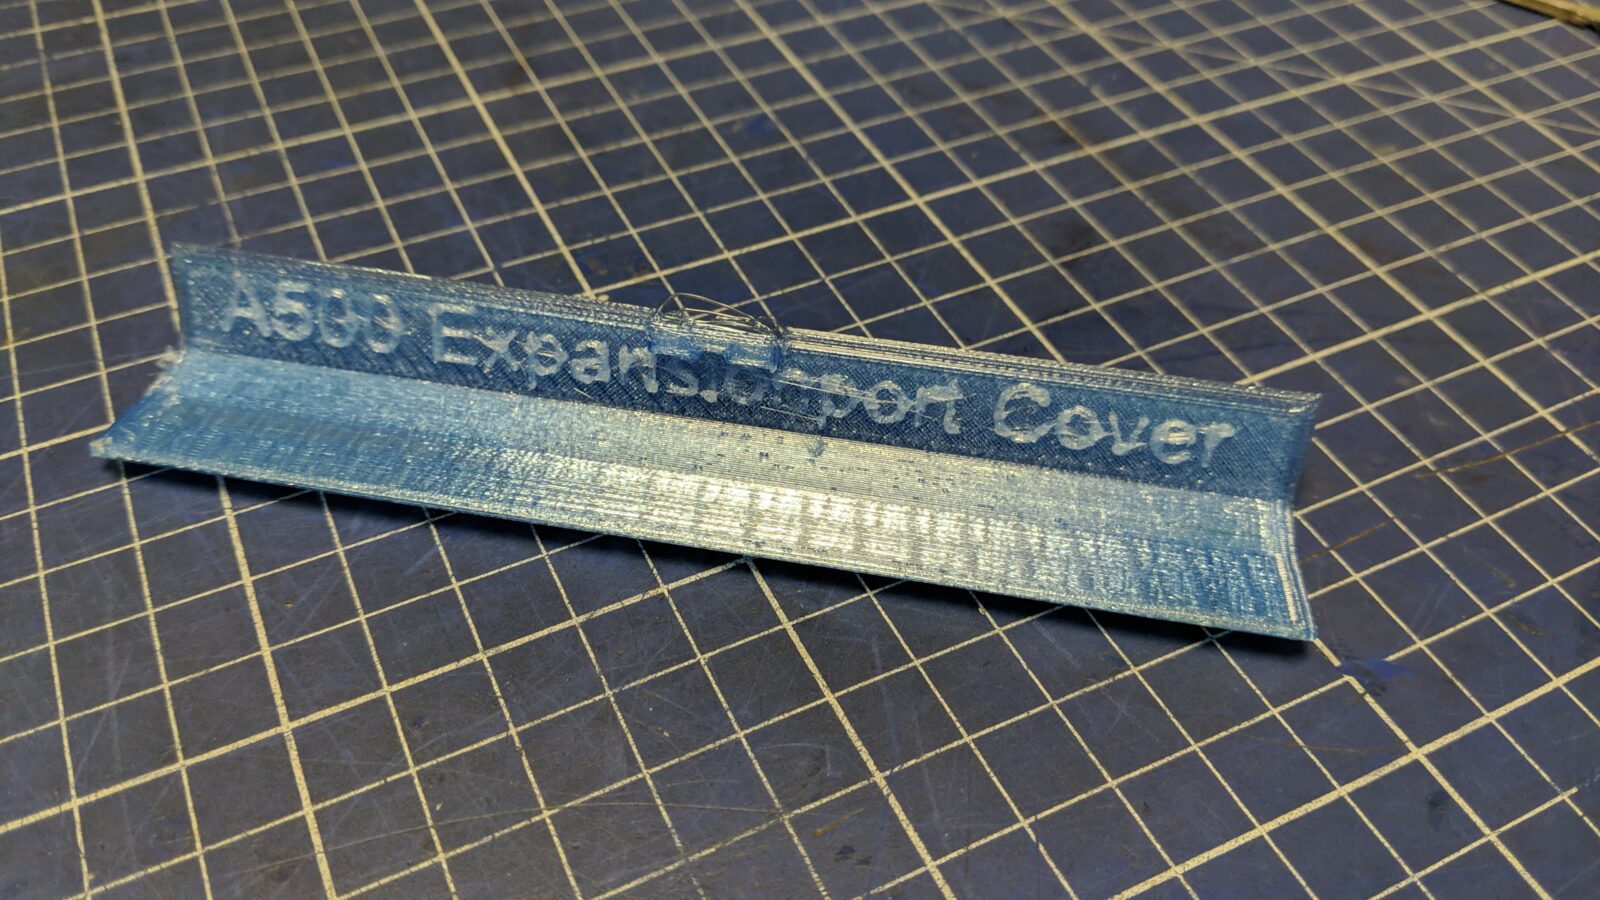
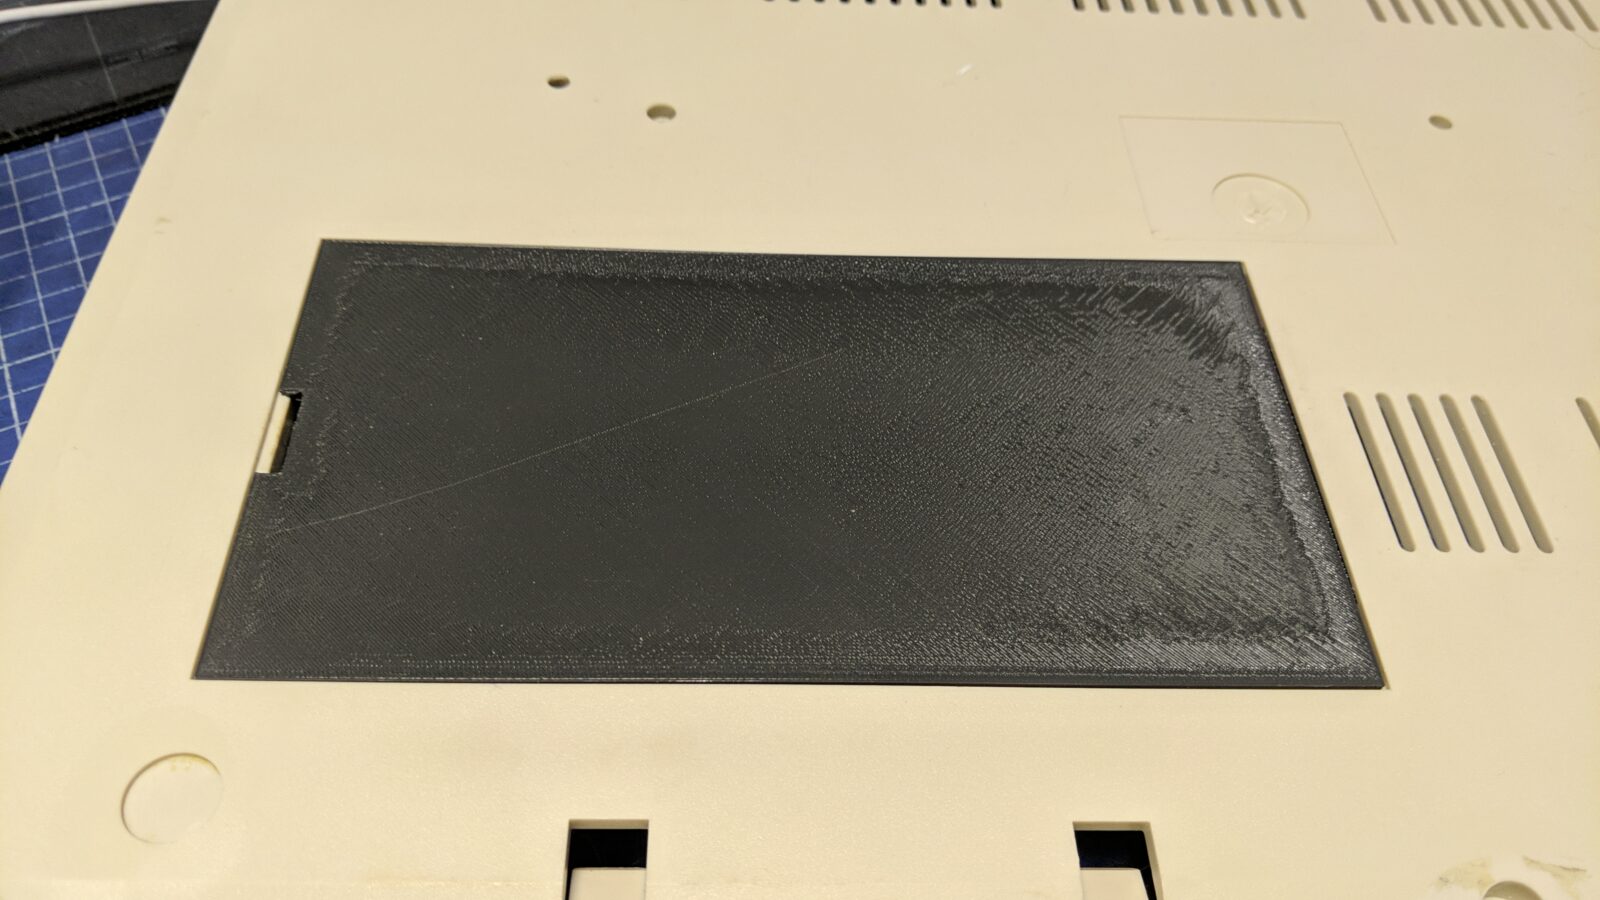
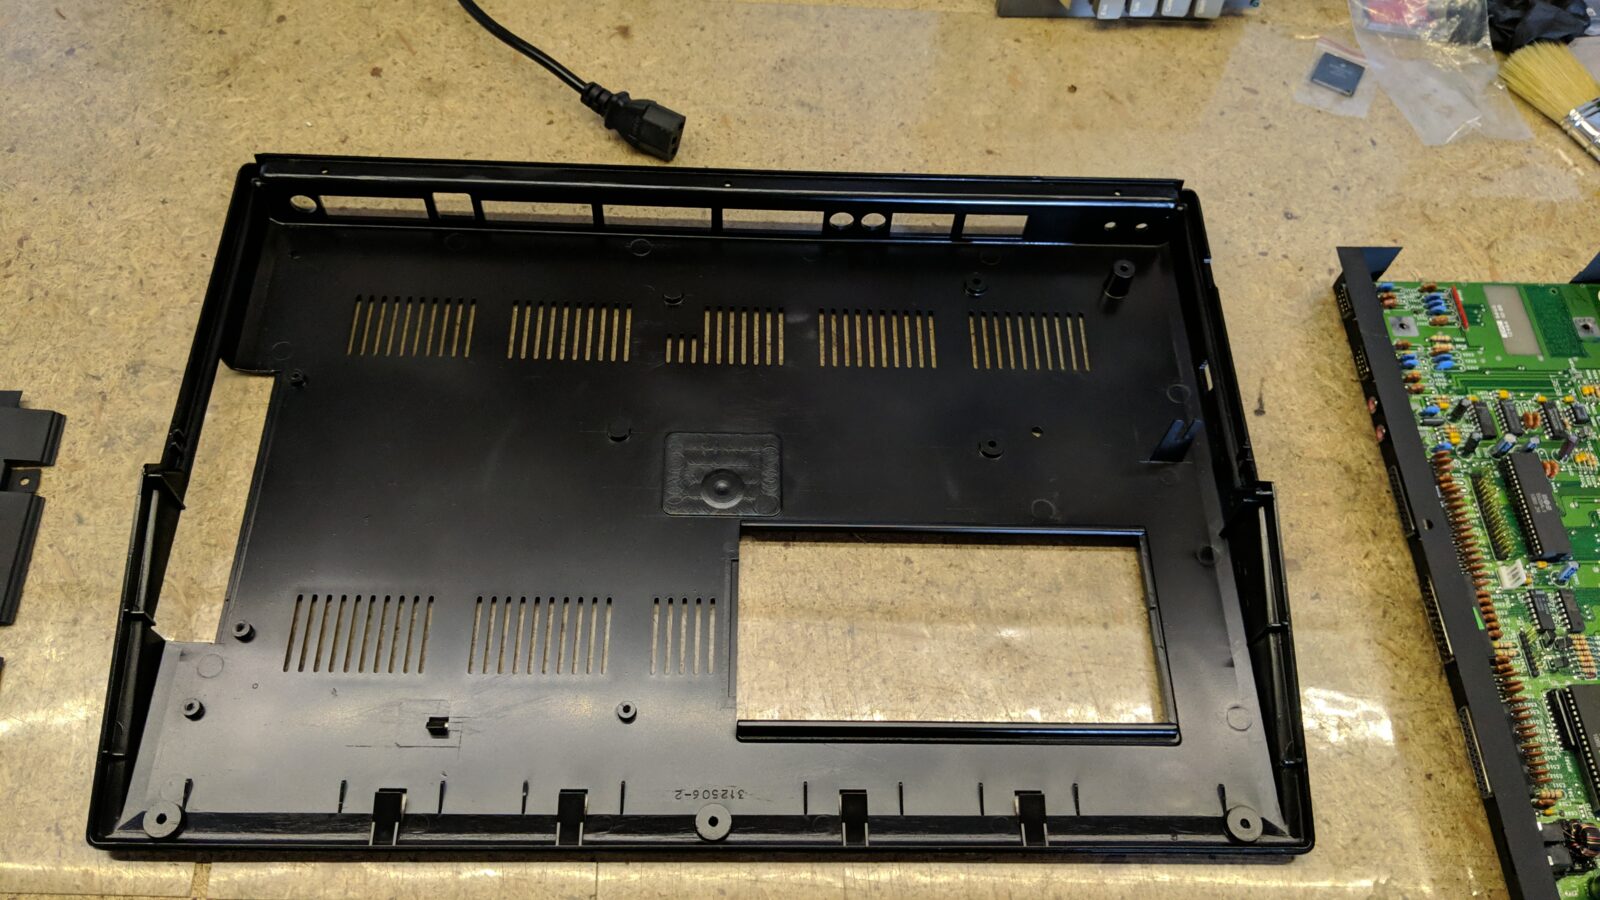
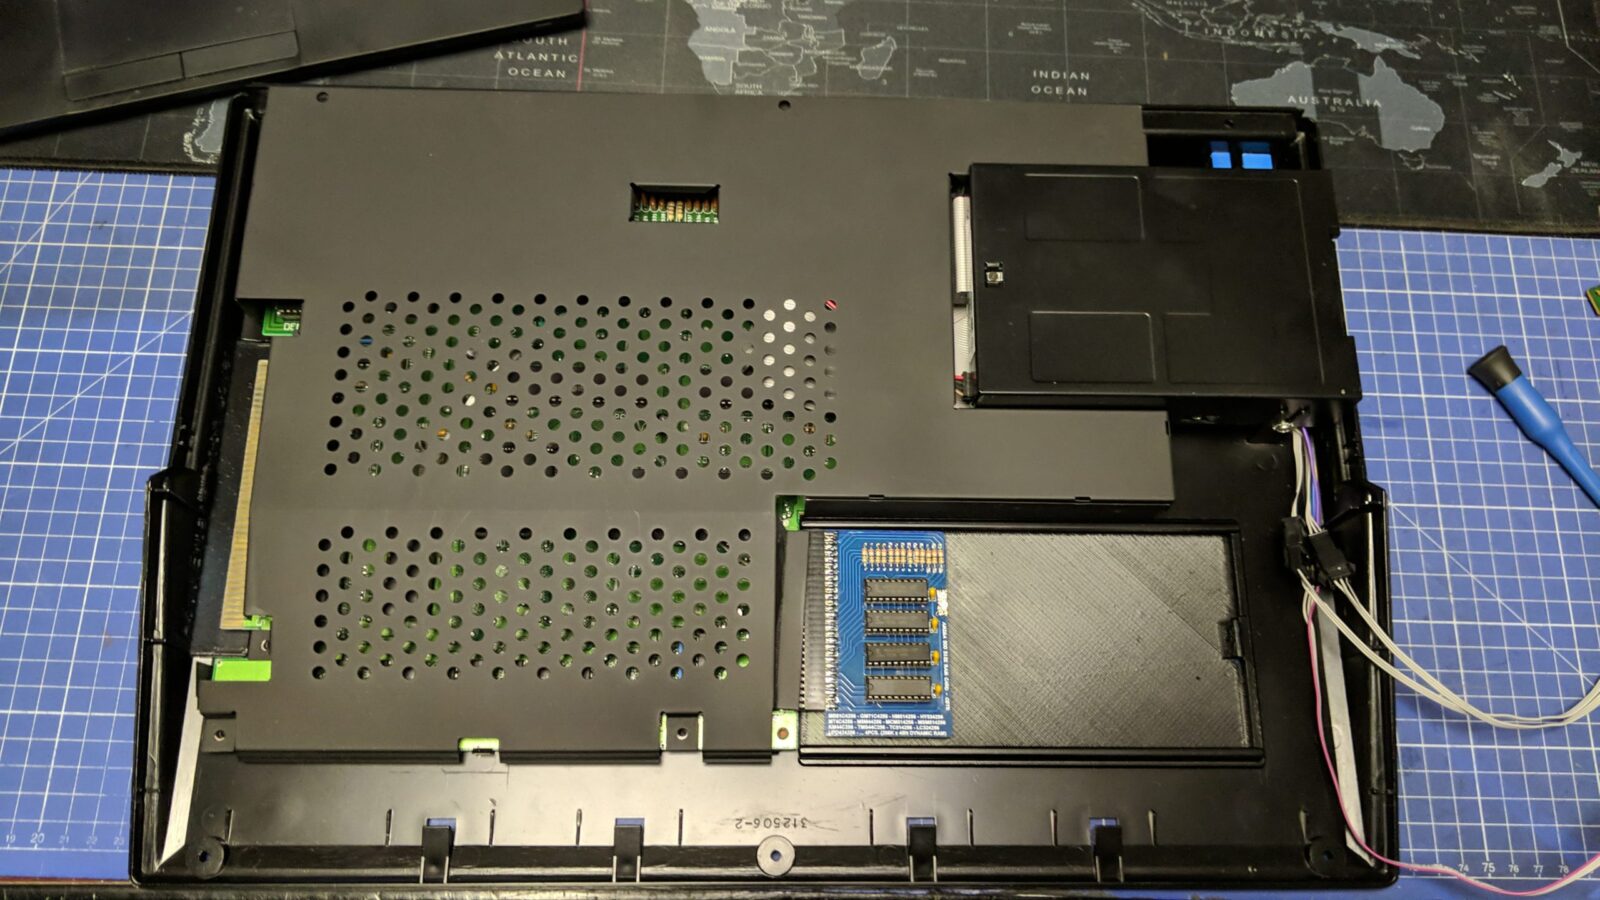
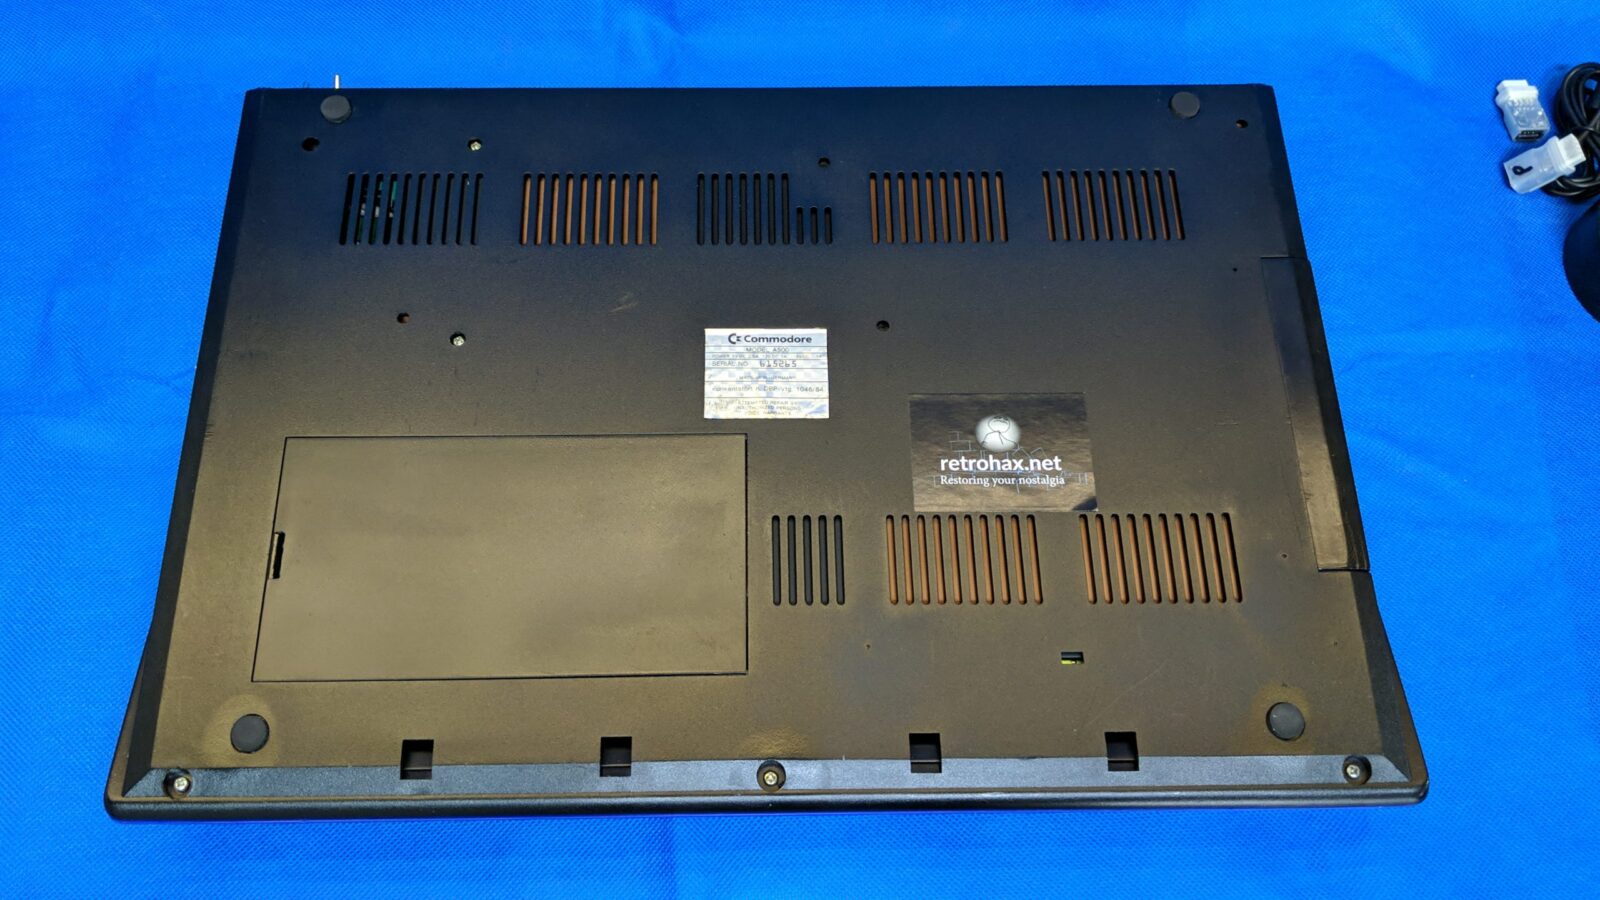
The bottom part of the case
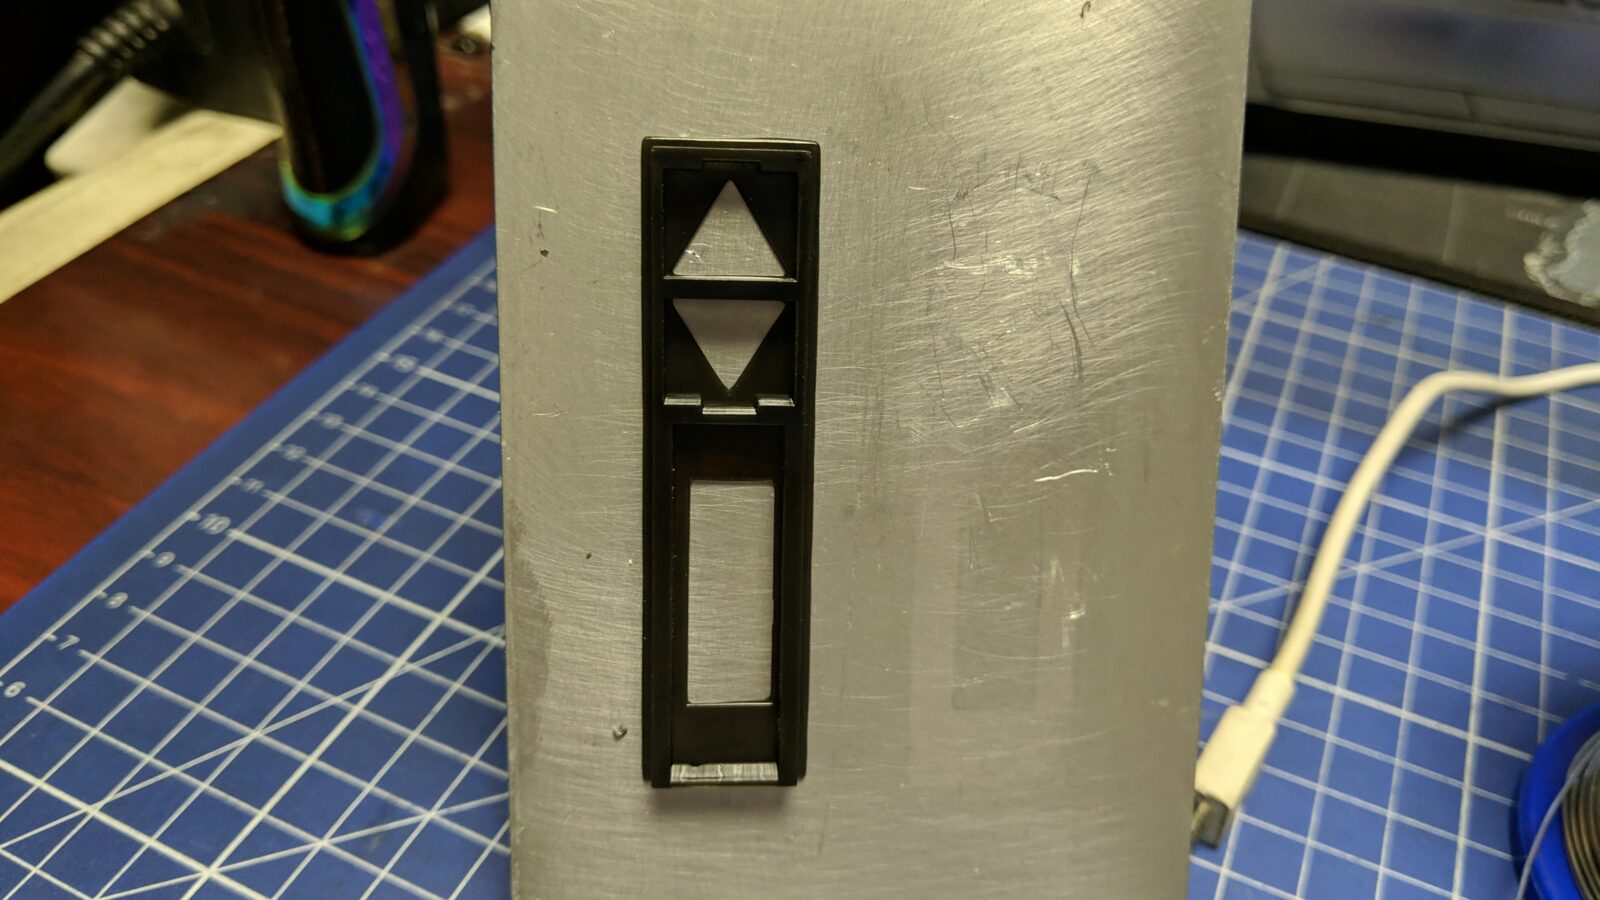
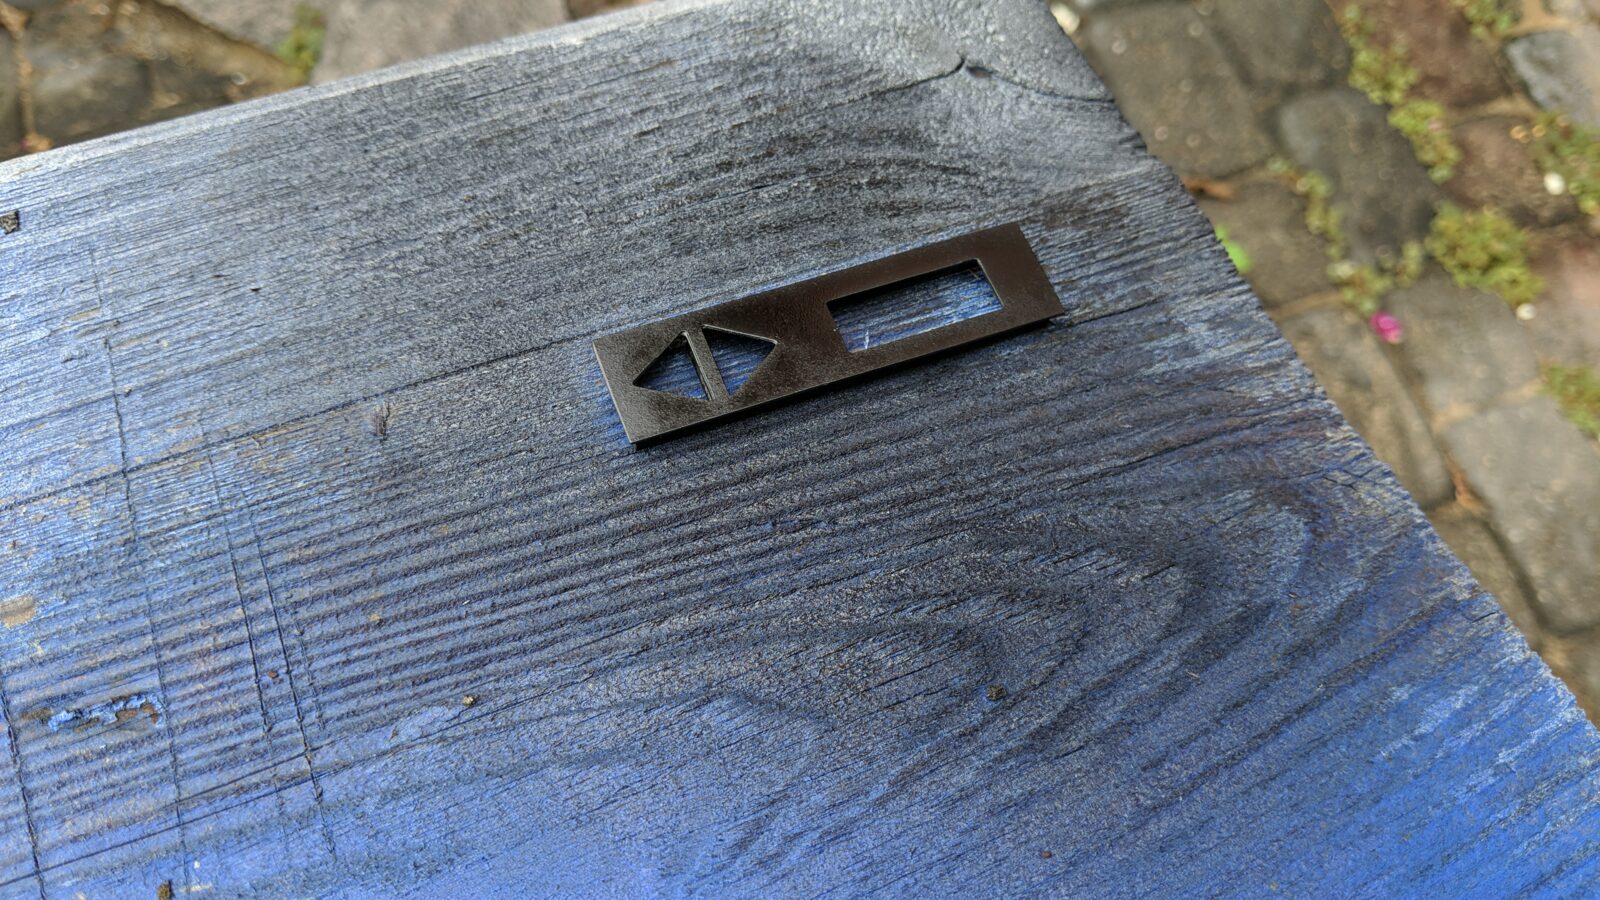
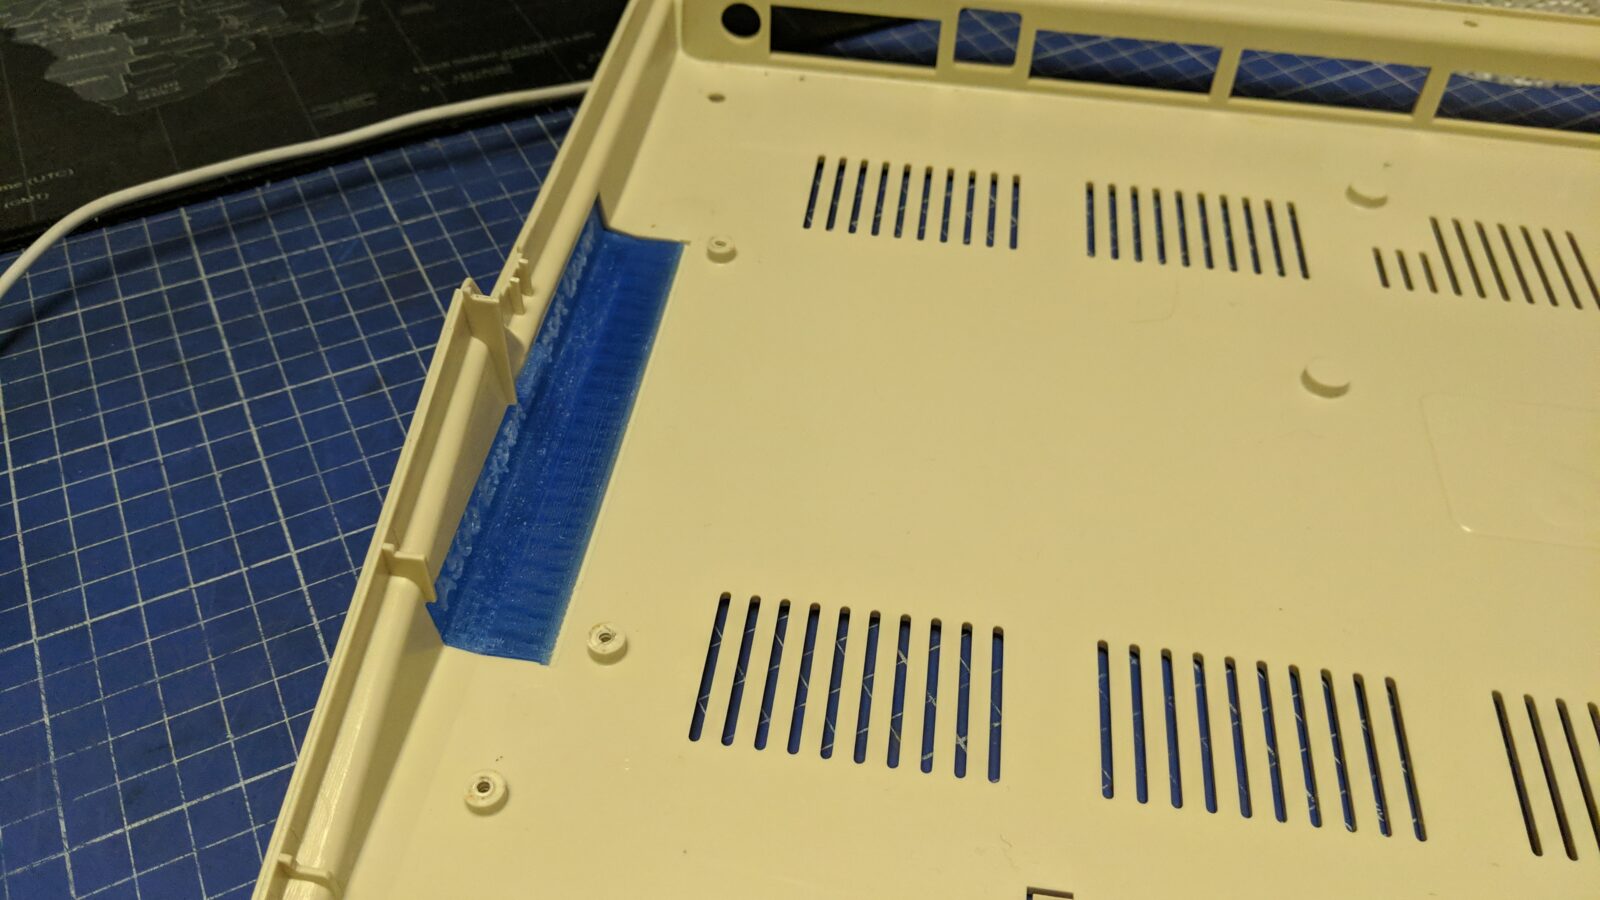
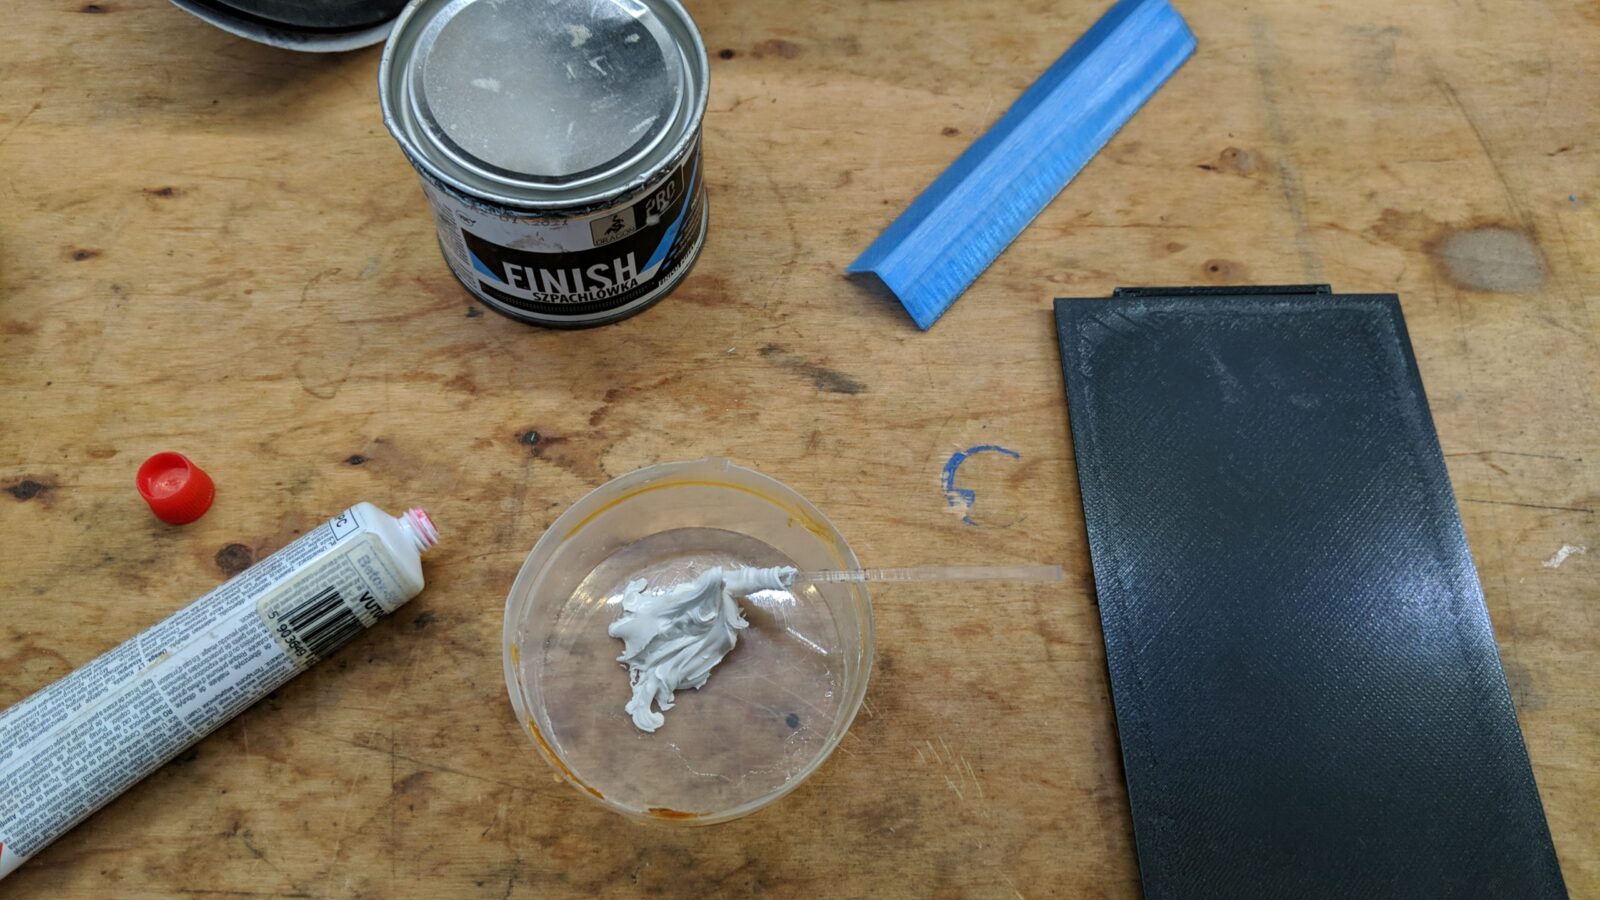
The plan for the bottom part was simple. Make a hole for a USB thumb drive(GOTEK), install RAM and floppy drive switches, 3D print covers, and paint it all black.
Now, some postprocessing, some putty, and painting.
After painting, I added some rubber pads and reapplied the original sticker.


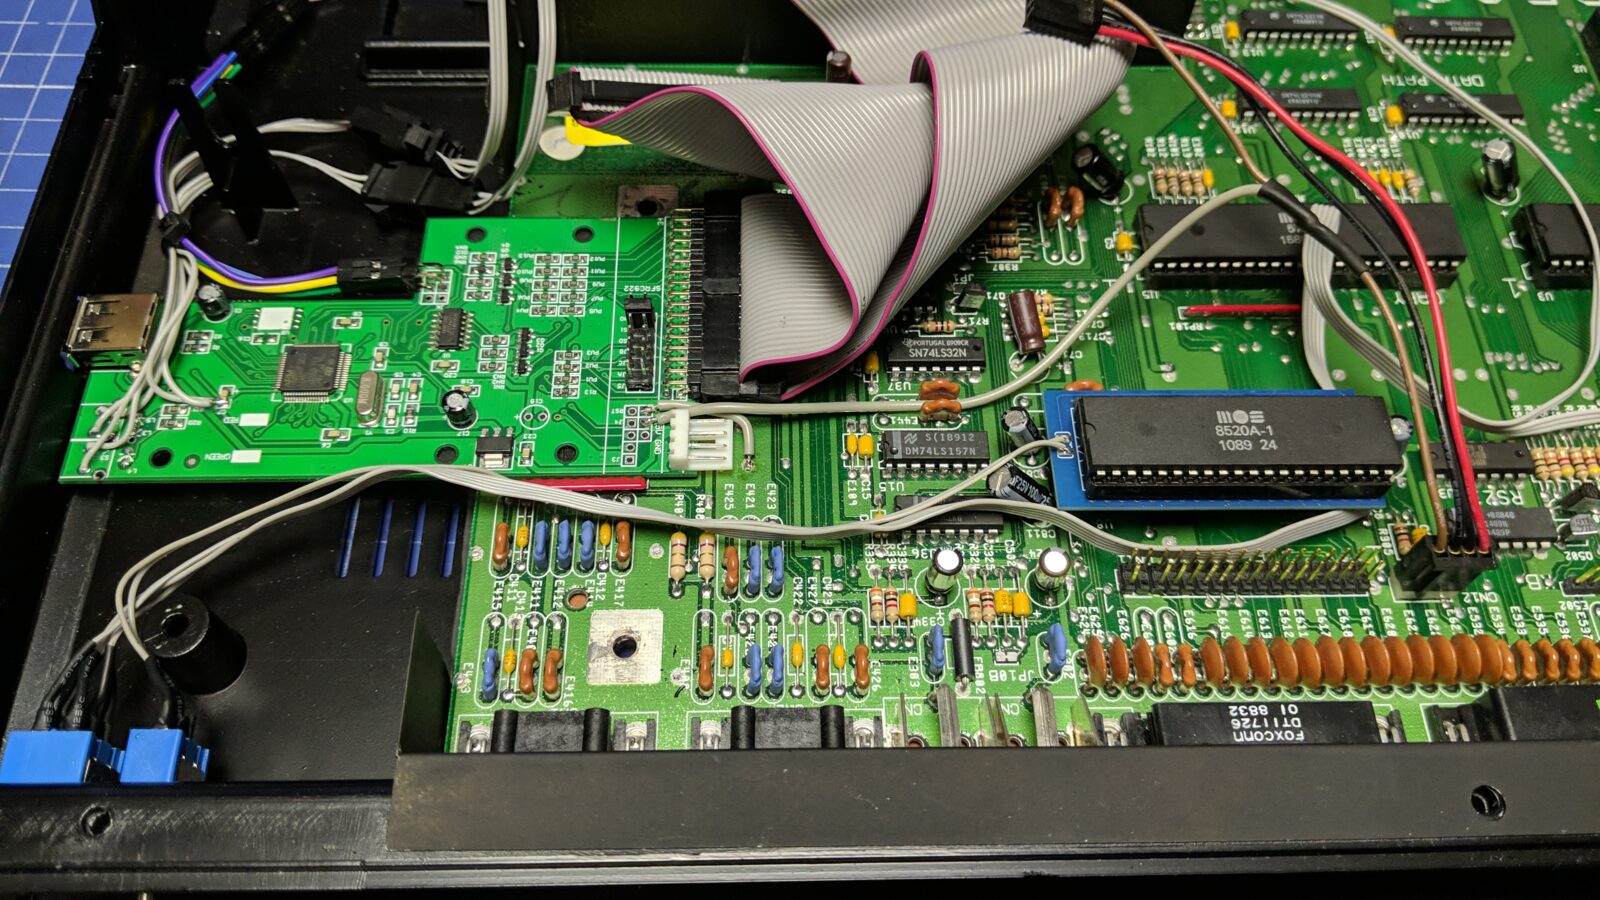
Gotek installation is next. The idea here was to have GOTEK and the original floppy installed but only one of these devices can work while Amiga is powered on. This is controlled by switching the 5V rail to one device or the other. This idea was modified and I’ll show you how later on.
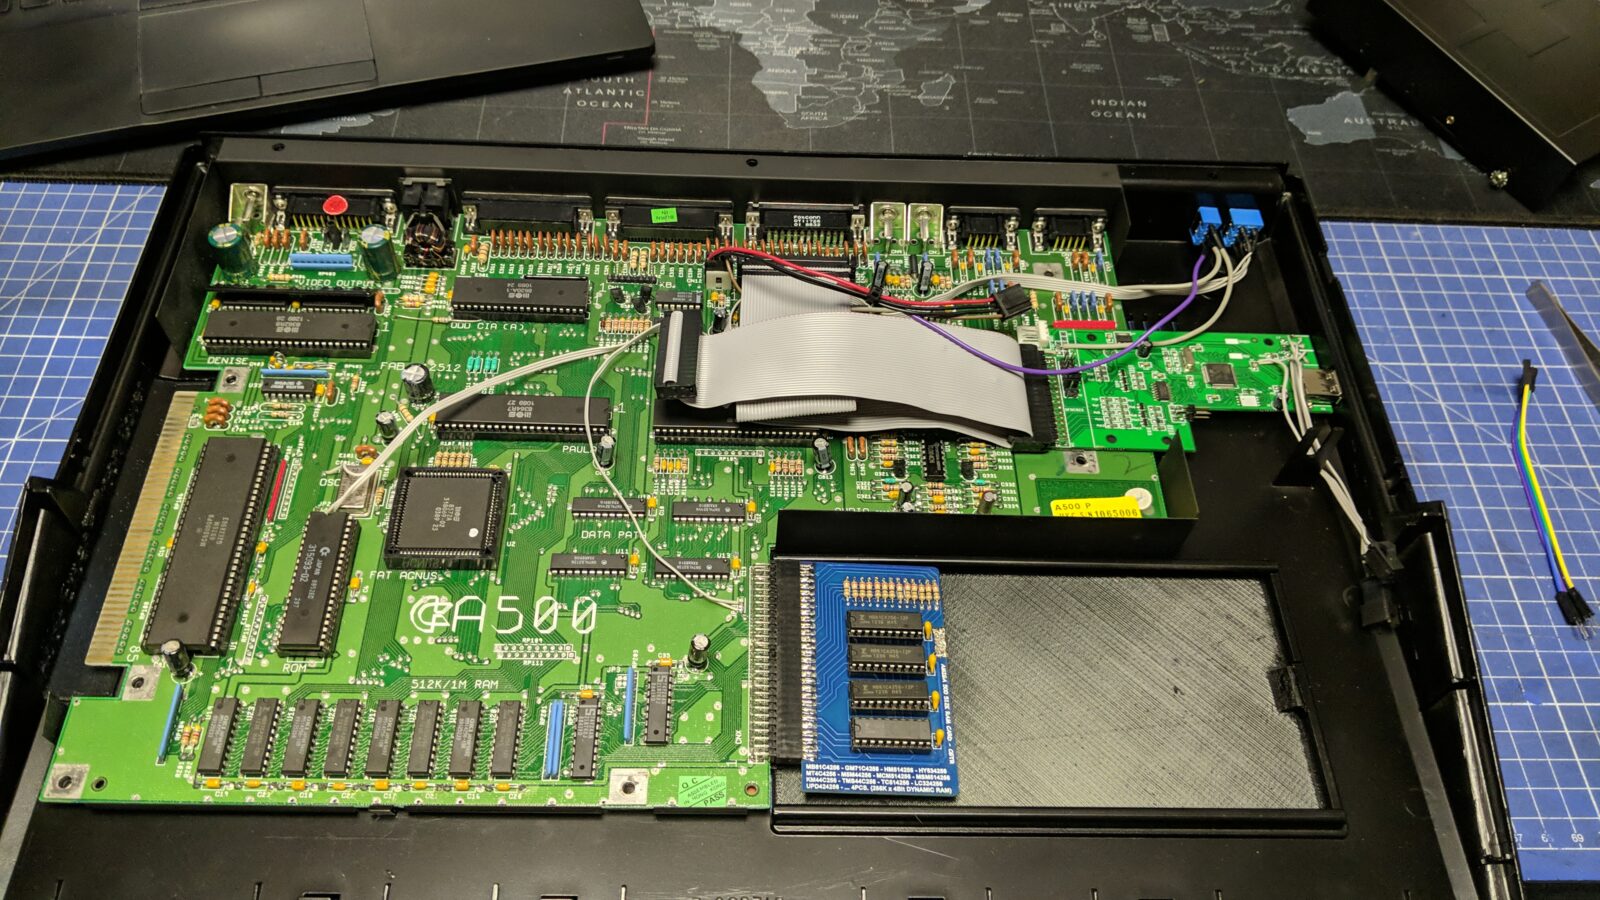
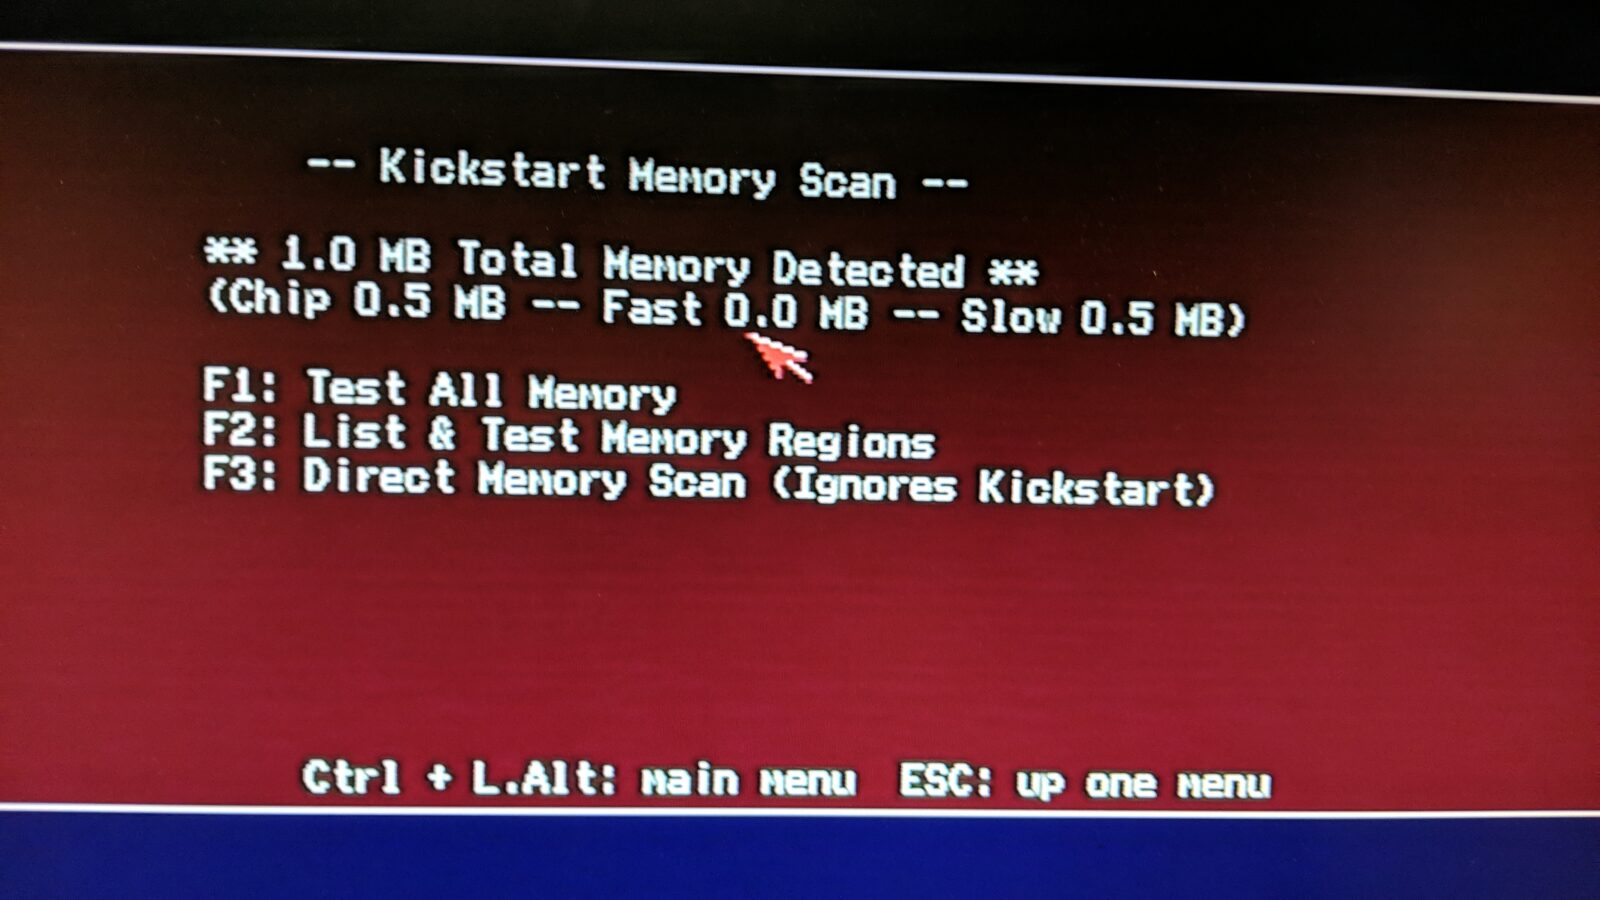
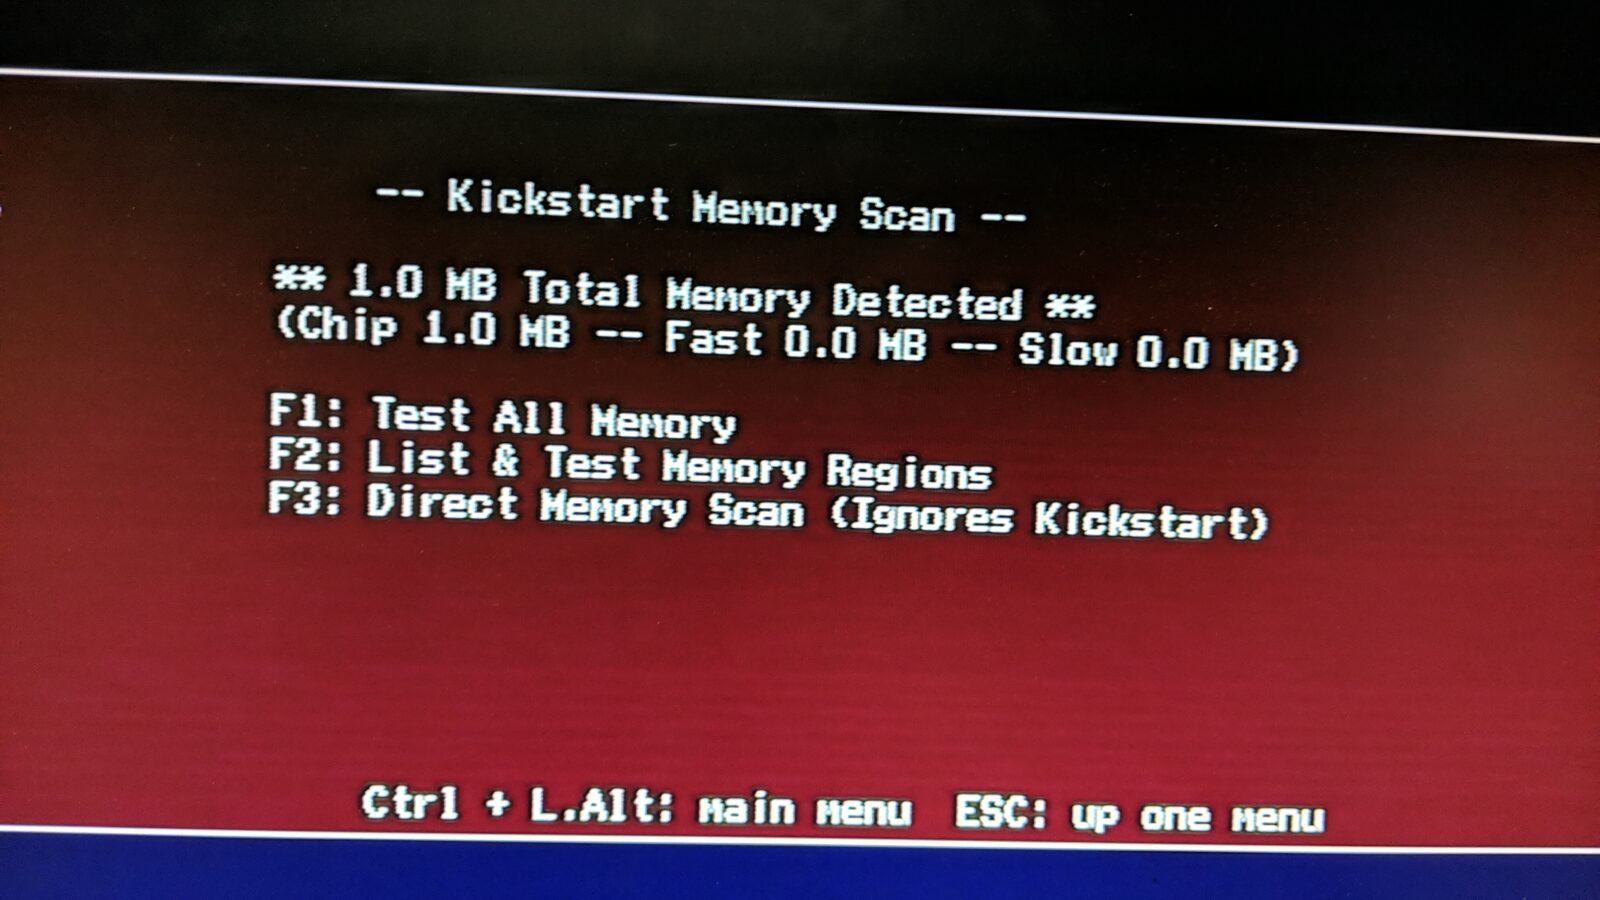
I’ve then added an A501 trapdoor RAM expansion, loaded Amiga Test Kit with GOTEK, and checked if the RAM switch works properly.
The RAM switch allows you to have two RAM configurations.
- 512KB of onboard CHIP RAM + 512KB trapdoor expansion SLOW RAM
- 1MB of onboard CHIP RAM – trapdoor expansion DISABLED
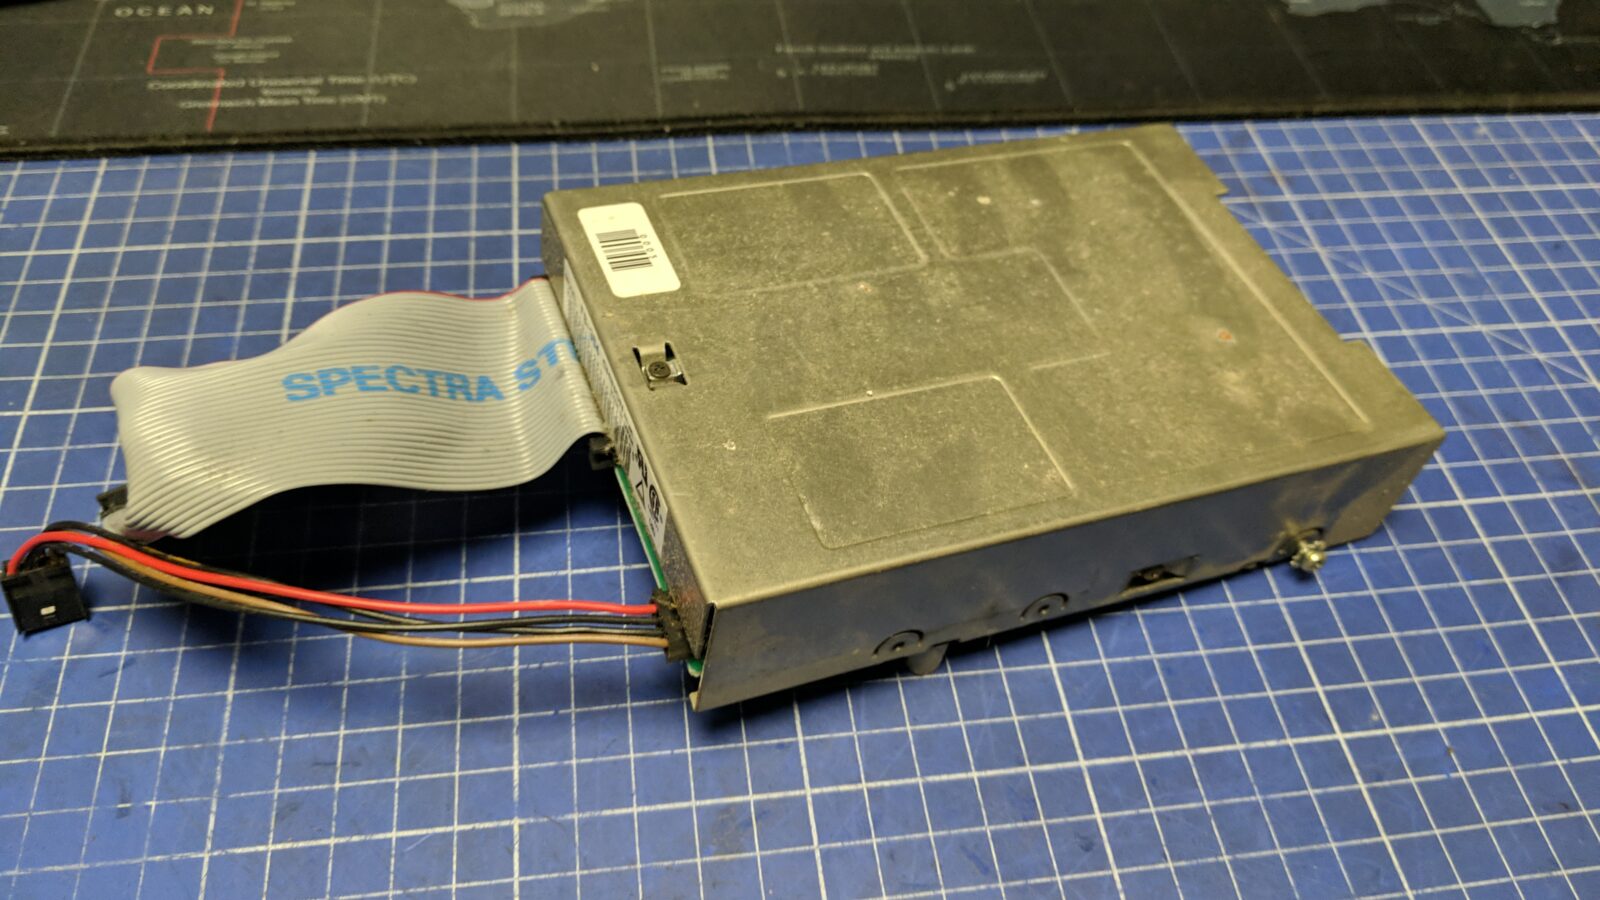
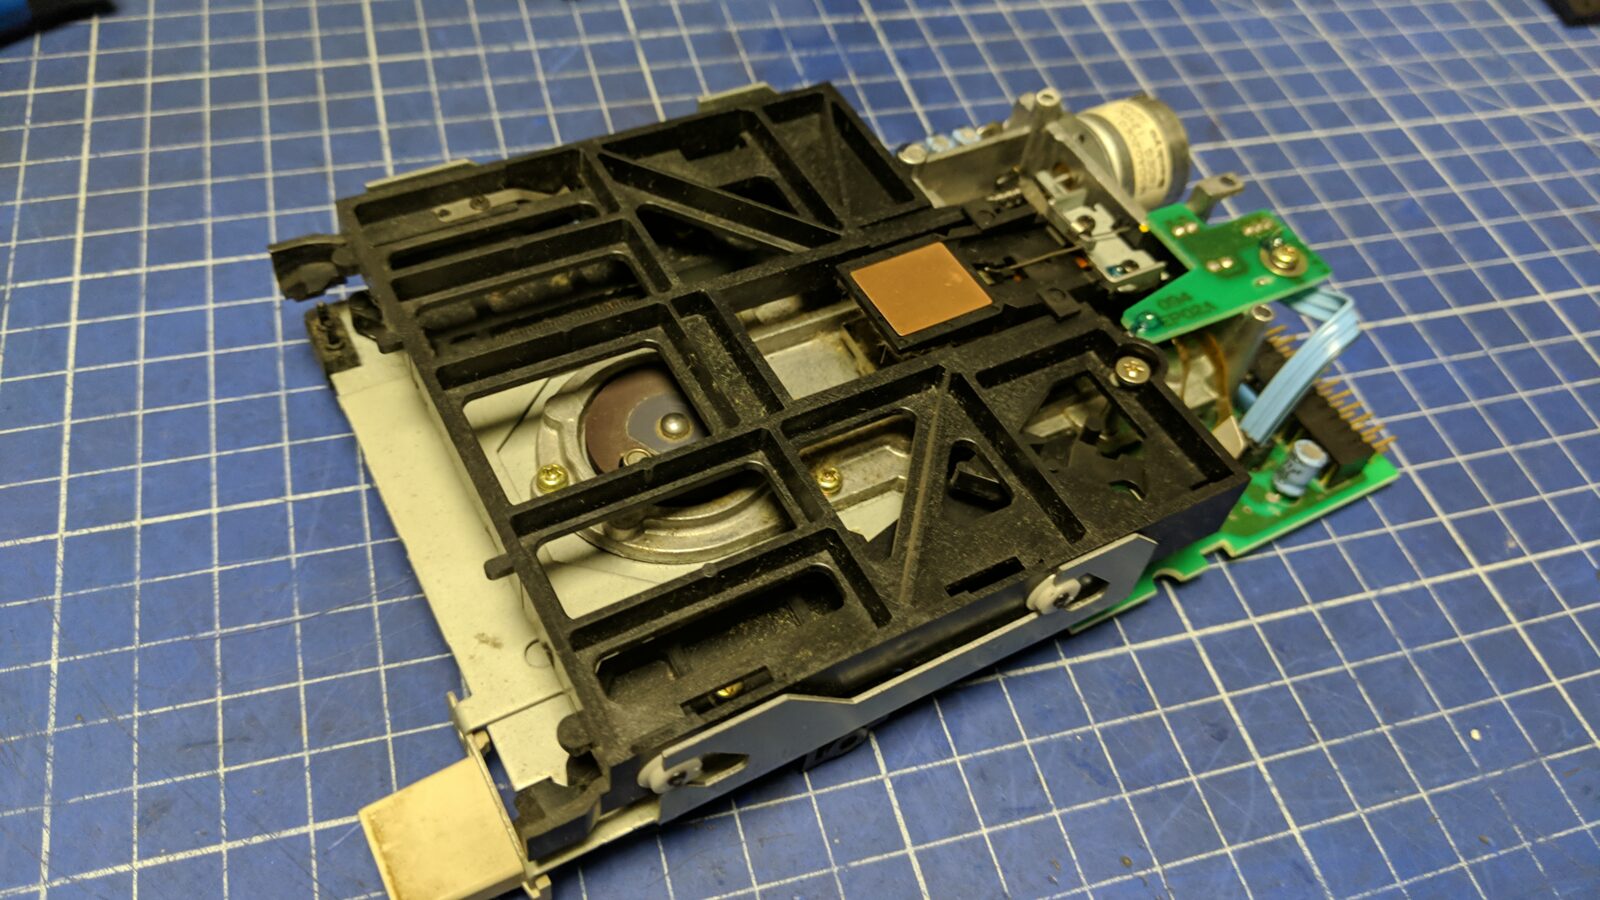
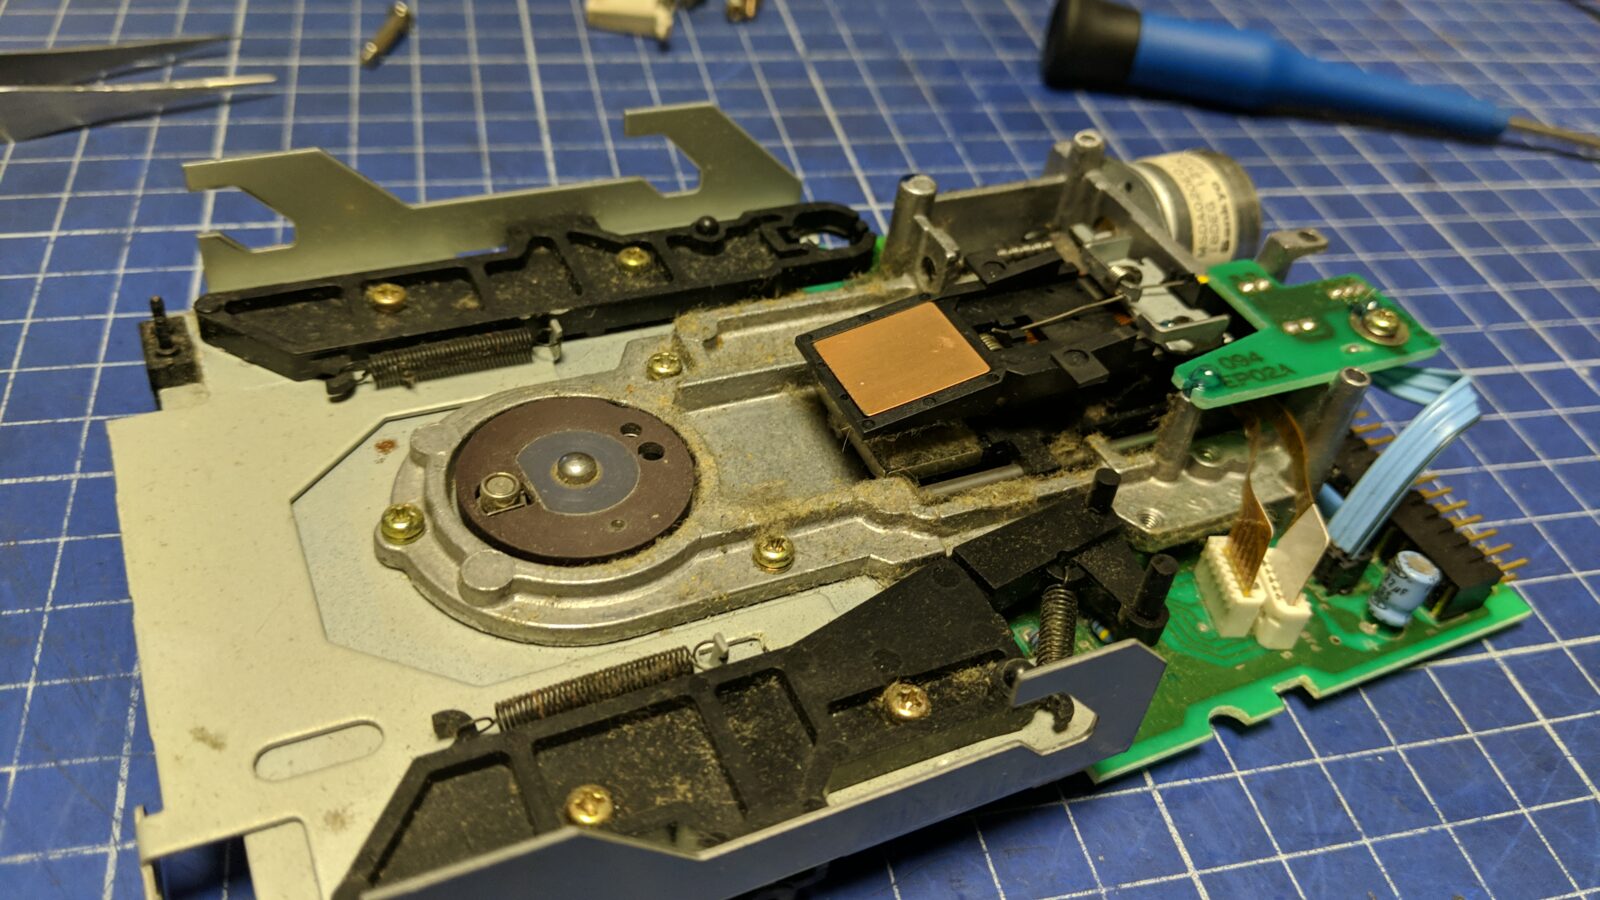
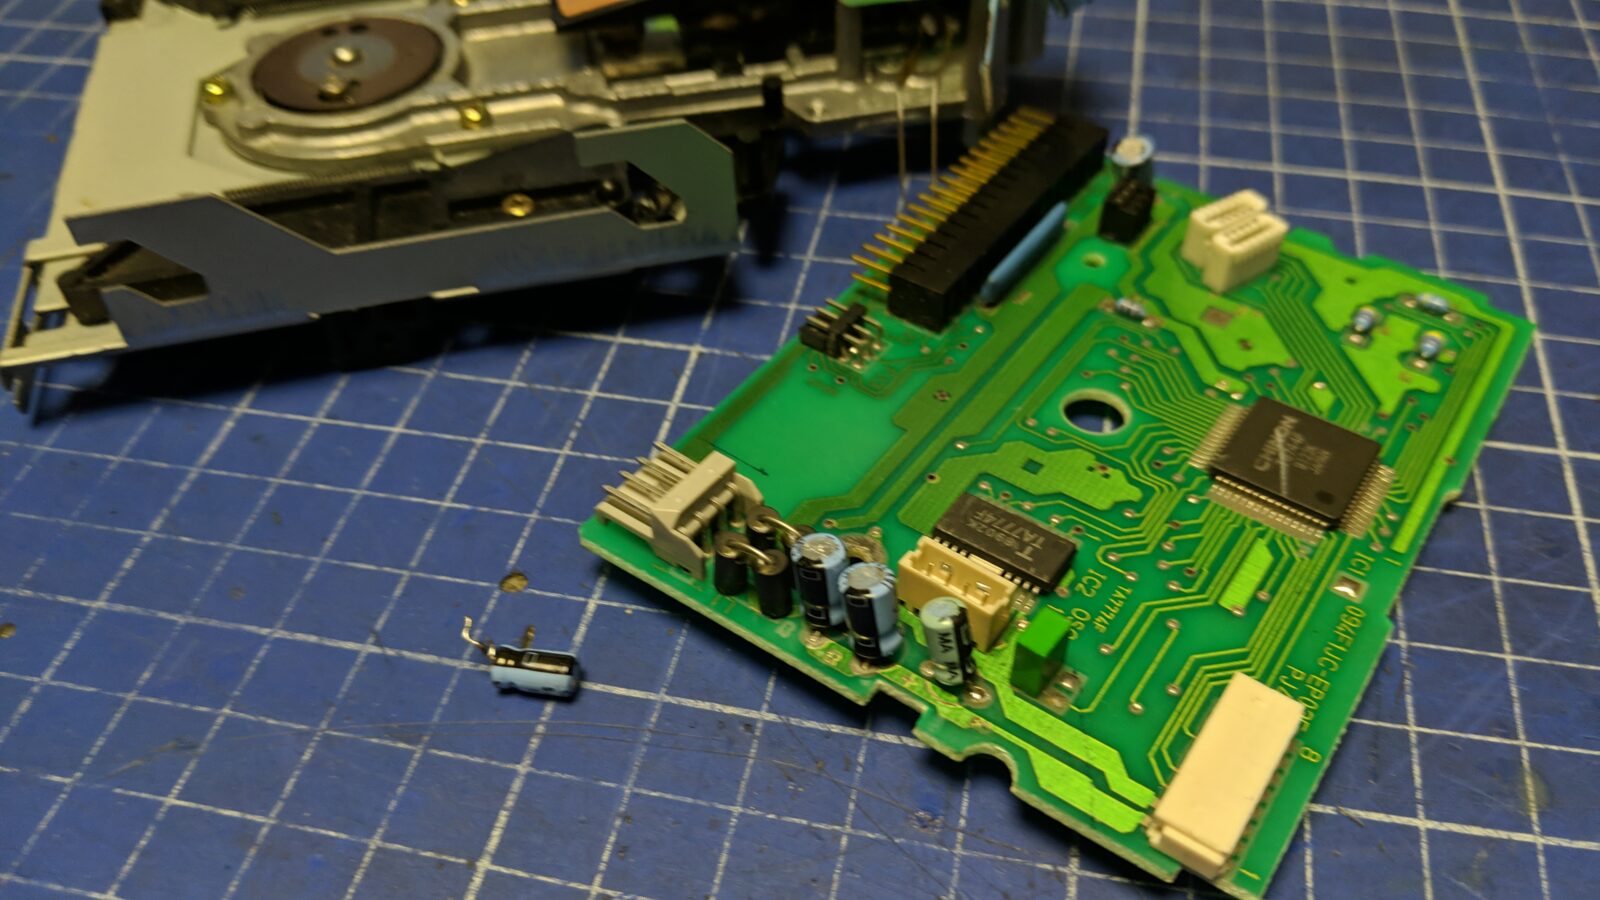
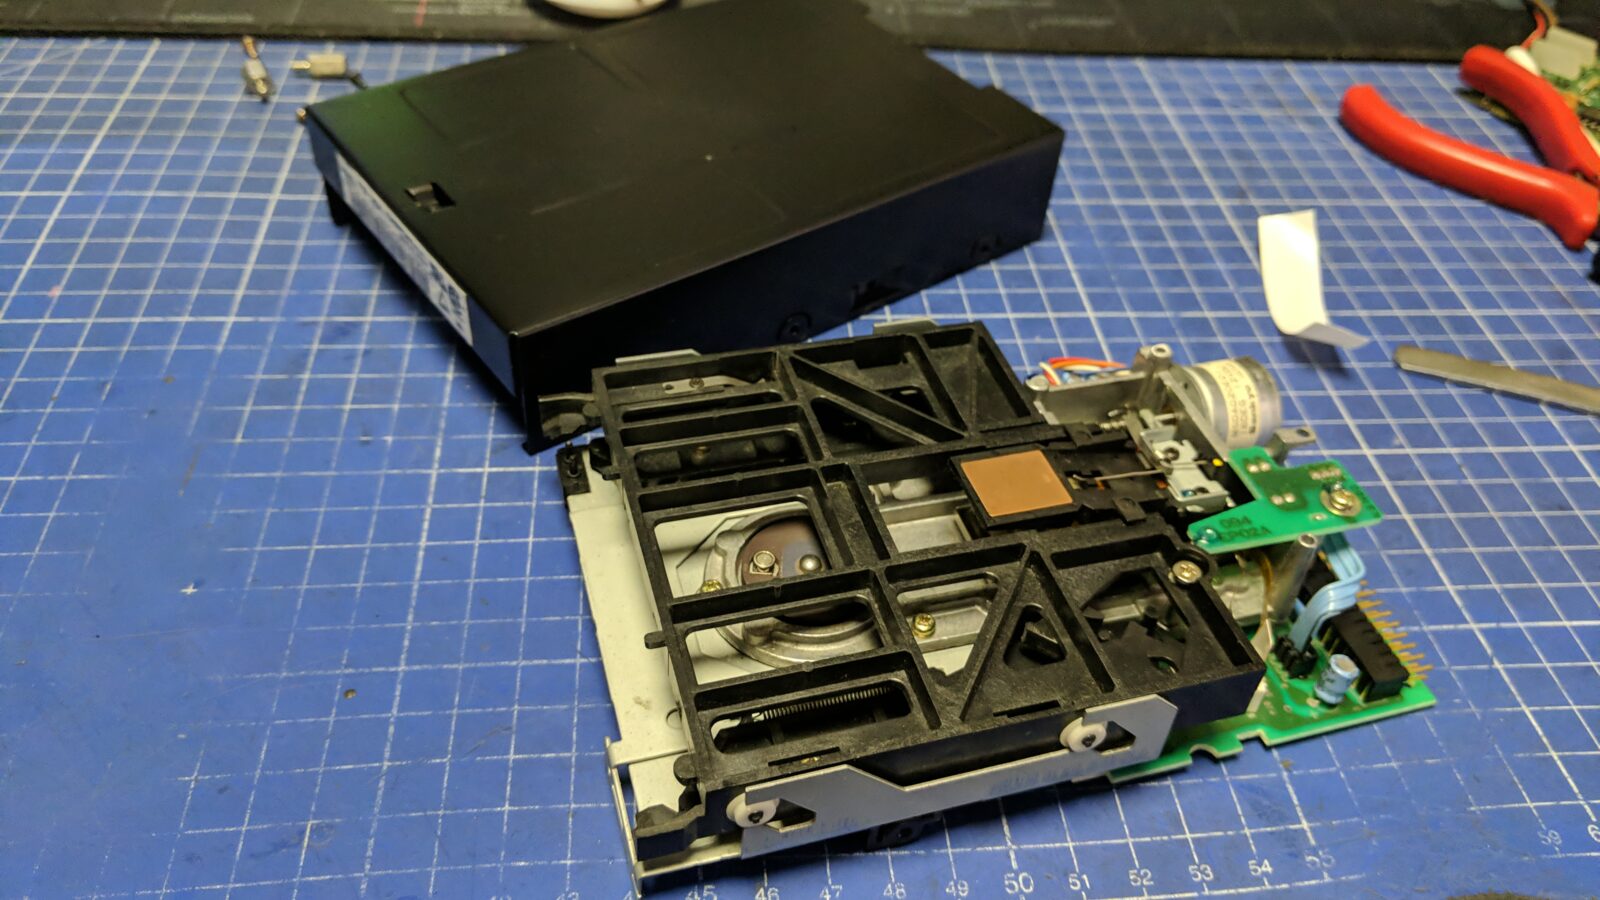
Original floppy drive
The original CHINON floppy drive was disassembled, cleaned, and lubricated and the cover+button were painted black. One electrolytic capacitor needed a replacement.
At this stage, I realized that the GOTEK+Floppy pair can work together. Well, at least in most use cases. In my existing config, adding a BootSelector is enough to have the drives running in the following configs:
- GOTEK is set to DF0 – No DF1
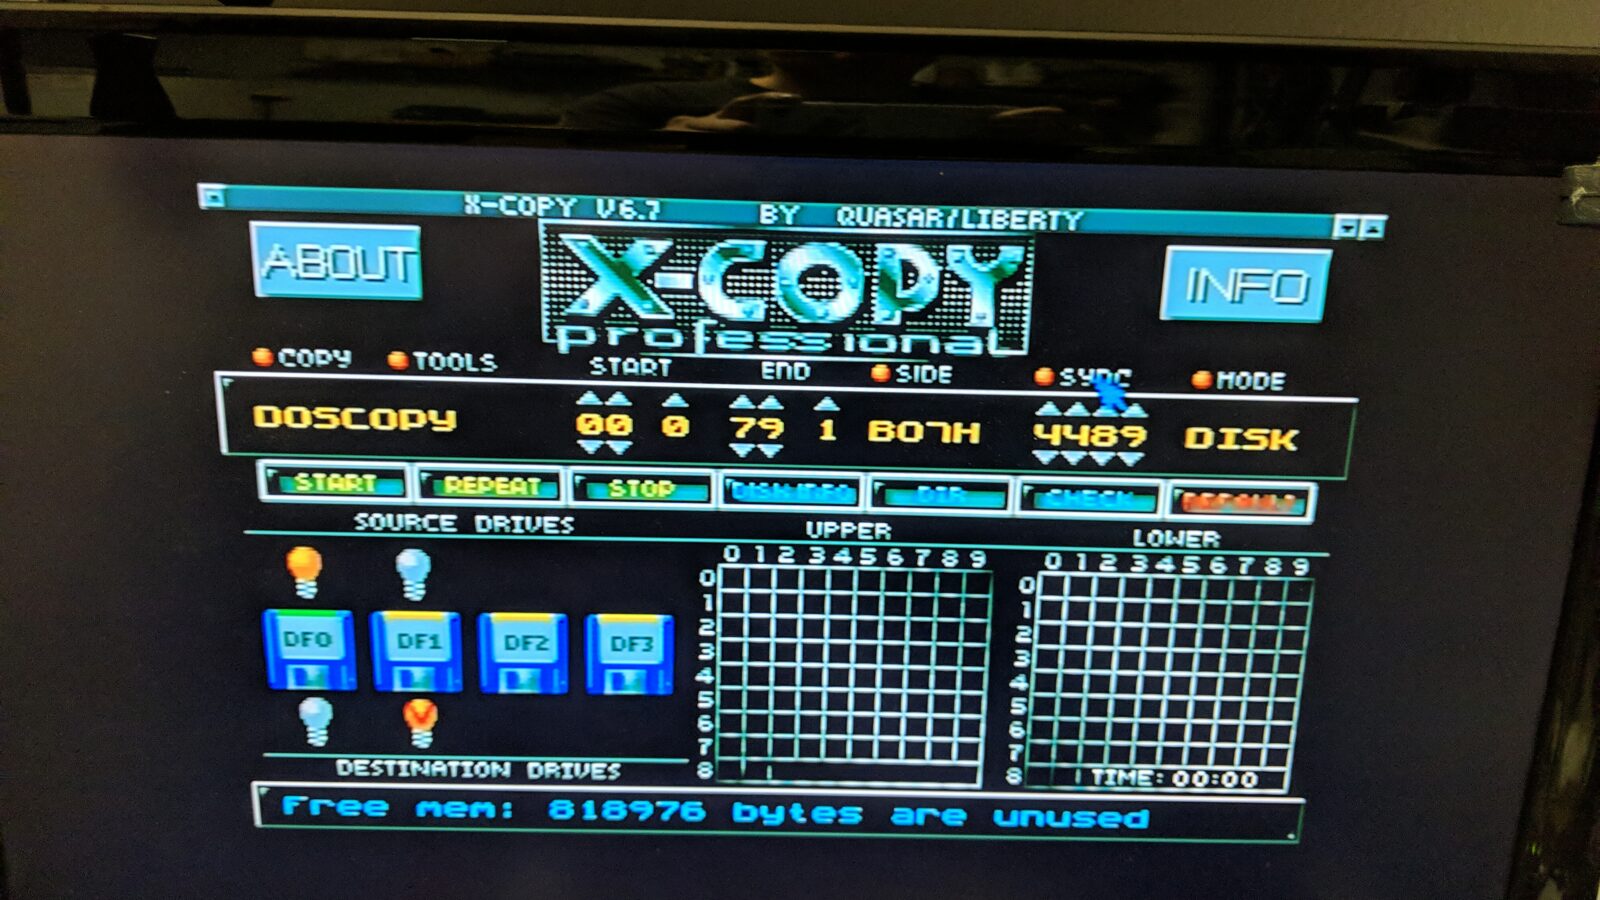
- Floppy drive set to DF0 and GOTEK to DF1 – in this mode both drives work and are visible under X-Copy for example.
More on that can be found on this awesome website
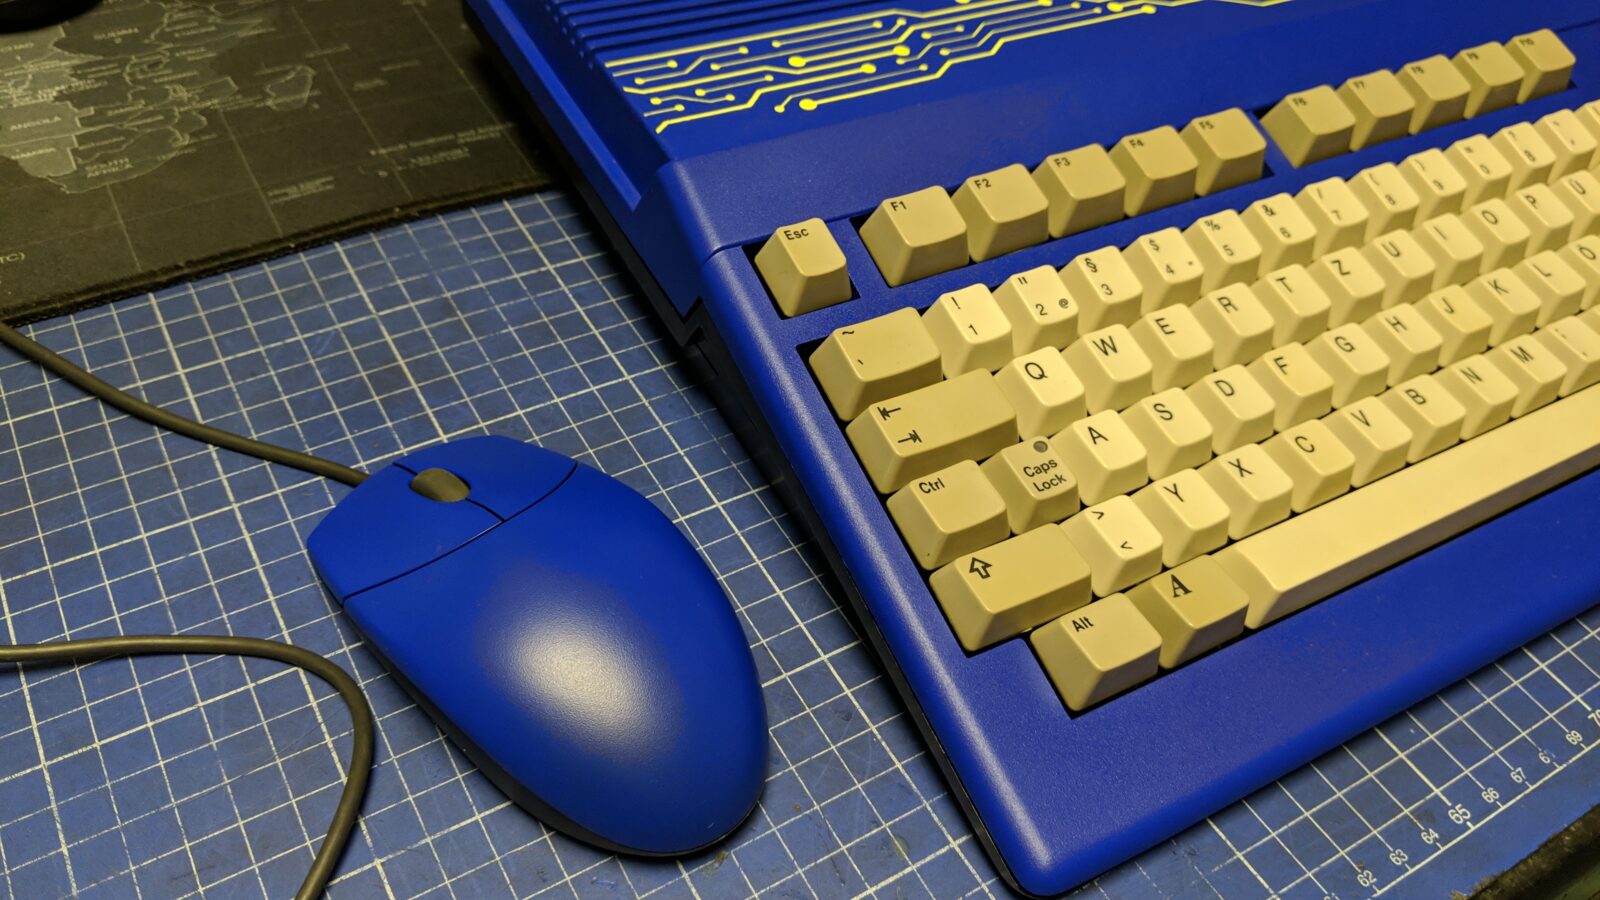
Keyboard
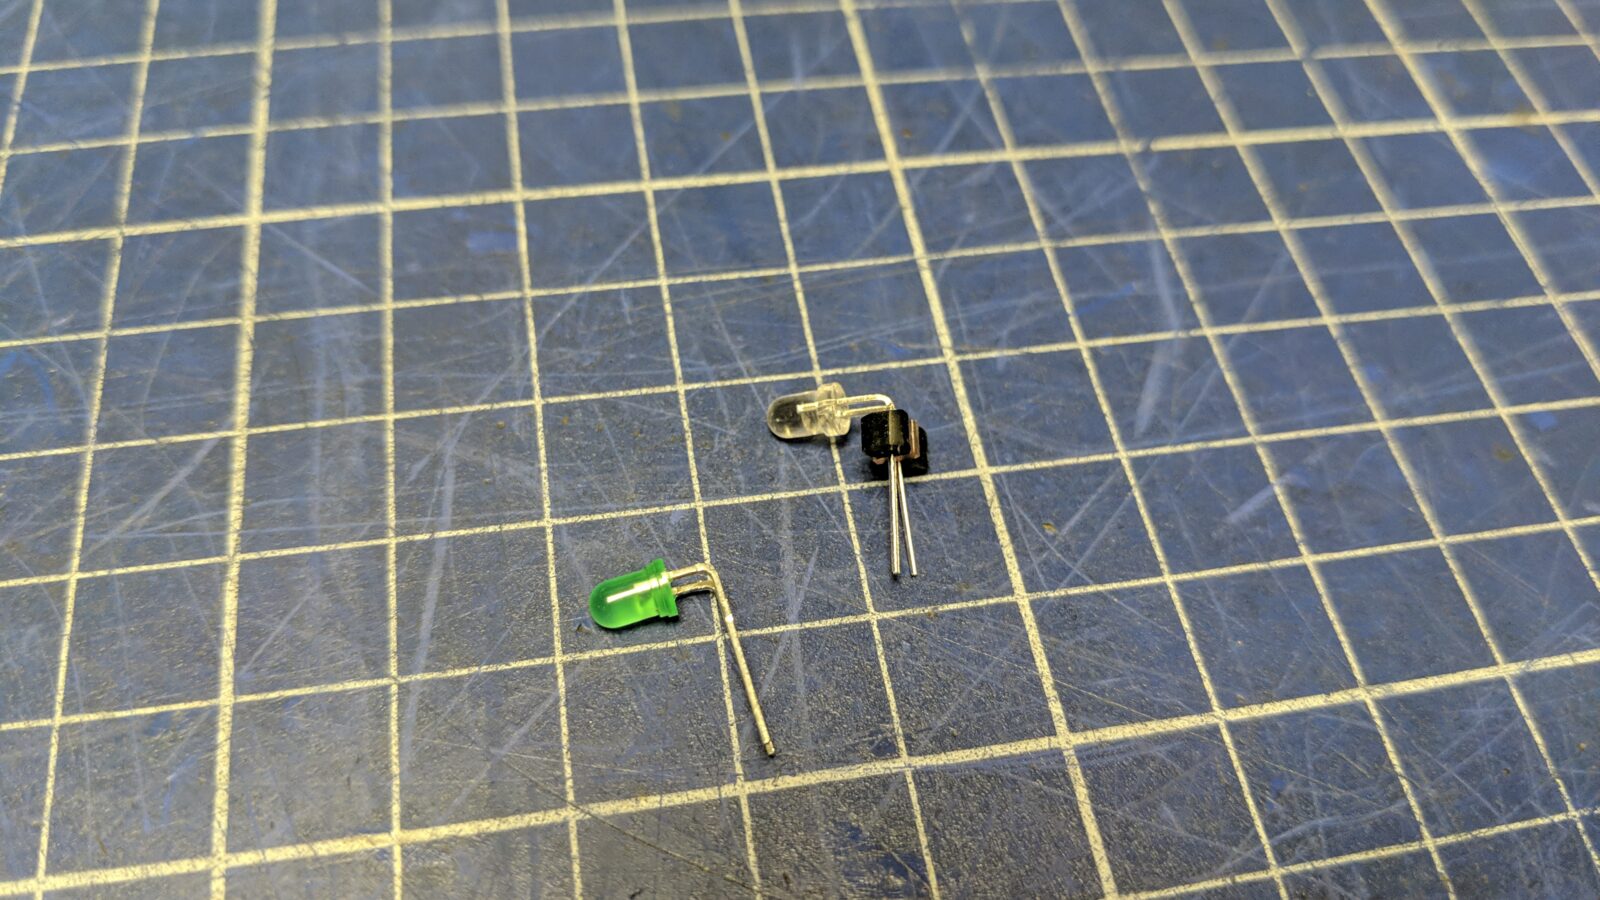
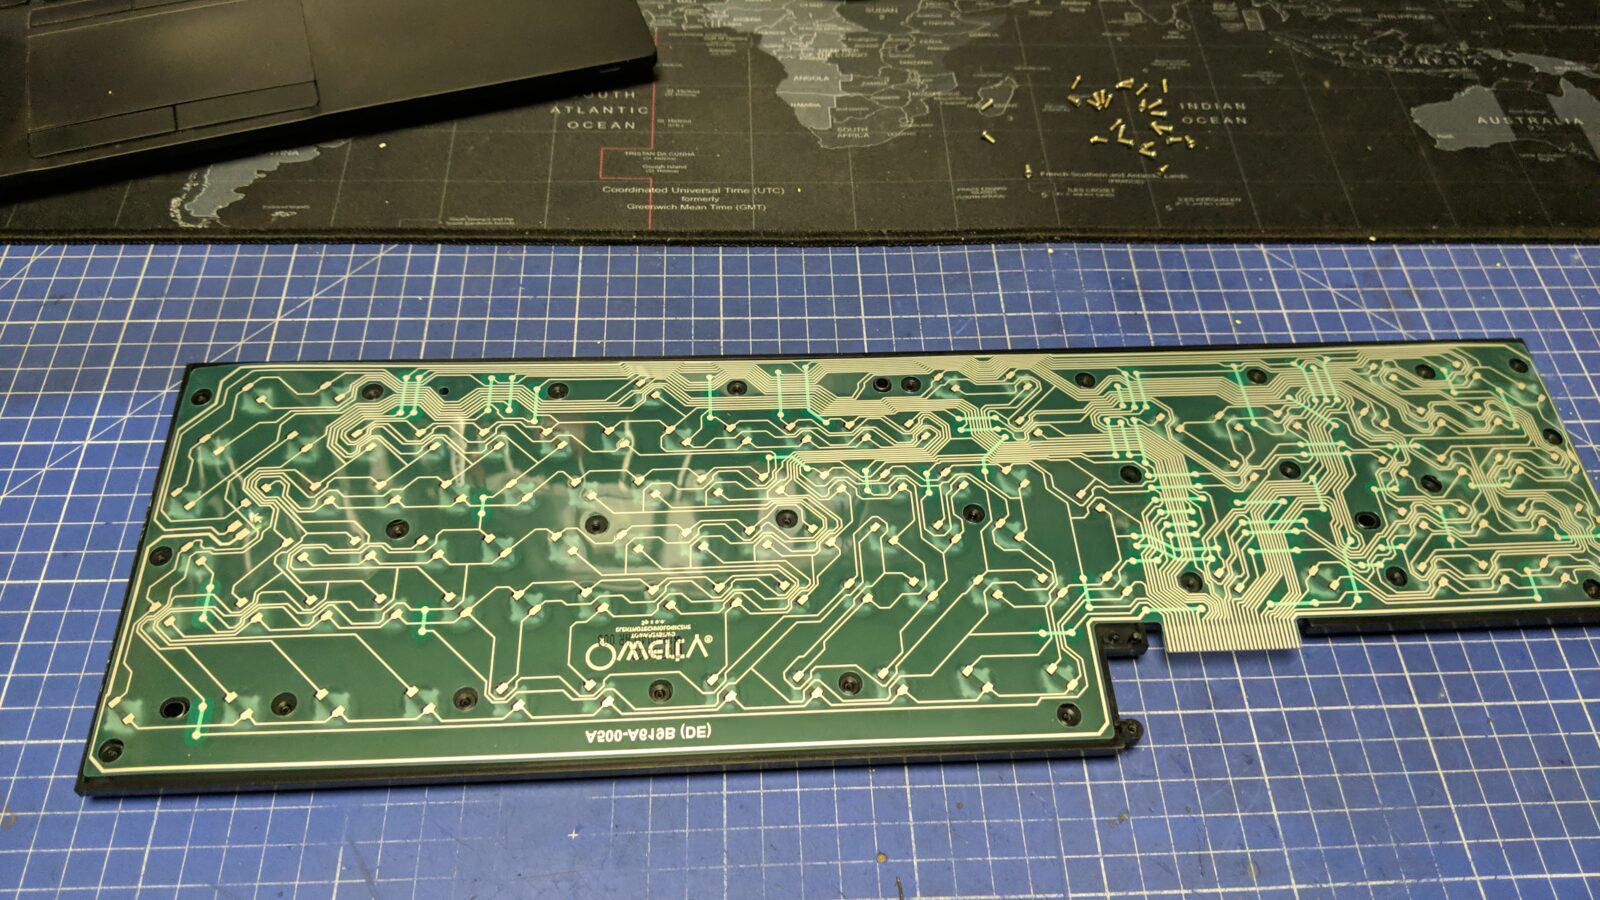
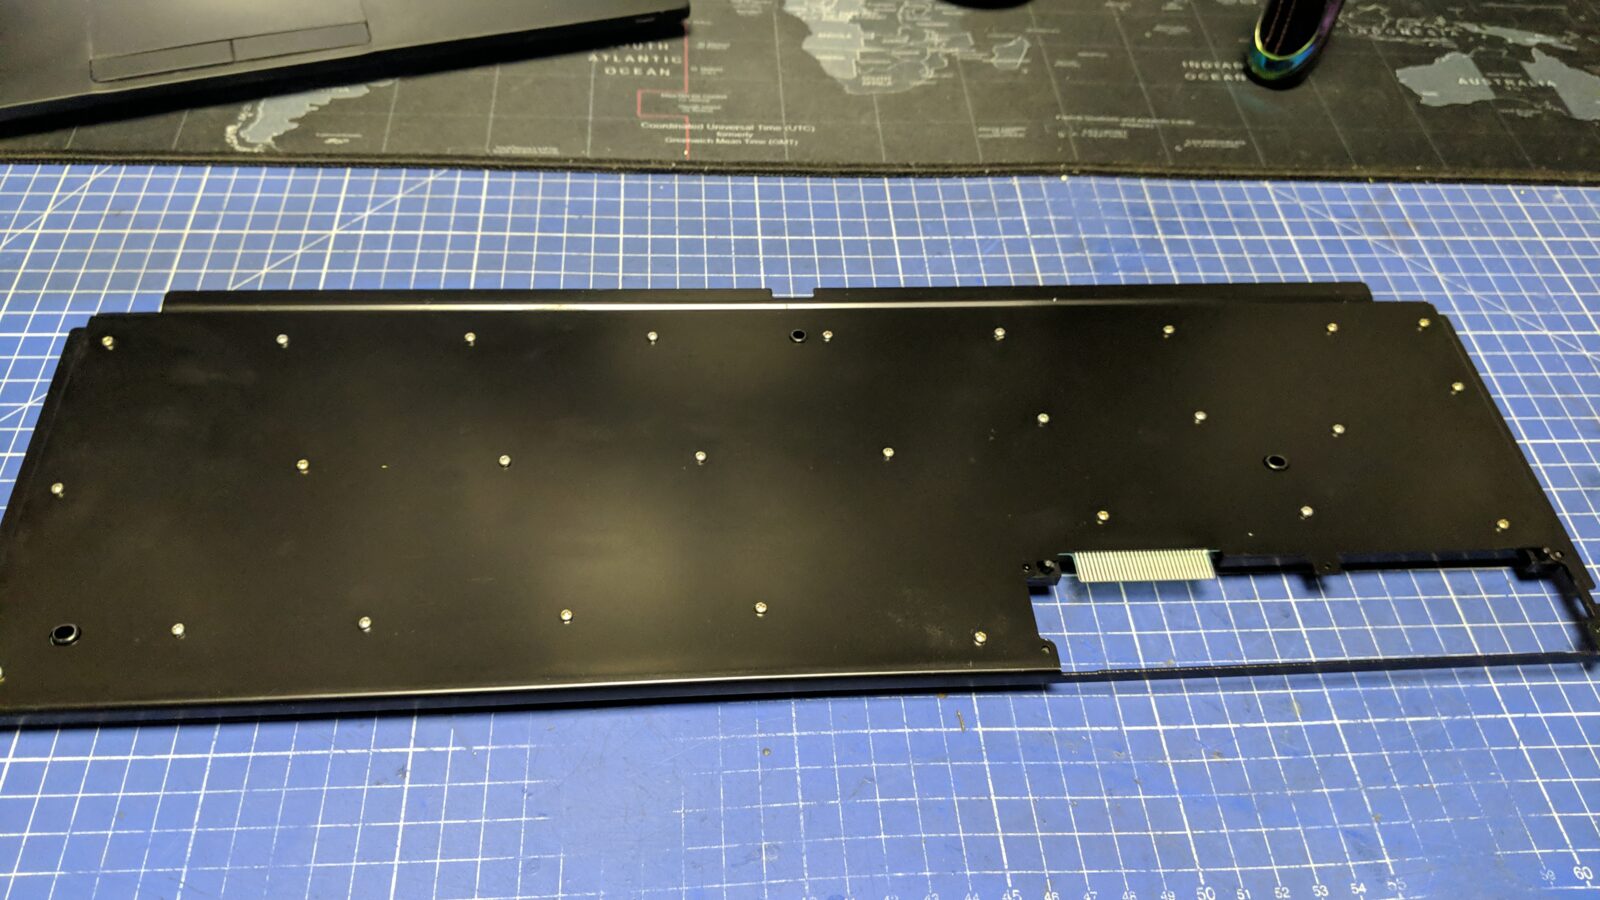
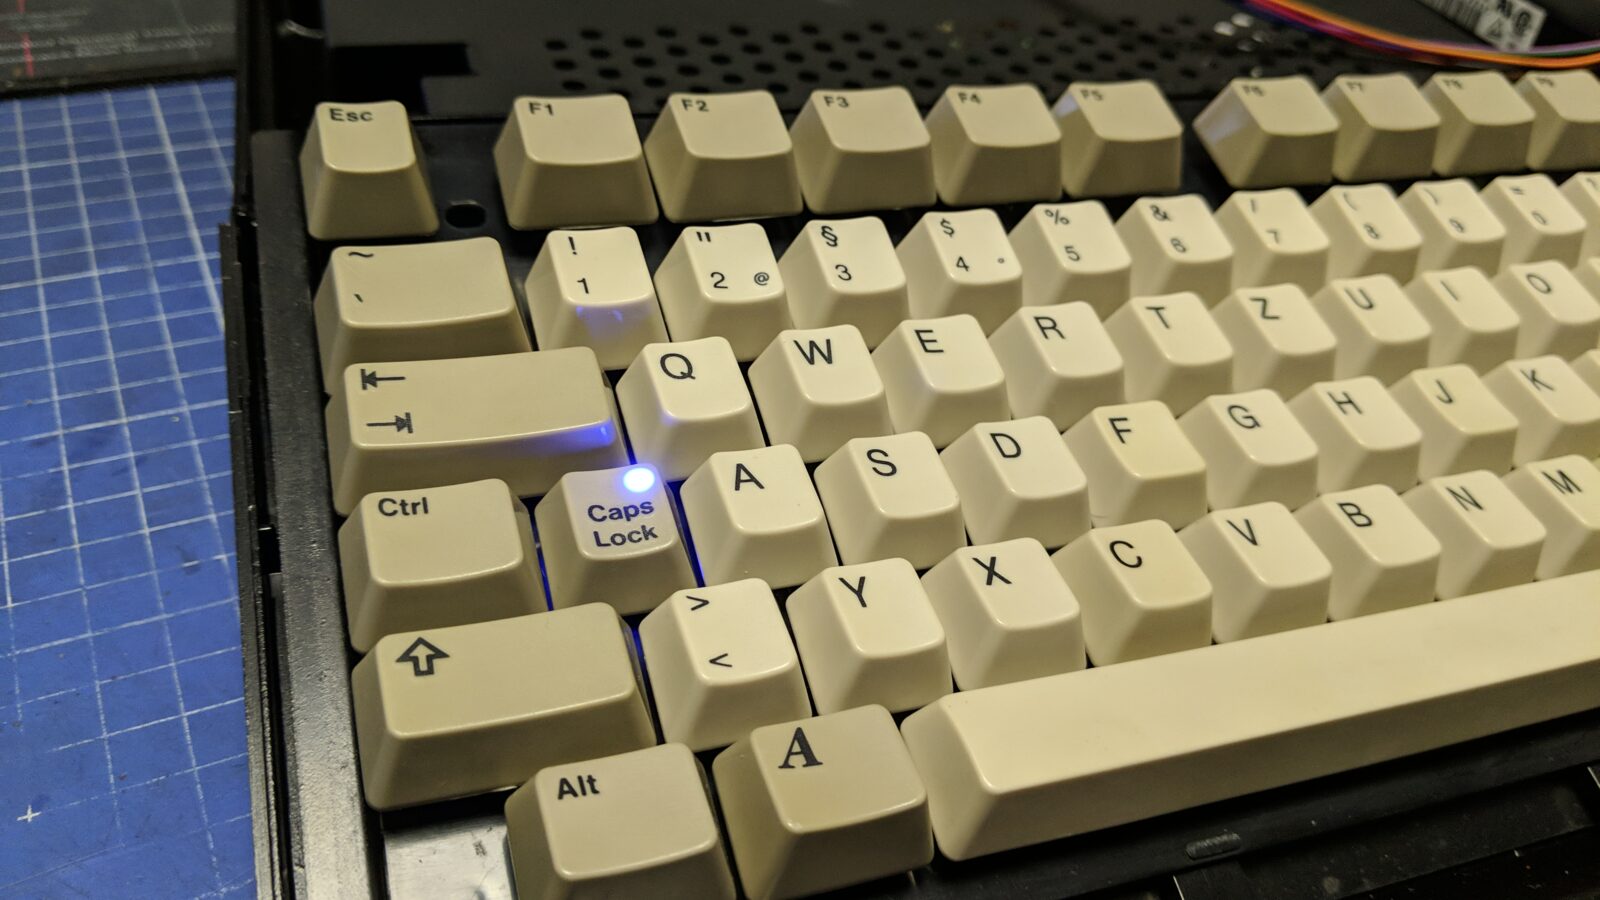
The keyboard underwent a standard cleaning and retr0brighting process. Additionally, I’ve replaced CapsLock LED with a blue one, painted the backplate black, and replaced the membrane with a brand-new one which you can get in my shop.
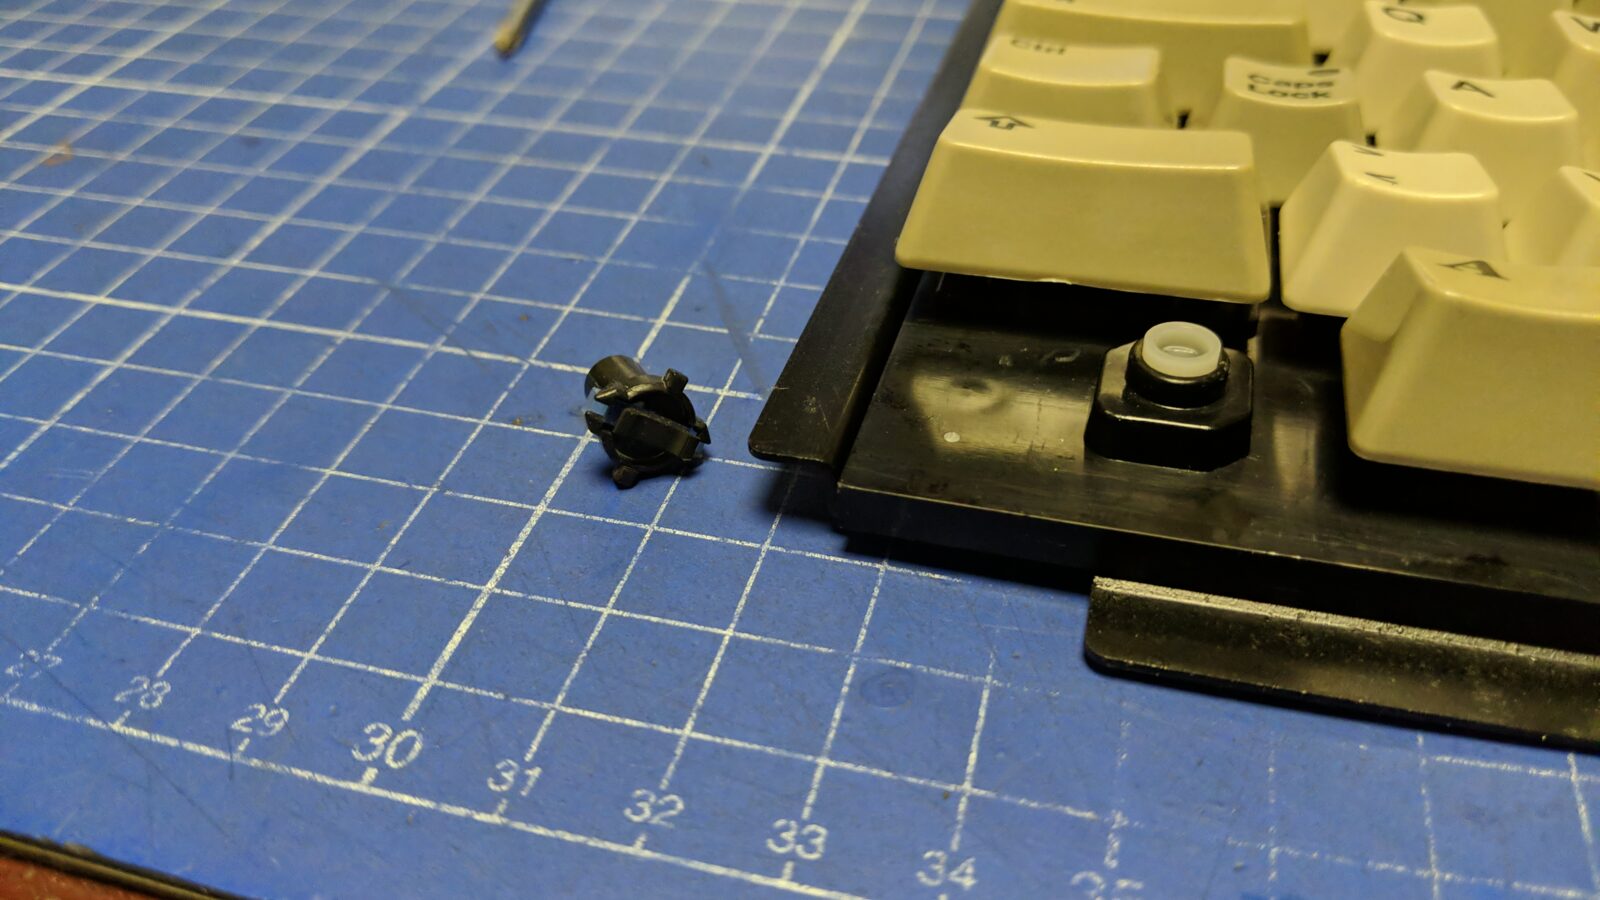
I also had to replace one of the key studs as the Left ALT wasn’t working.
If you’ll get this Amiga and would ever like to pimp the keyboard itself, I highly recommend DarthSkalmar`s Retro Garage. He is doing a great job customizing these keyboards!
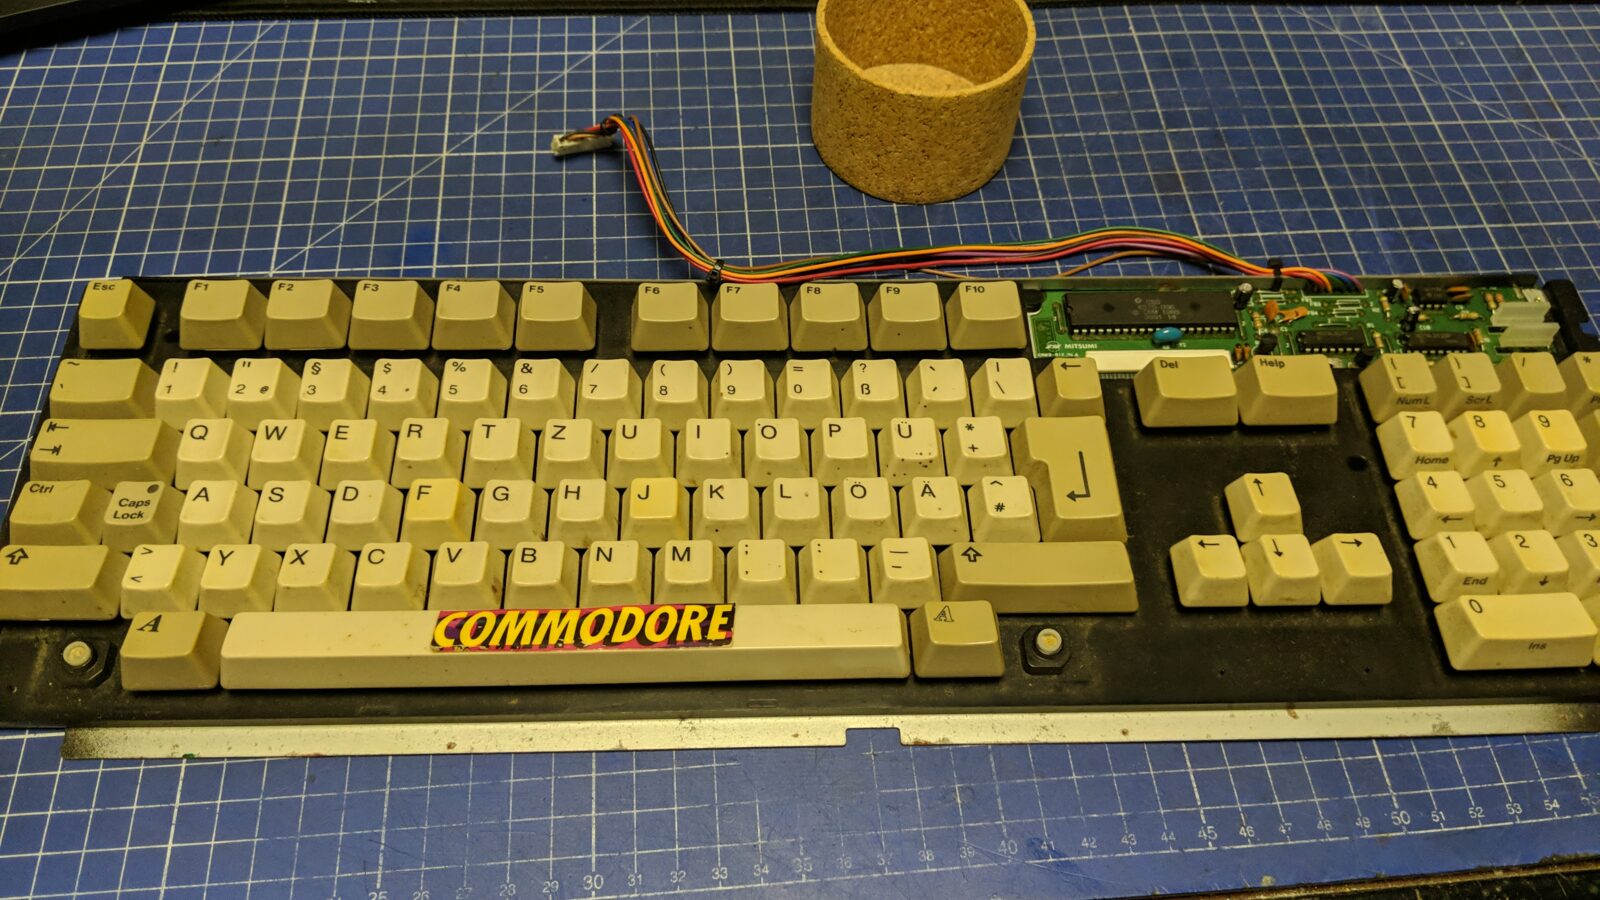
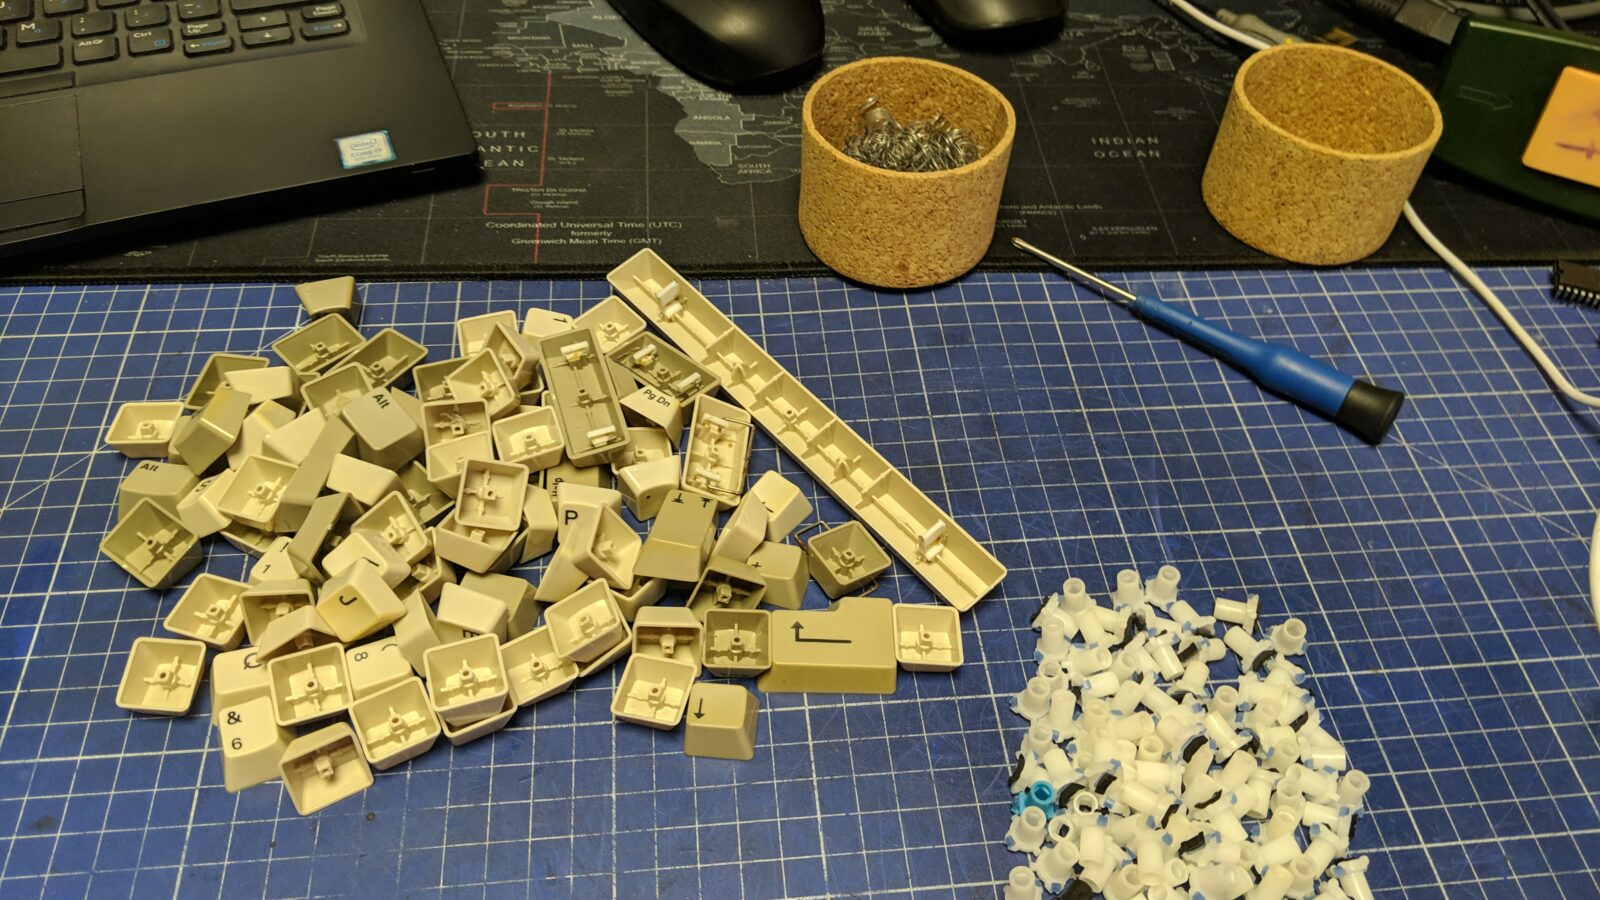
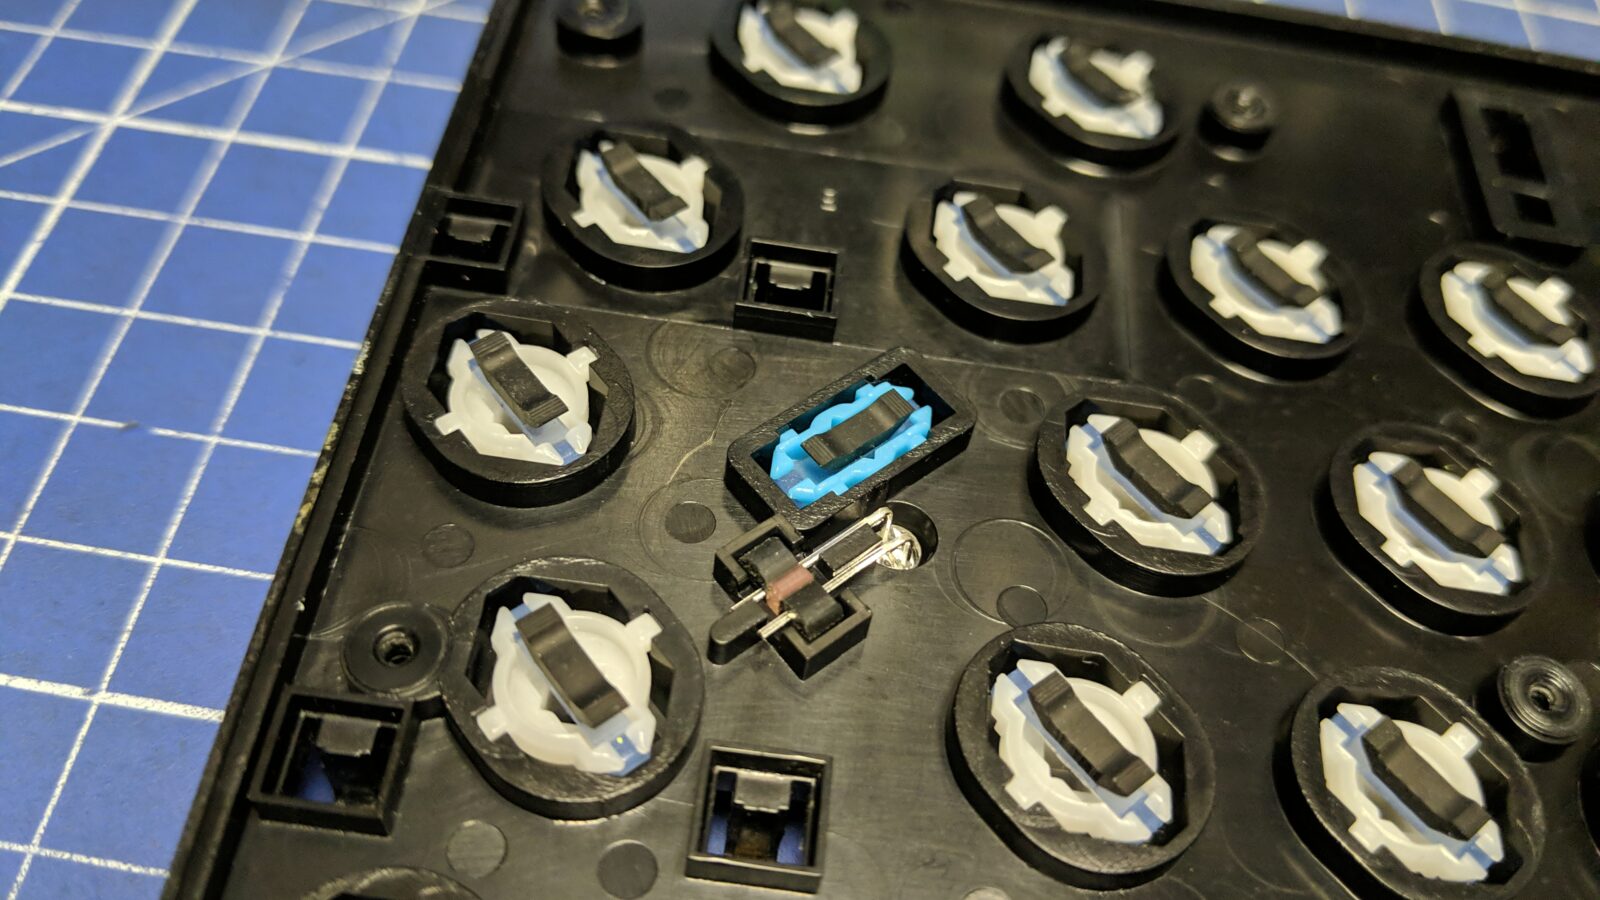
Broken keys after replacing a keyboard membrane are almost always caused by worn-out key stud rubber pads. Replacing it solves the problem.
Assembling it all
Not much to describe here. The only note worth mentioning is that I didn’t glue the Gotek OLED panel for convenience. You can remove it from the inside by simply pushing it out once the case is unscrewed.
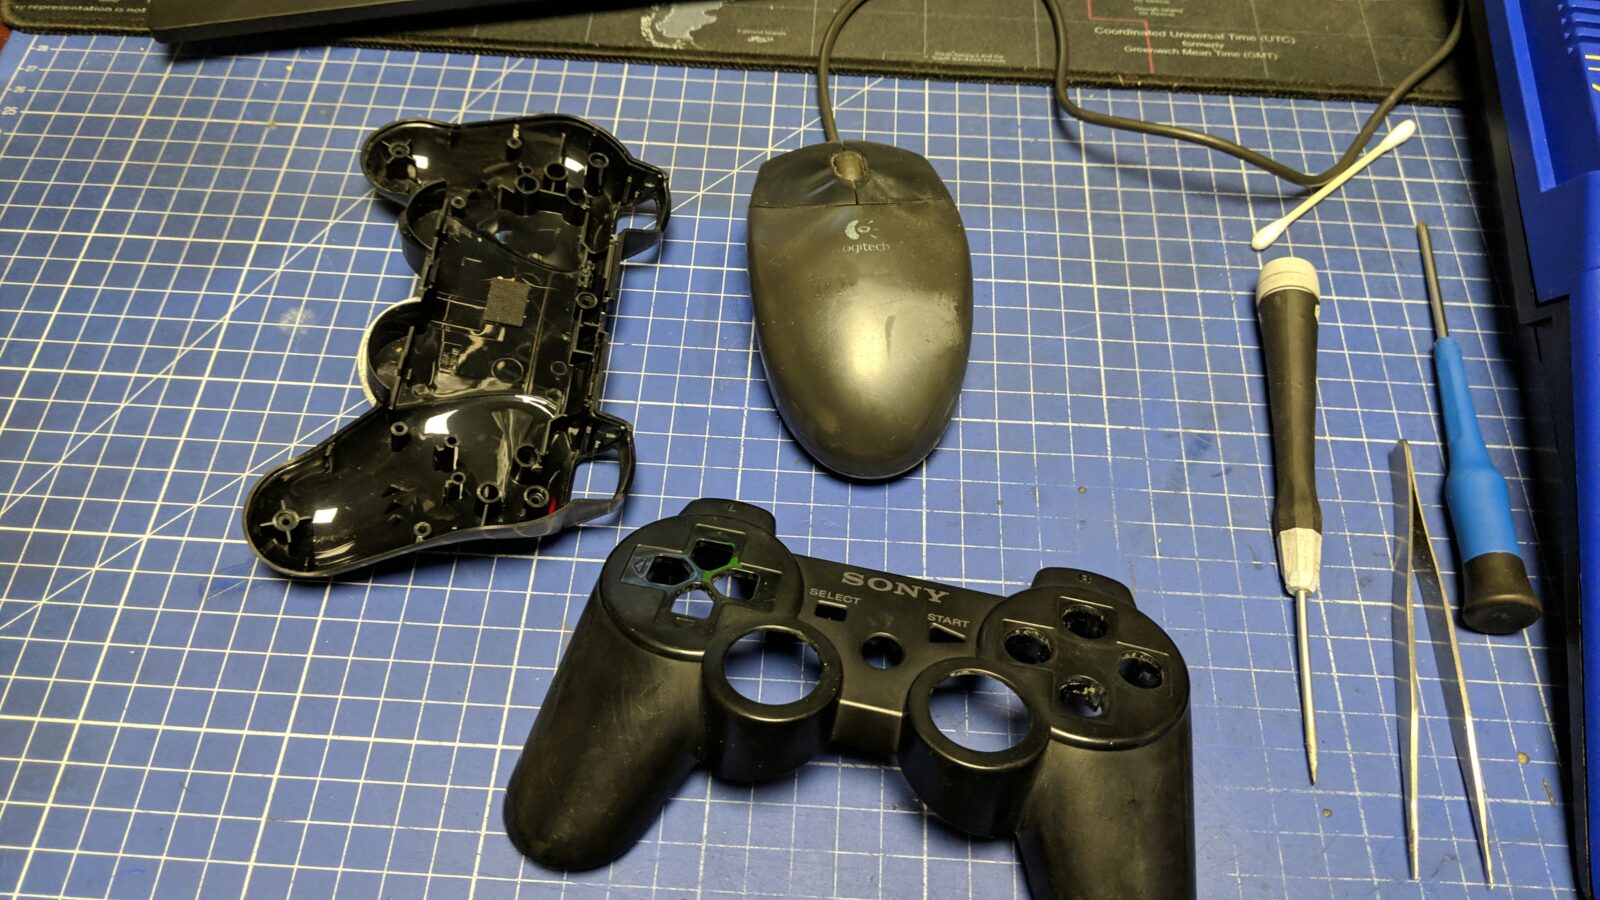
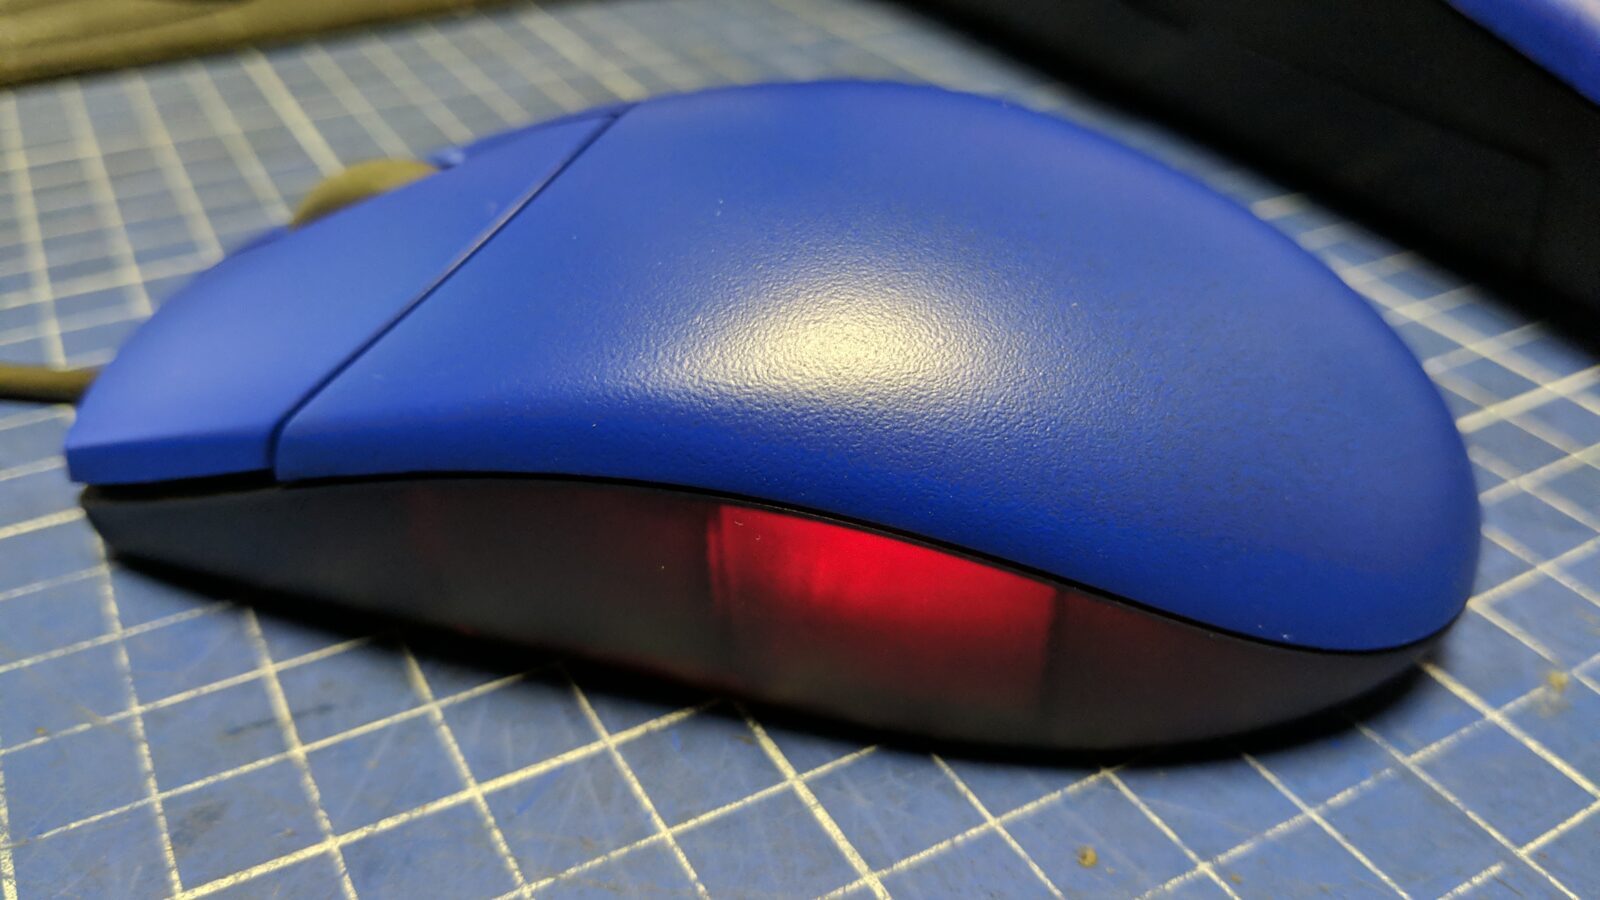
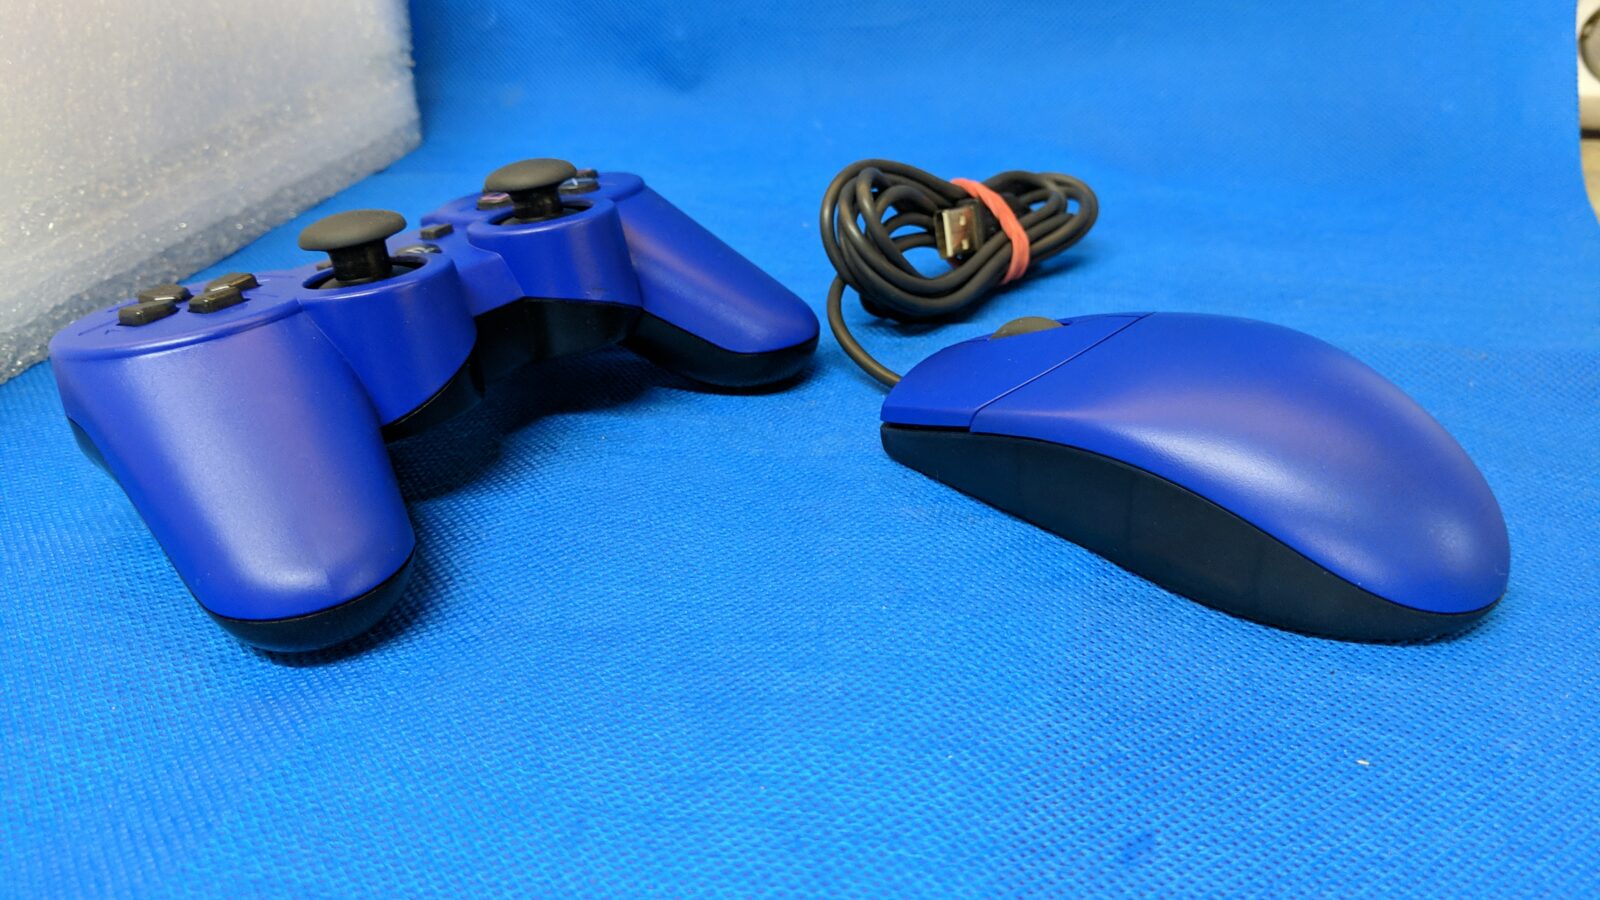
Mouse, gamepad, and misc.
Controllers are important so I’ve decided to mod and add them to the set.
Both the Dell mouse and the Sony DS3 controller will run through the mouSTer adapters.
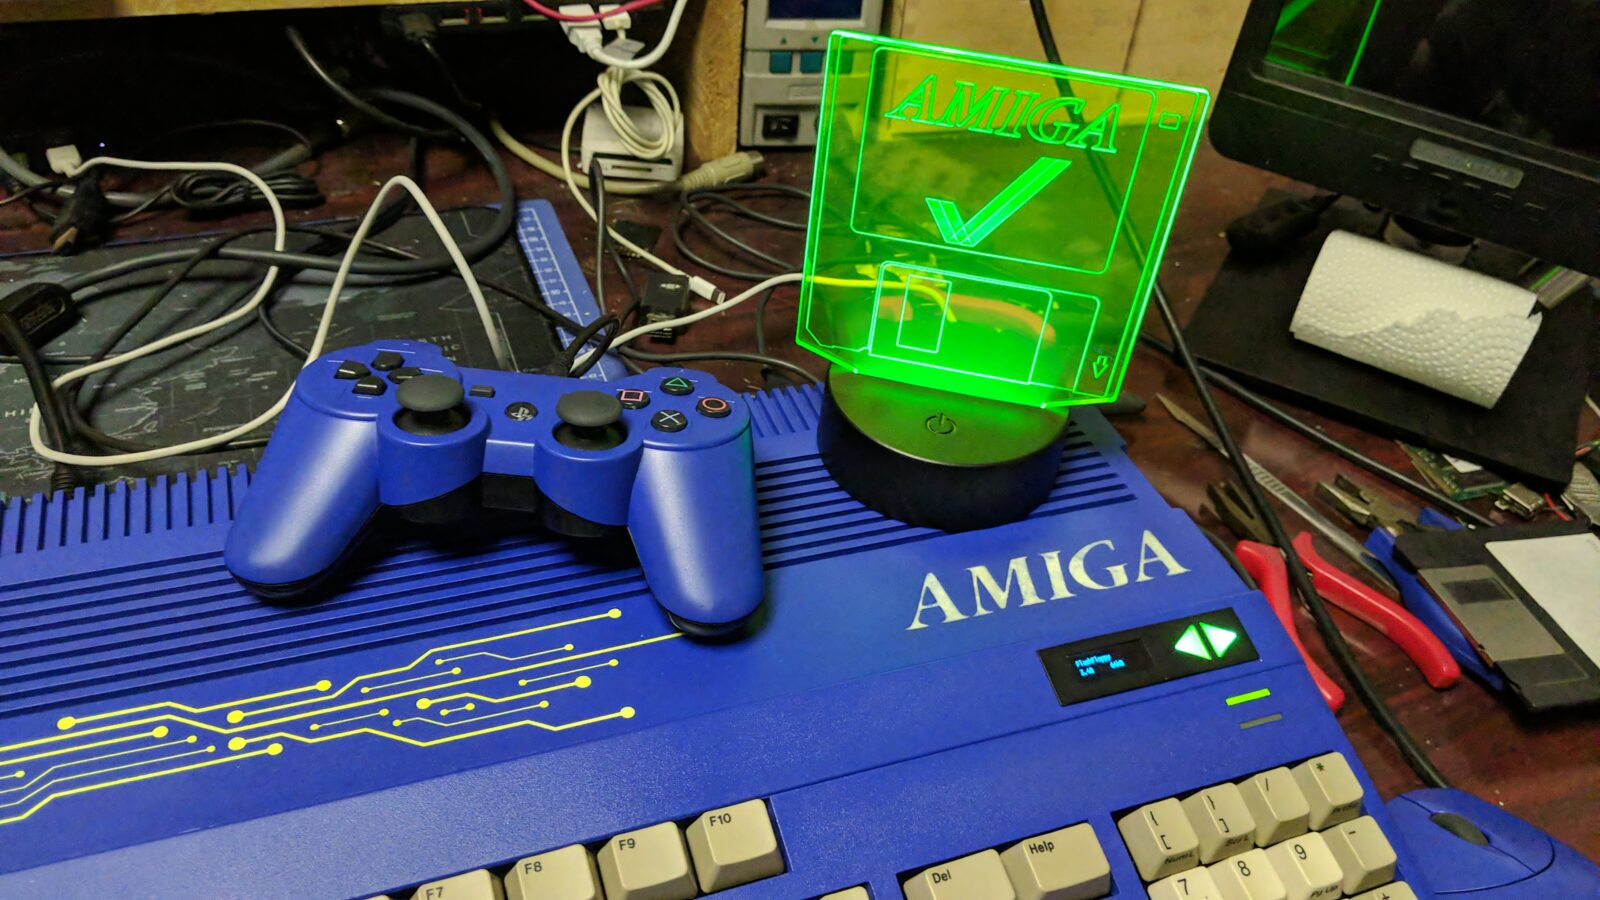
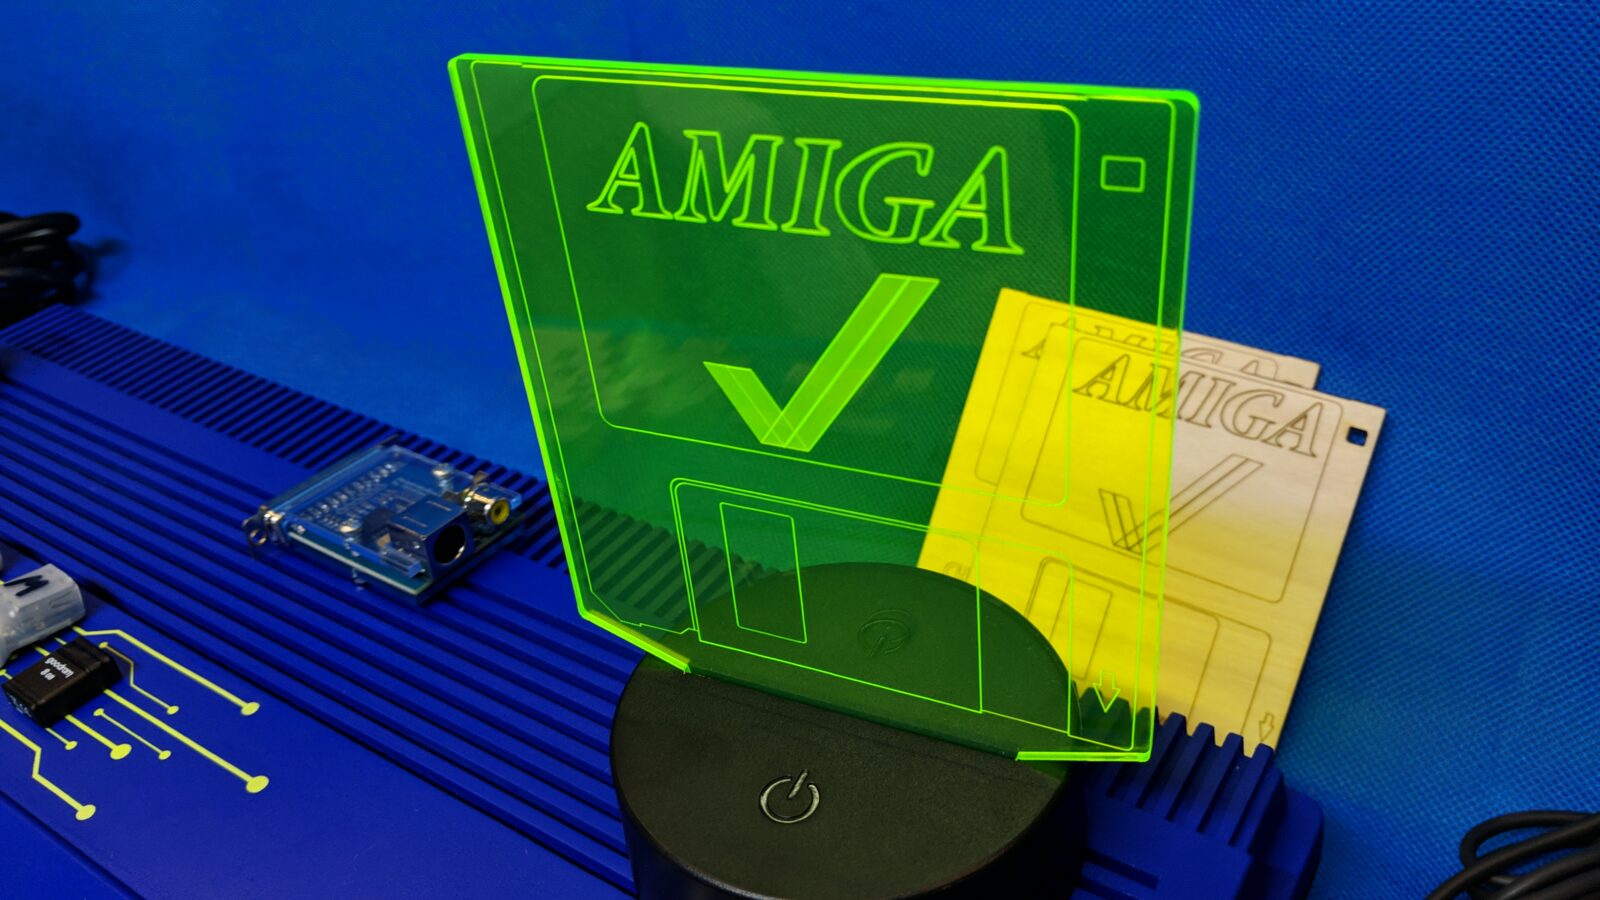
I’ve laser cut a fluo LED lamp for this particular project 🙂
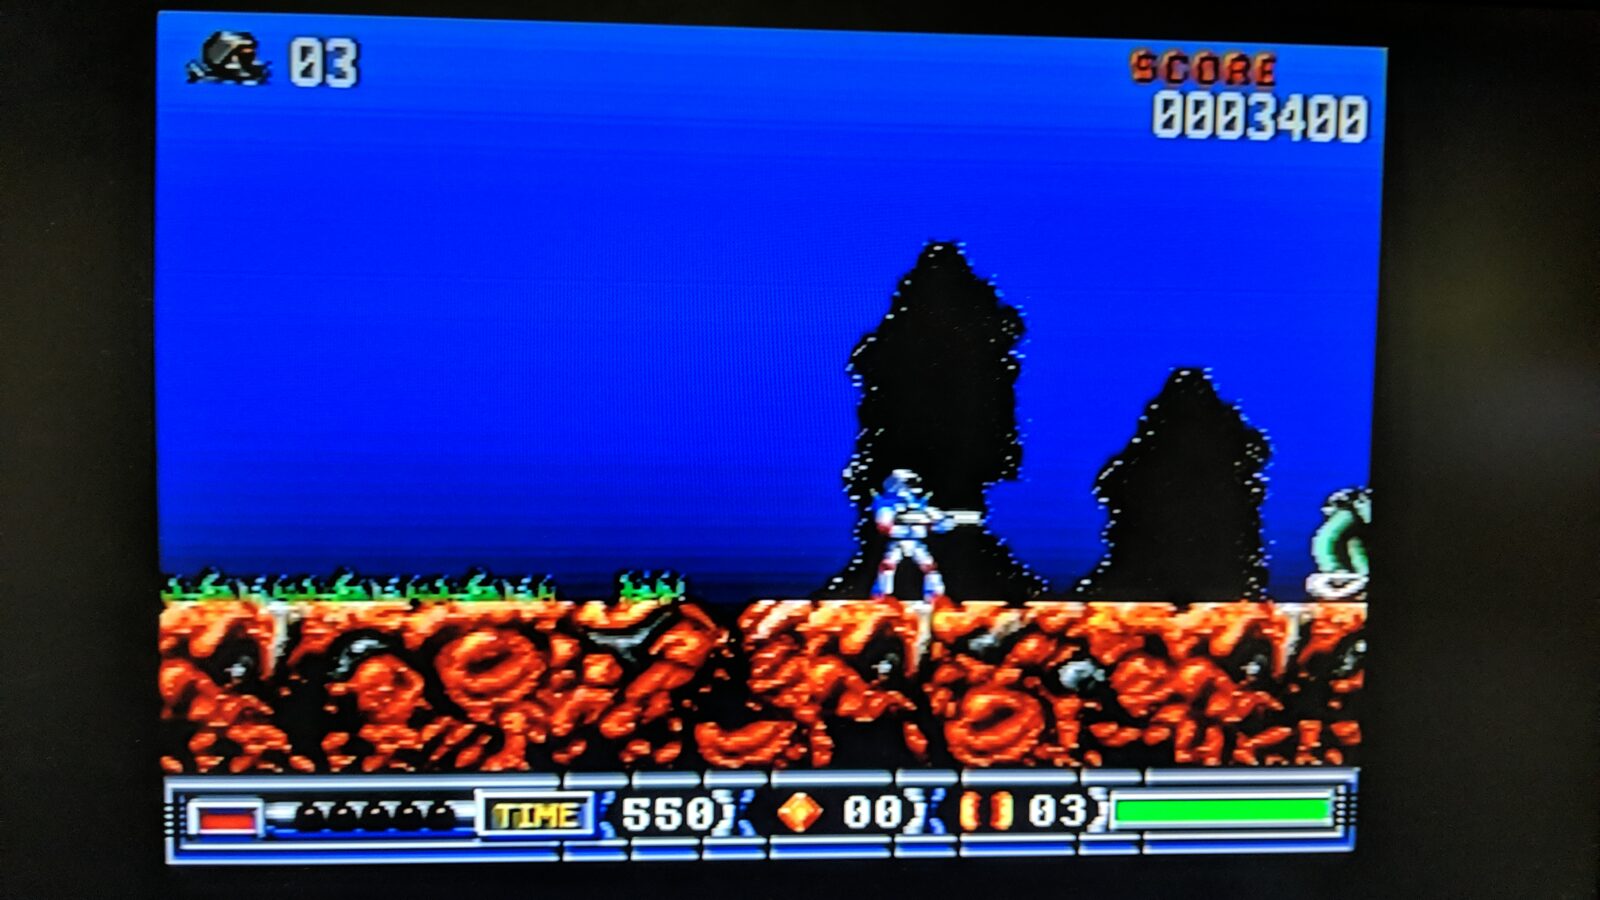
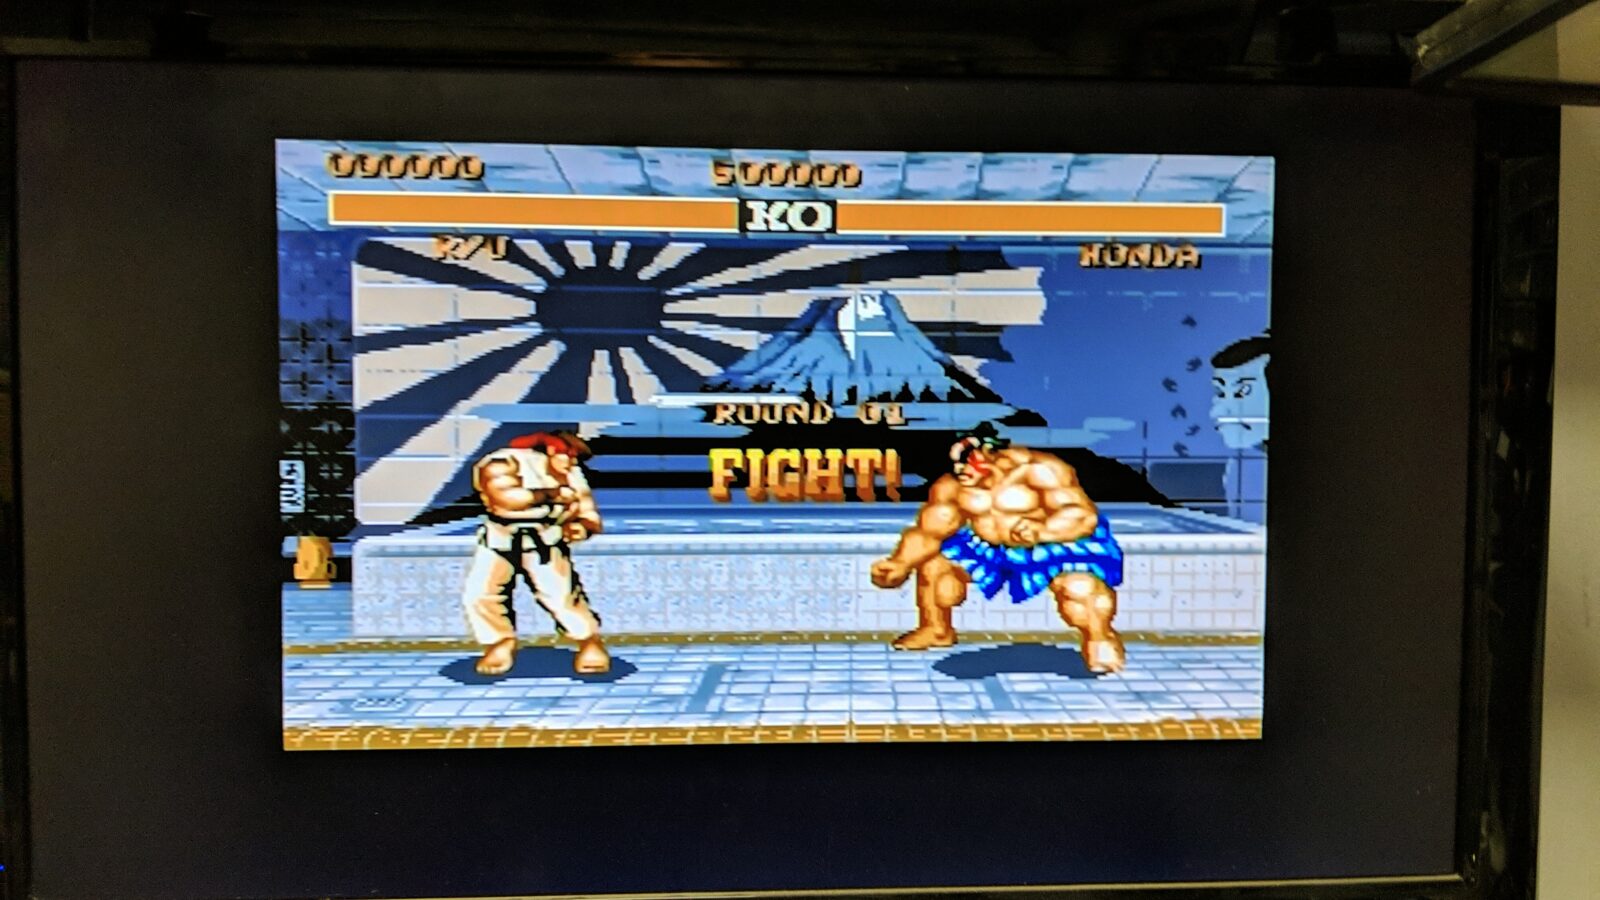
Some game testing pics.
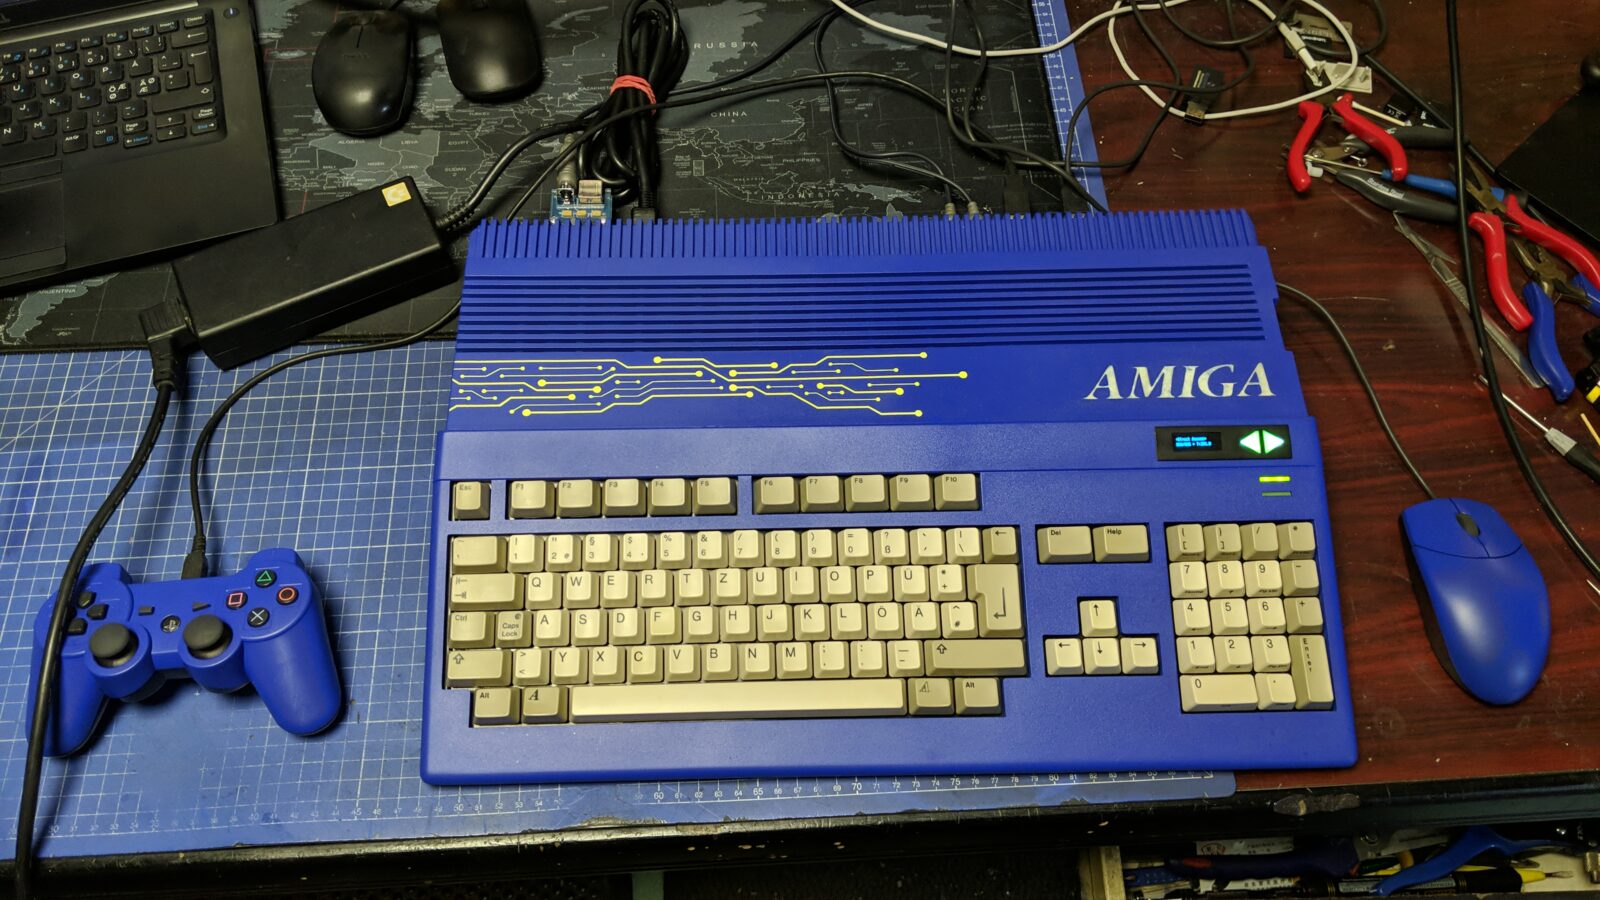
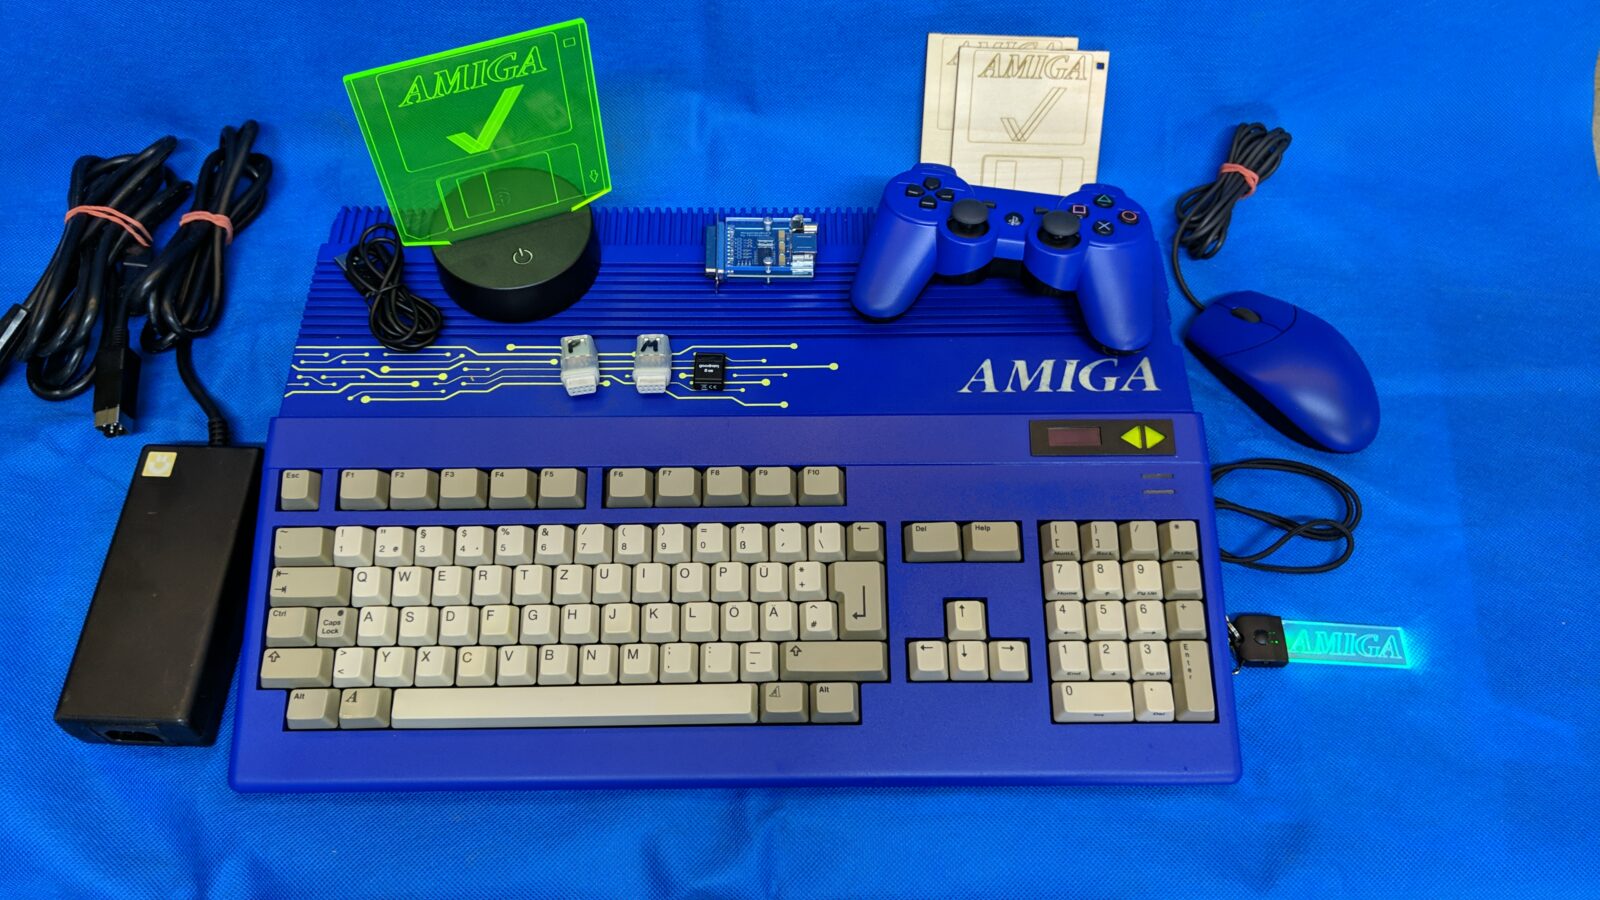
Final specs and pics
Ok, time to sum it all up. Apart from all the visual mods here is what will be put on eBay auction.
Please, keep in mind that this is NOT a brand-new computer. Due to what it went through, it has some minor flaws in the case even though it was painted.
Amiga 500 rev. 6A PAL – recapped
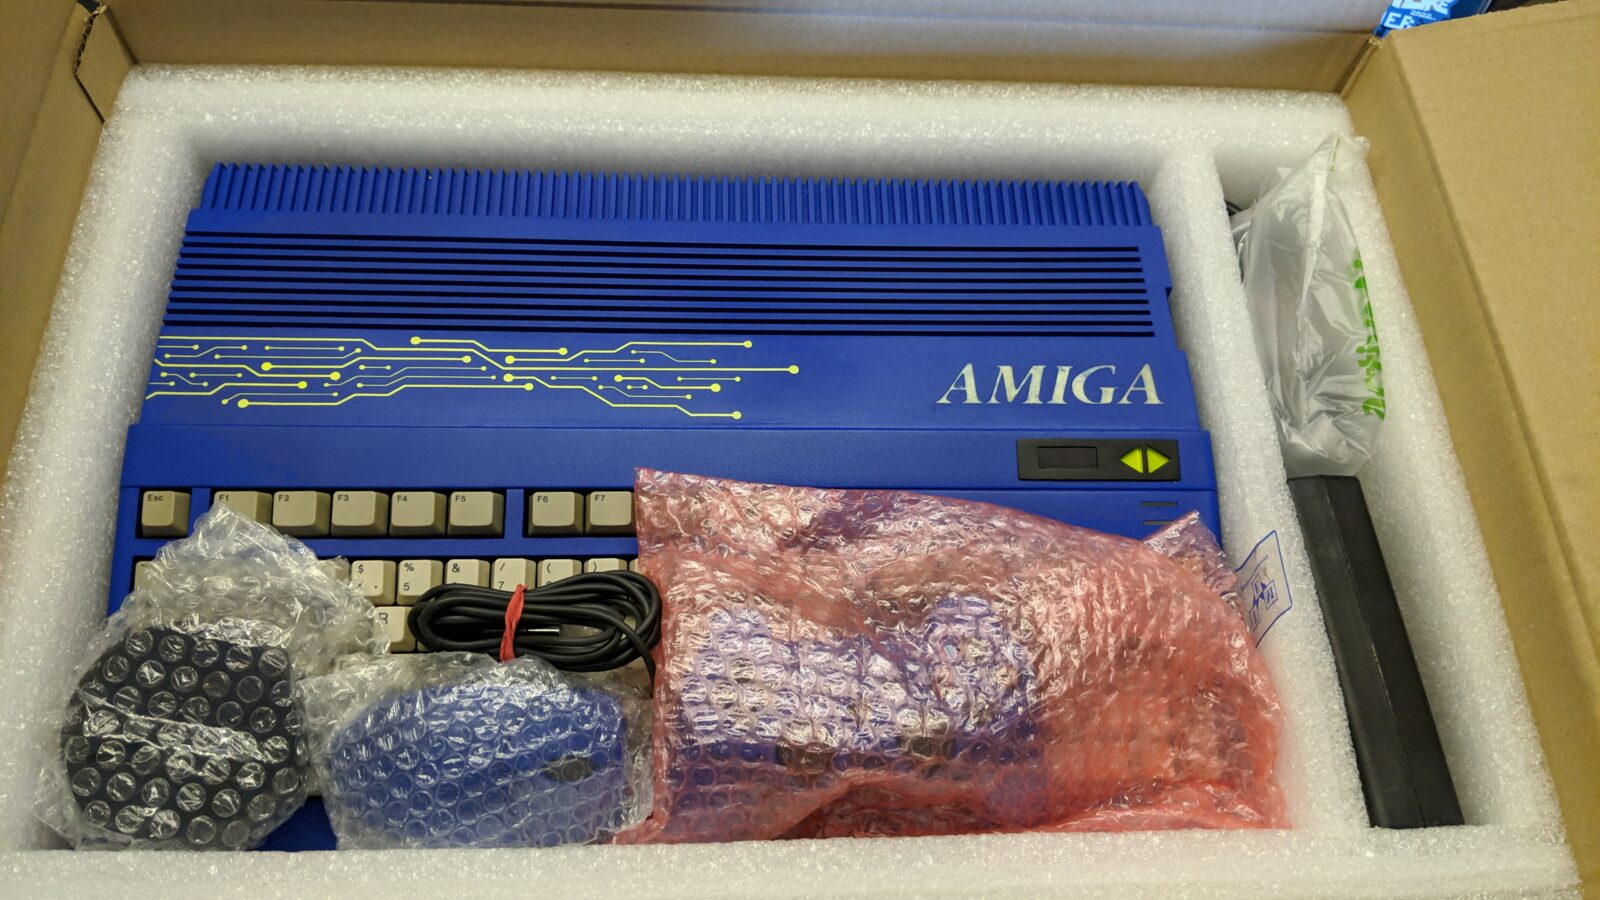
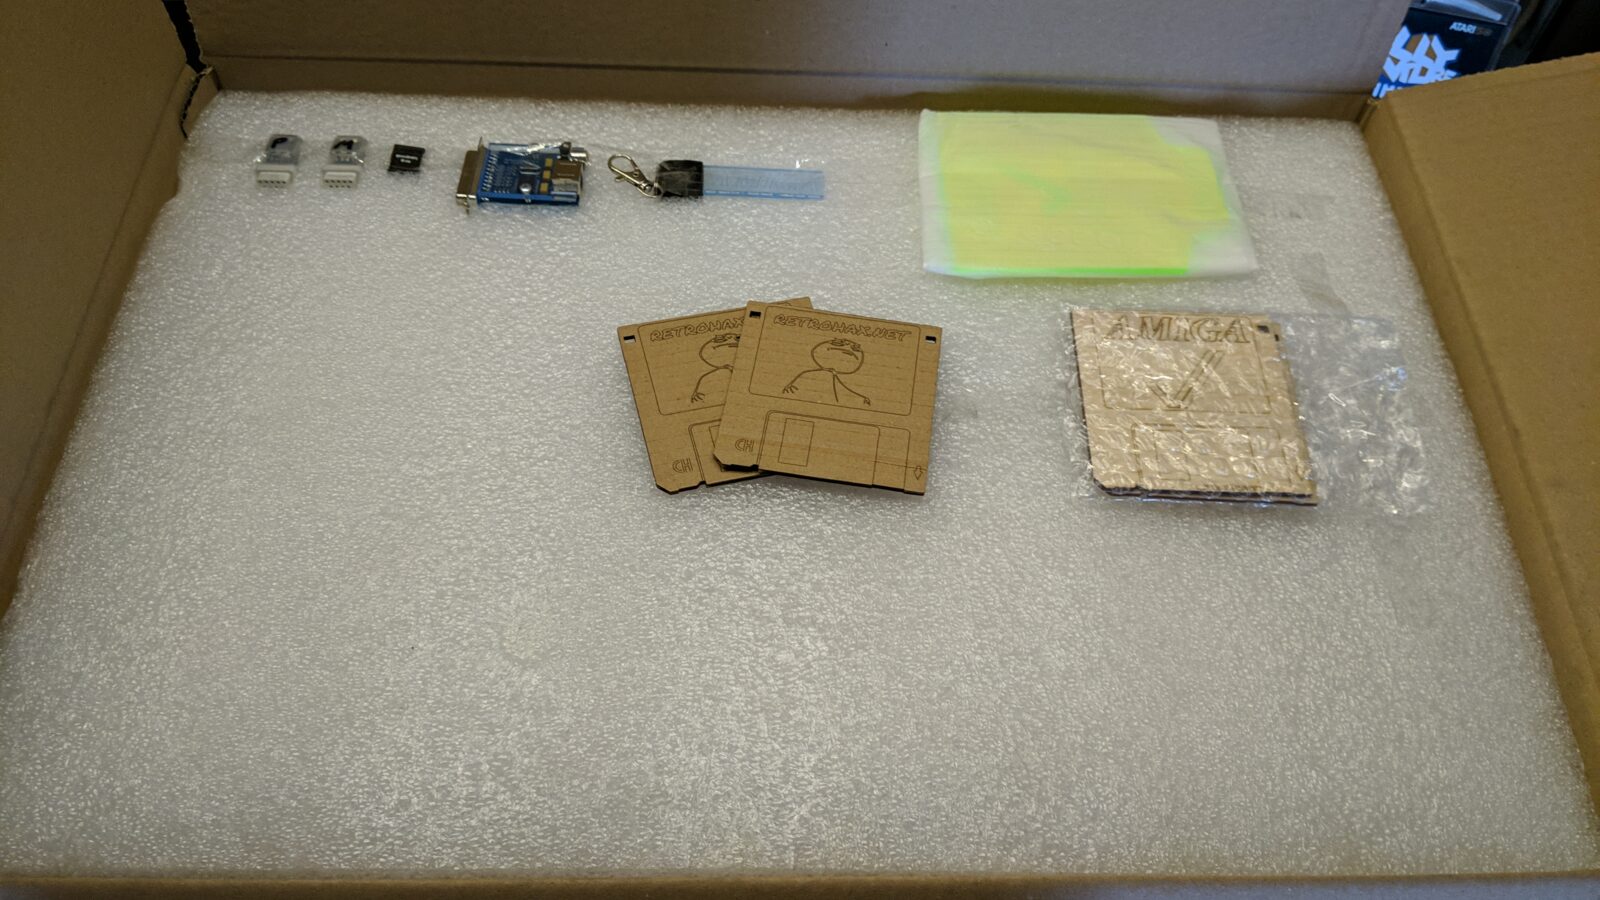
- Comes in a box with a custom-made PP foam insert
- 1MB onboard CHIP RAM mod
- 512KB trapdoor expansion module
- Touch-controlled GOTEK + OLED LCD
- 8GB USB thumb drive for GOTEK – full of stuff
- BootSelector module
- Brand new A619B keyboard membrane
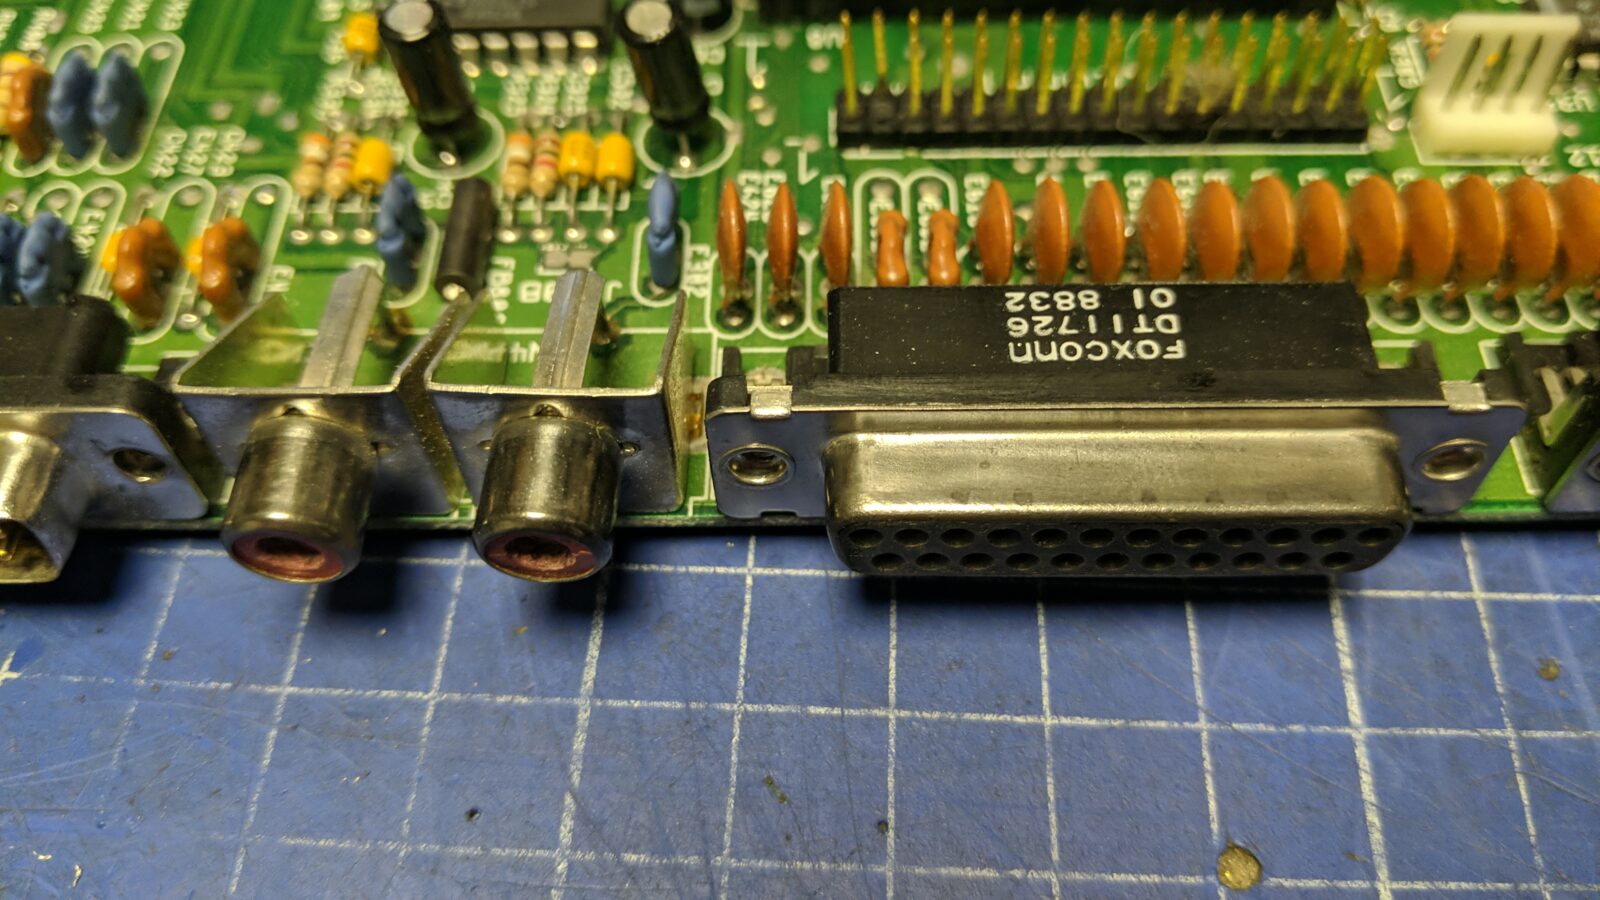
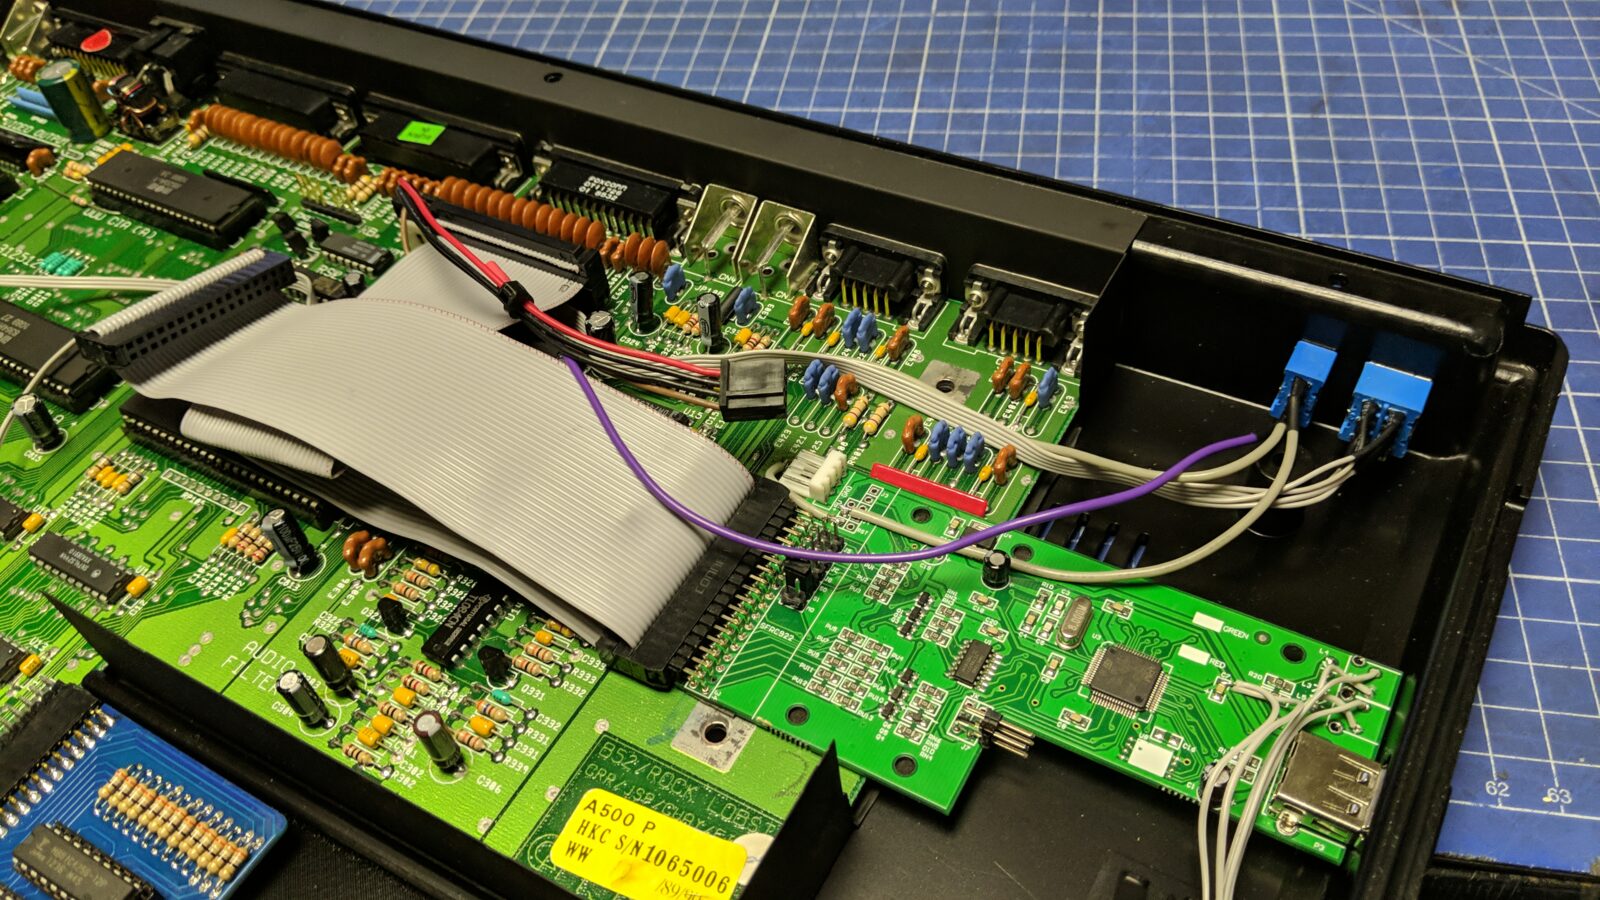
- AVB -Amiga Video Board – provides Color composite OR/AND S-Video outputs.
- 2x the mouSTer adapter
- Modded Dell optical mouse
- Modded Sony DS3 controller
- Power supply unit
- 3D printed side cover and trapdoor
- Laser-cut acrylic LED lamp
- 2x Laser-cut plywood beer coaster
- Laser-cut Amiga LED keychain
- 1-month warranty
The bidding auction starts at around 500 USD and will last 14 days.
Here is the link: https://www.ebay.pl/itm/325737501179
Please, contact me for other shipping options as these will vary.
This is it! see you in the next post 🙂
Outro
If you want to get the retro gear I am manufacturing or hardware modules, please visit shop -> https://retrohax.net/shop/
Please support my work by commenting here, and on my Facebook, Twitter, Reddit, and other social media platforms.
Amazing! Thanks for sharing your inspiring work!
Thank you! I am just a garage amateur, though 🙂
Great post, great project. I totally love this shiny stuff. Now I can’t wait to see what will be done with the other Amigas 🙂
Thank you sir!