
Due to a series of strange events, I have ended up with not one, but two Amiga 4000s in the last few weeks. They are both in need of very different restorations. I hope that I can get at least one complete machine out of them, and then sell the other one. I don’t have room for two in my collection, and it will help recoup the costs.
Amiga 4000 #1
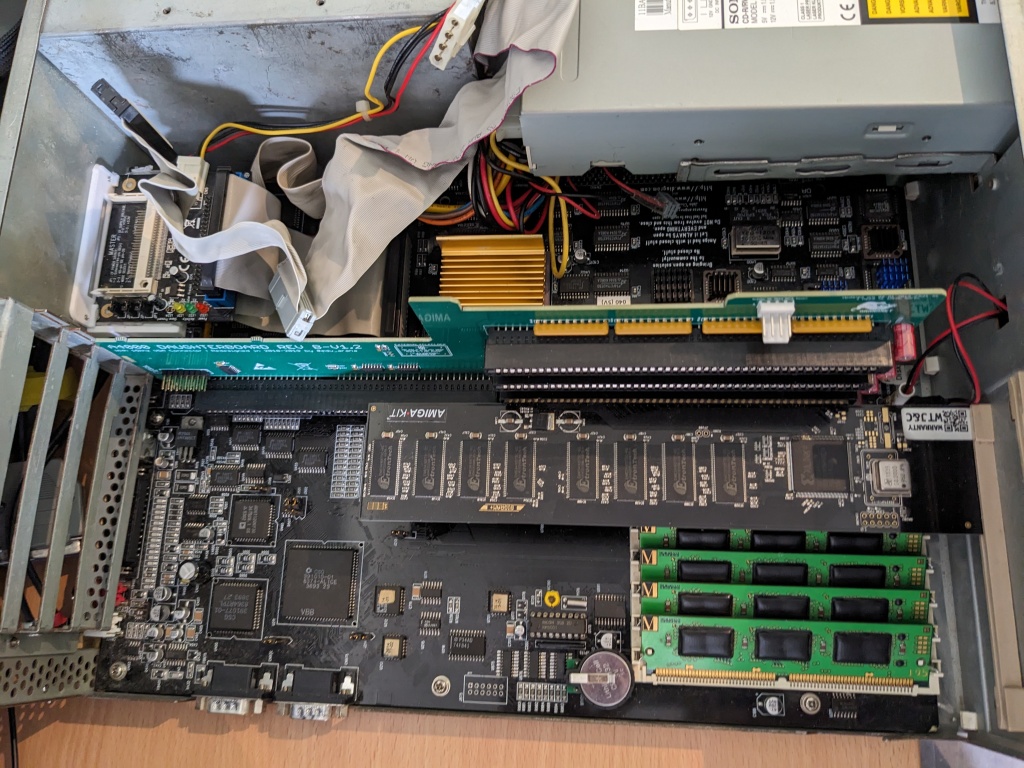
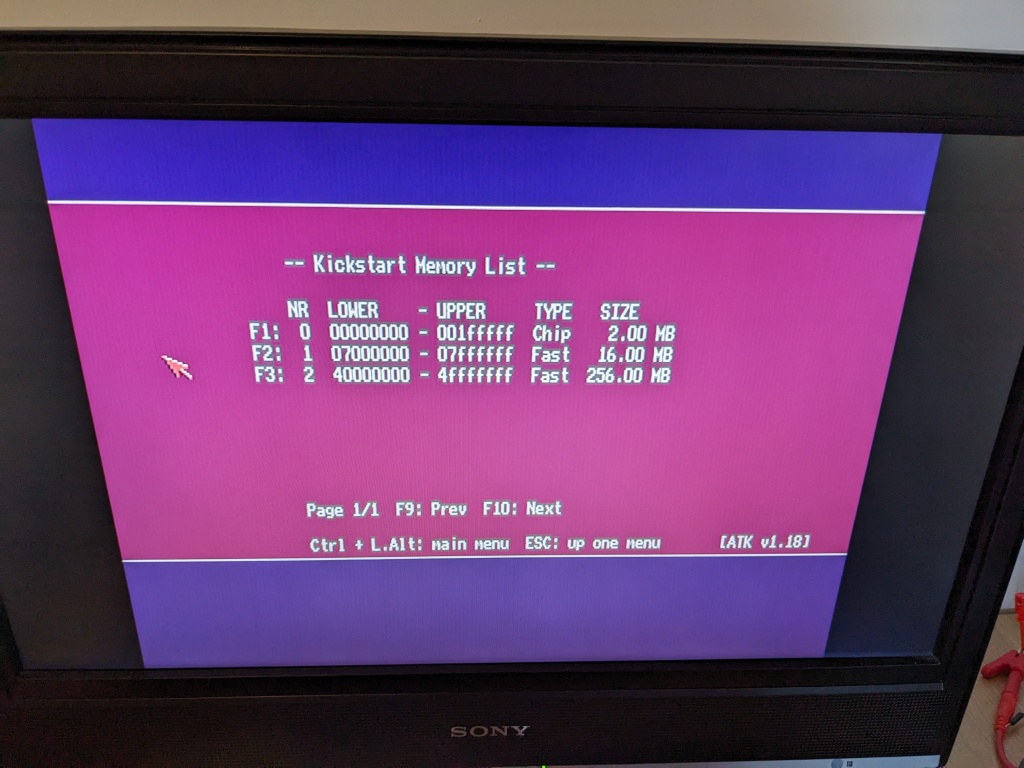
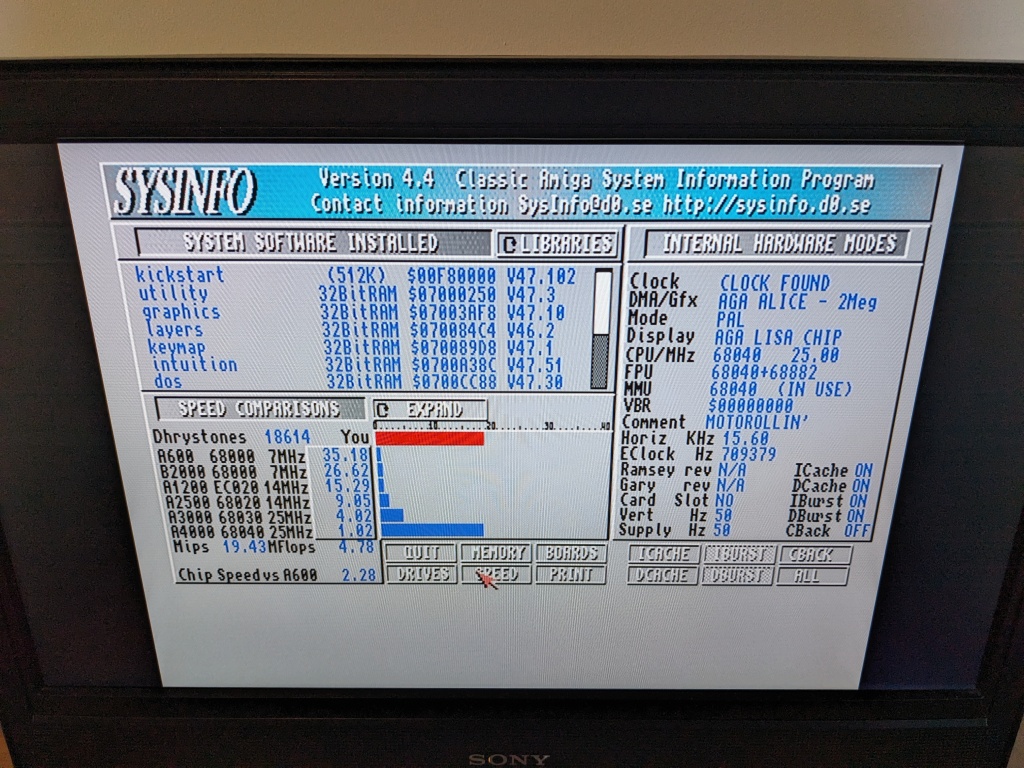
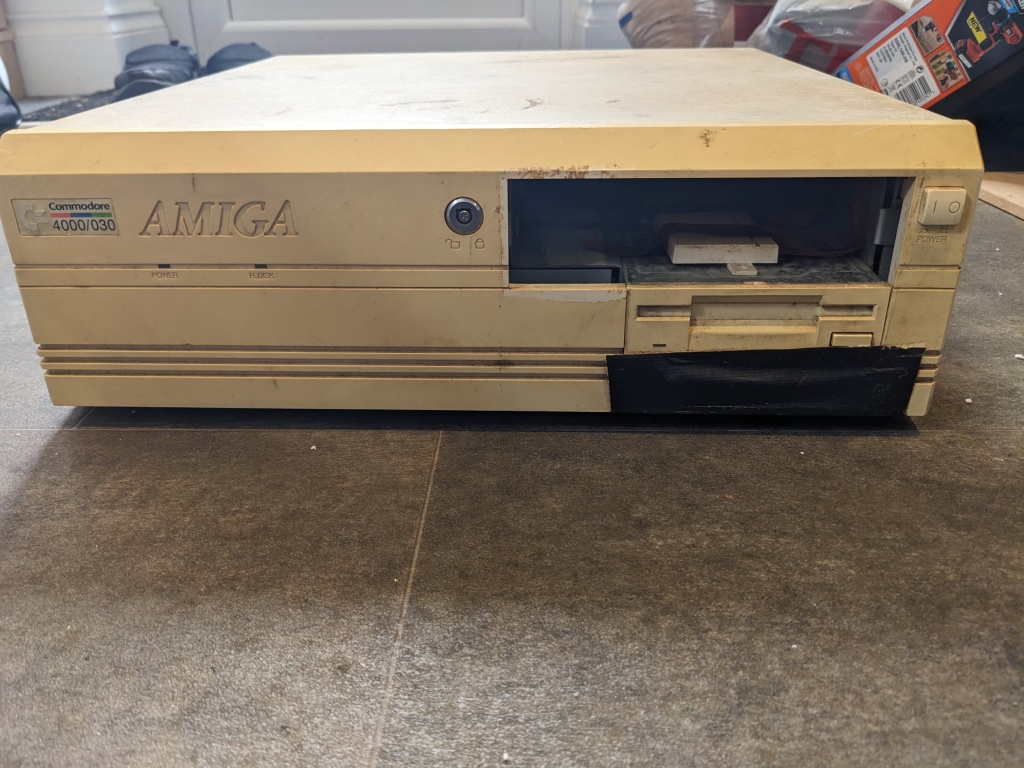
The first Amiga 4000 I received actually uses replica PCBs. It has a 68040 CPU board (despite the 68060 case badge) and a 256MB of Fast RAM board. It works out of the box. But still requires some restoration. Why? The case is in a bad state.
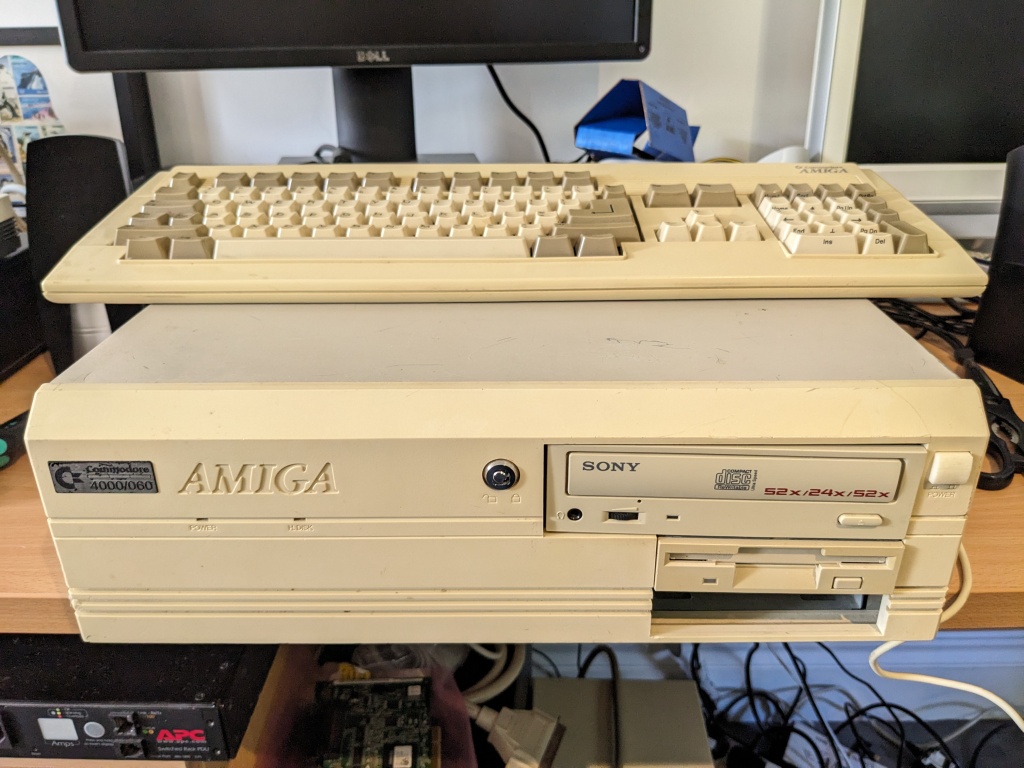
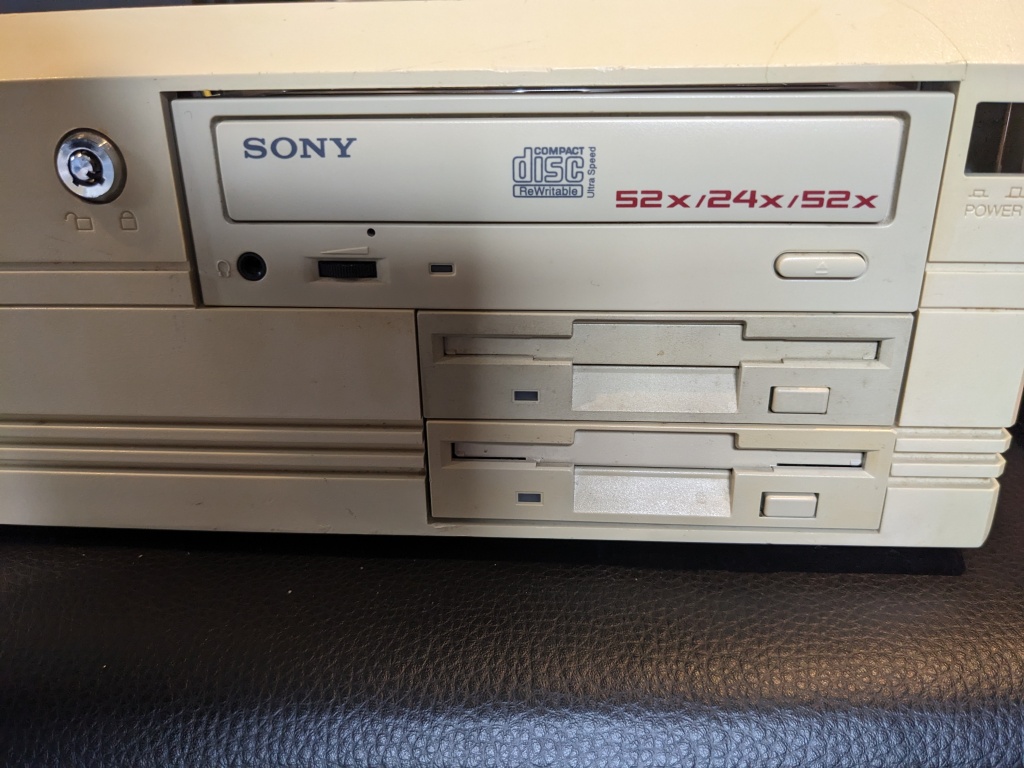
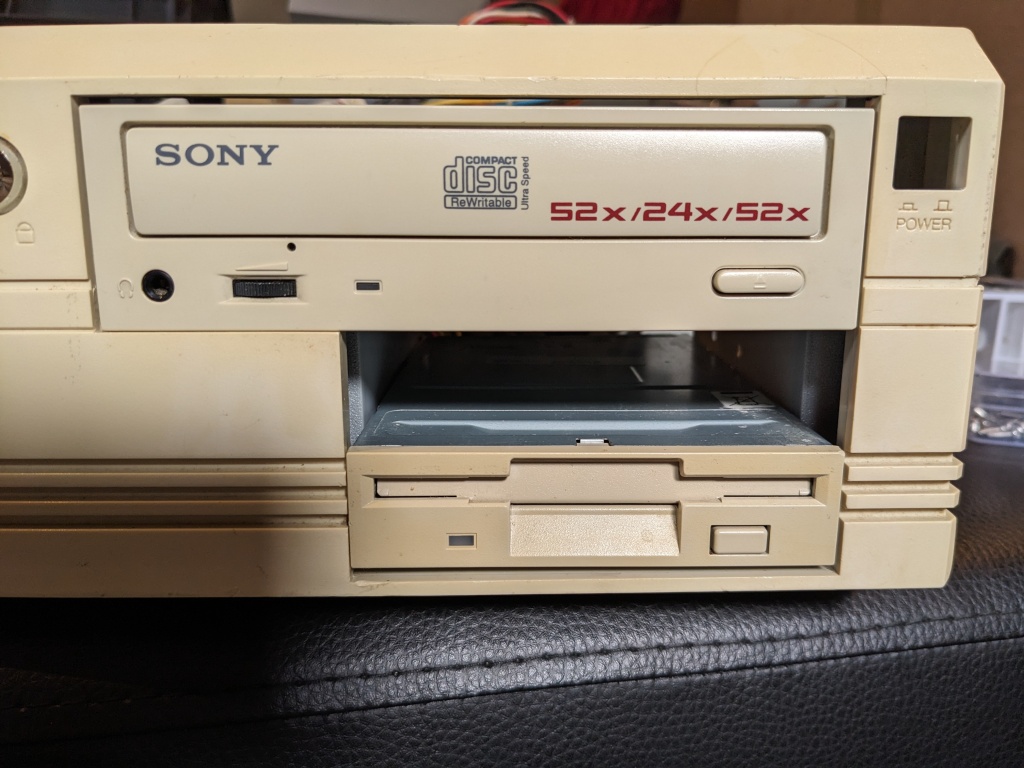
Do you see that those drives look wonky? I can show you why.
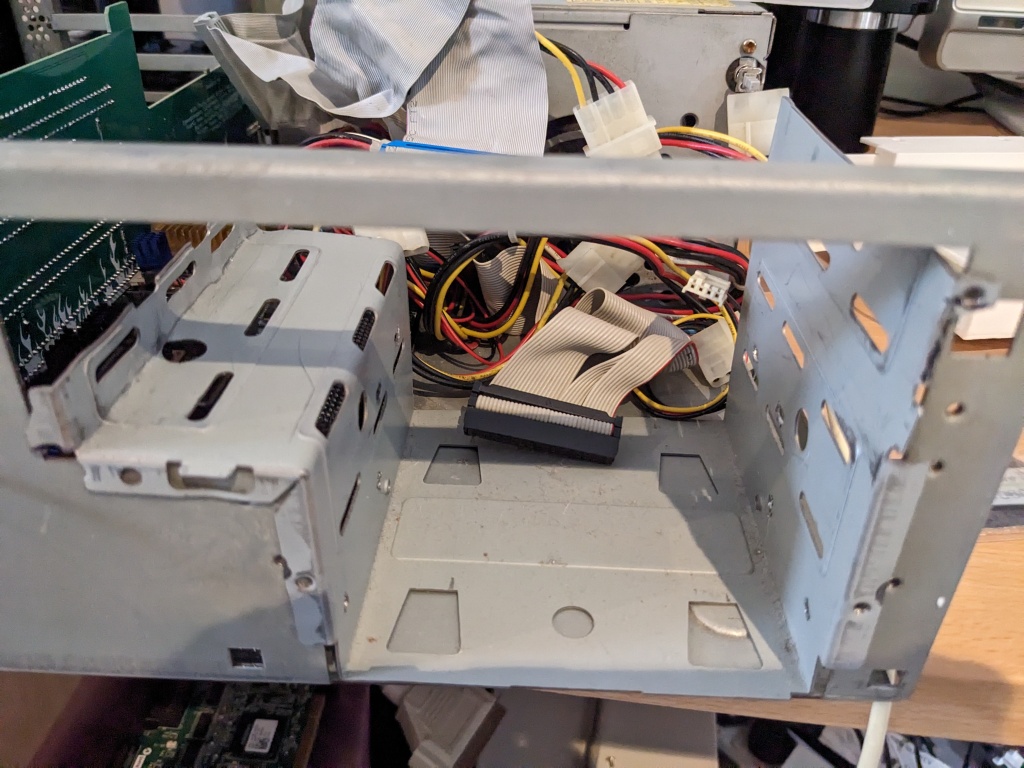
The drive cage is a bent piece of metal from what, I assume, is a PC drive cage. This is not what the original looks like. As such, the drives do not fit very well.
Amiga 4000 #2
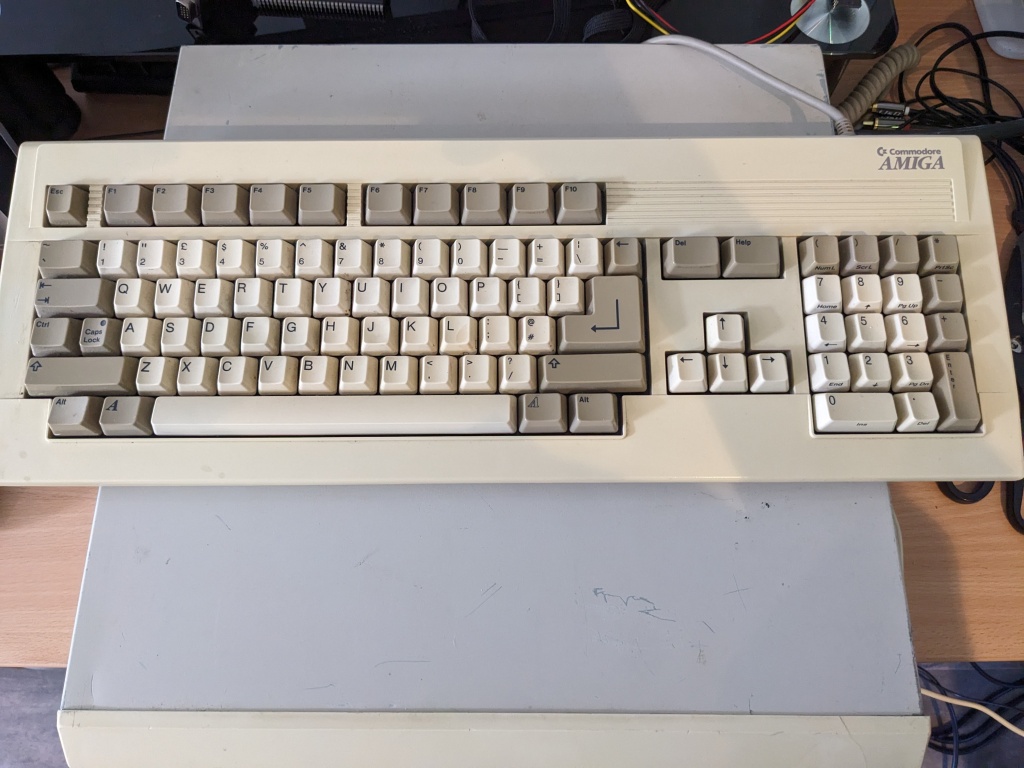
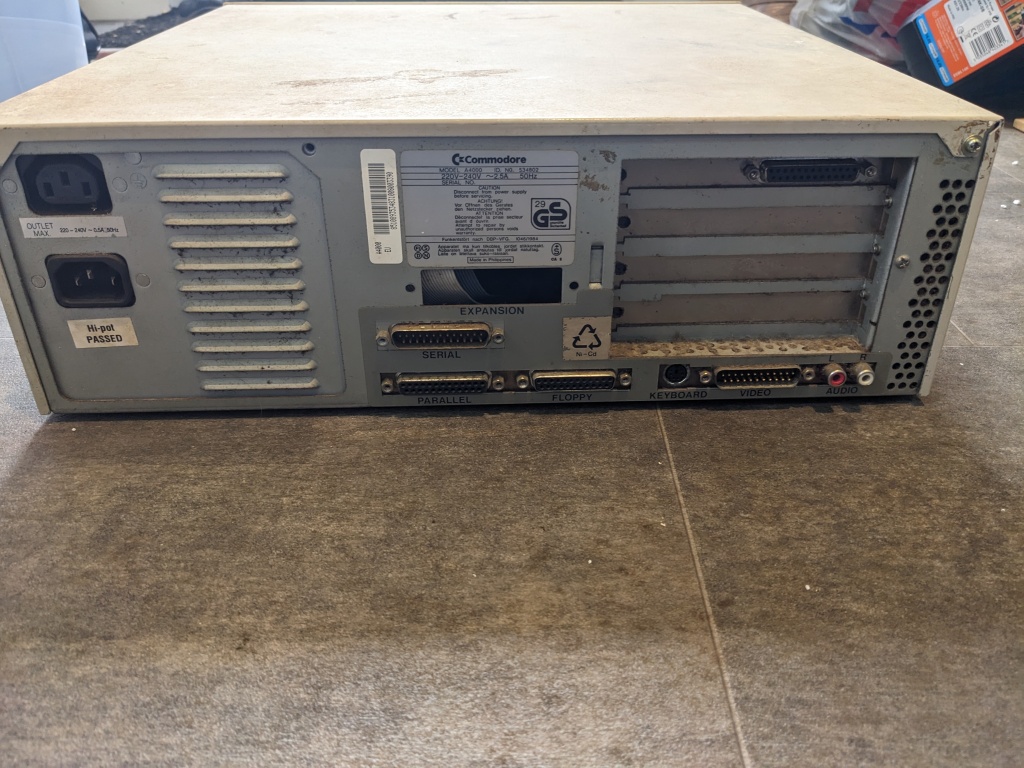
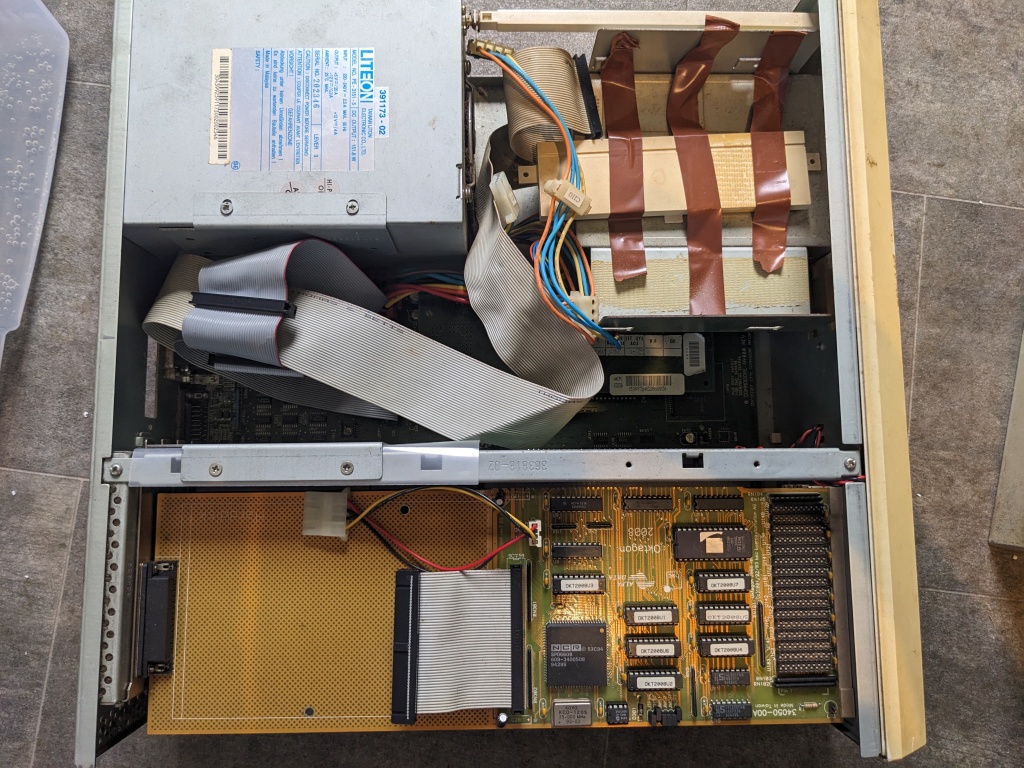
This Amiga 4000 is dirty, is missing a hard drive and keyboard. But I think this will clean up well. It is a 68030 version of the machine, which unfortunately still contains its Varta battery.
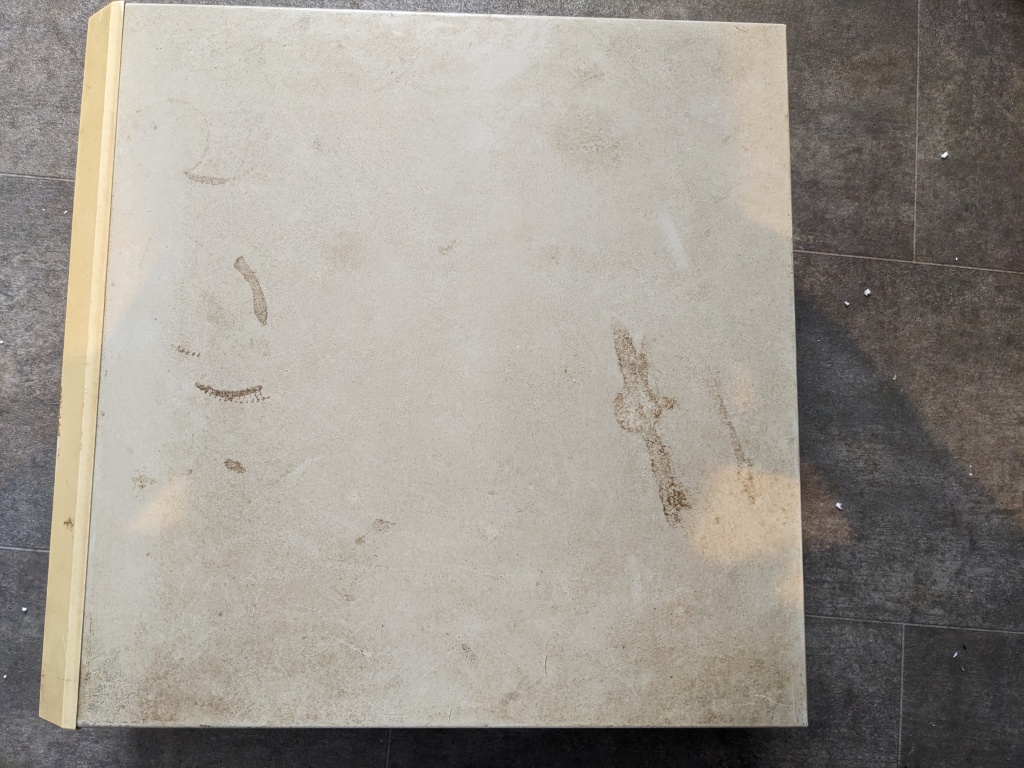
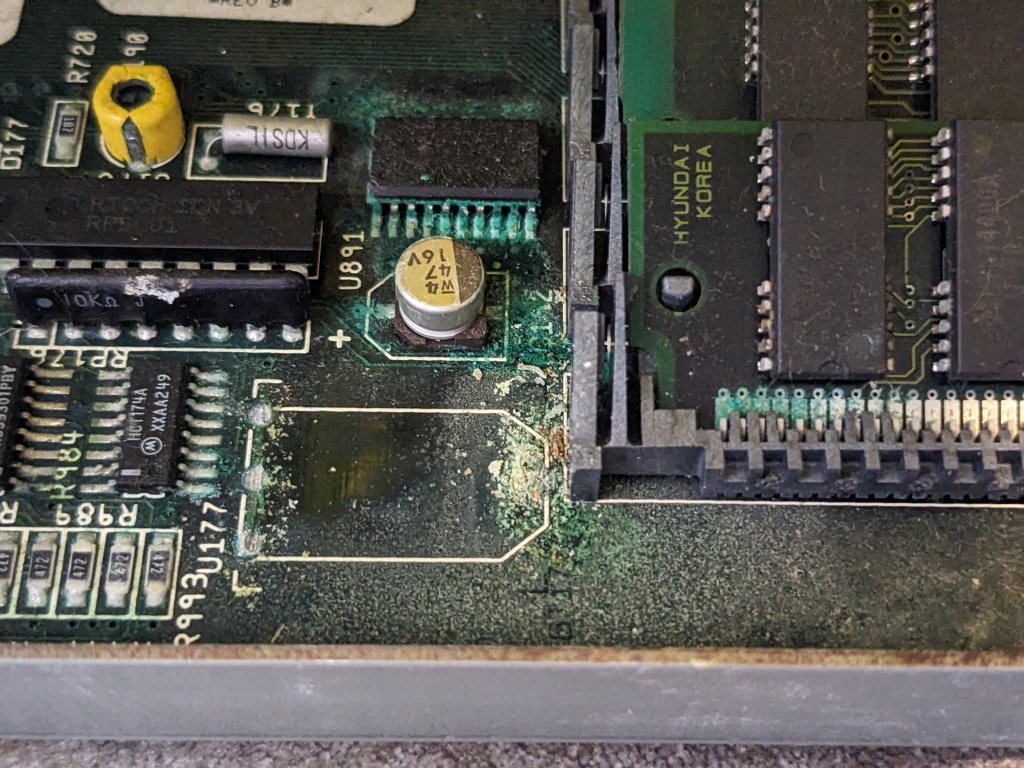

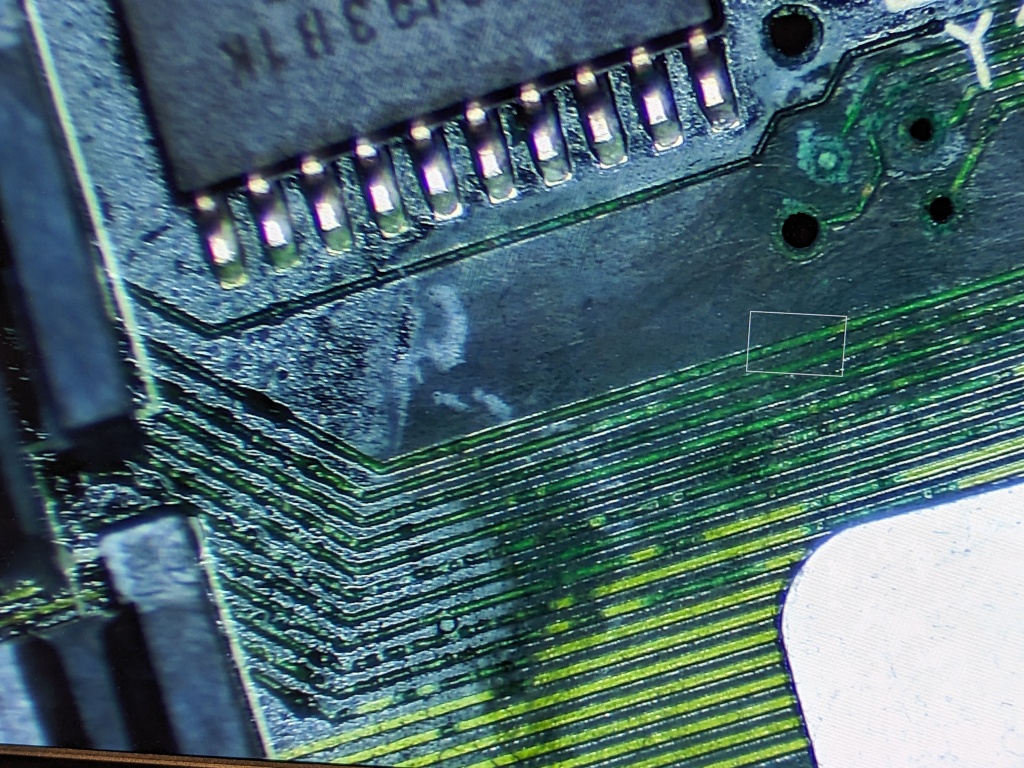
Is that mould, or capacitor leakage? Who knows, but it is going to need cleaning up.
A4000 #1: New Drive Cage
Whilst getting hold of a new drive cage is very difficult, I figured I might be able to 3D print one. Unfortunately, there is no design for one presently, it seems. Chris Appleton, aka Pillock on the RMC Retro Discord, measured his own one and gave me drawings to go from (many thanks!). Using this, I created a quick draft to see if it was structurally sound and would fit.
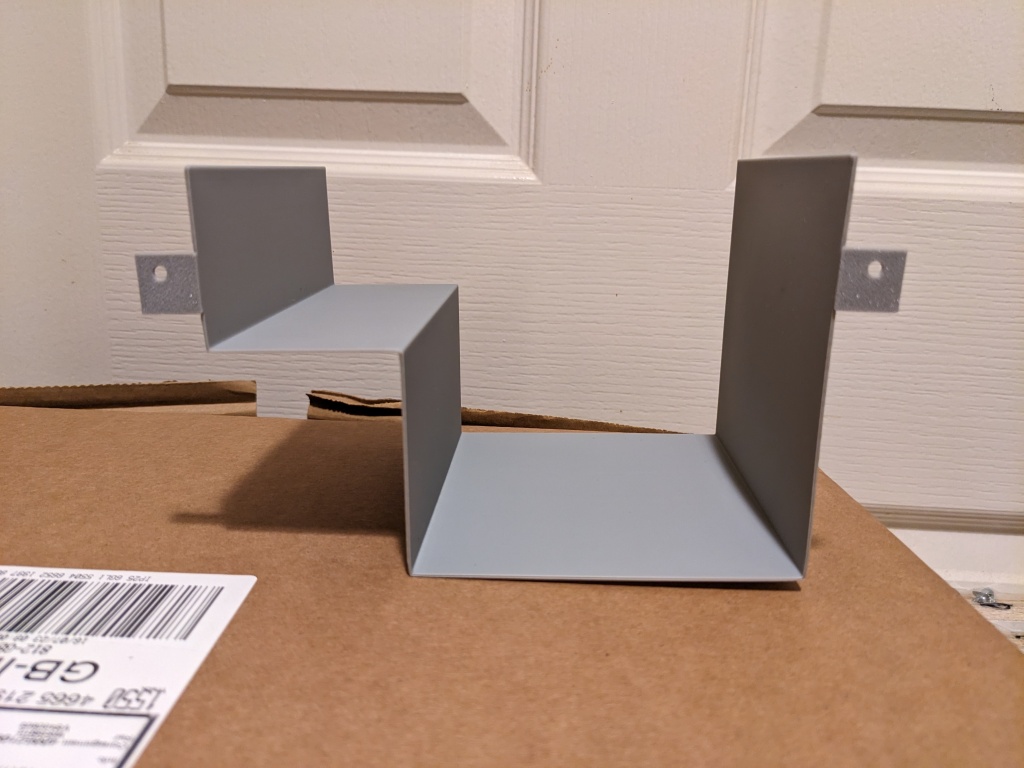
A few things were off by a small amount, I couldn’t fit a 3.5″ drive for example. So, I made some tweaks and added the holes to fit the drives.

This version somewhat fits, the mounting holes are in the wrong places, which means it isn’t quite physically in the right place.
Time for a third draft.
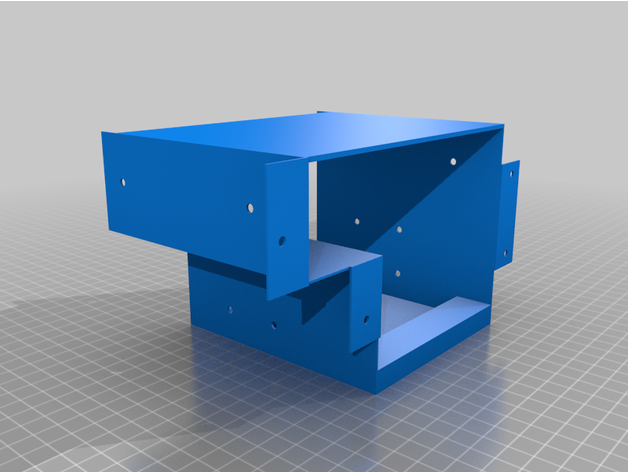
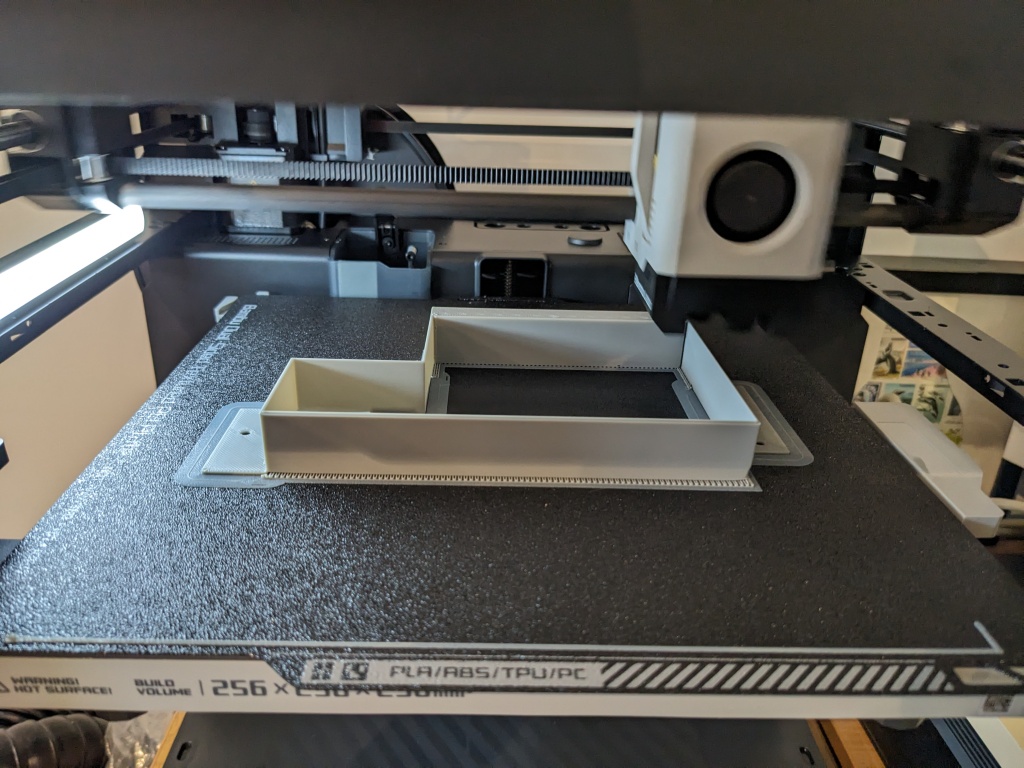
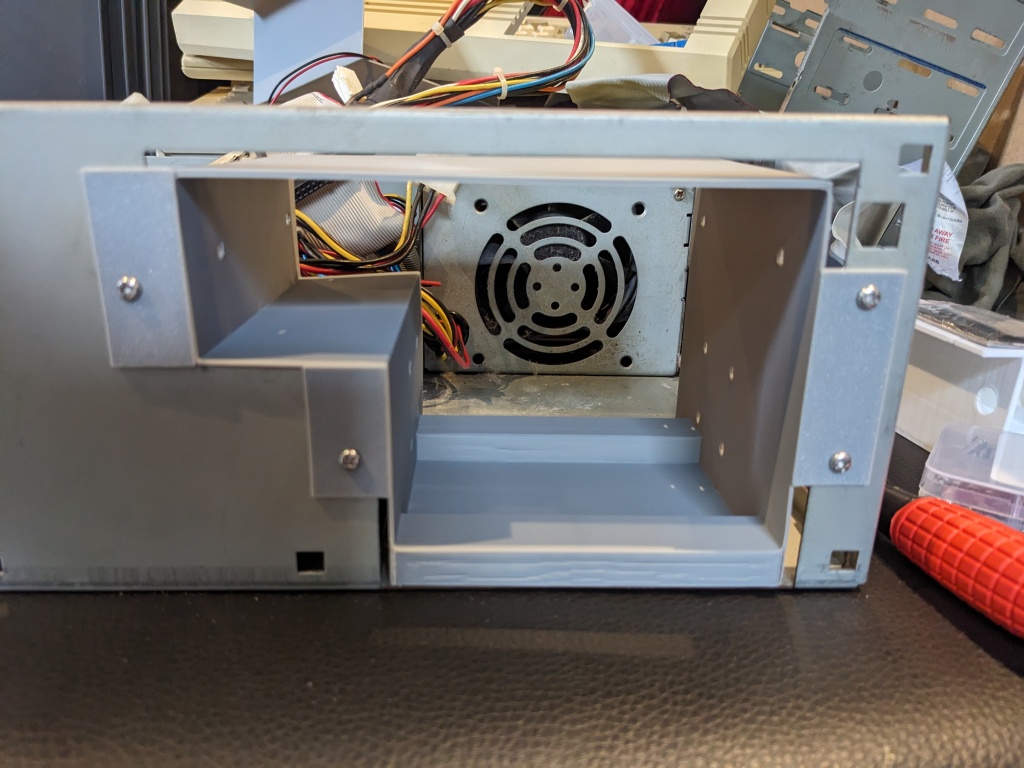

I added a lot more rigidity and mounting holes to this design. It seems to fit a lot better, so I’ll stick to this version. I’ve also made it freely available on Thingiverse.
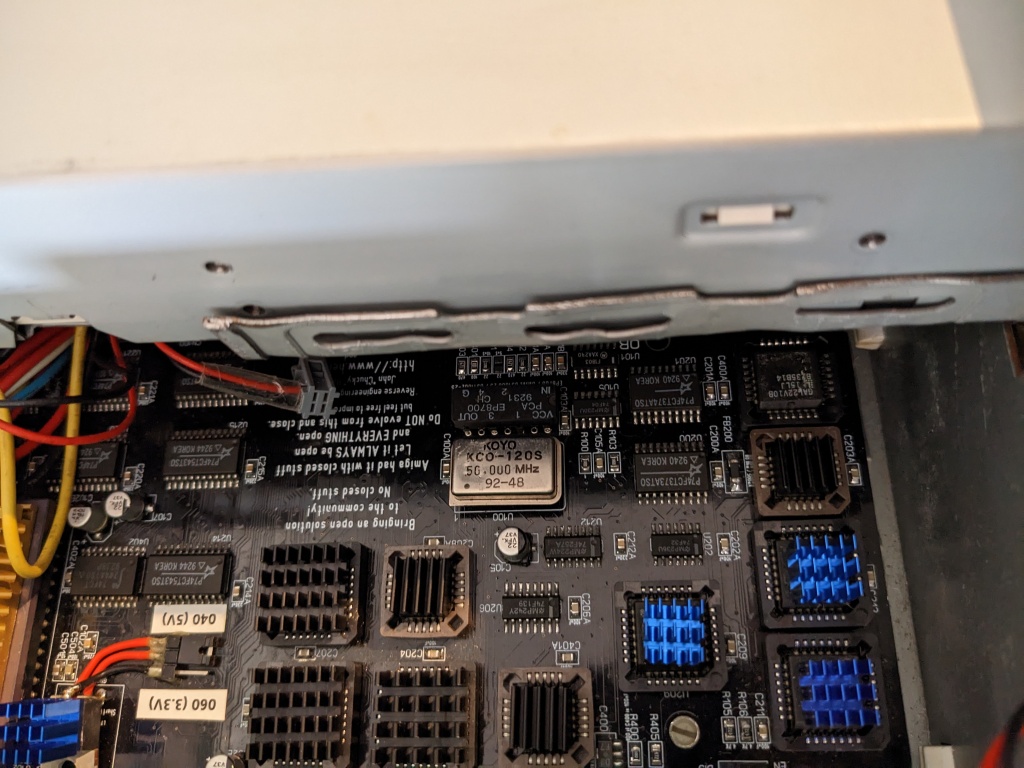
A4000 #2: Motherboard Inspection
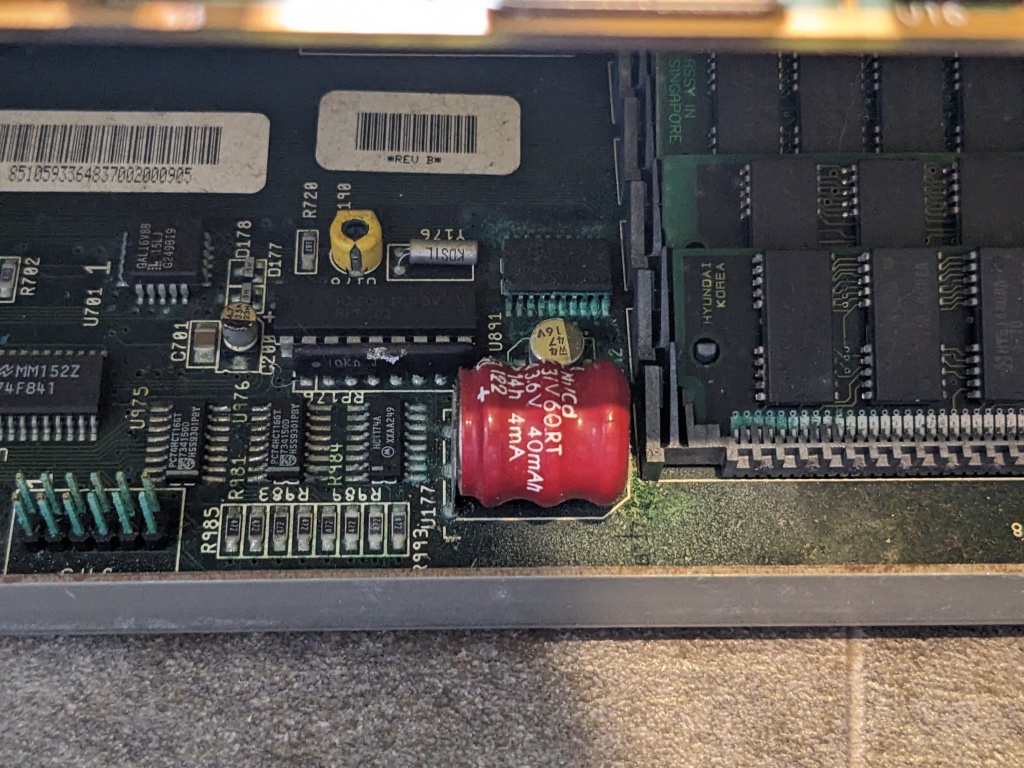
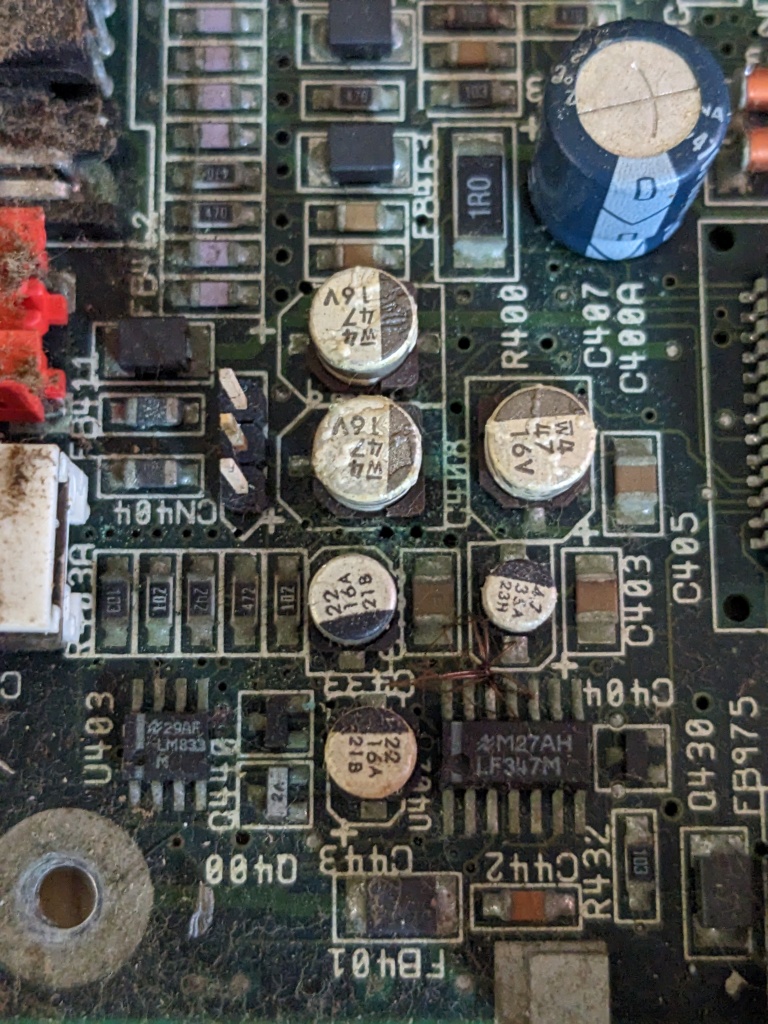
I removed the battery and used some mild acid to give a first-past clean up the leakage around the battery area. Once this was cleaned off, I inspected the board around this area. It appears the capacitors have leaked too, so those are going to need to be replaced.
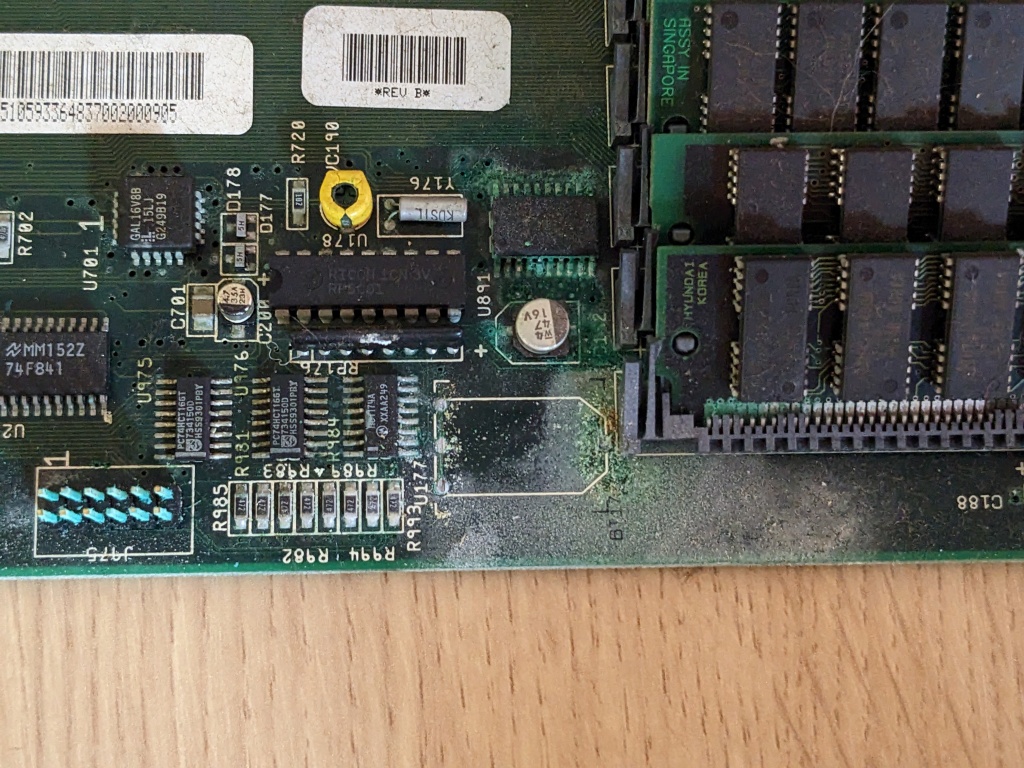
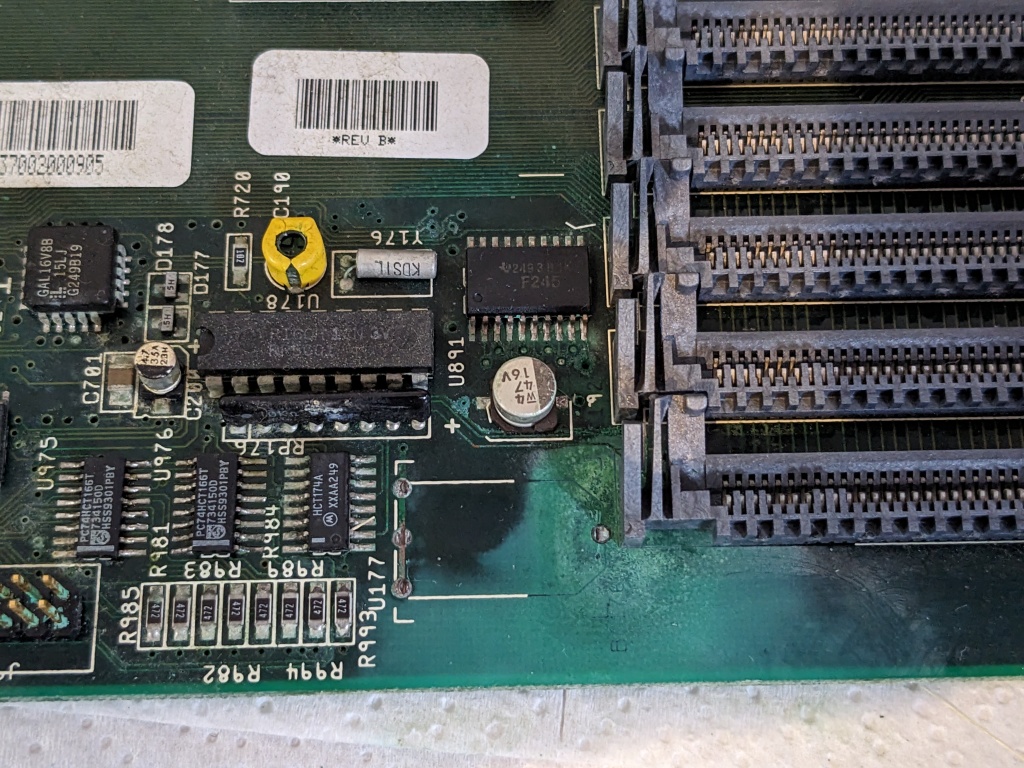

Based on this, I will need to:
- Replace all the DMS capacitors on the motherboard.
- Remove U891 and inspect / repair the surrounding damage.
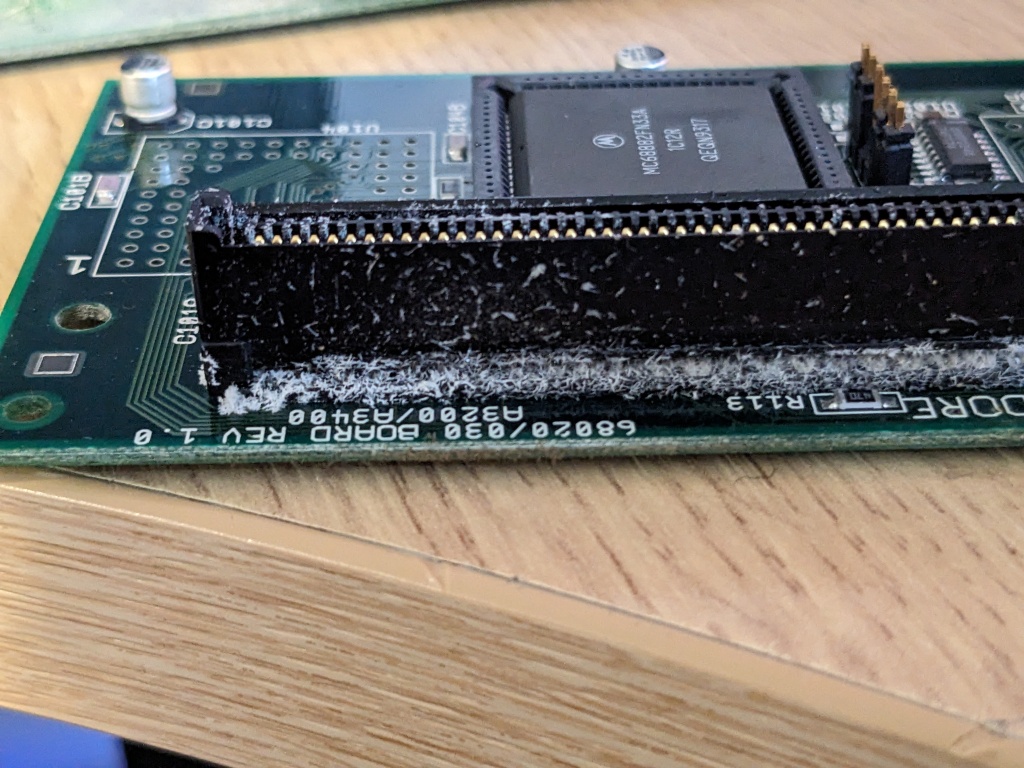
- Remove at least two SIMM sockets and inspect / repair damage around those.
- Lots of further cleaning.
It definitely is not in a state where I can test the PSU yet.
Next Steps
For now, I’m going to be focusing on machine #2, to see if I can get the motherboard into a state where I can test it and get it to boot. Beyond that, everything is cosmetic, there will be a lot of cleaning involved…

Leave a comment