… or modding FTW!
Intro
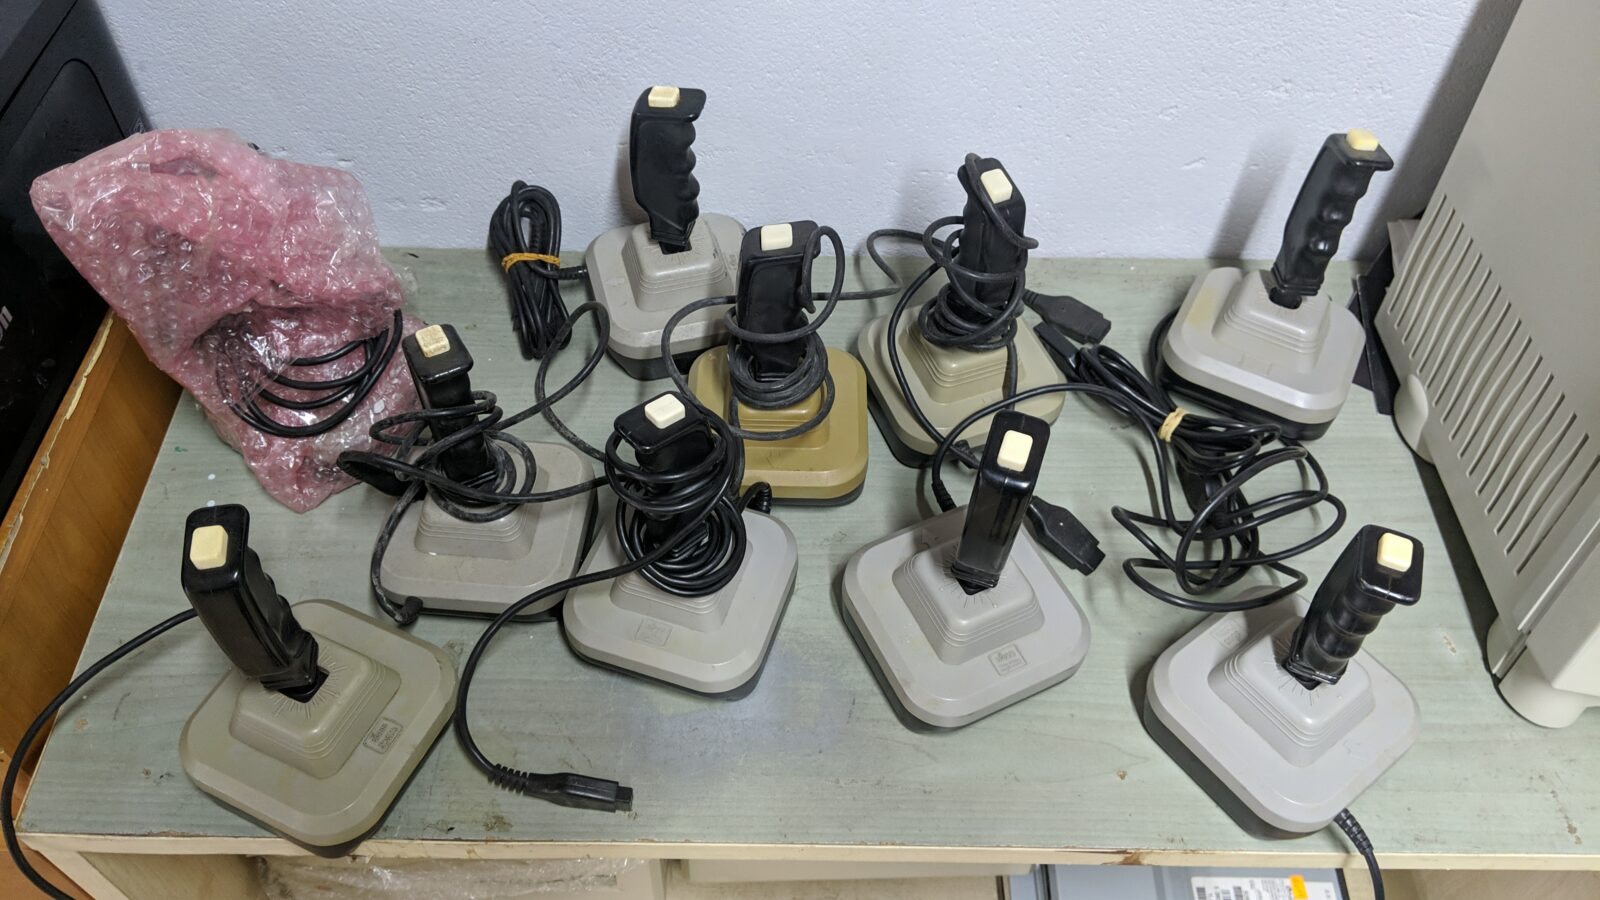
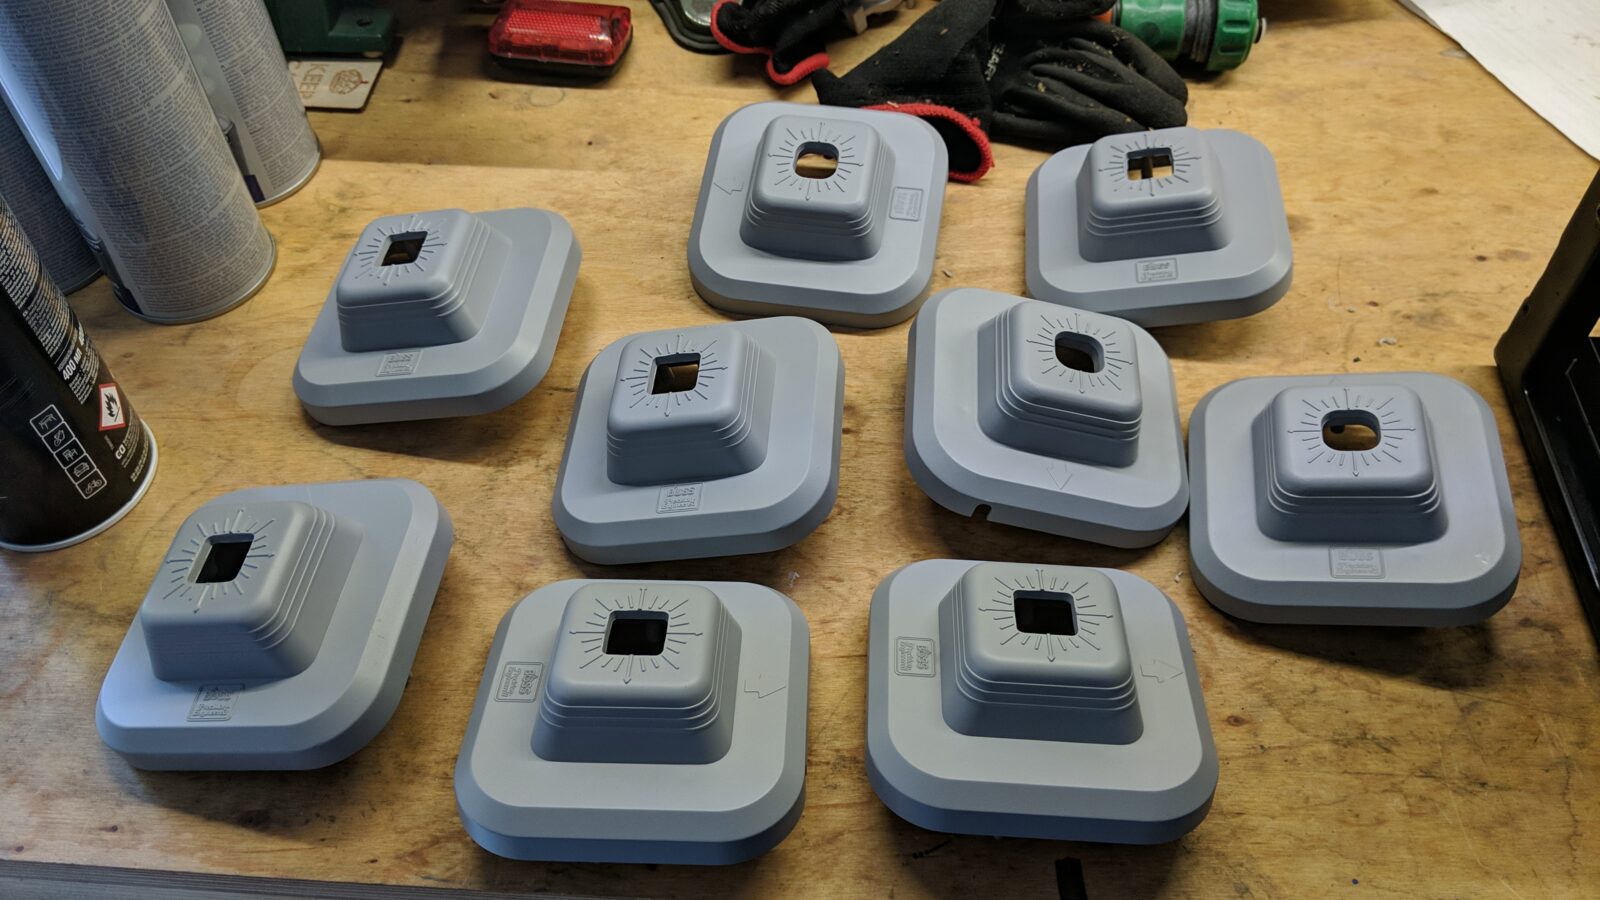
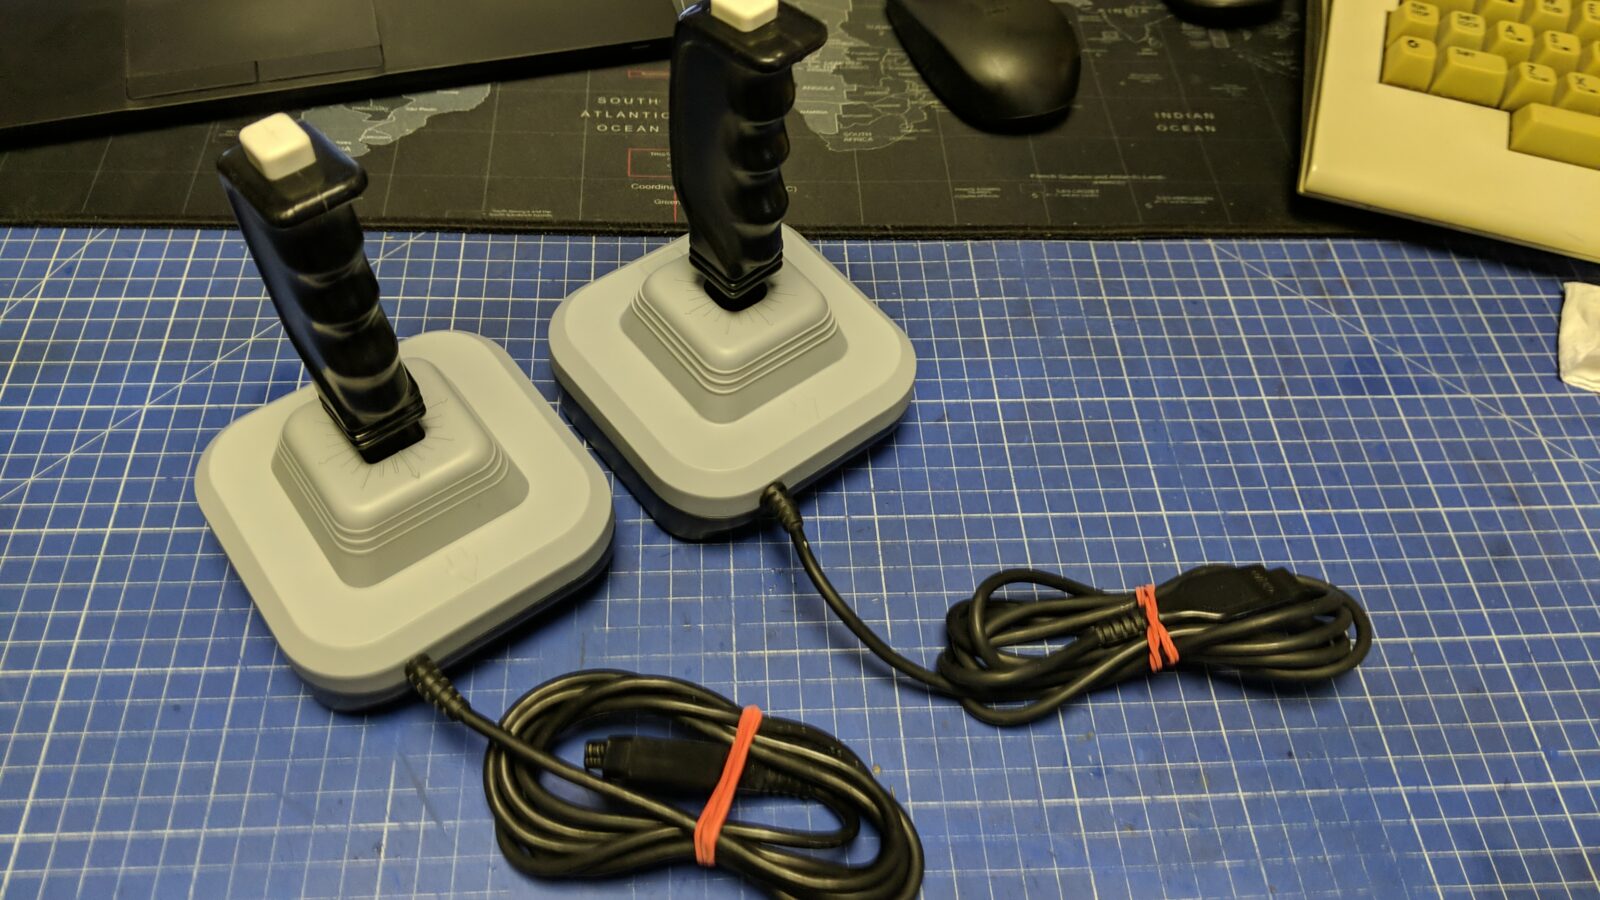
Some time ago, I received a box from my friend which contained 10 Wico Boss Joysticks. He wanted me to sort them all out.
These joysticks were not popular in Europe or at least I didn’t hear much about them but judging by this hilarious commercial, it must’ve been popular in the US 😀
Since I didn’t know much about these sticks, I started looking for some info and found this cool blog post.
State of 10 sticks
Most of the joysticks were in working condition, which proves their toughness, however, all of them required a nice touch, cleaning, and as it later turned out, complete modding.
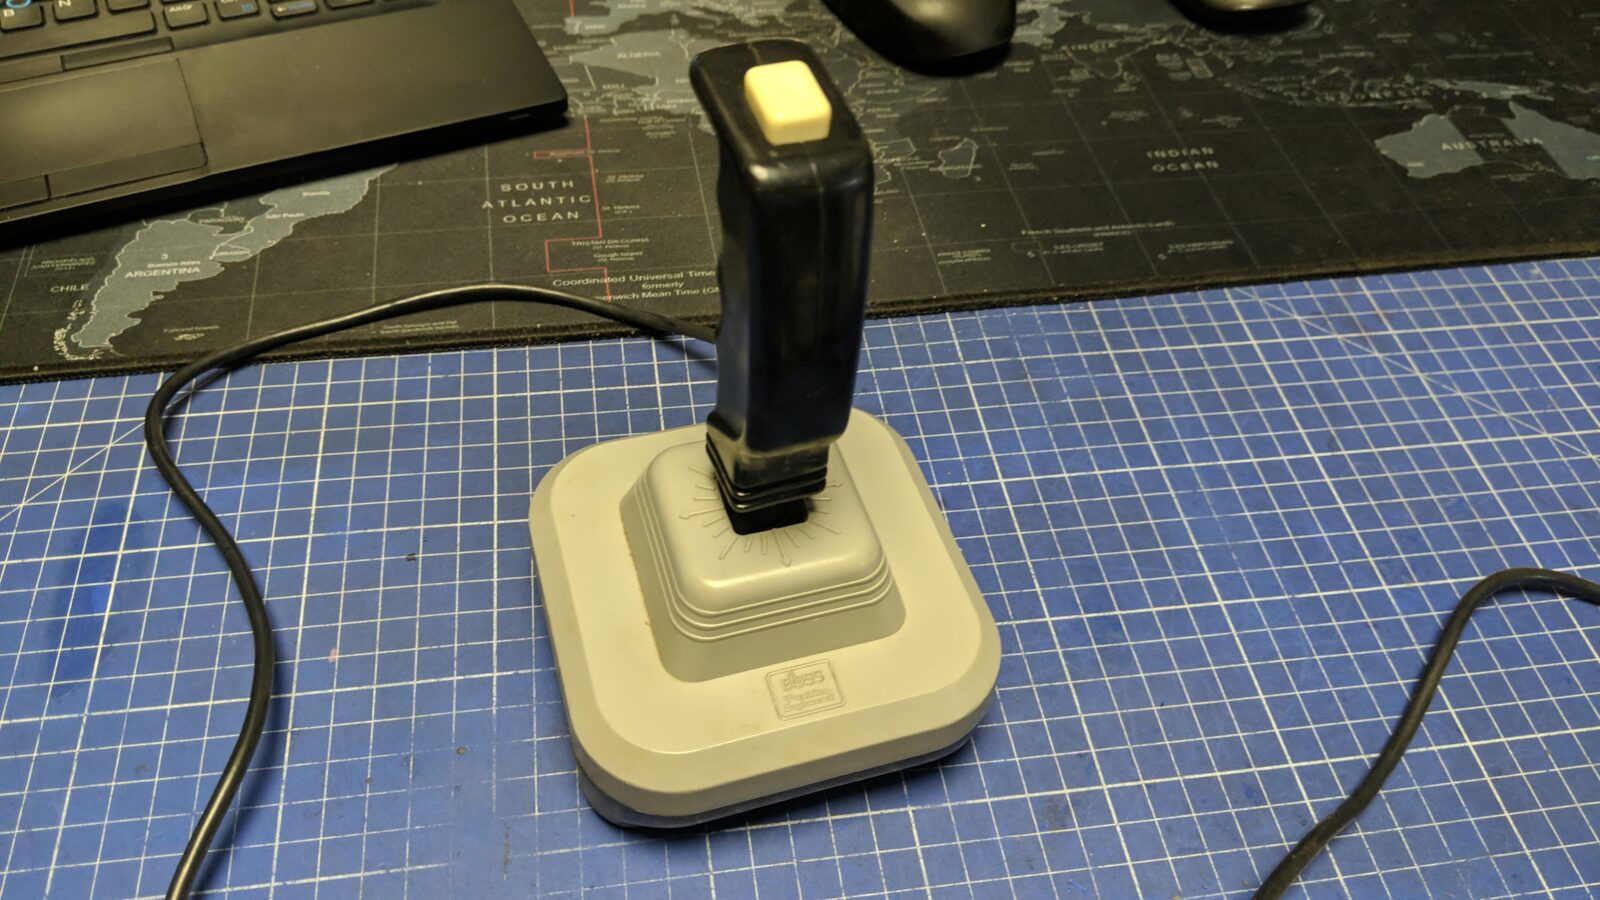
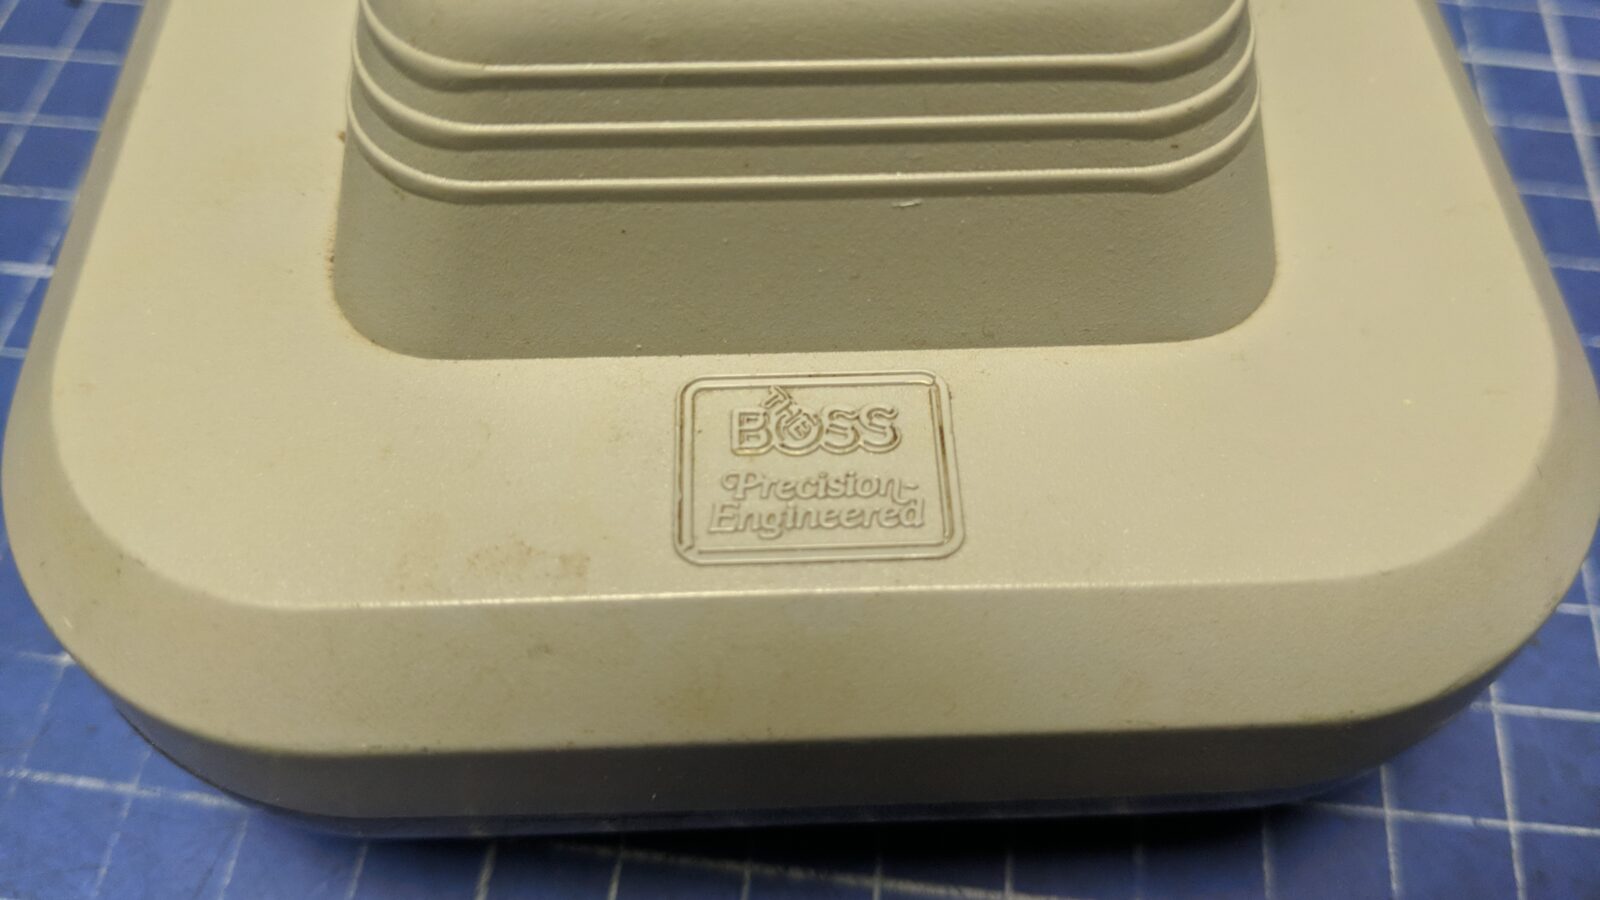
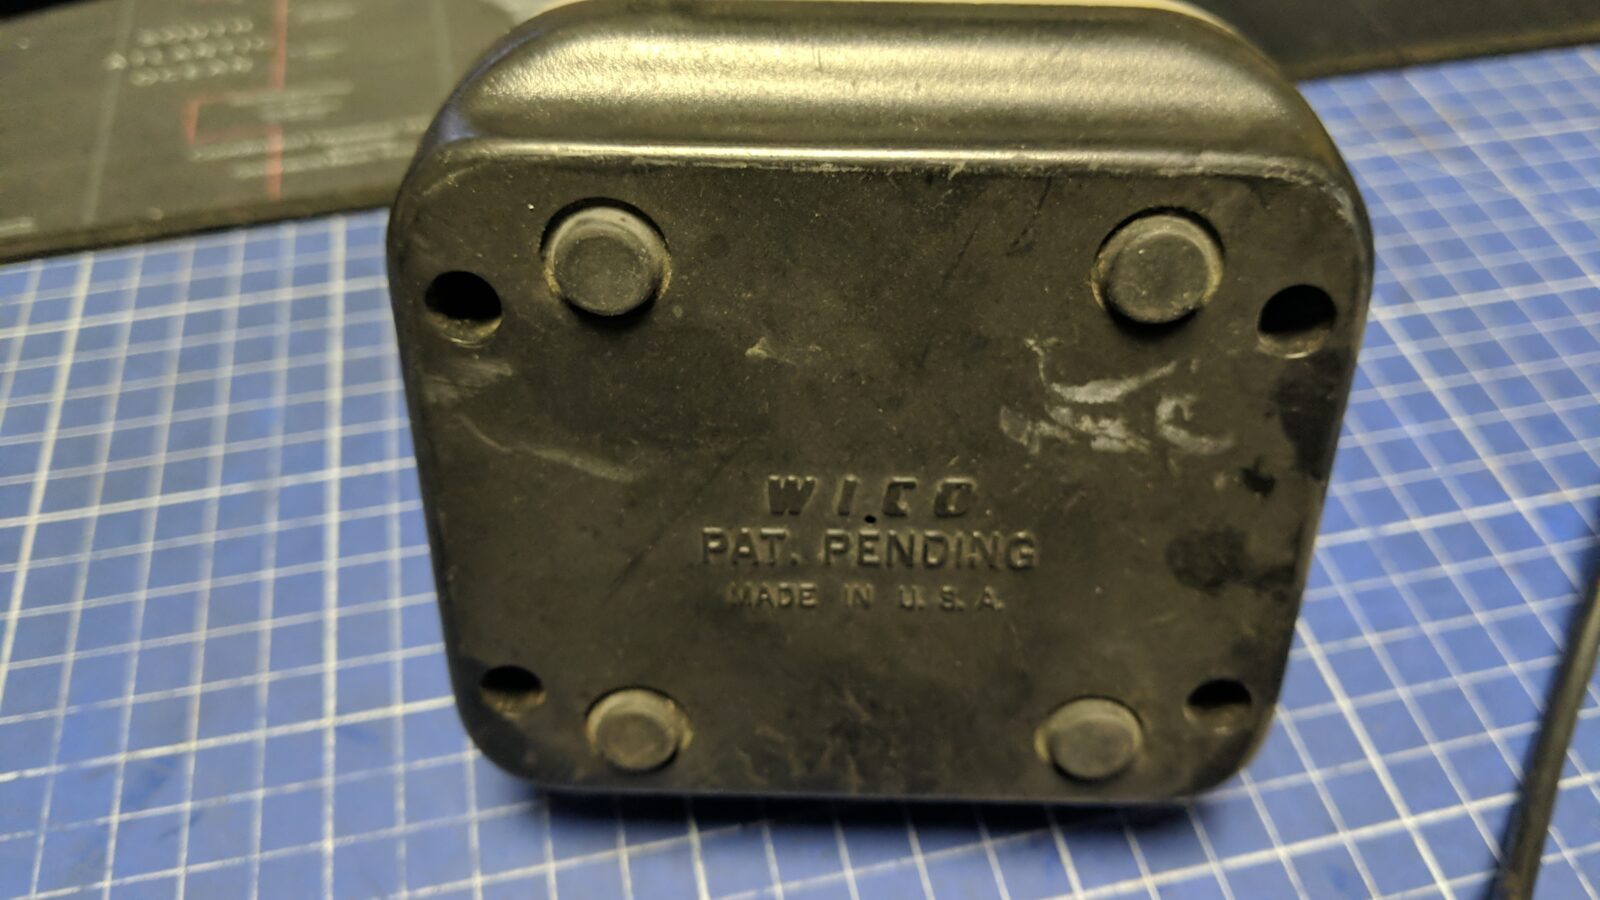
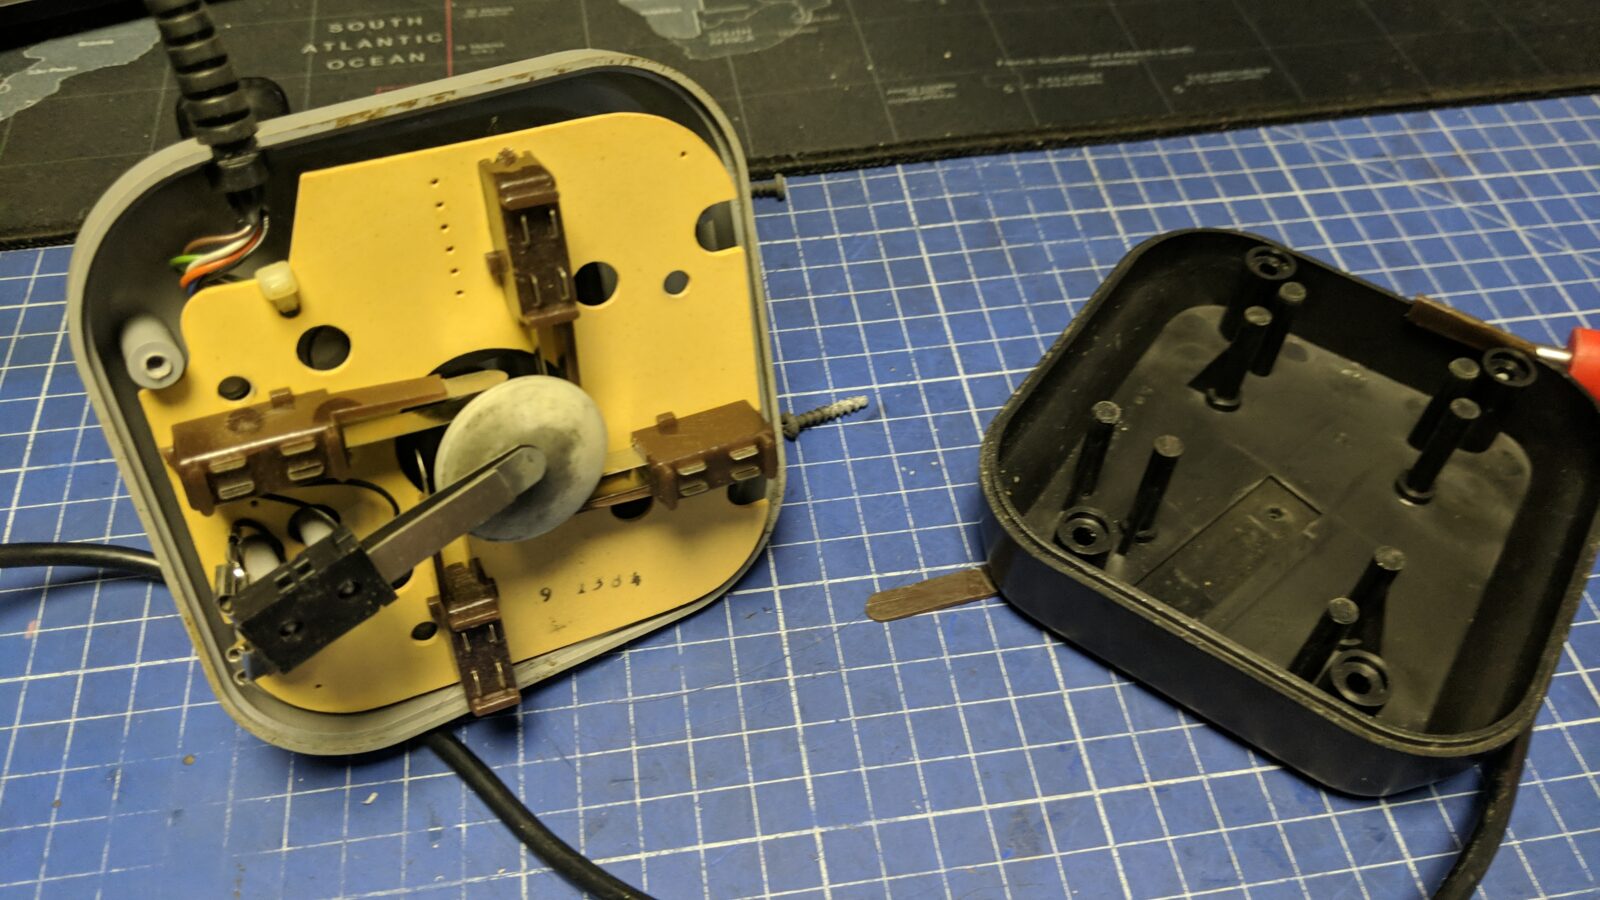
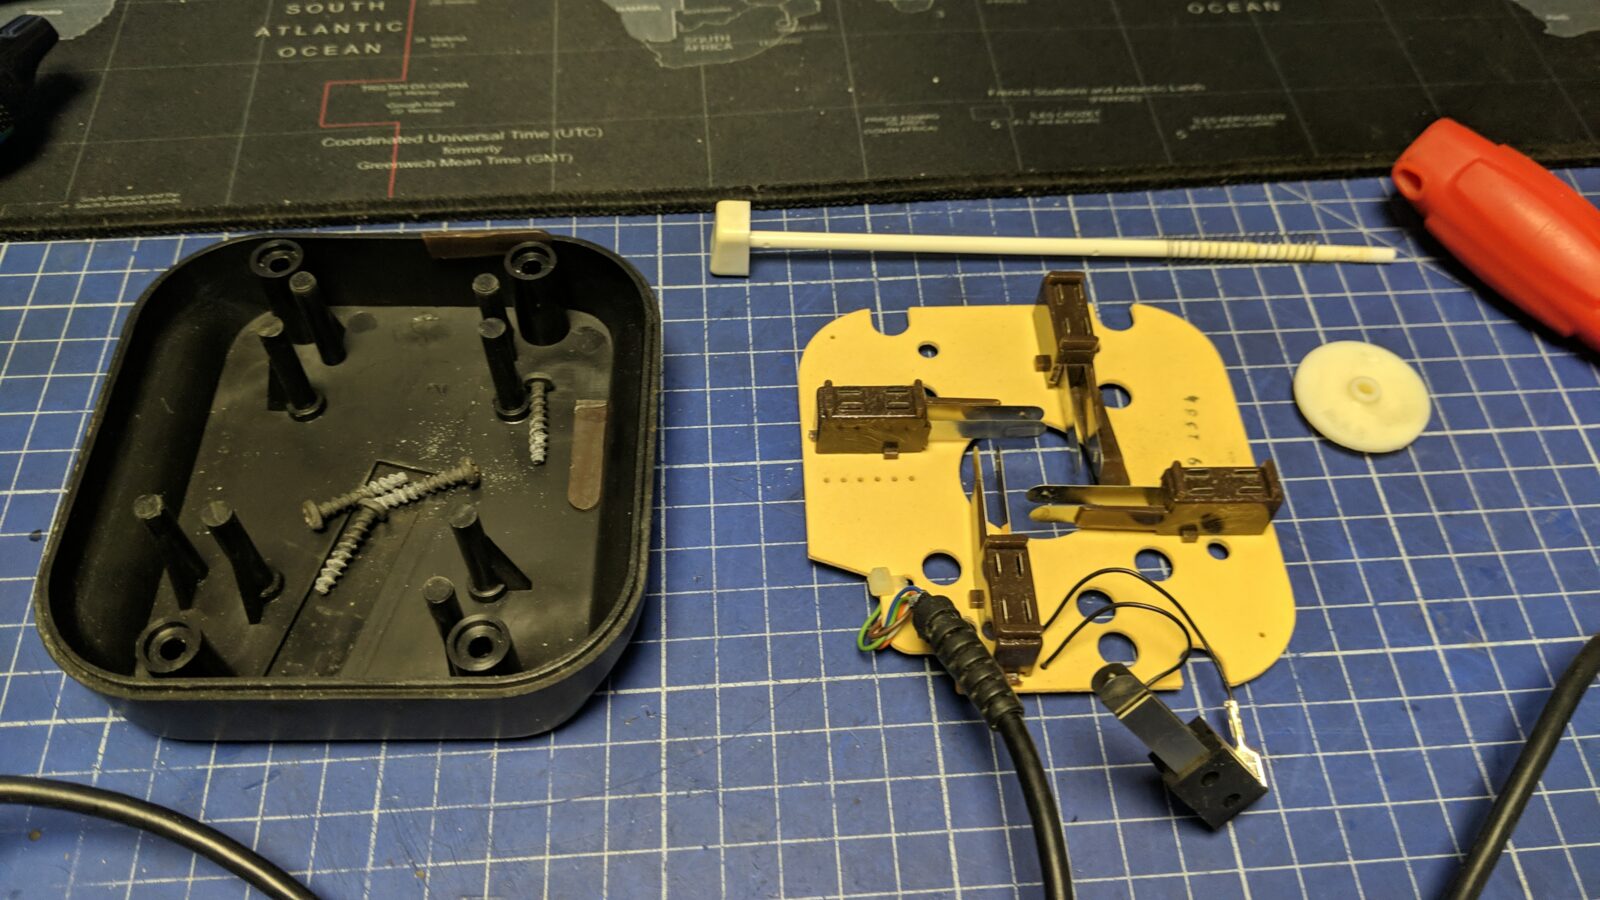
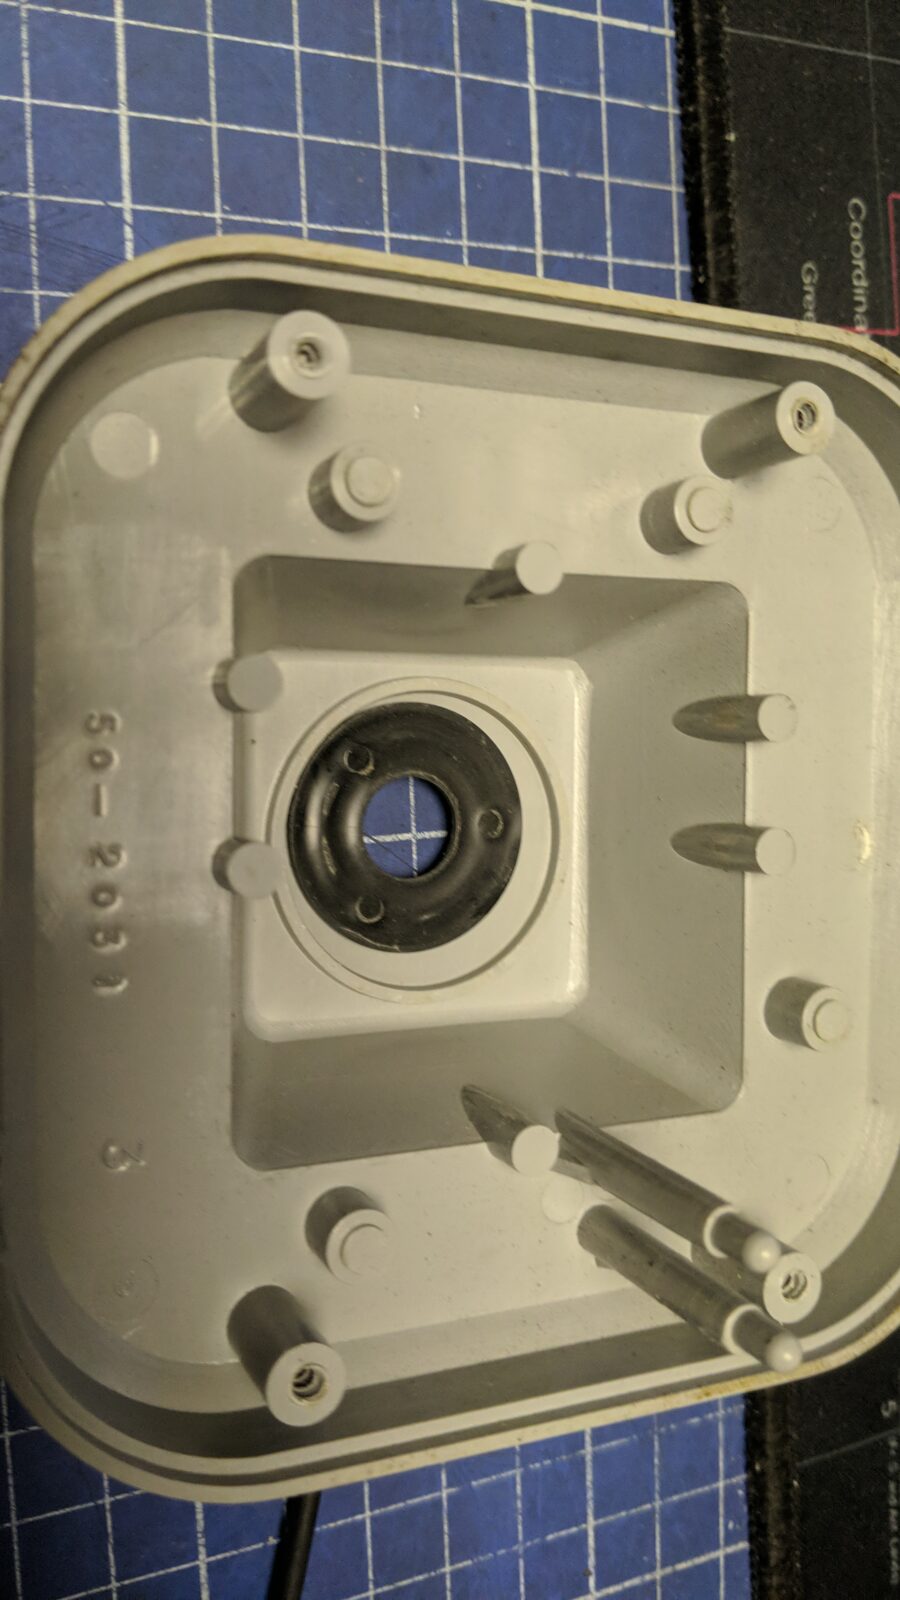
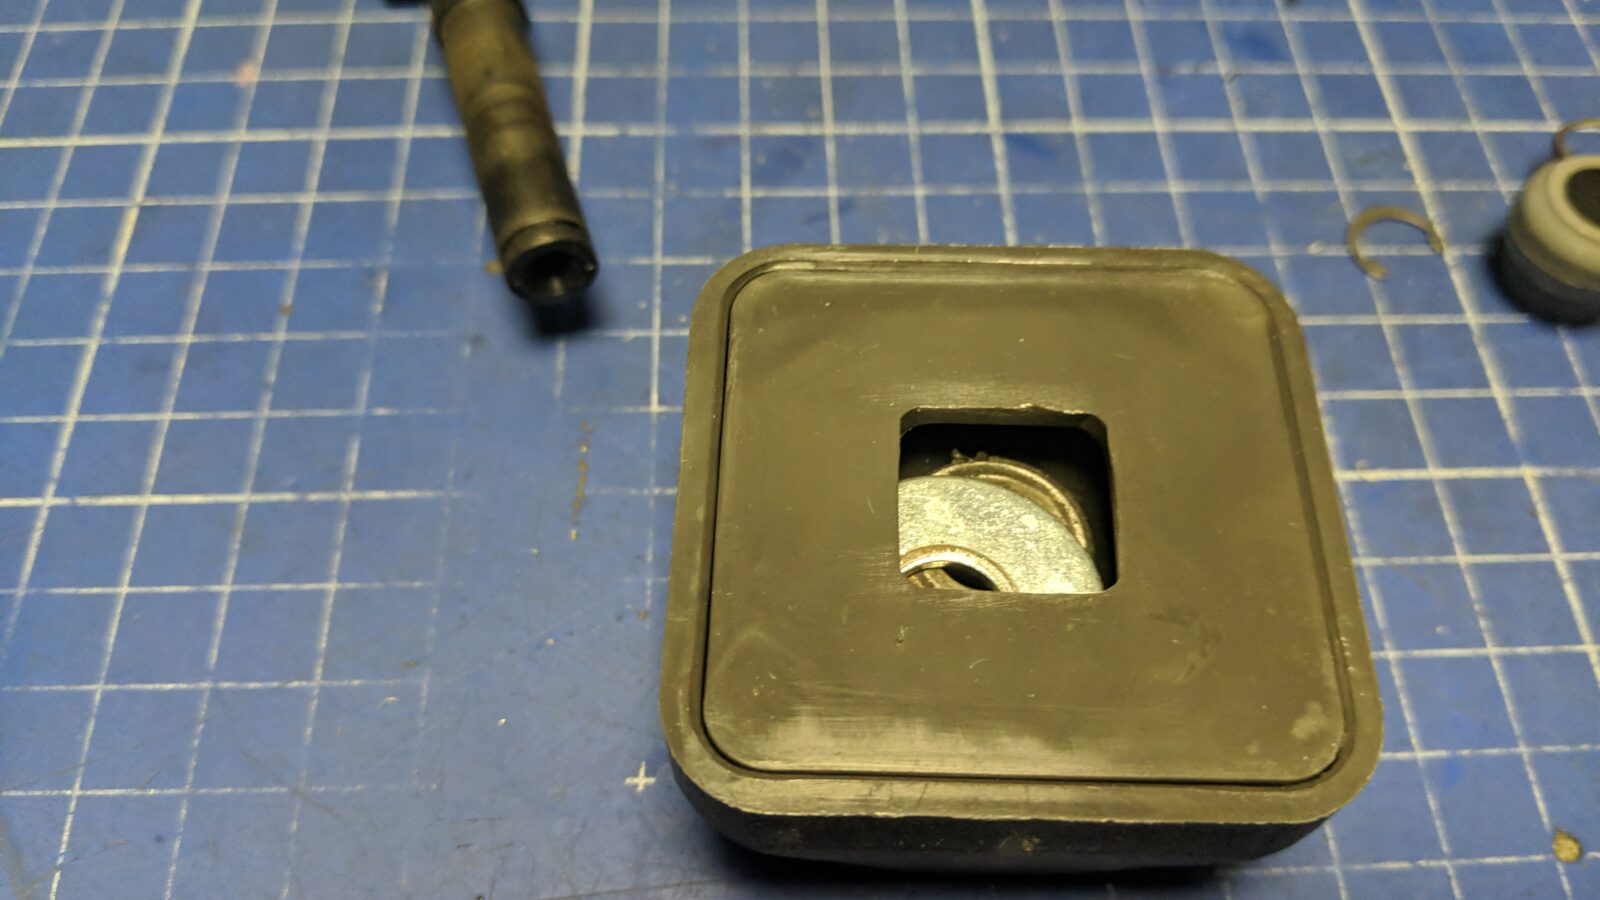
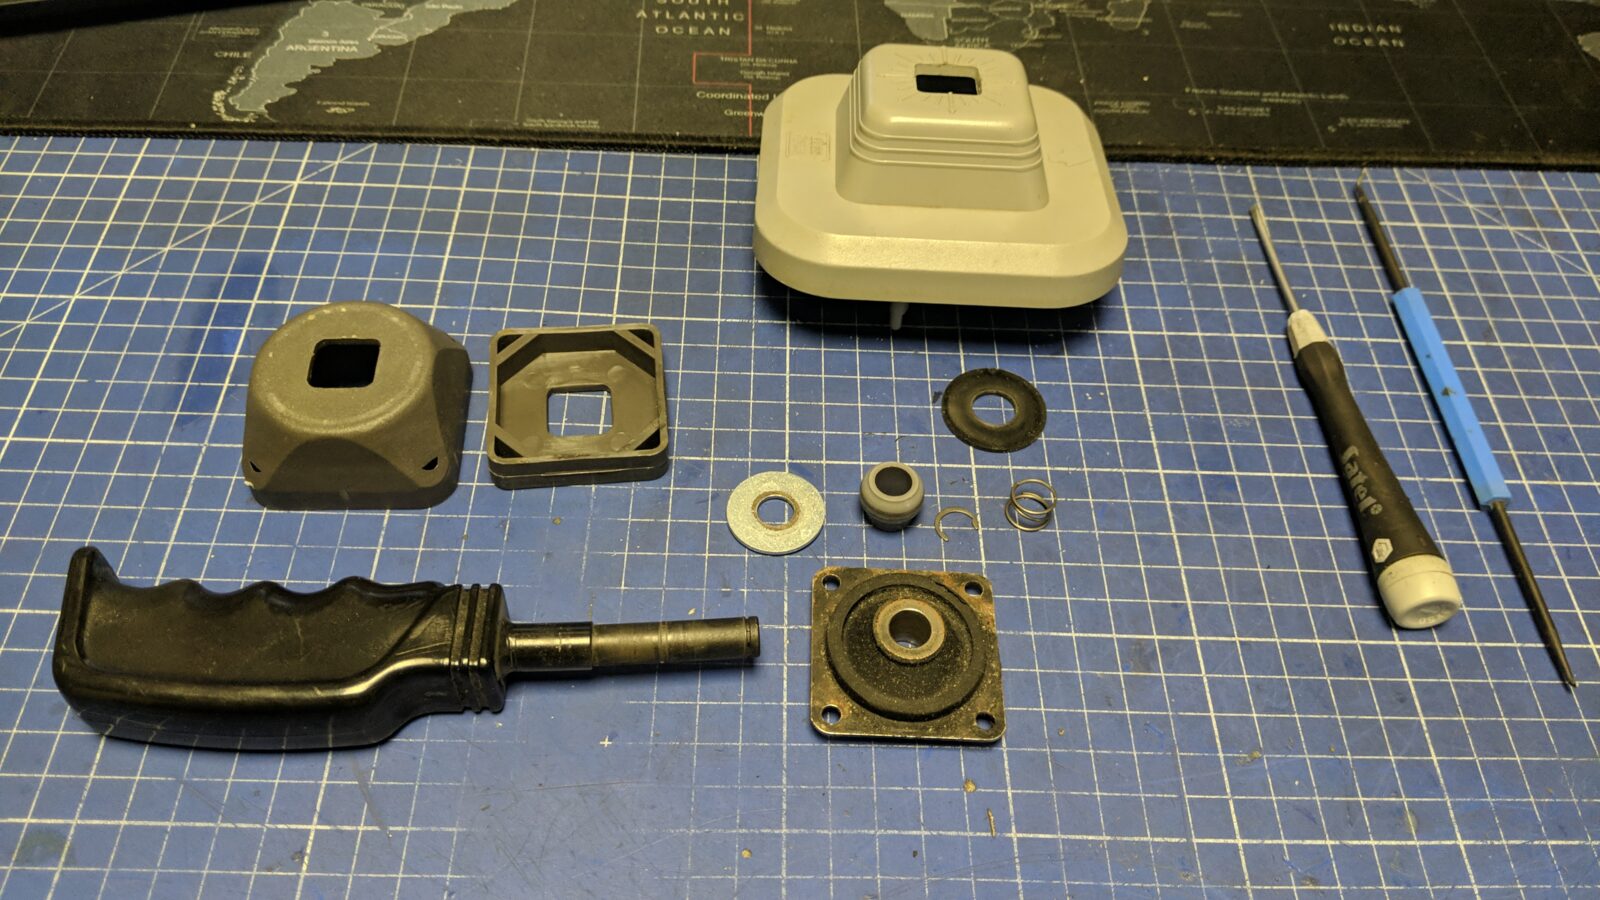
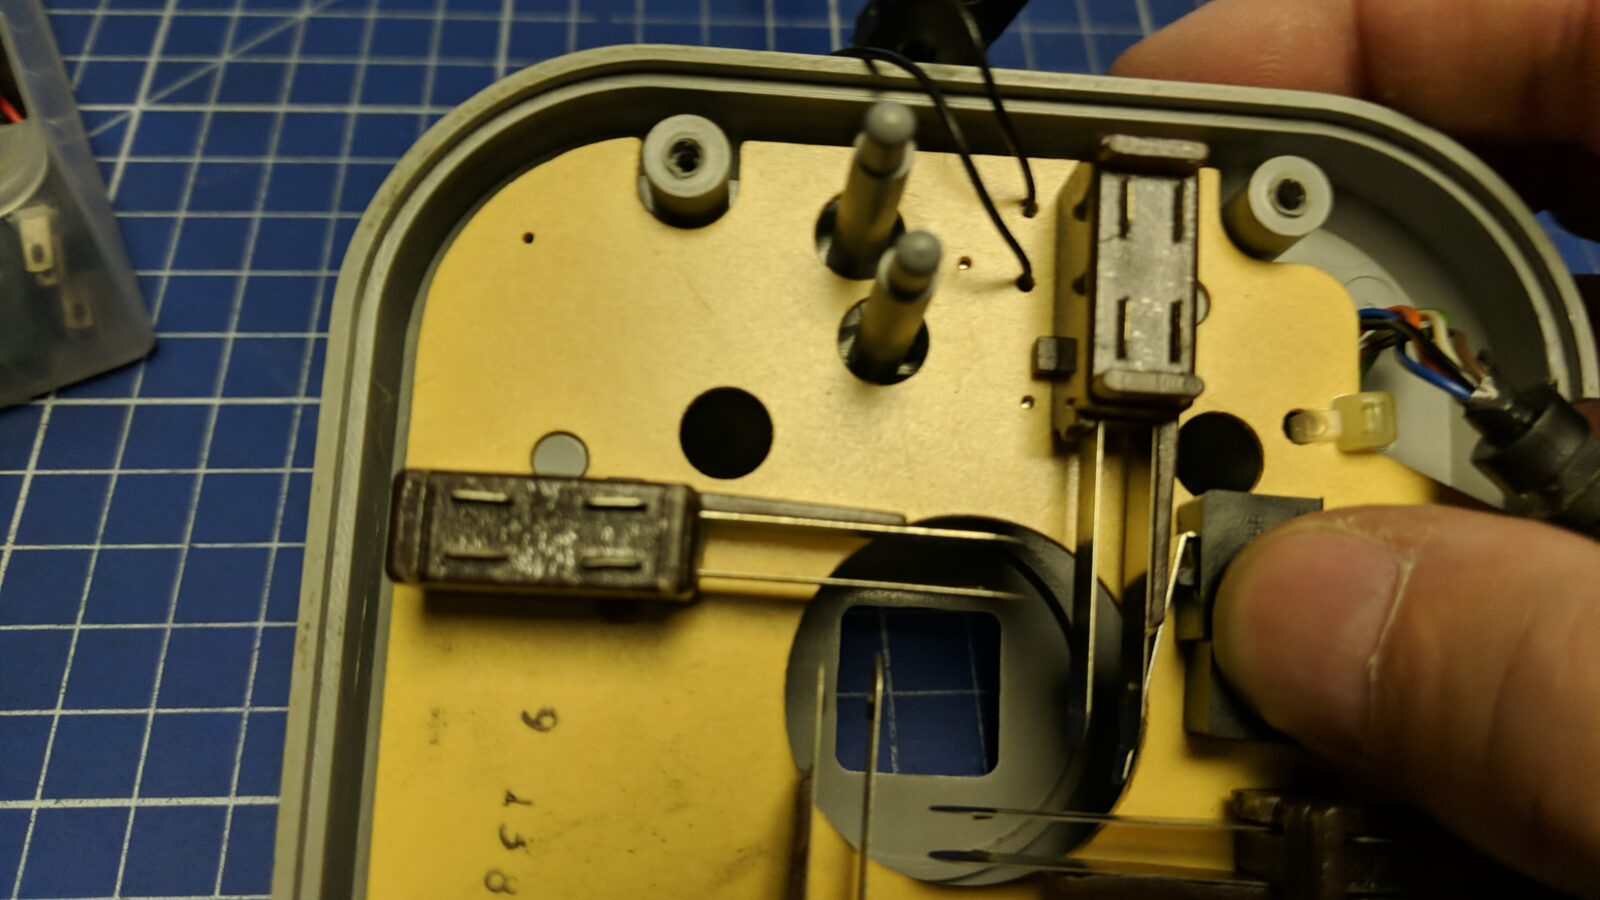
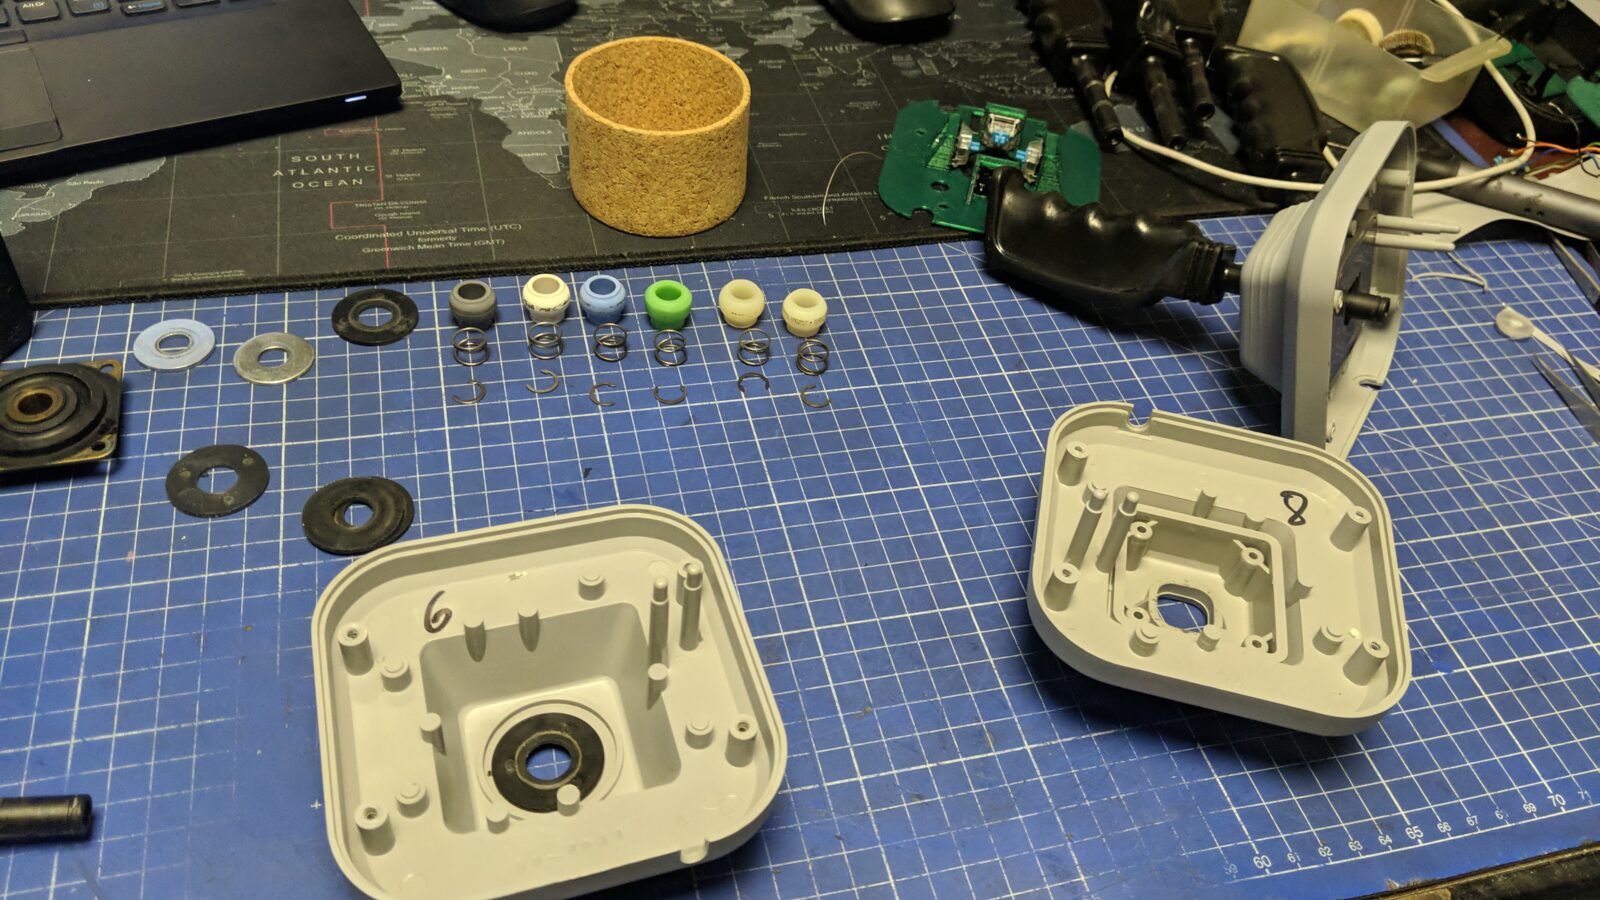
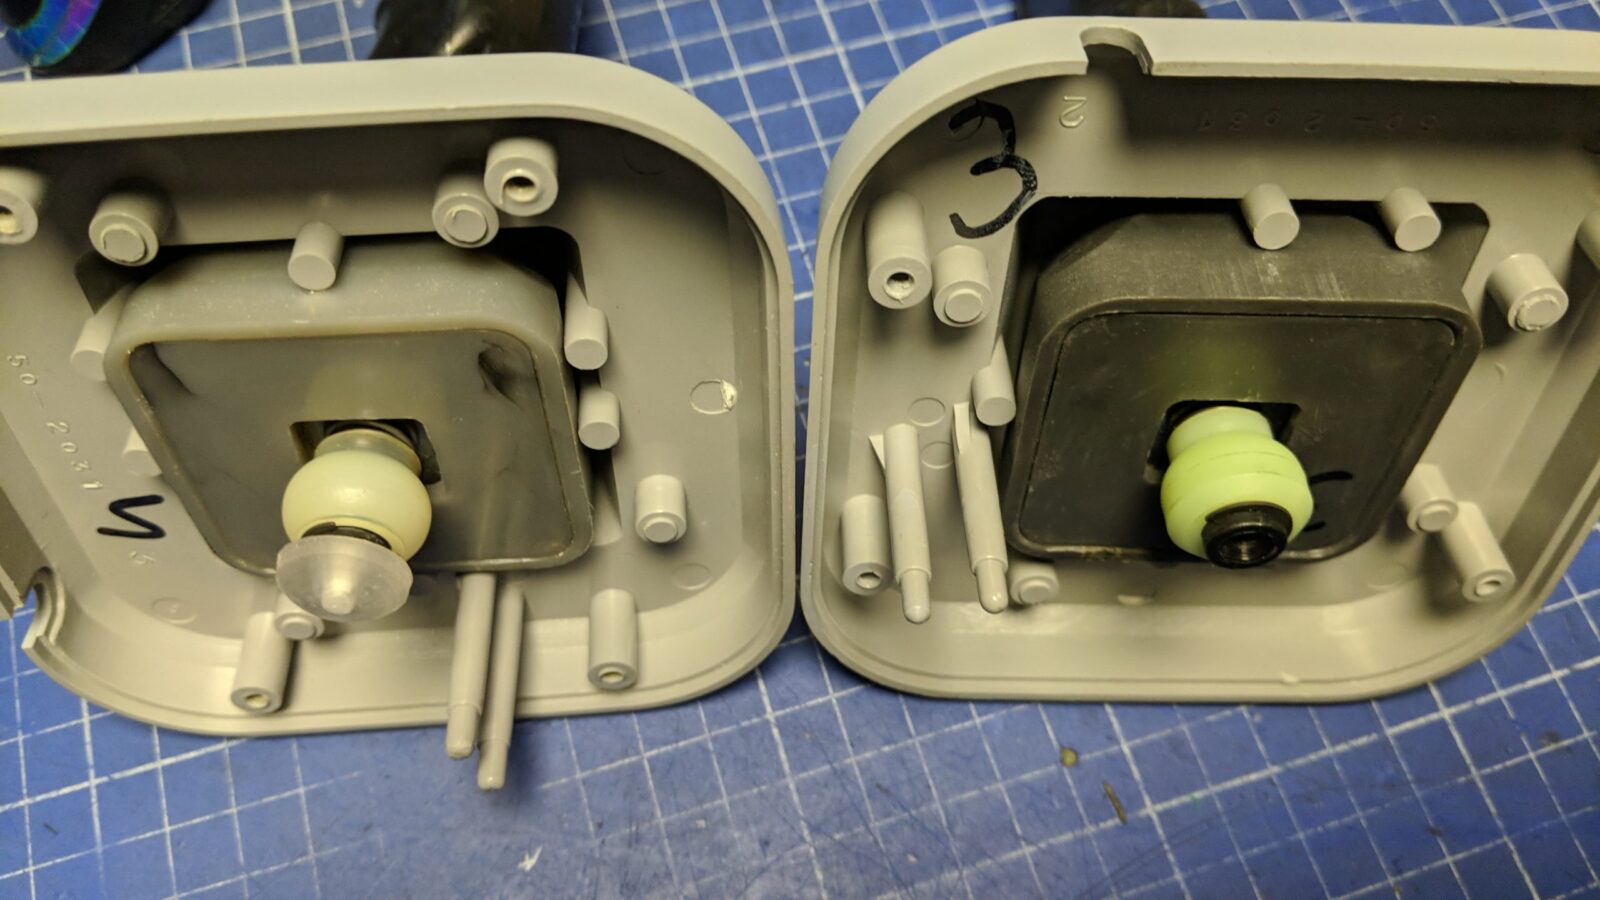
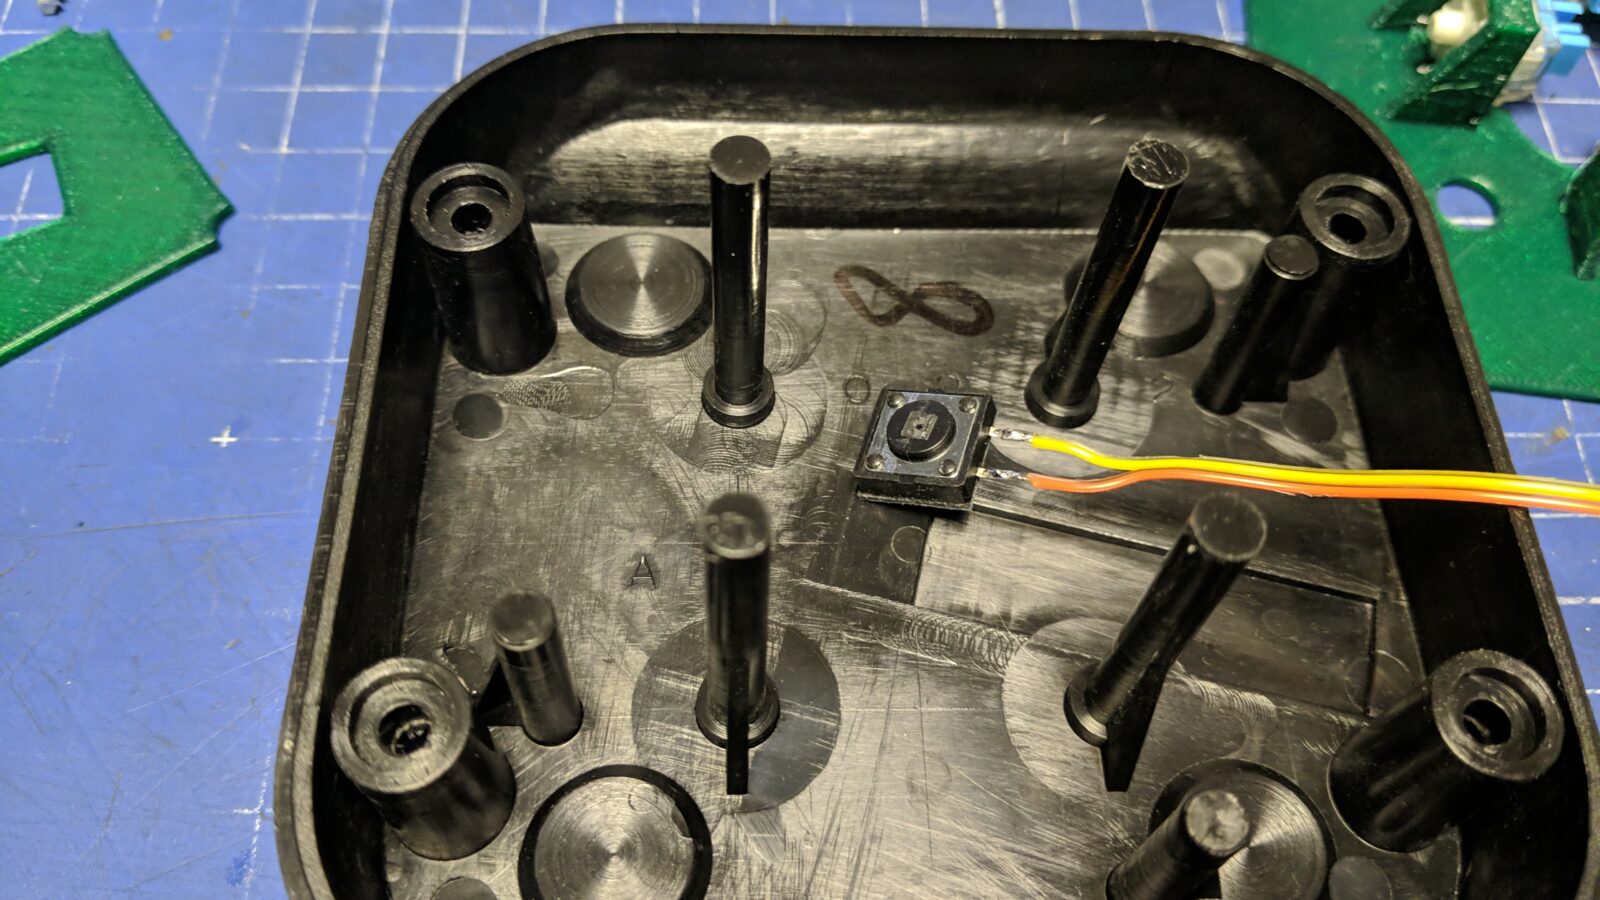
Joysticks are not complicated in their construction but cleverly designed, which along with the internal rubber part makes them very tough and durable. Here are the internals of the Wico BOSS model.
Modding on top of refurb?
My friend asked me if I could mod these joysticks to become more “clicky”, like the ones that we all know.
First and foremost, I wanted this mod to be completely reversible, just in case switches won’t last.
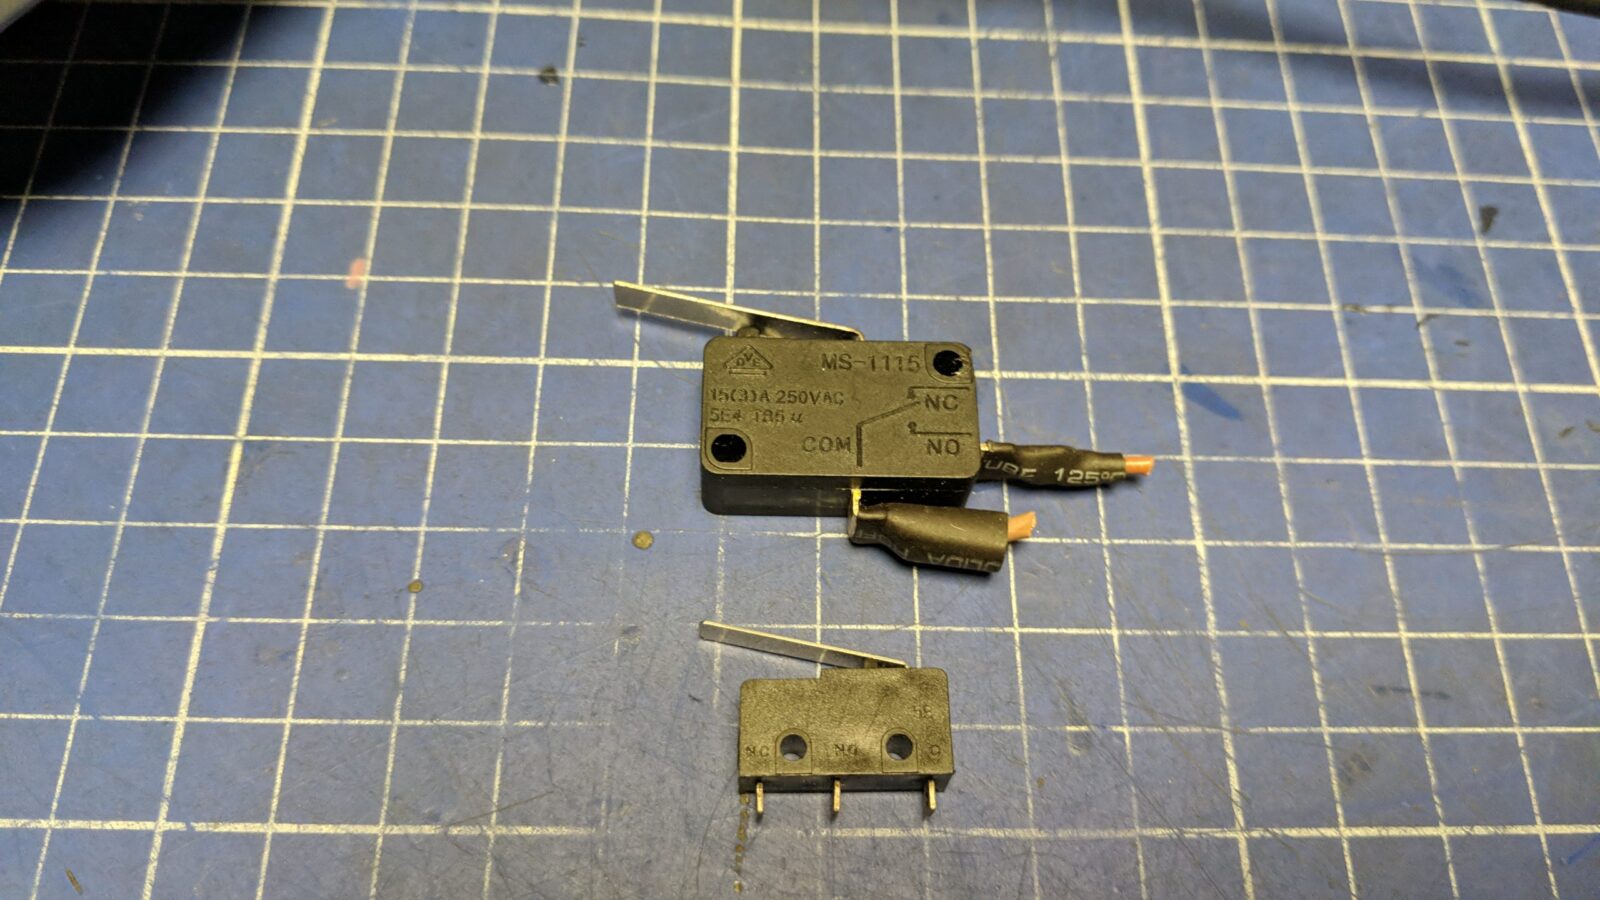
The second idea was to use standard micro switches as in lots of other popular joystick models like the ones below. All parts for 3D printing are at the bottom of the post
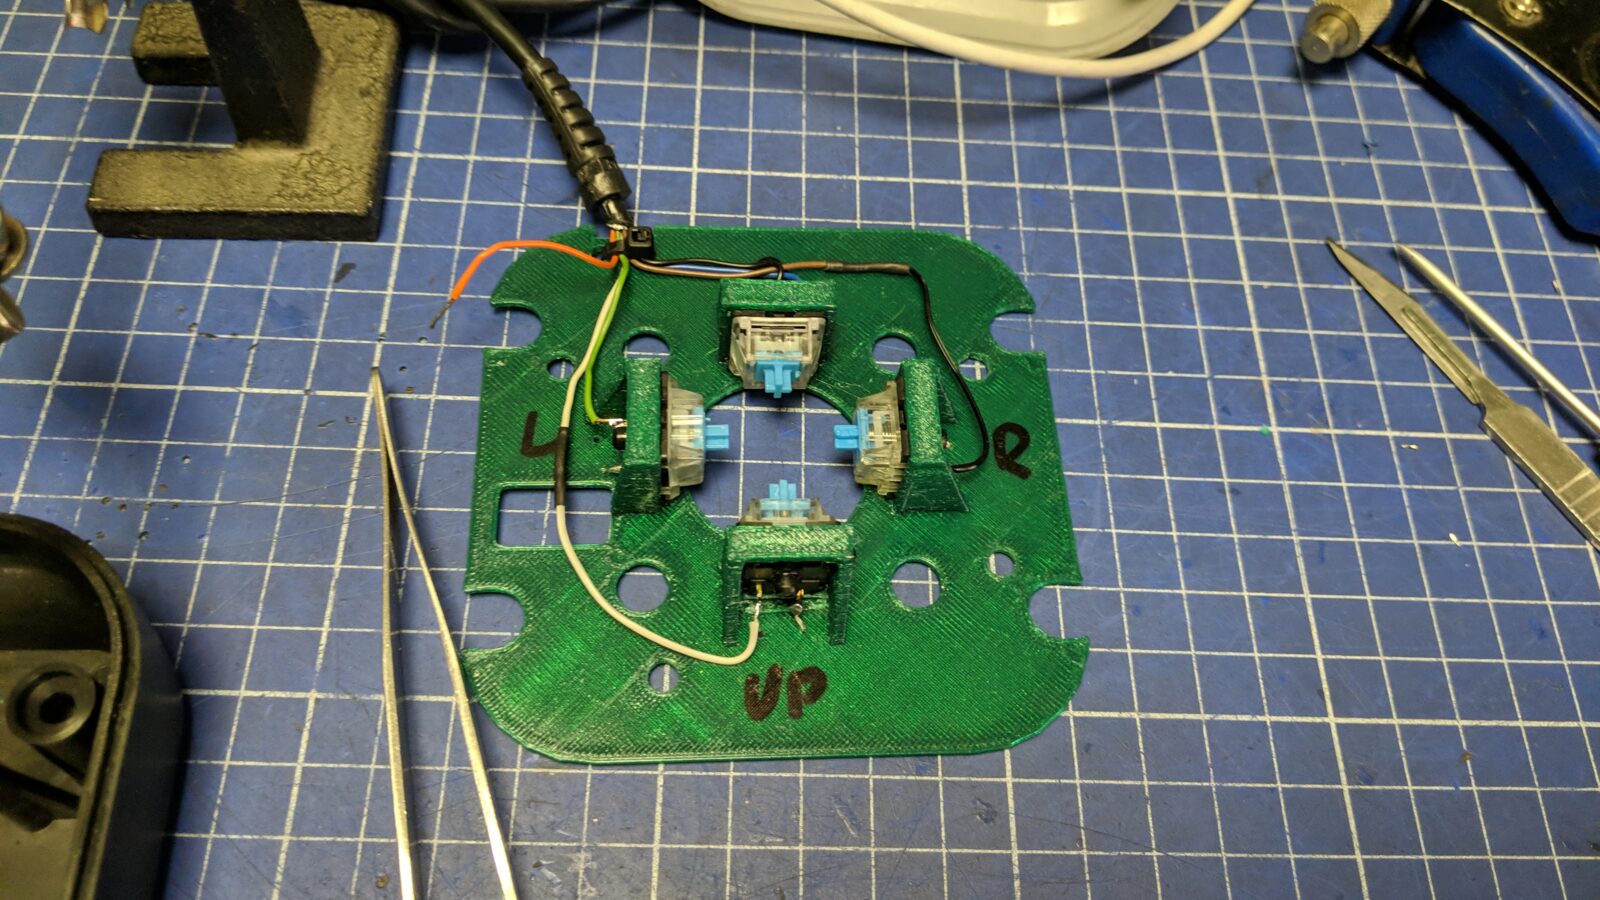
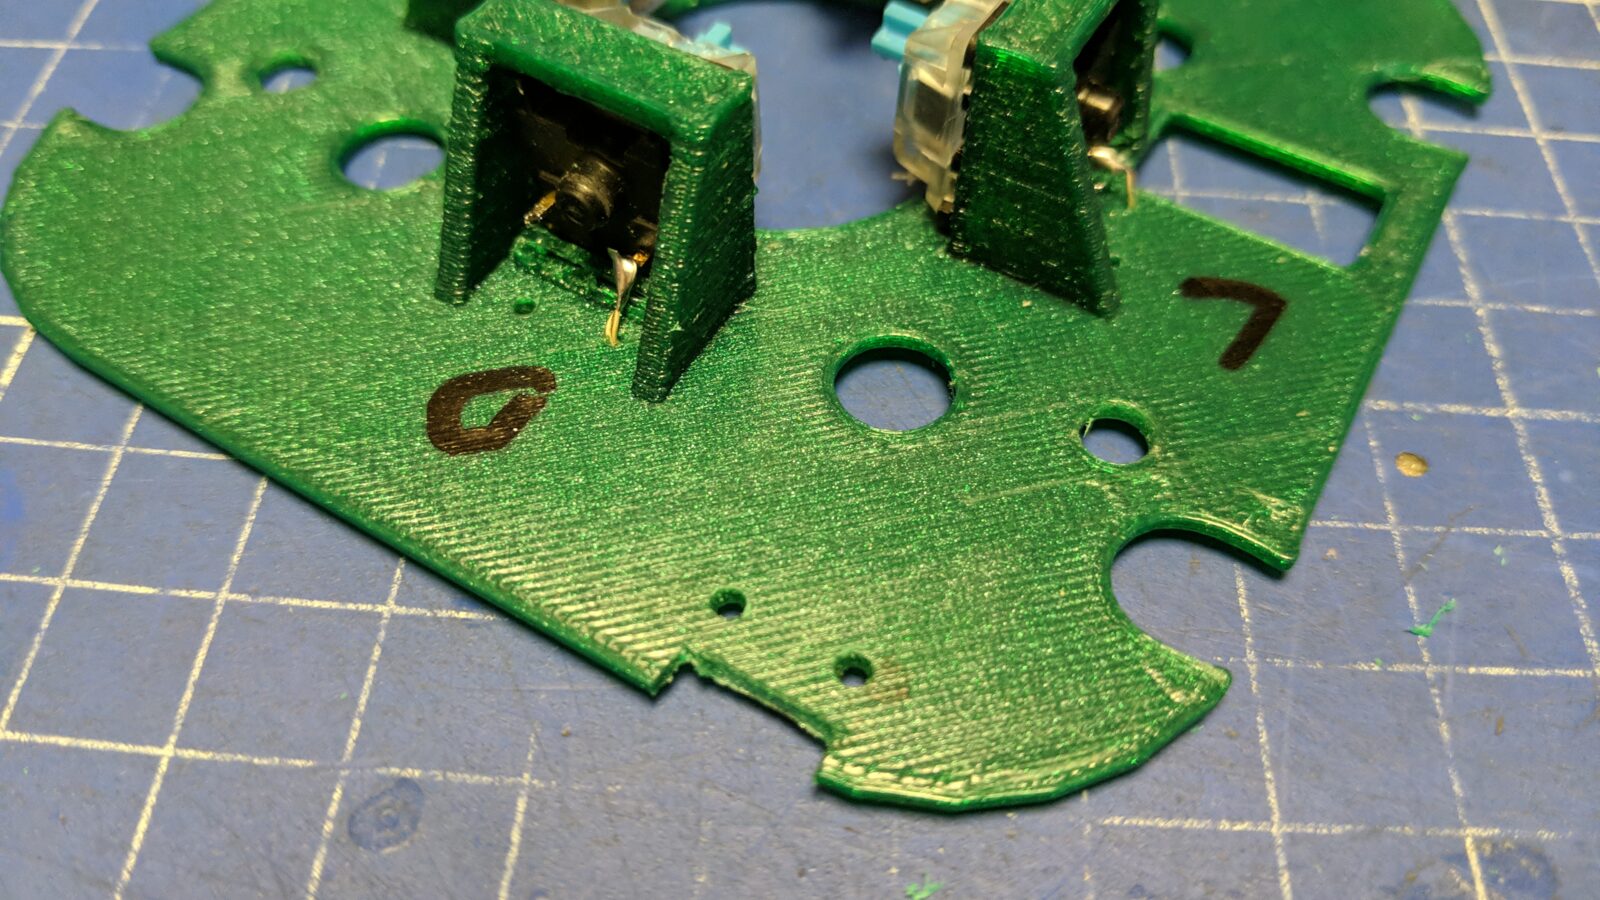
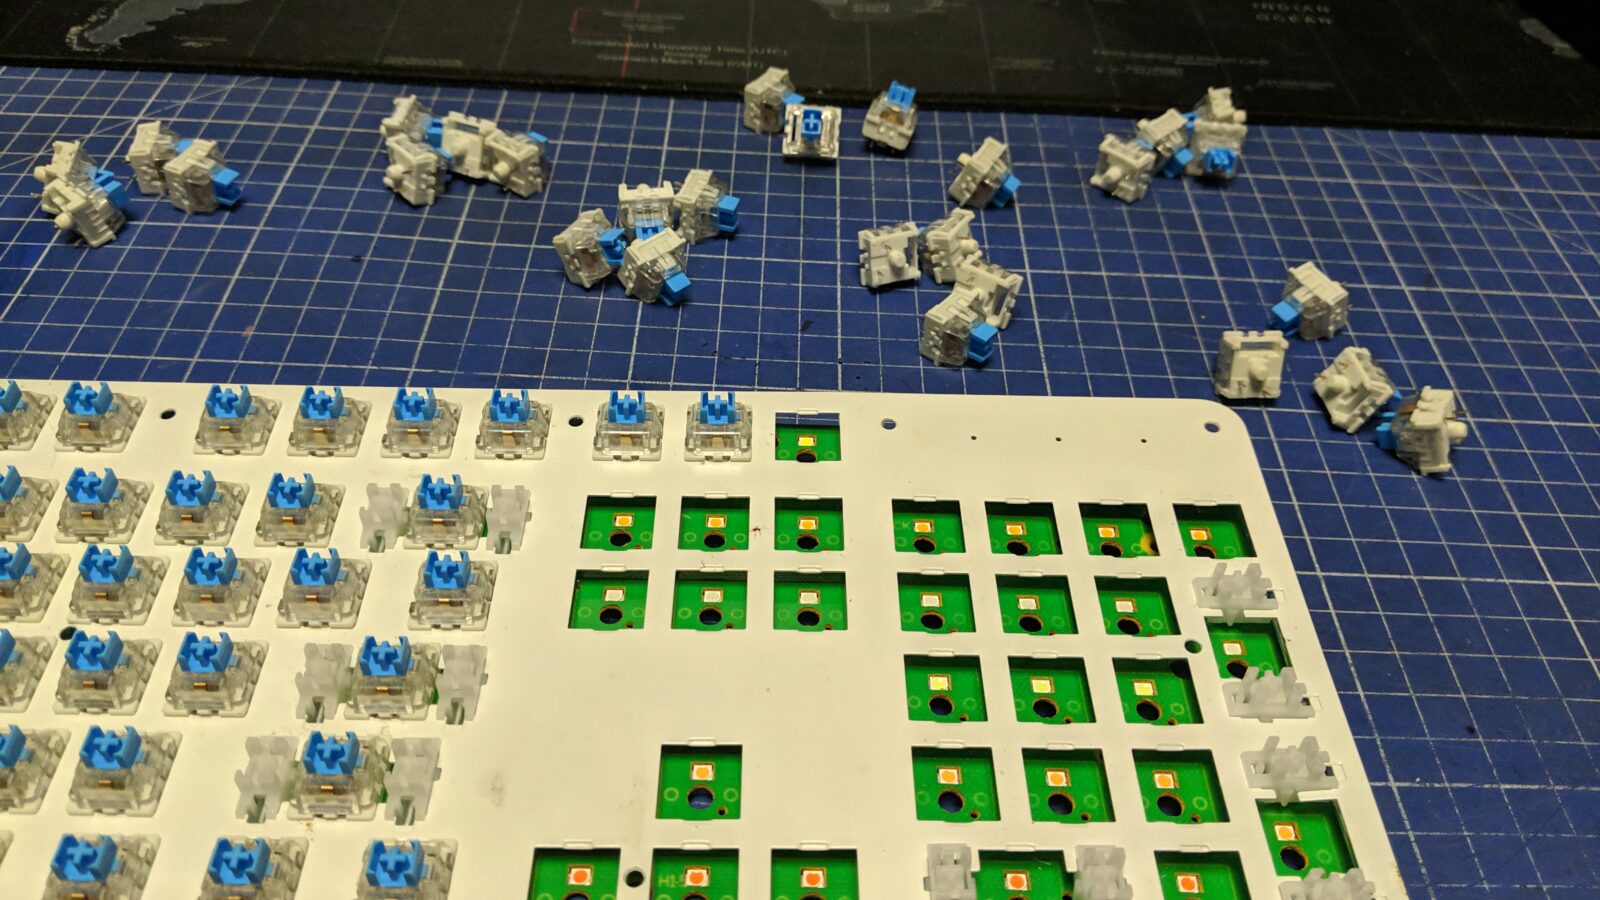
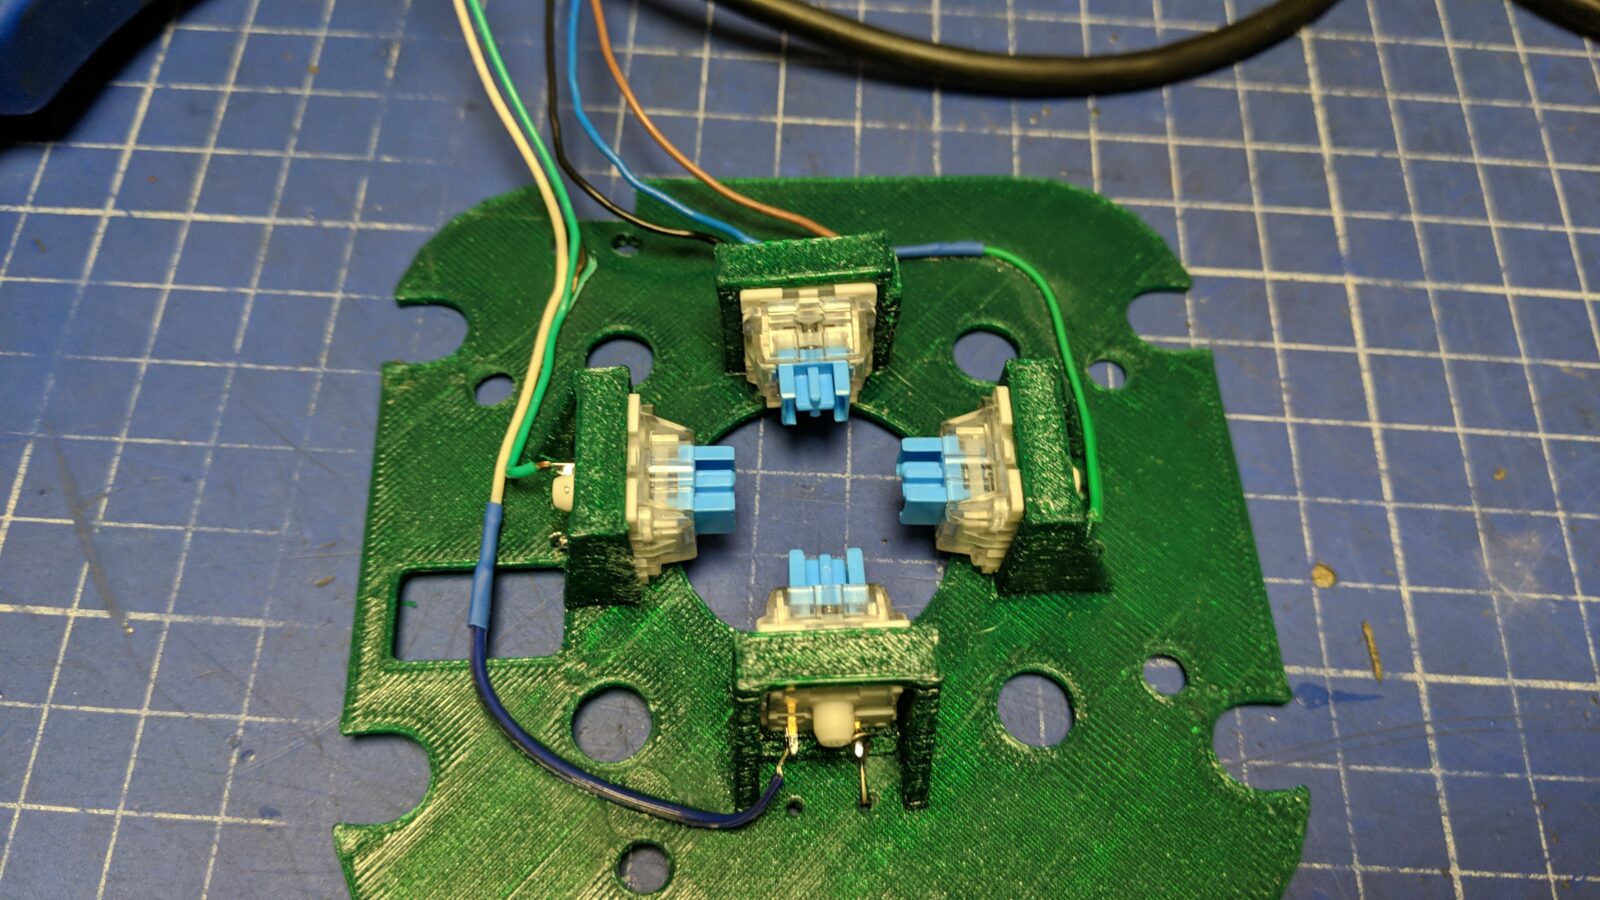
I quickly realized that this was not gonna be a simple task. Instead, I came up with the idea of using blue CherryMX keyboard switches. The same as I’ve used in the Mechboard64 project. I still had a few of them in my drawer so I decided to go ahead with a prototype of an inside board.
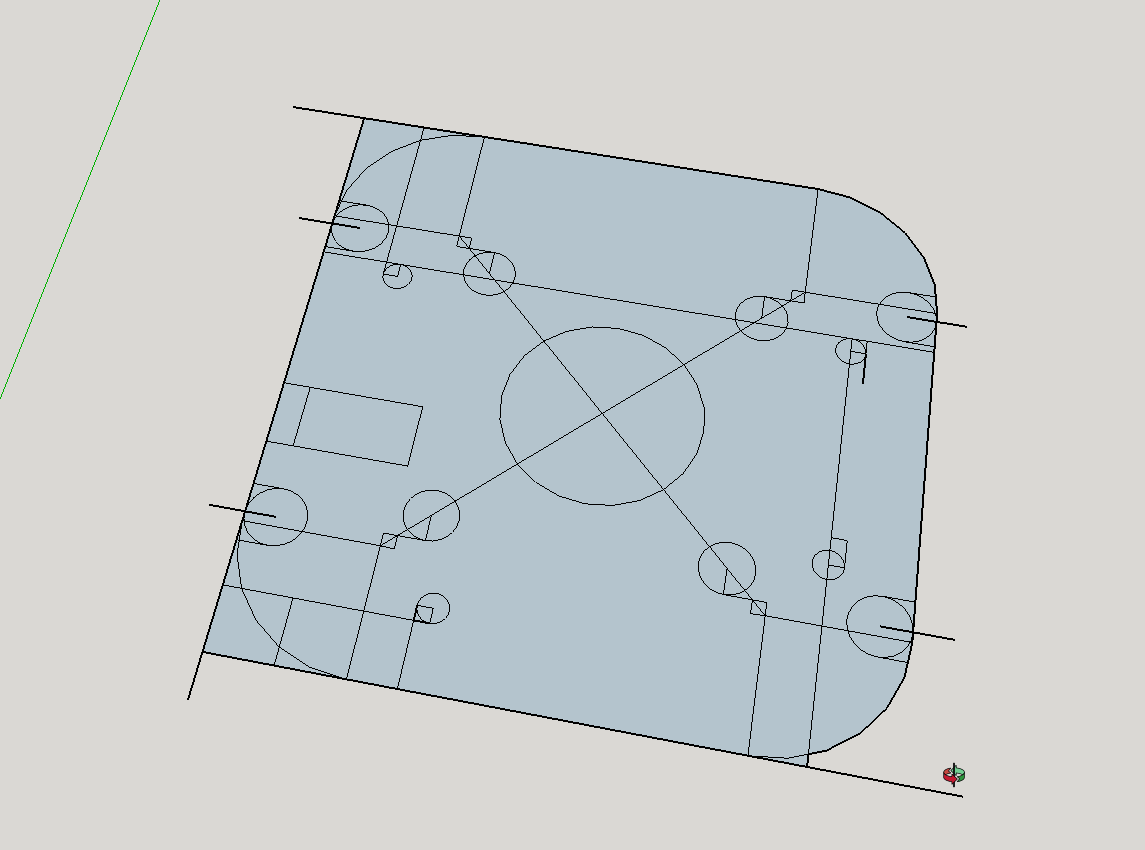
A long while later I had a prototype ready.
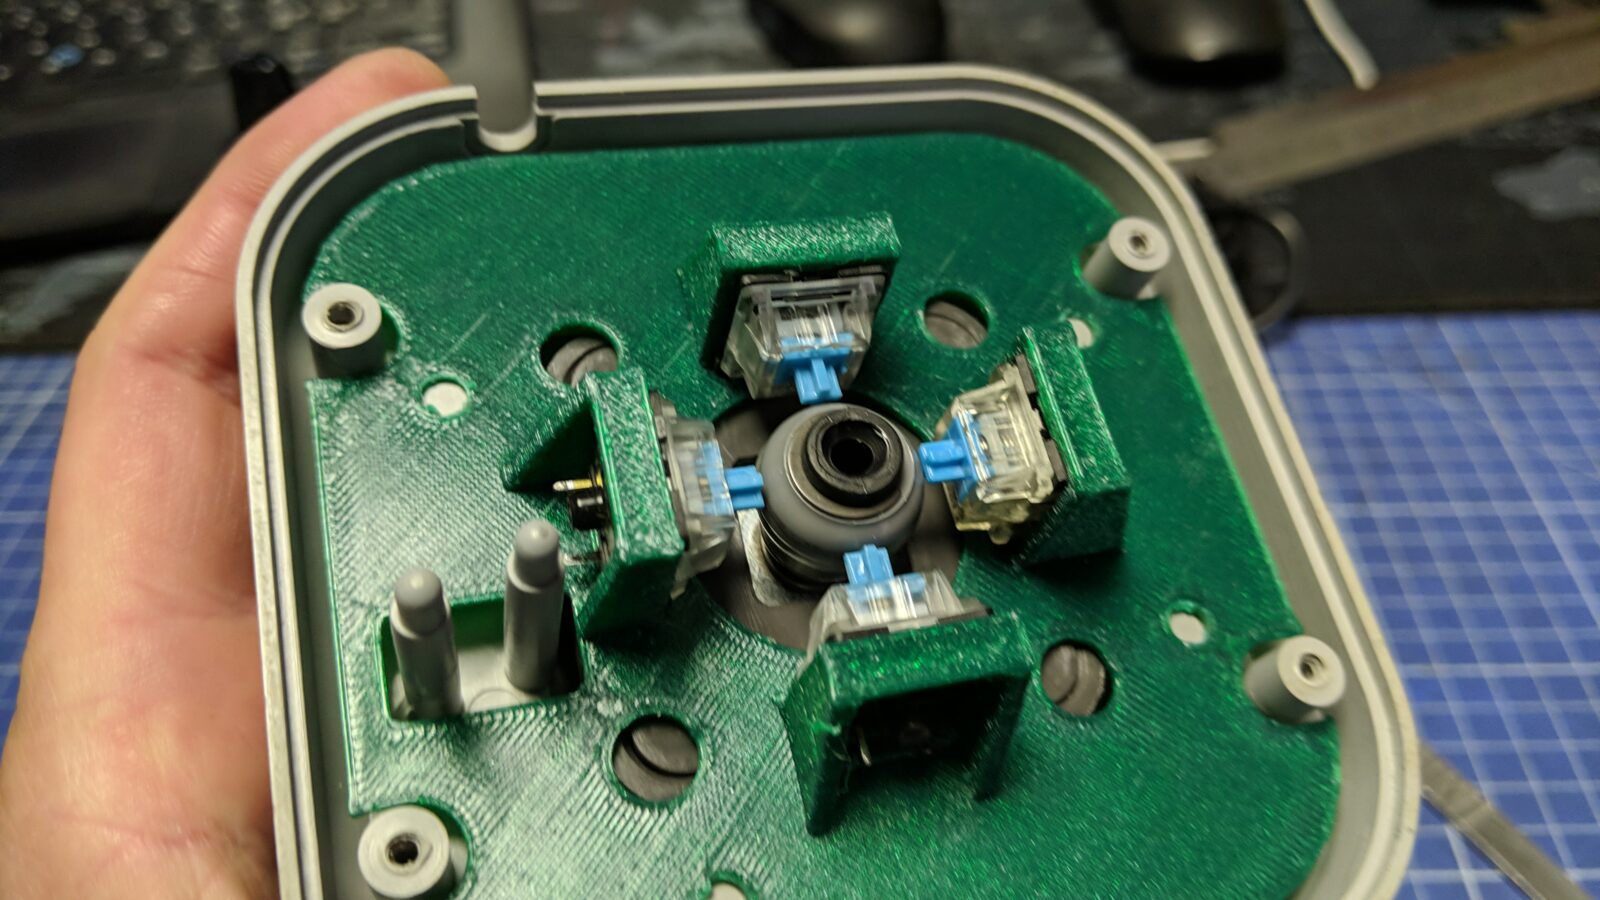
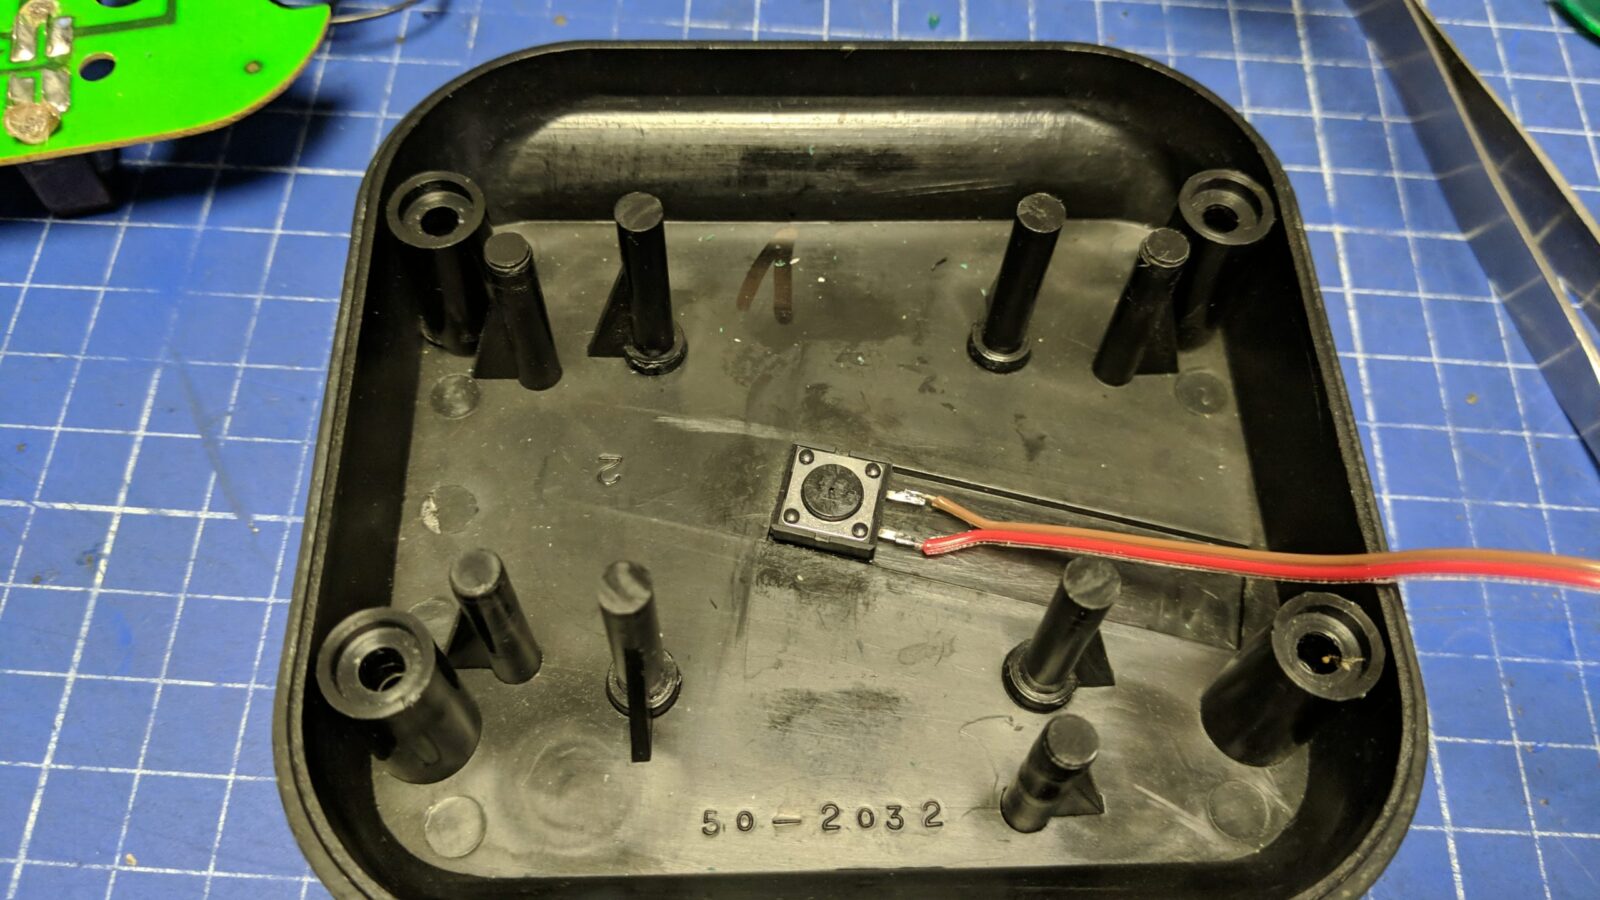
Since there is no room for any nice fire button, I decided that I’ll use a 12x12mm TACT switch and install it at the bottom part.
Remember above parts are the prototypes and all of them were re-designed and tuned many times.
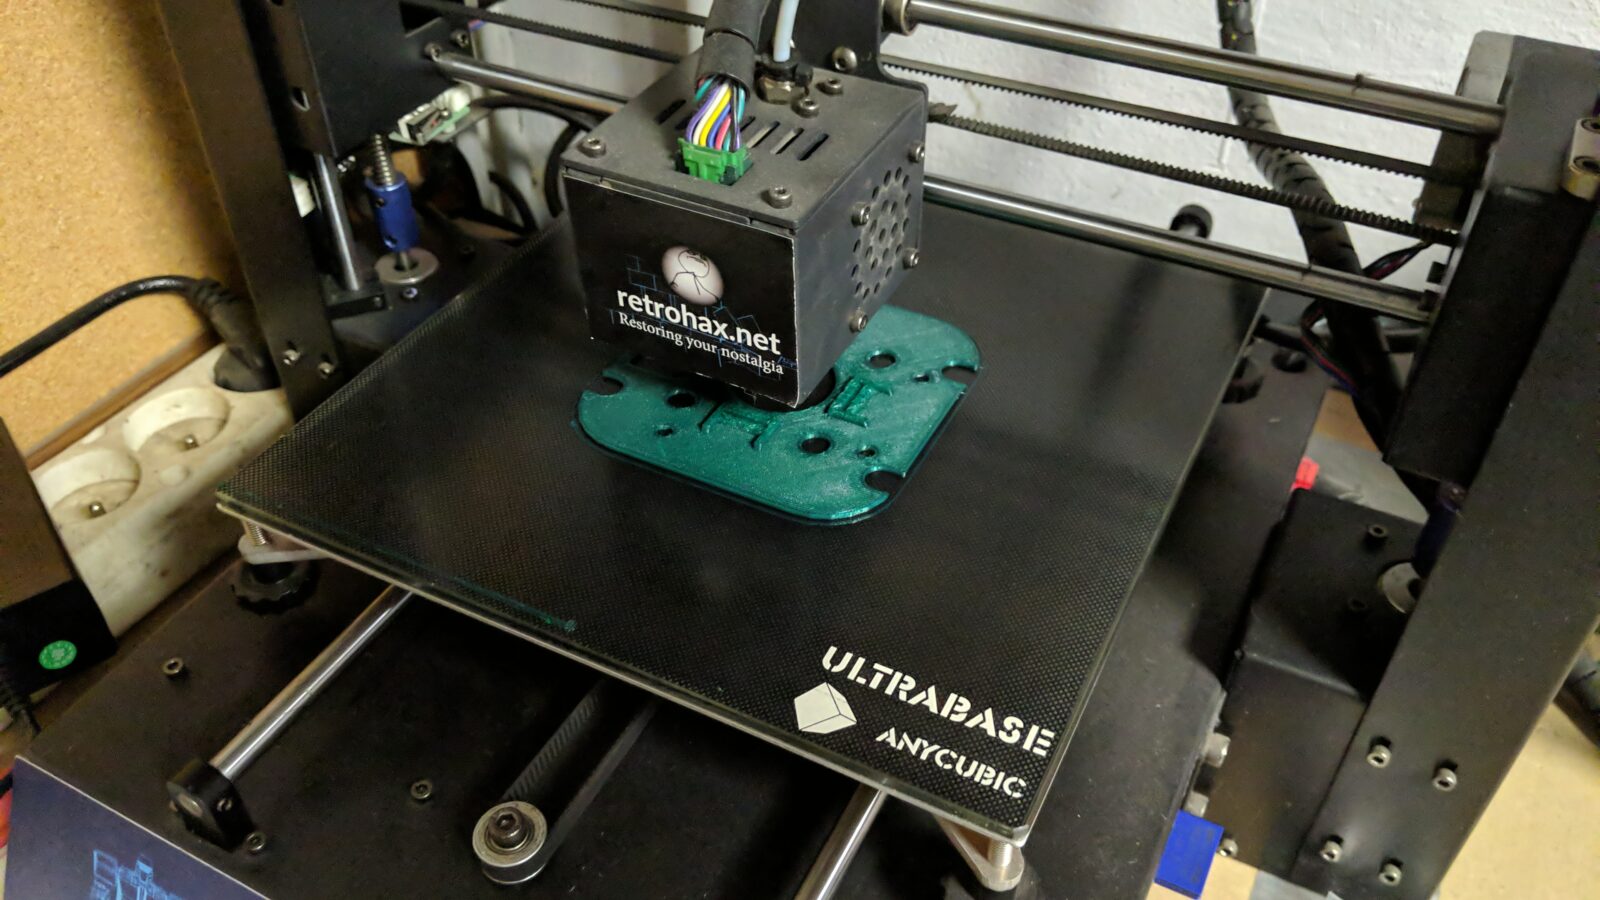
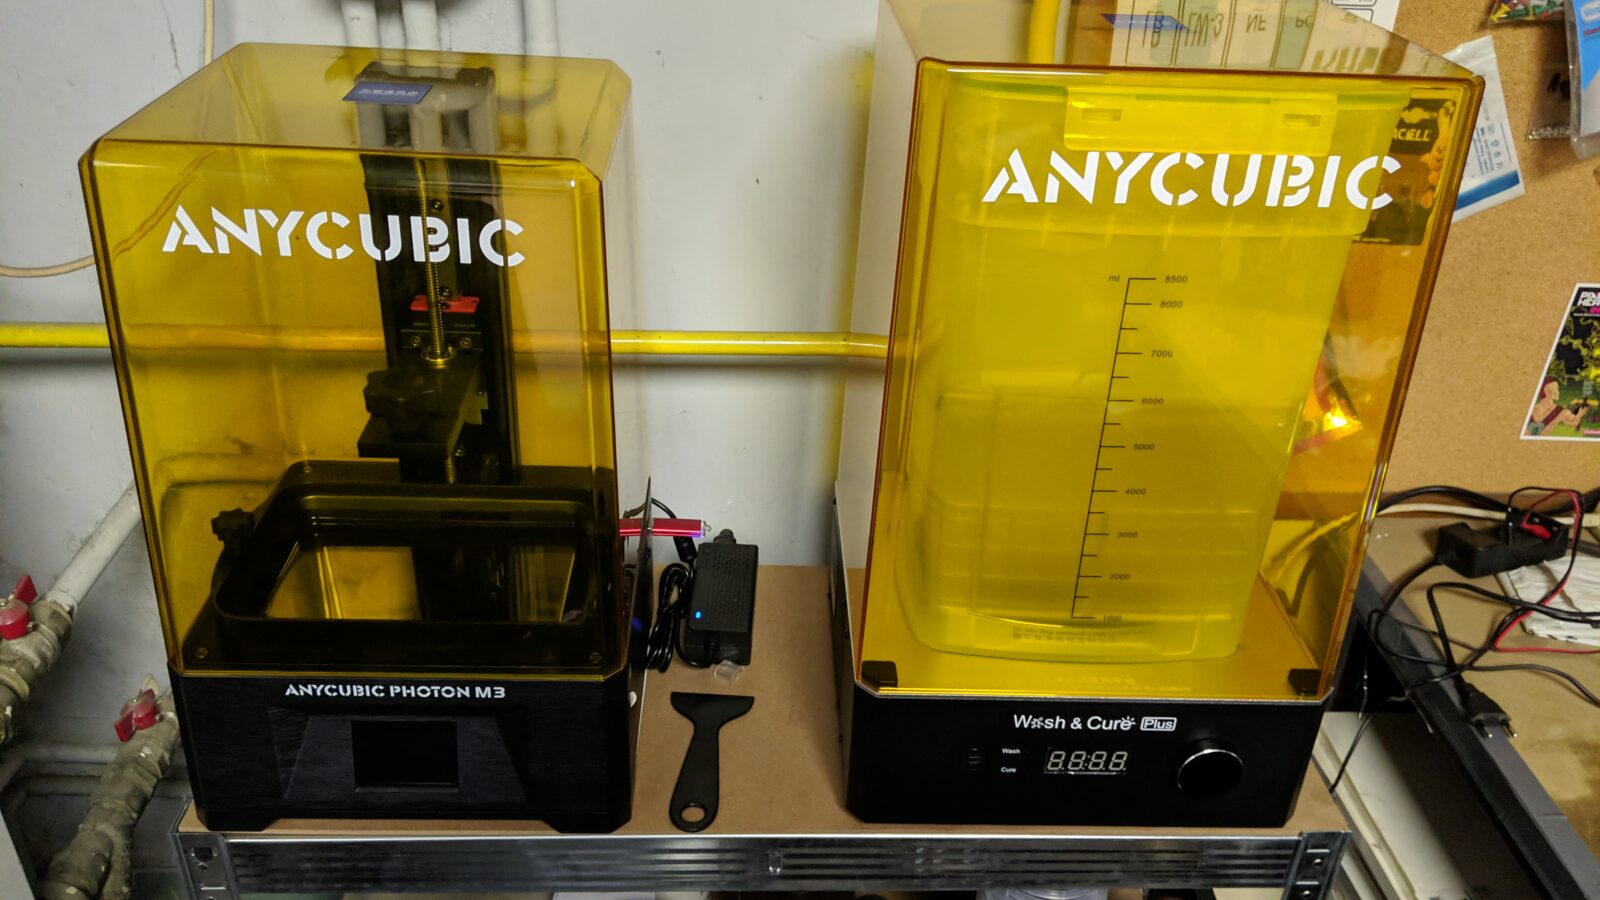
Meanwhile, my new 3D printer came in – Anycubic Photon M3 – which has a larger print bed than my Photon S.
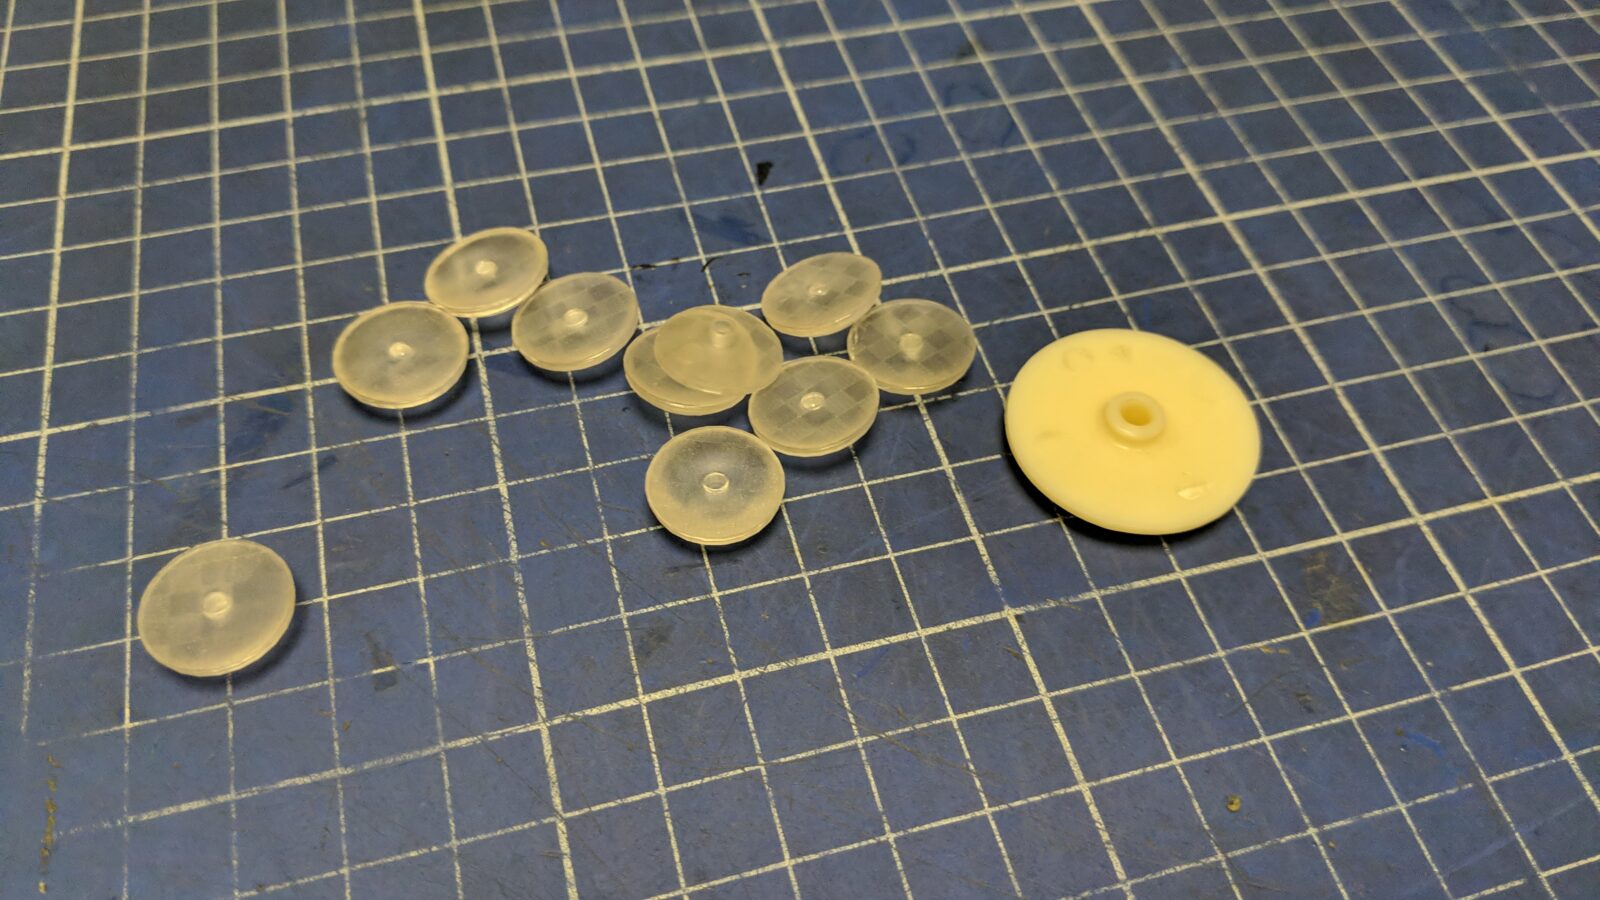
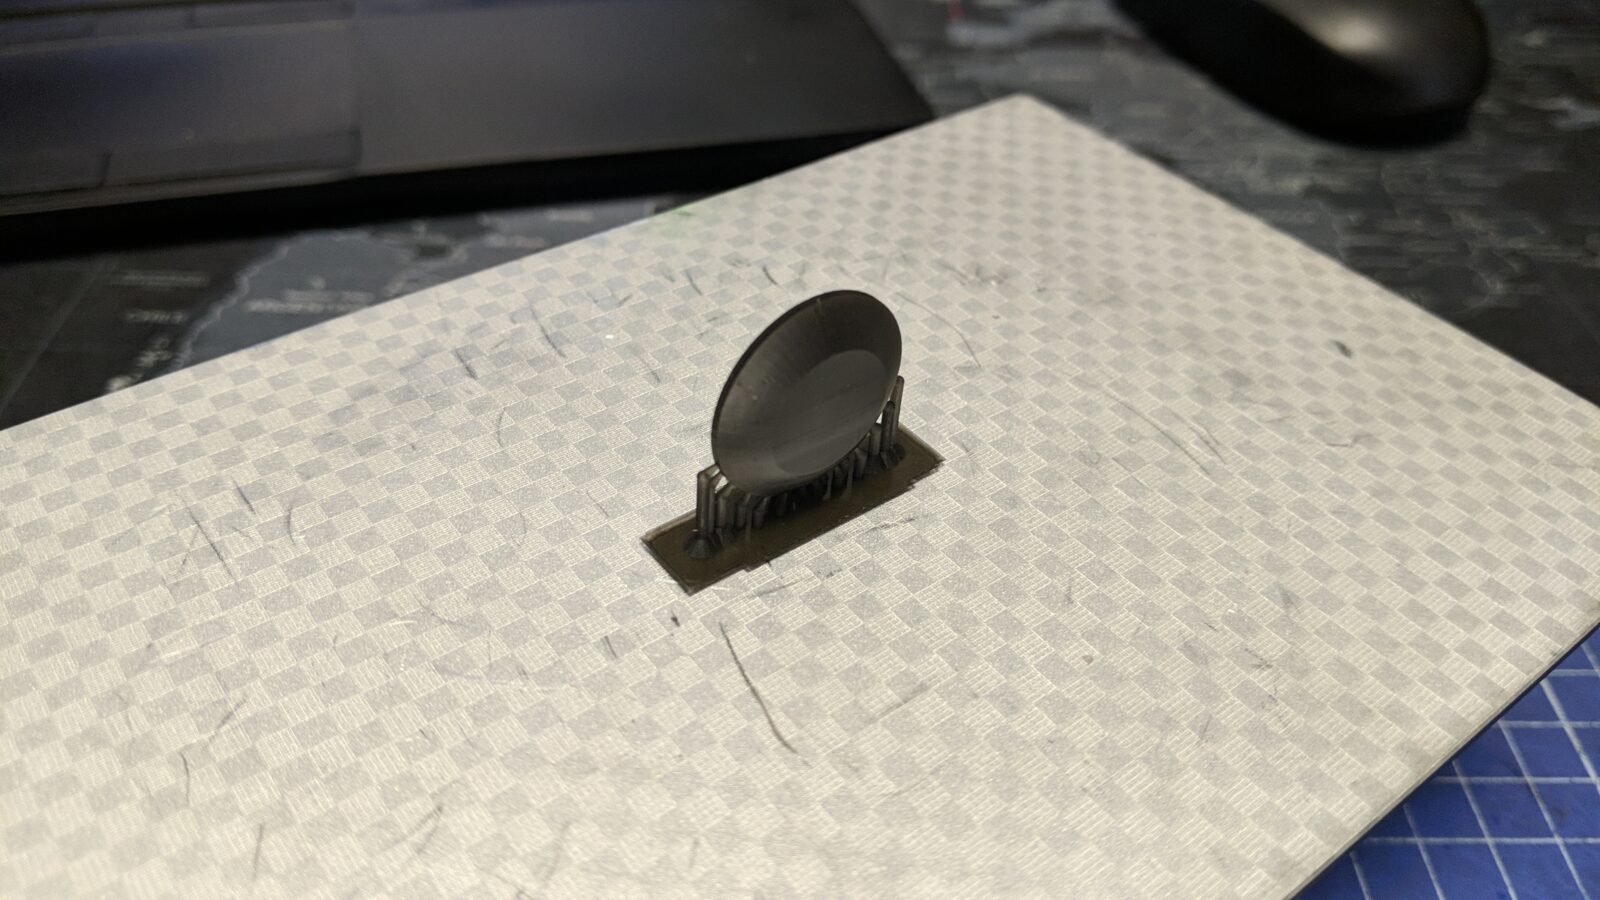
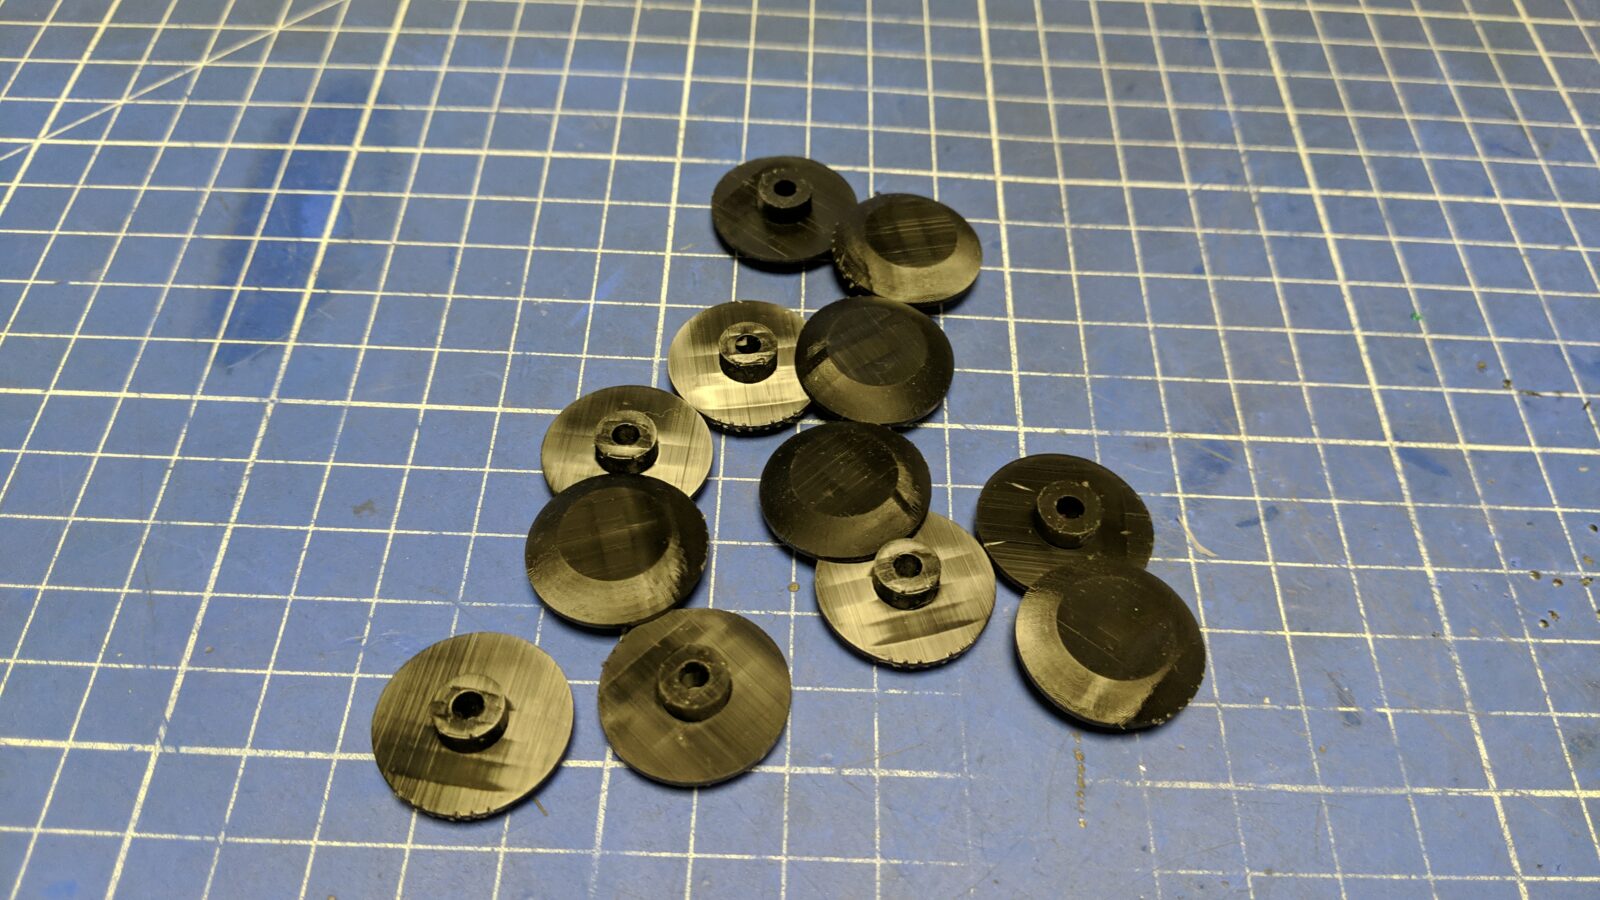
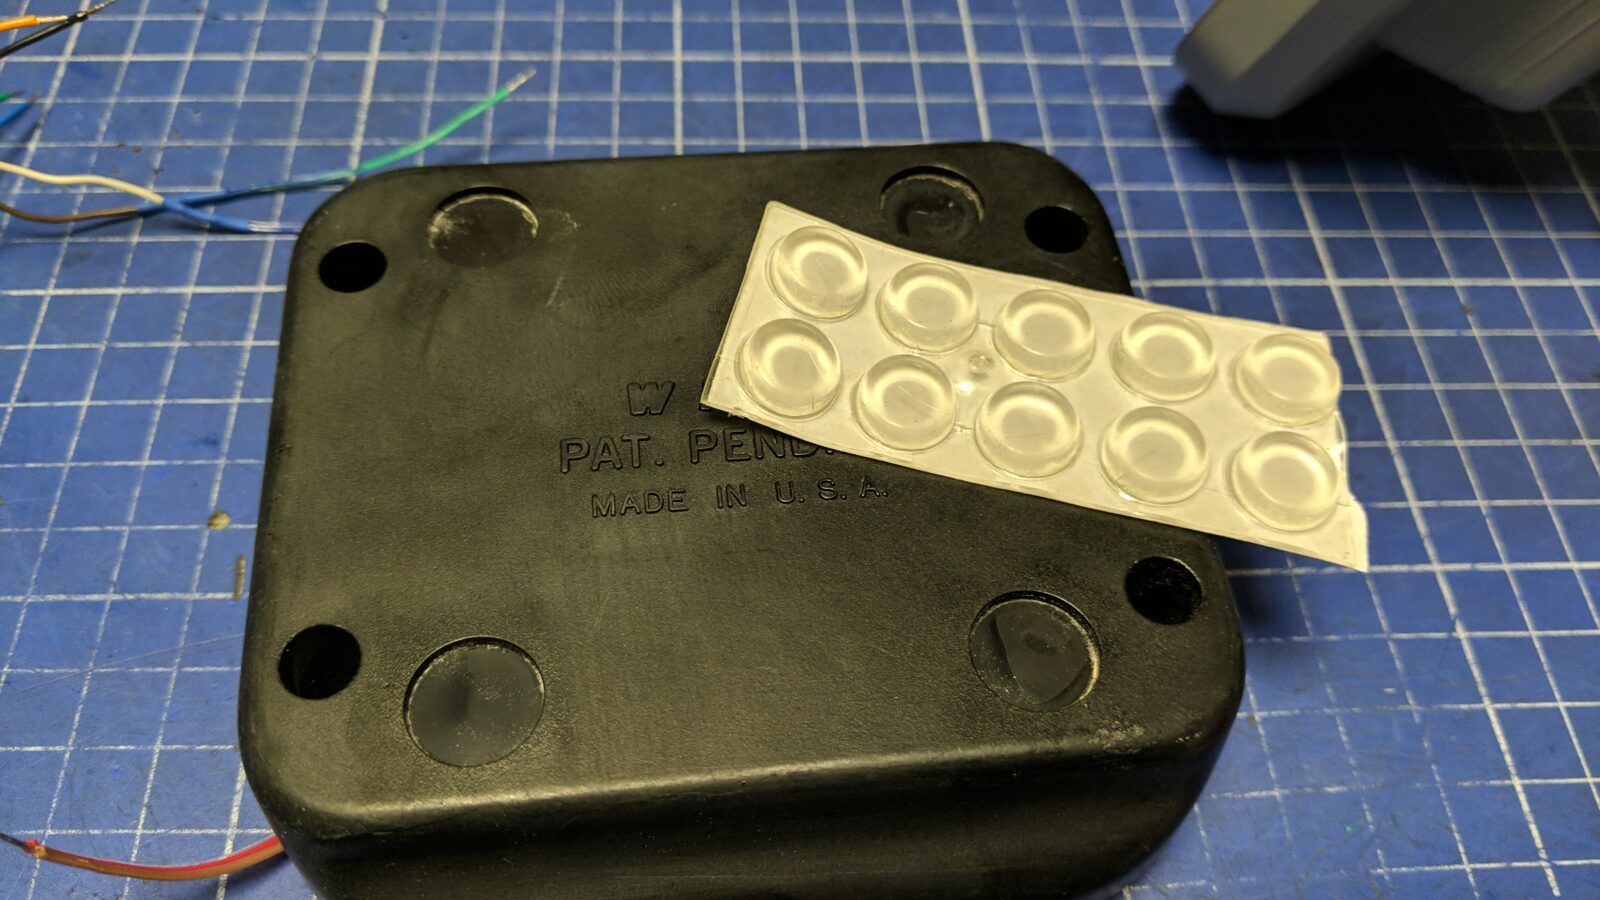
Right on time to 3D resin-print some FIRE “hats” as the original was too wide (white “hat” on the right).
These “hats” are needed to cover on FIRE TACT switch at all angles.
Moving forward
With the initial tests successful, I started disassembling the remaining sticks and looked for differences in particular models. Turned out there are two models that require slightly different parts but more on this later.
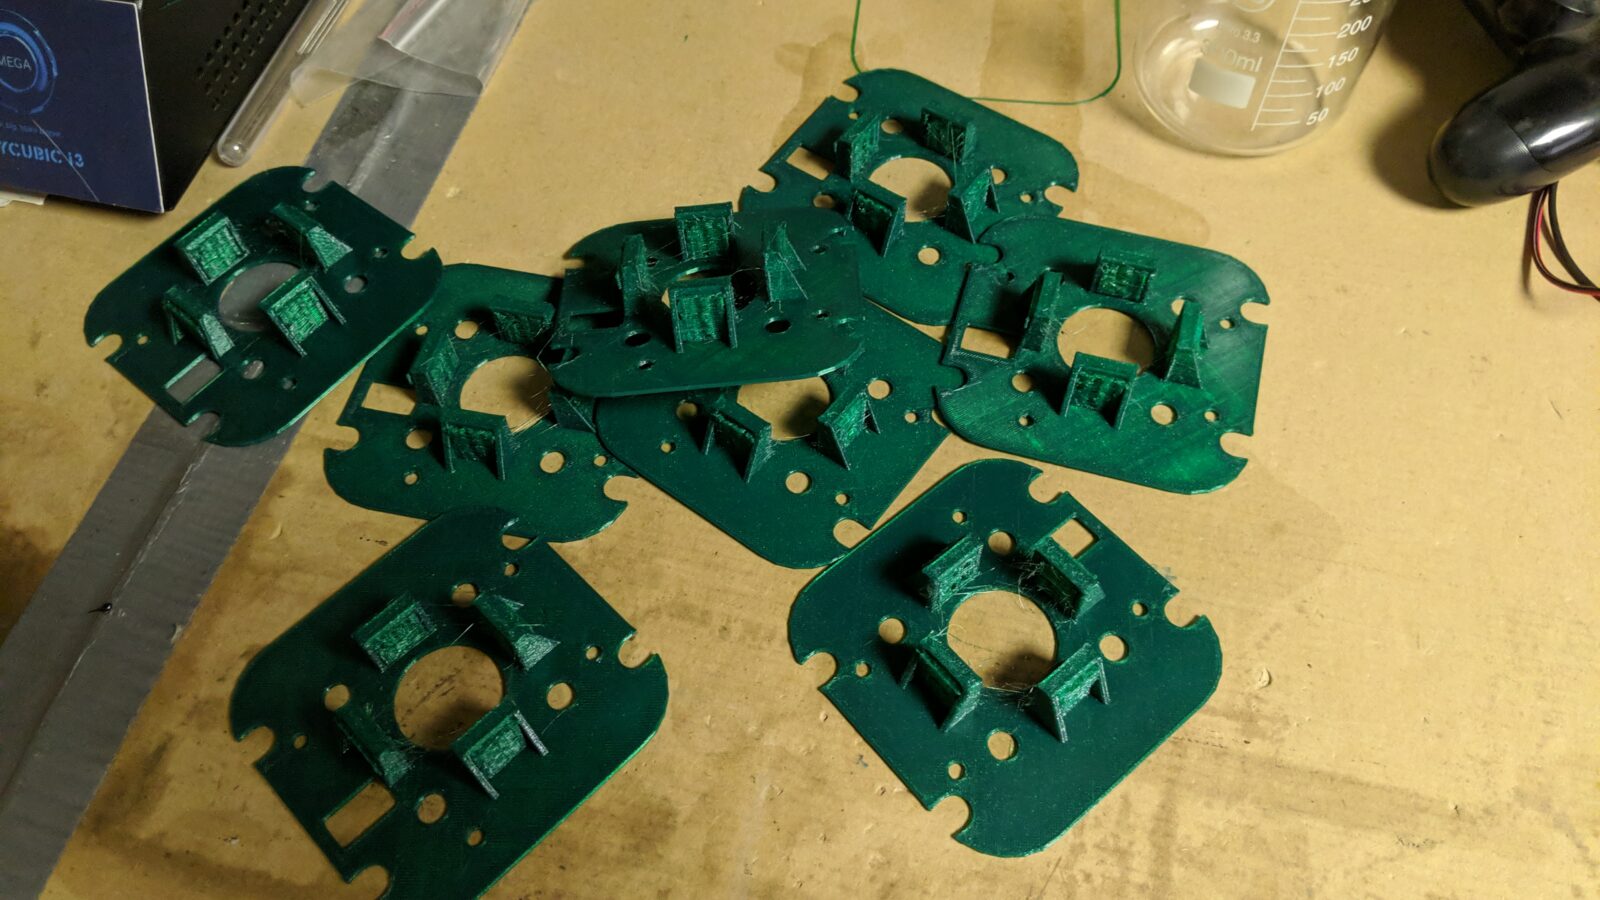
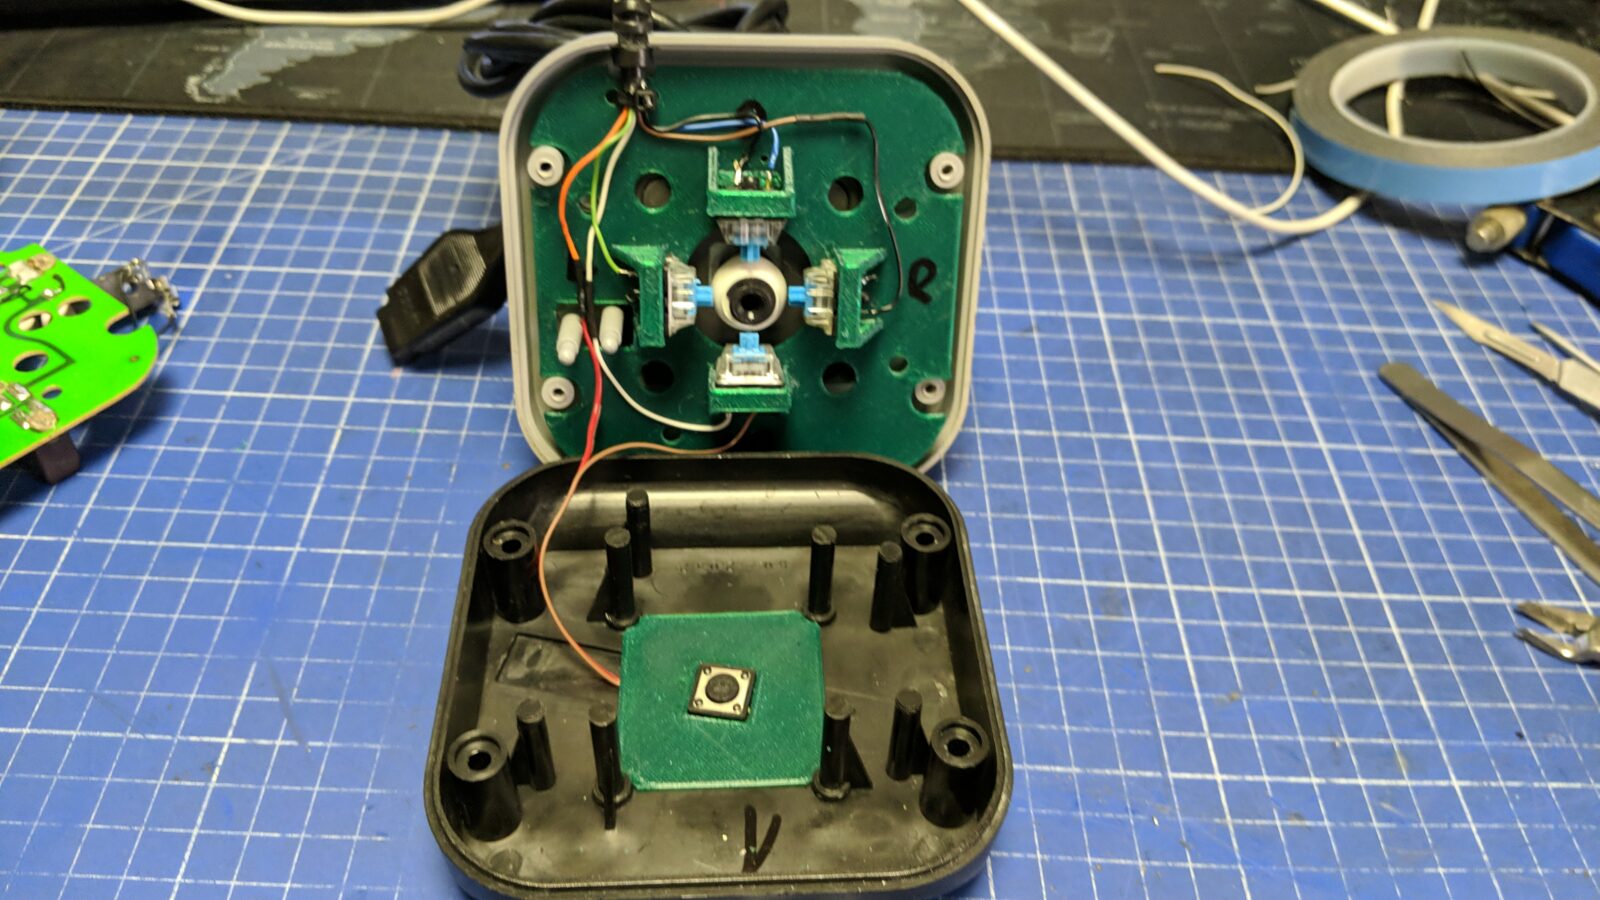
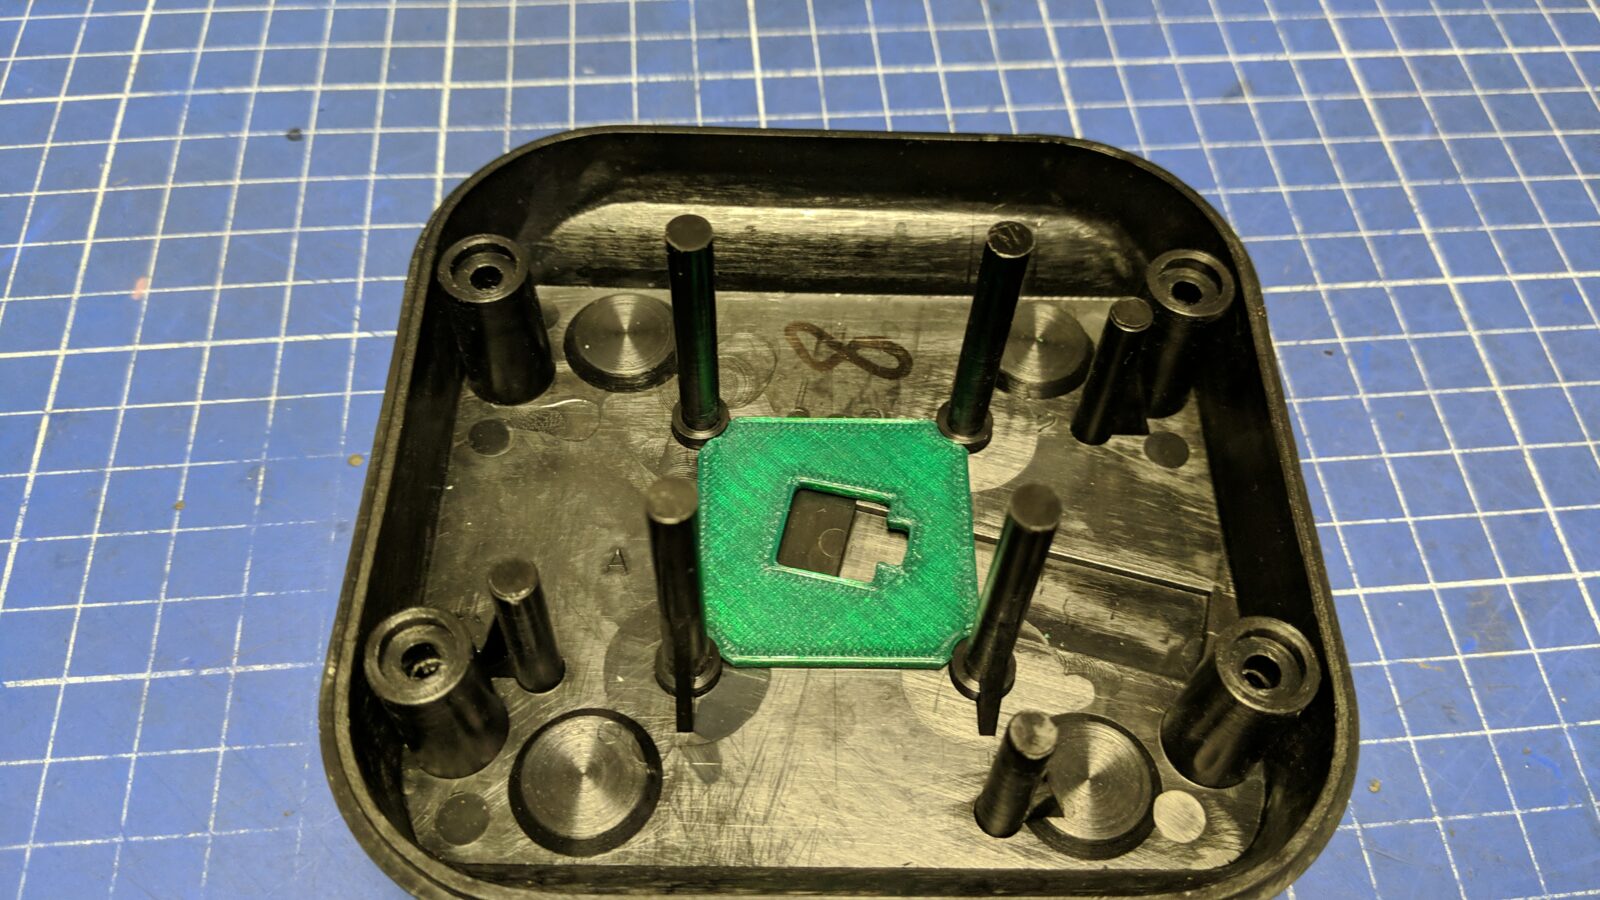
The internal mount part was the same for both two models but I had to fine-tune it a bit.
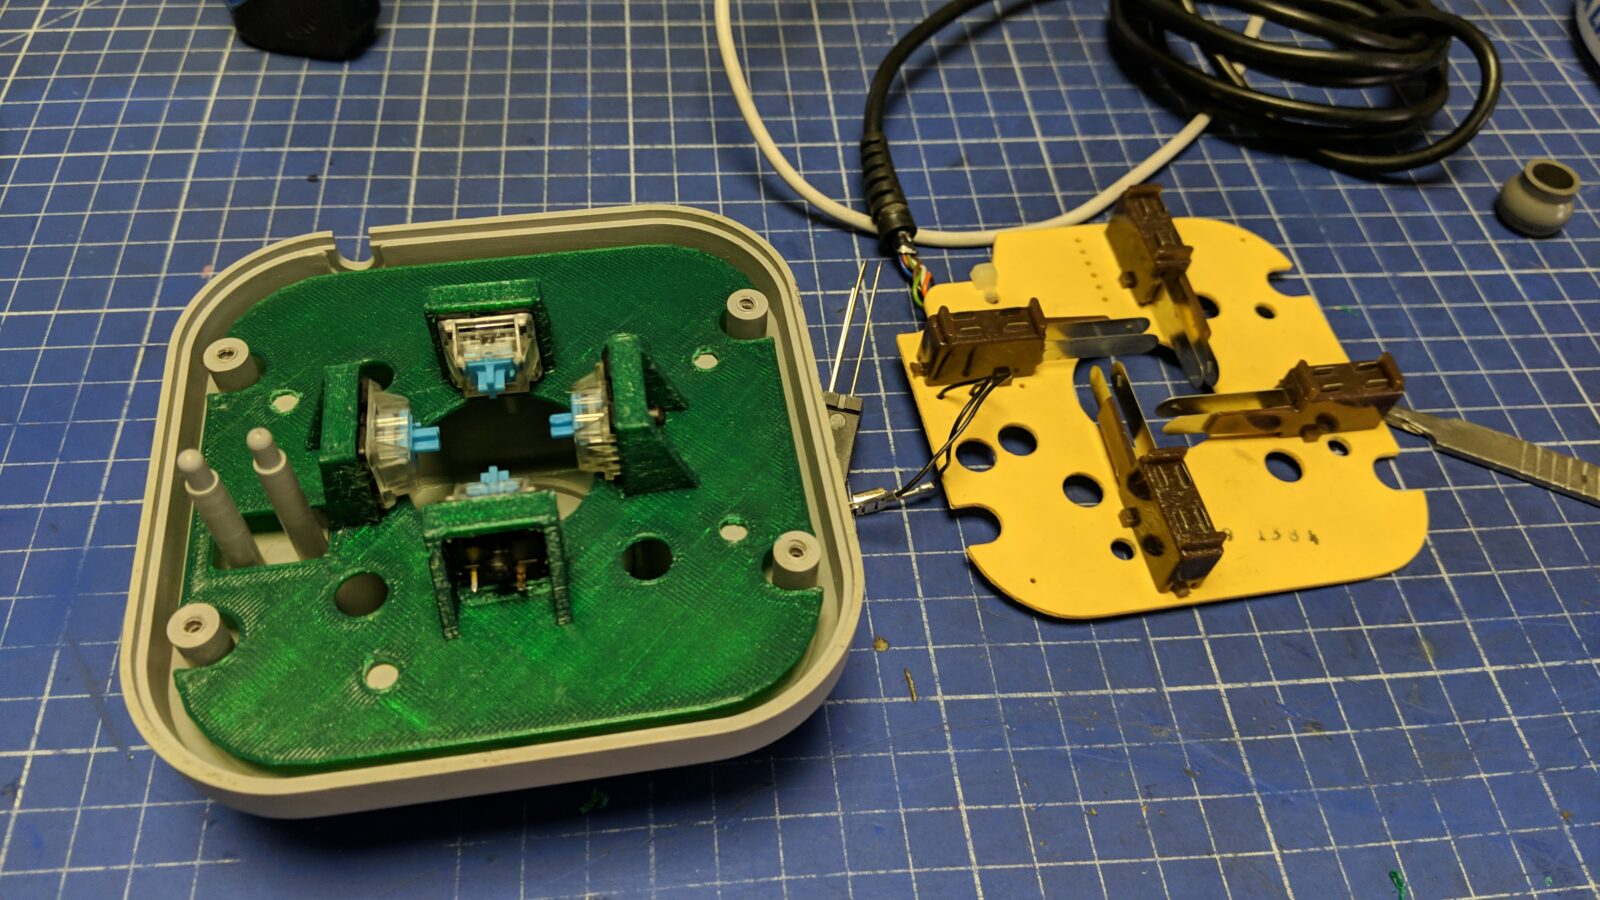
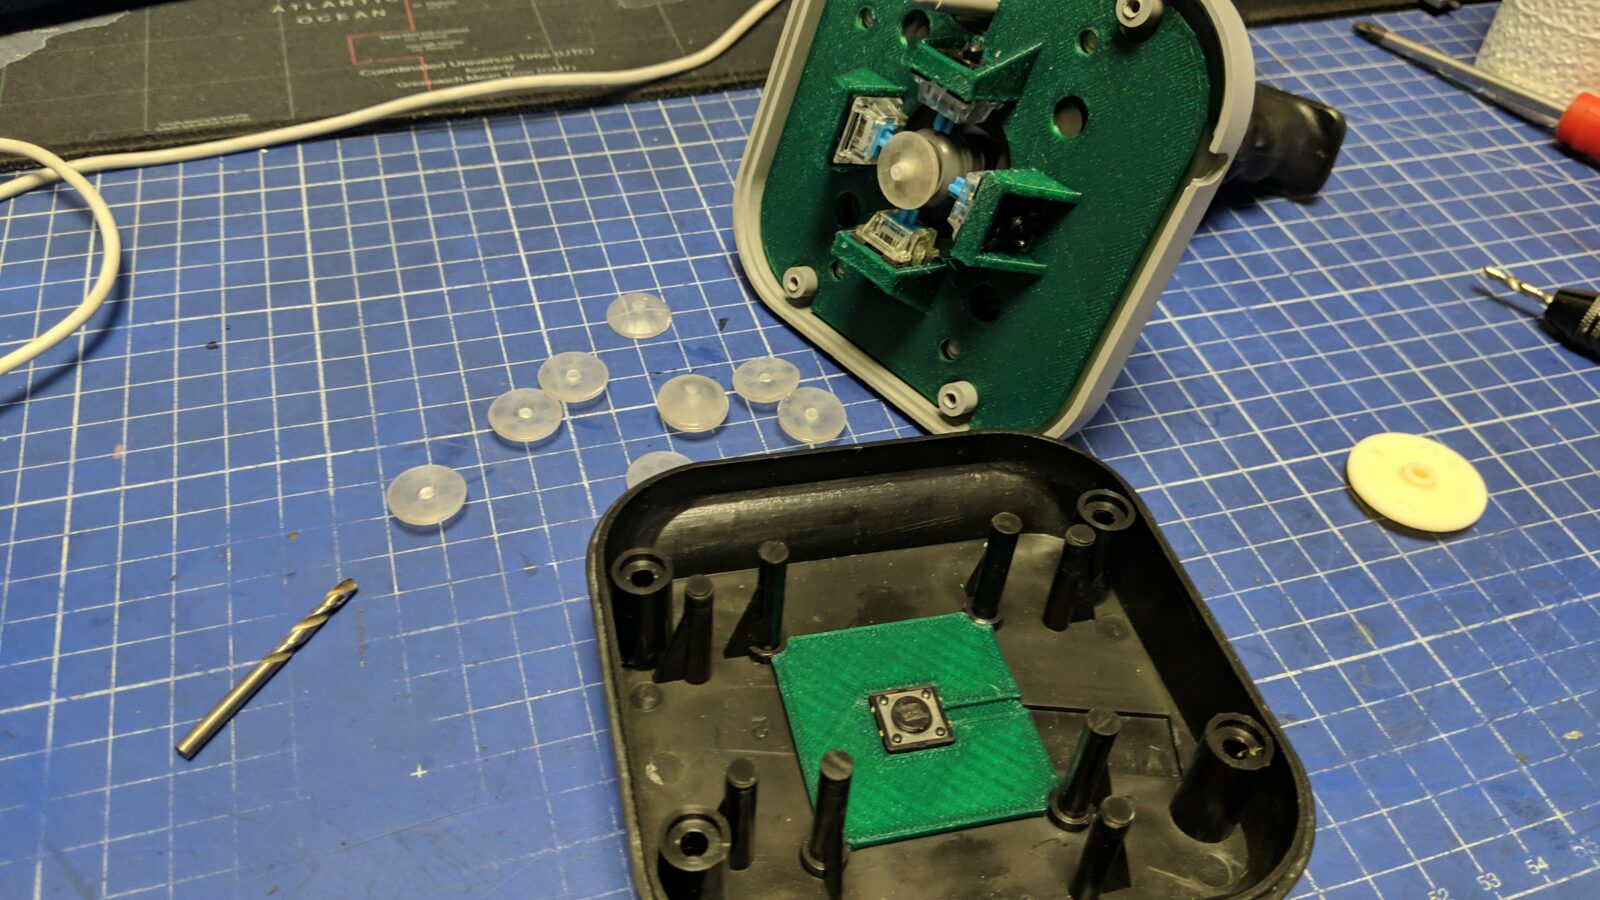
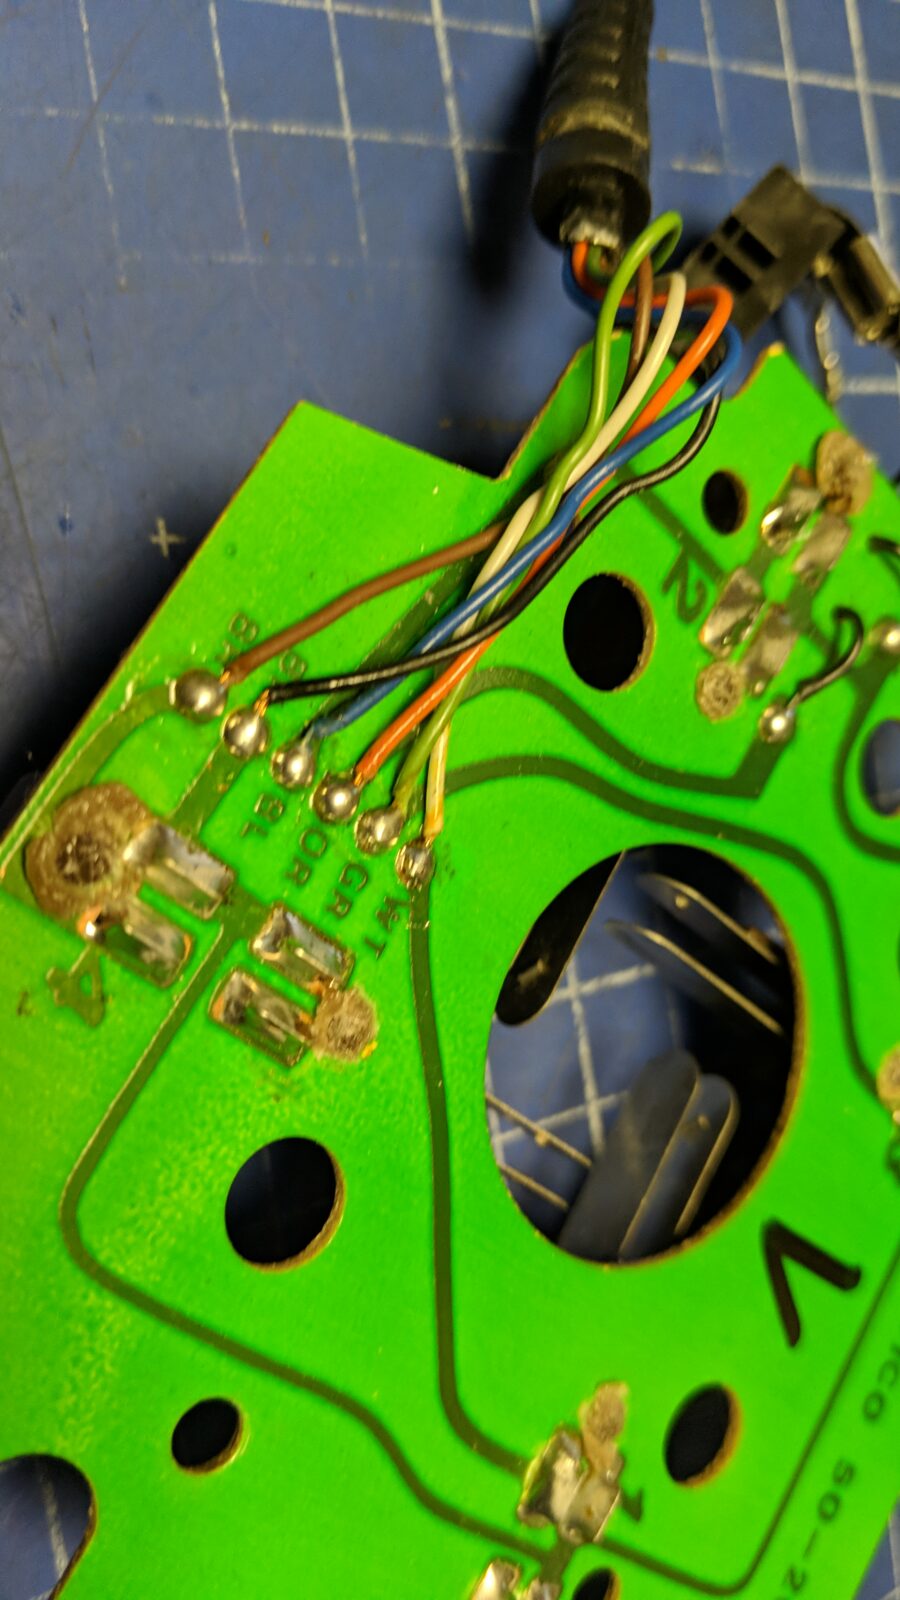
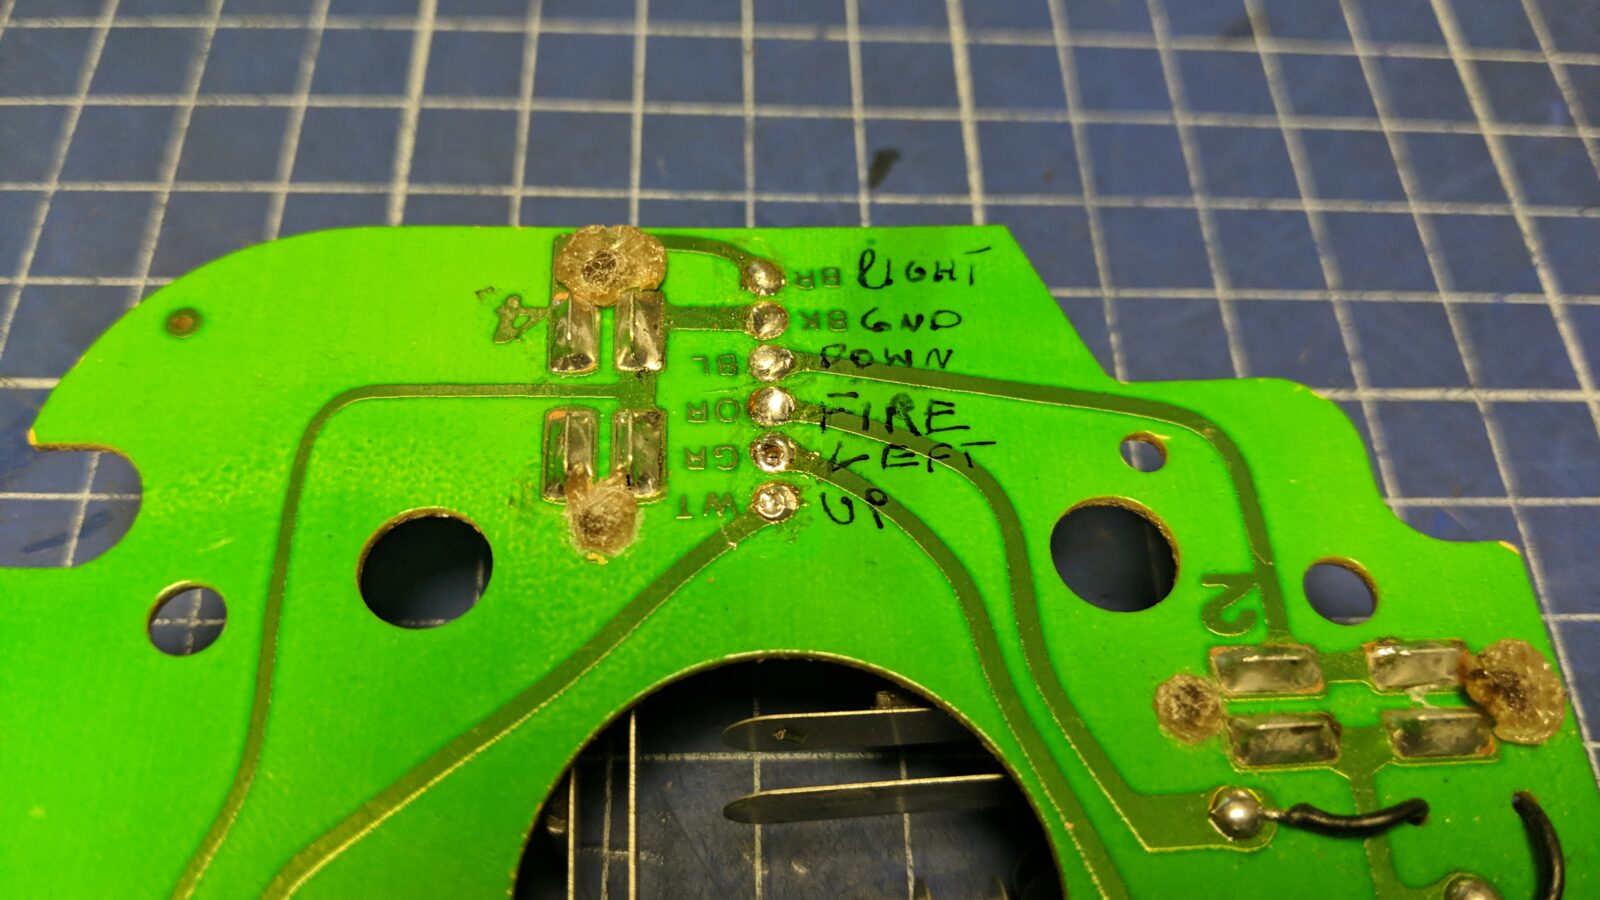
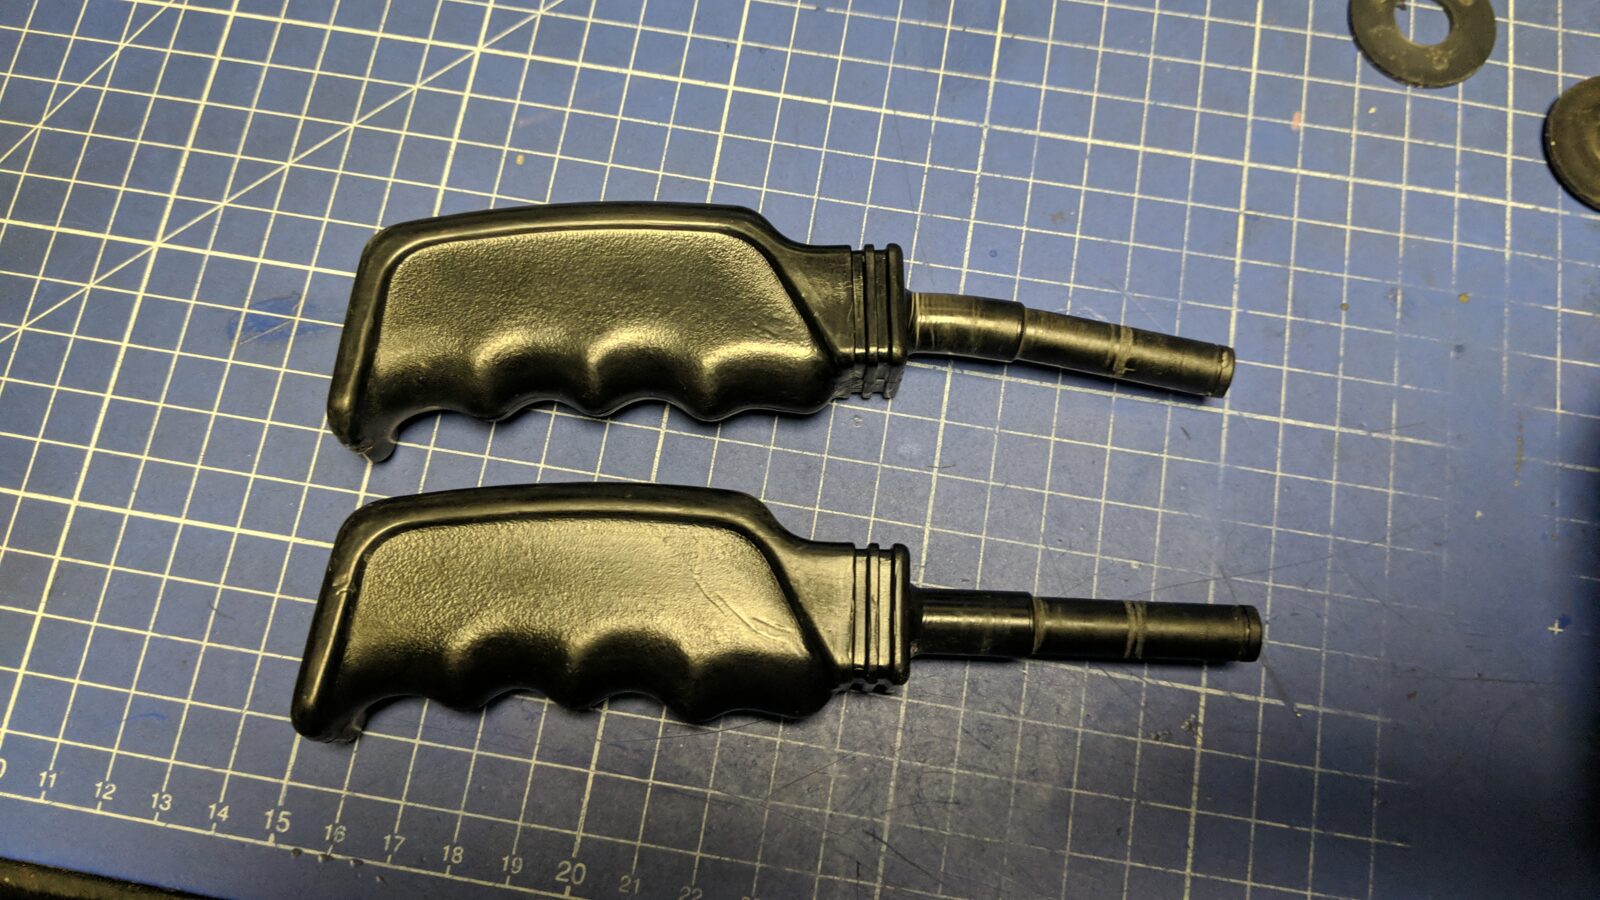
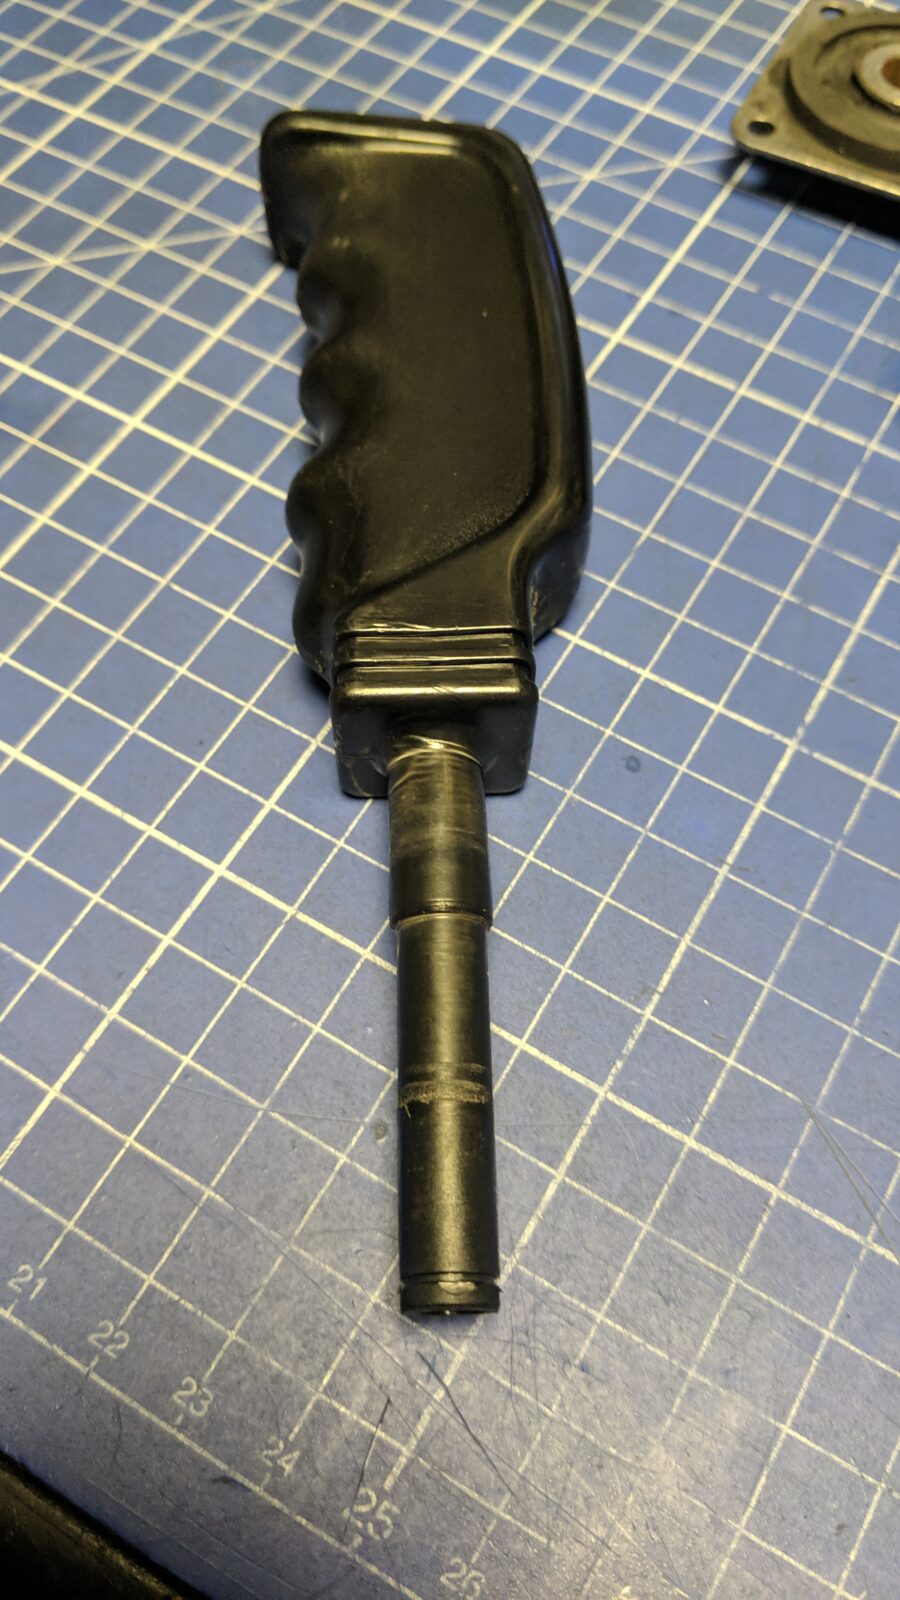
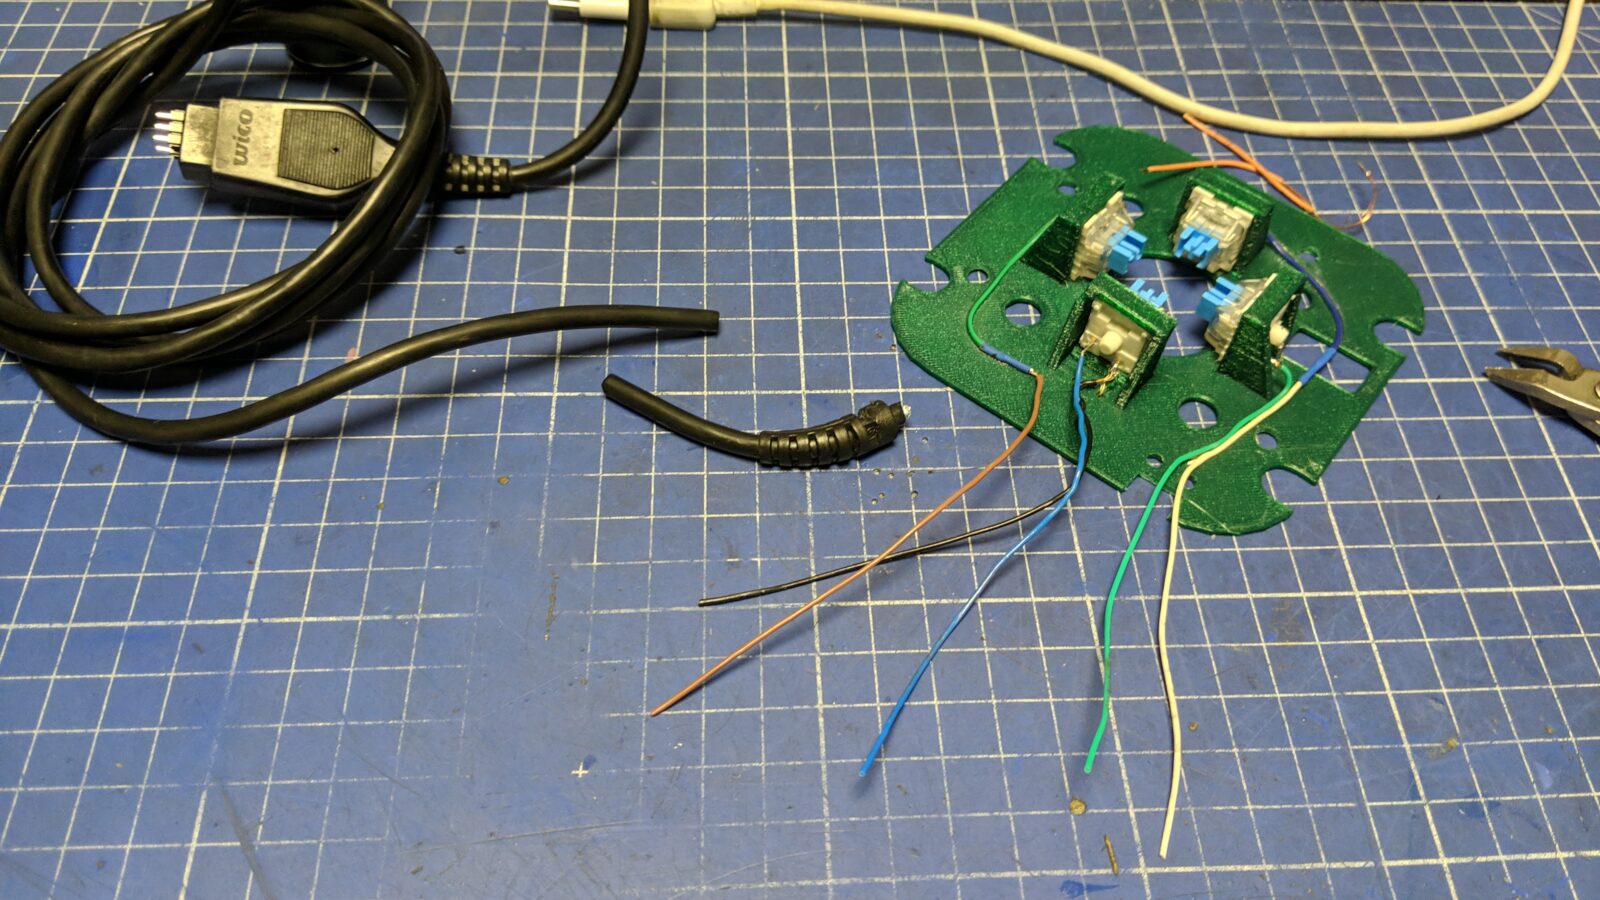
I made a common ground for all CherryMX and a TACT switch – below is a work-in-progress pic with some joysticks already disassembled and the next one shows the original wiring in case I want to reverse the mod.
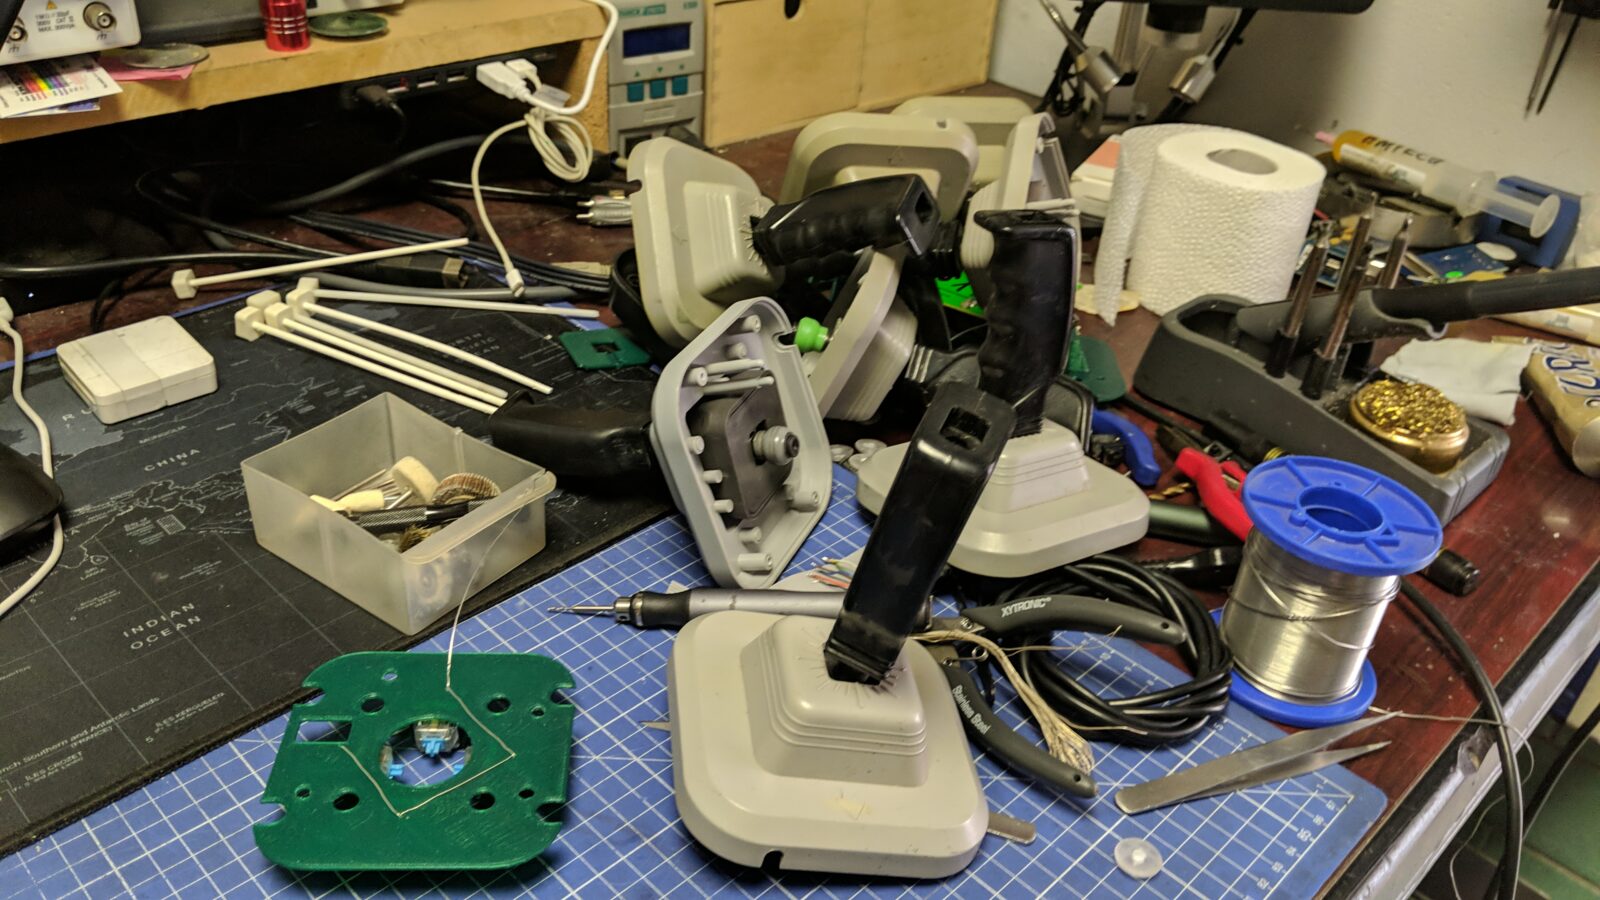
I moved on with the cleaning.
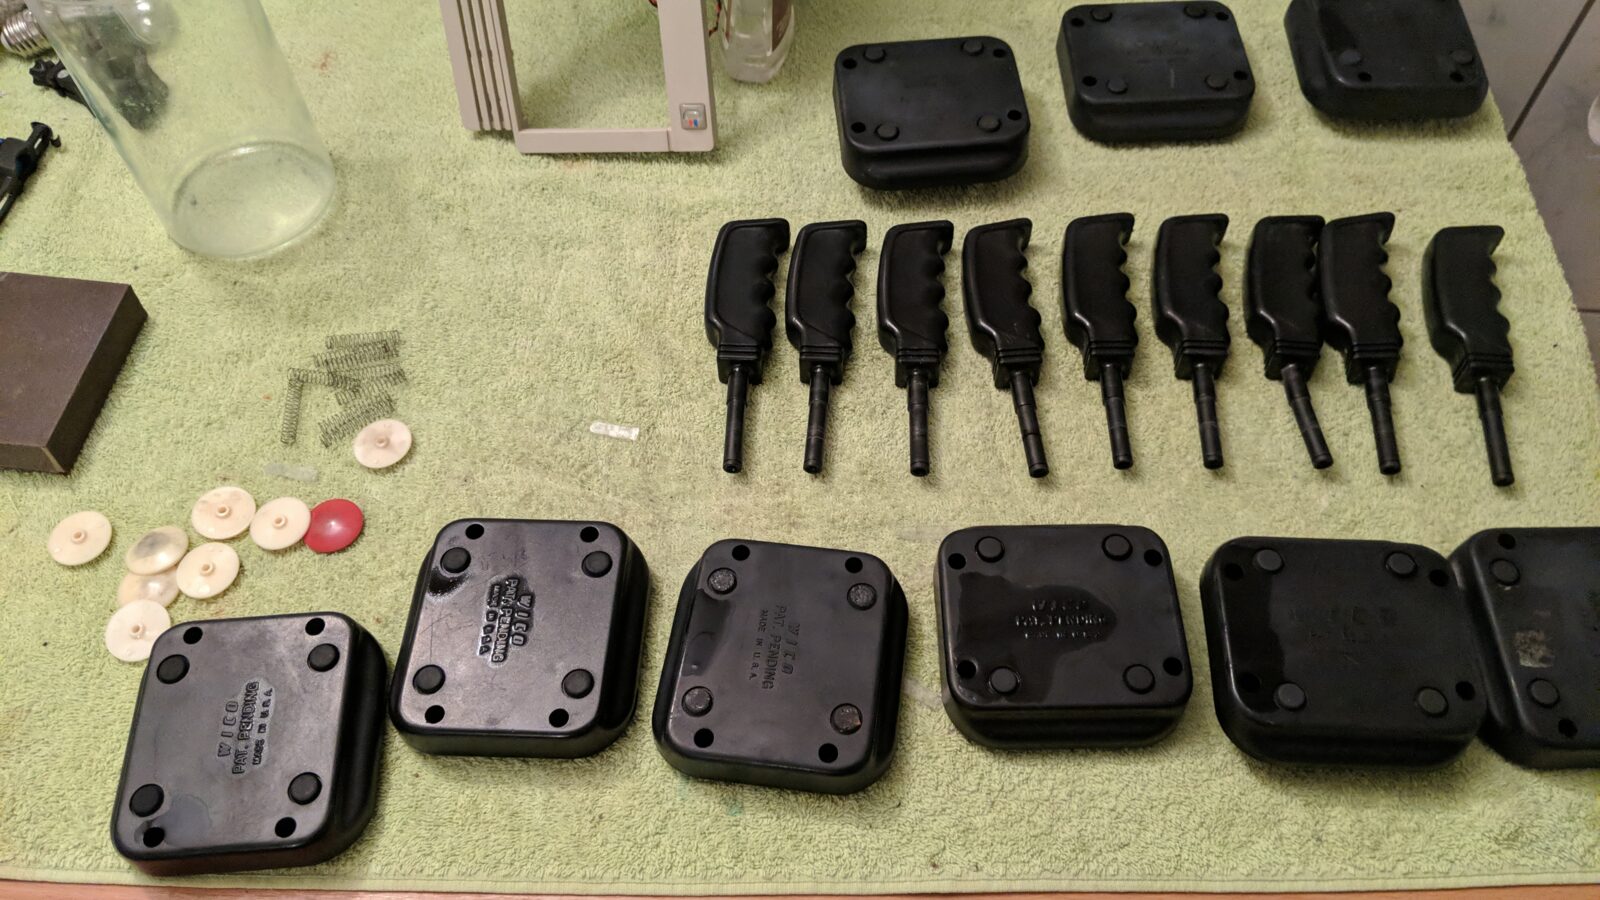
The top parts were painted matching the original color.
Some parts were a bit bent so I had to fix them using the hot air gun.
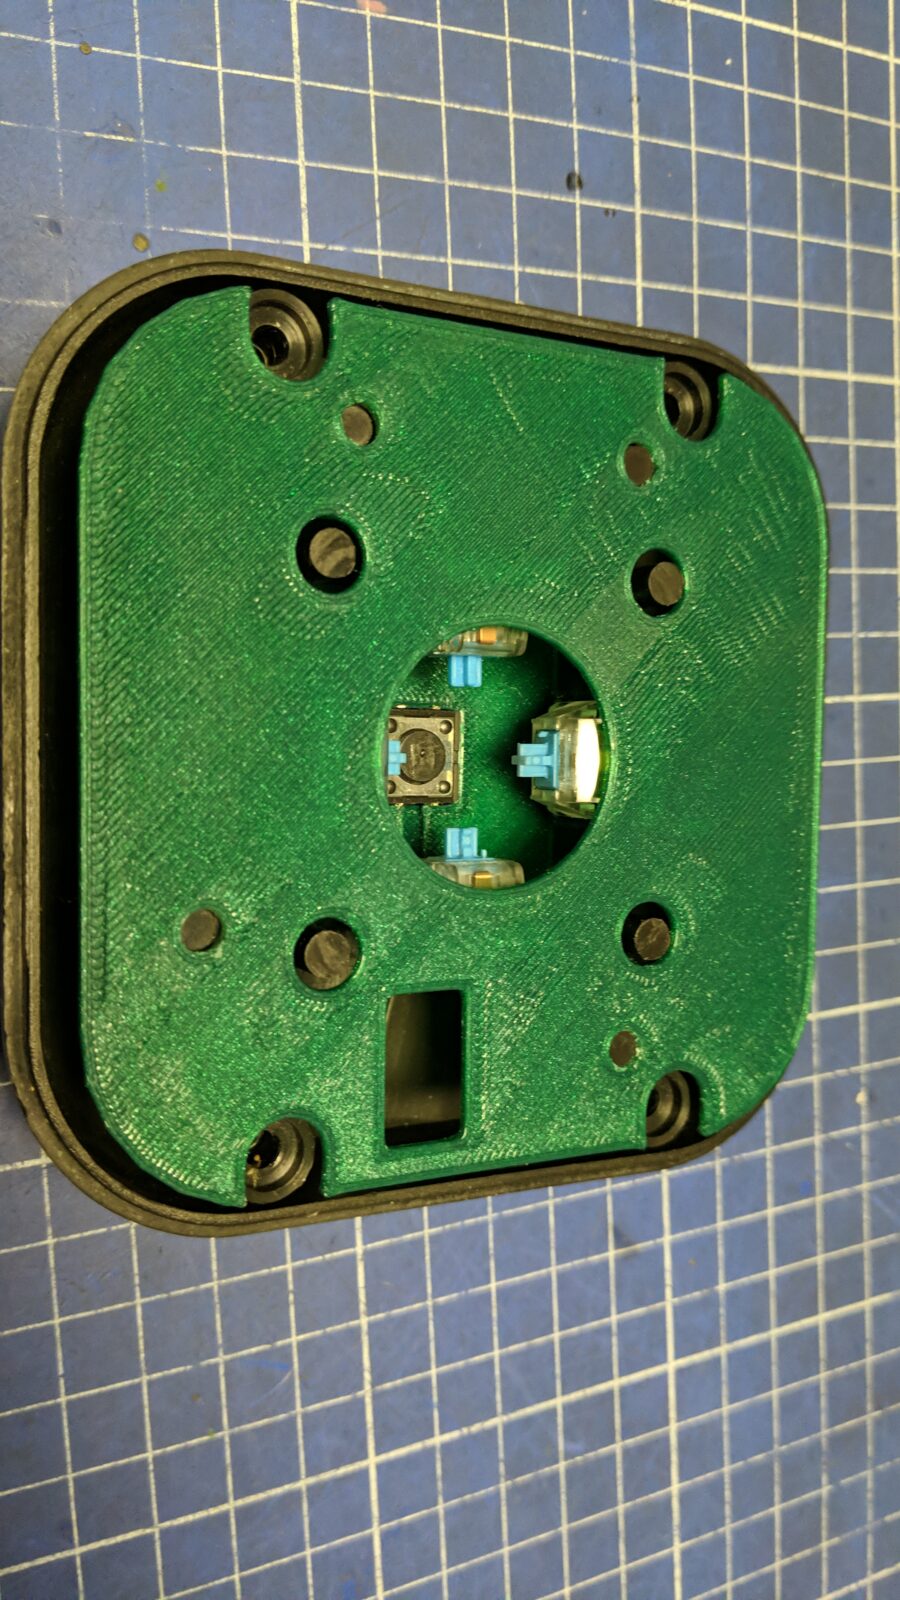
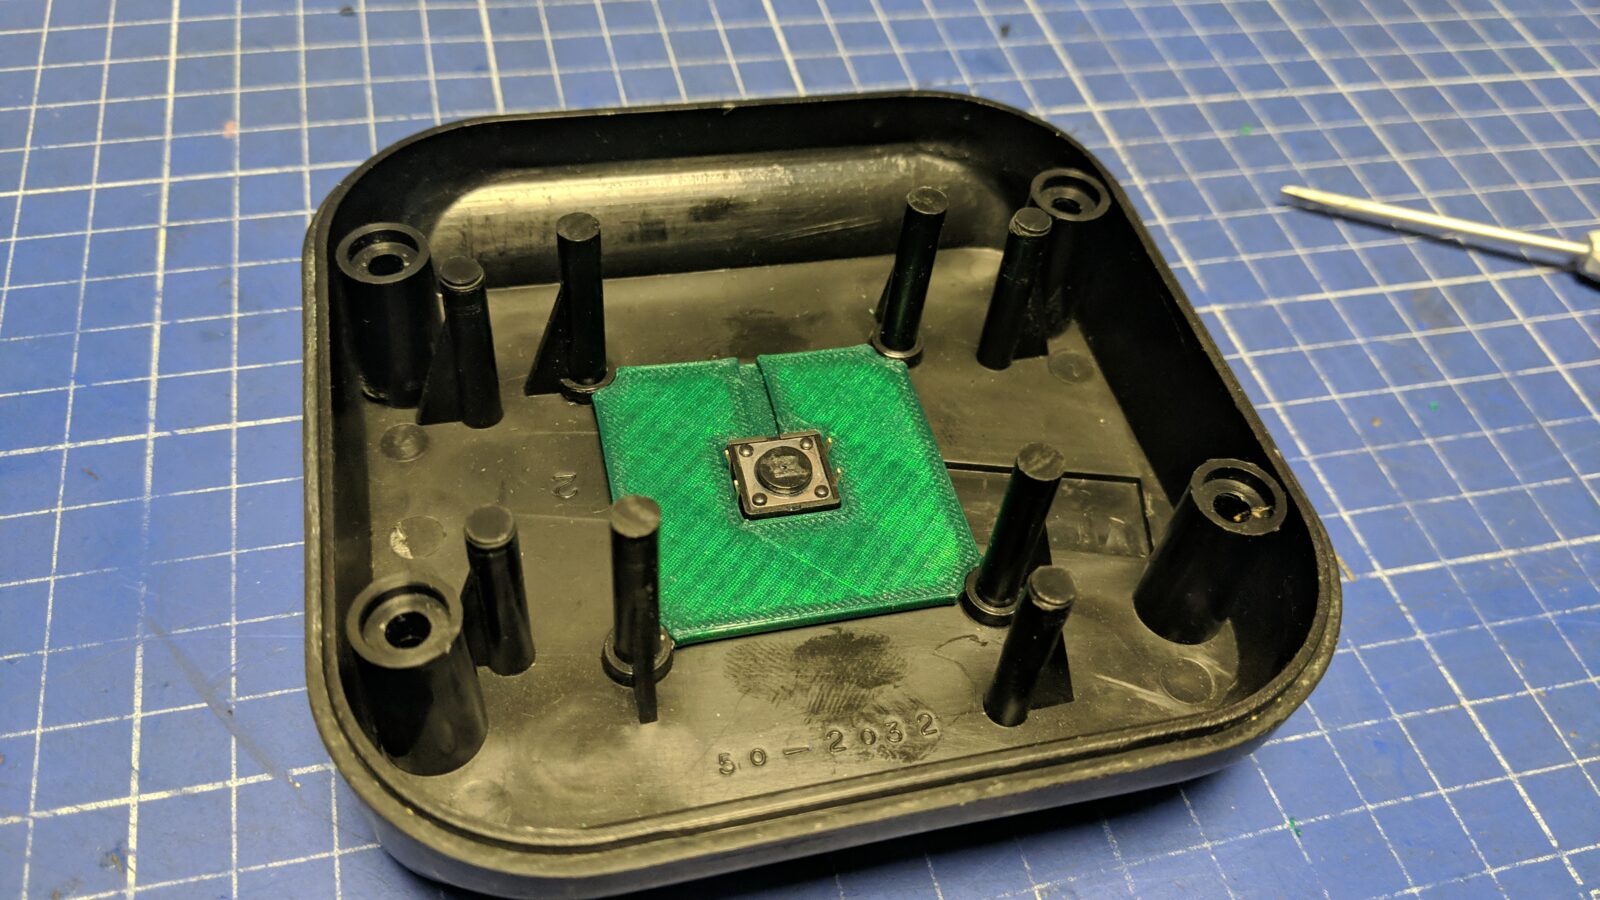
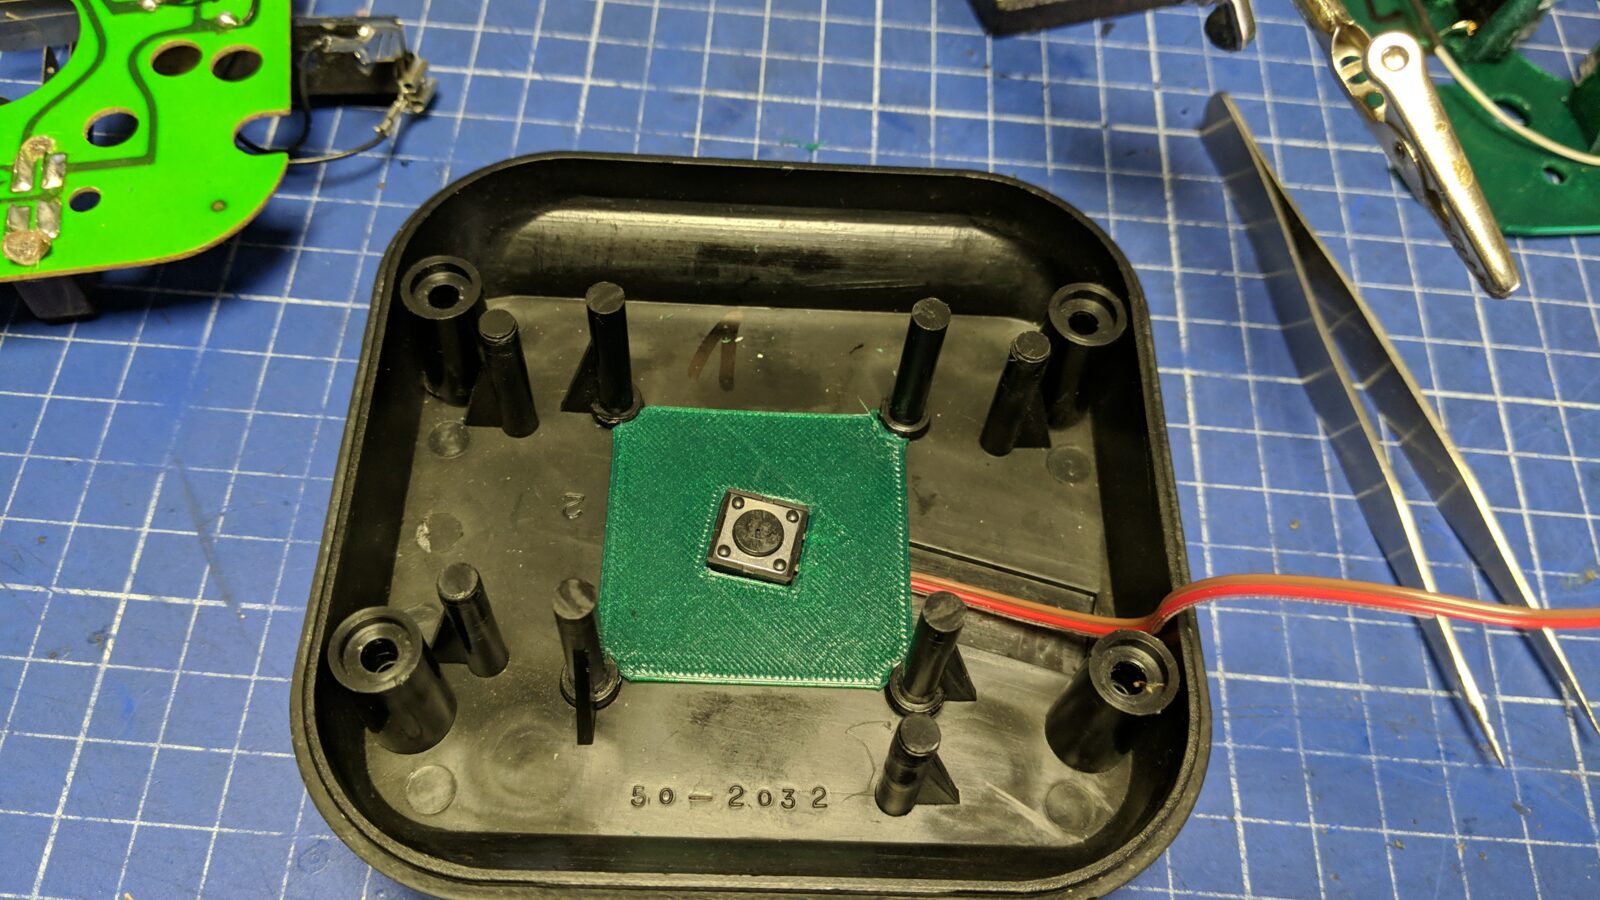
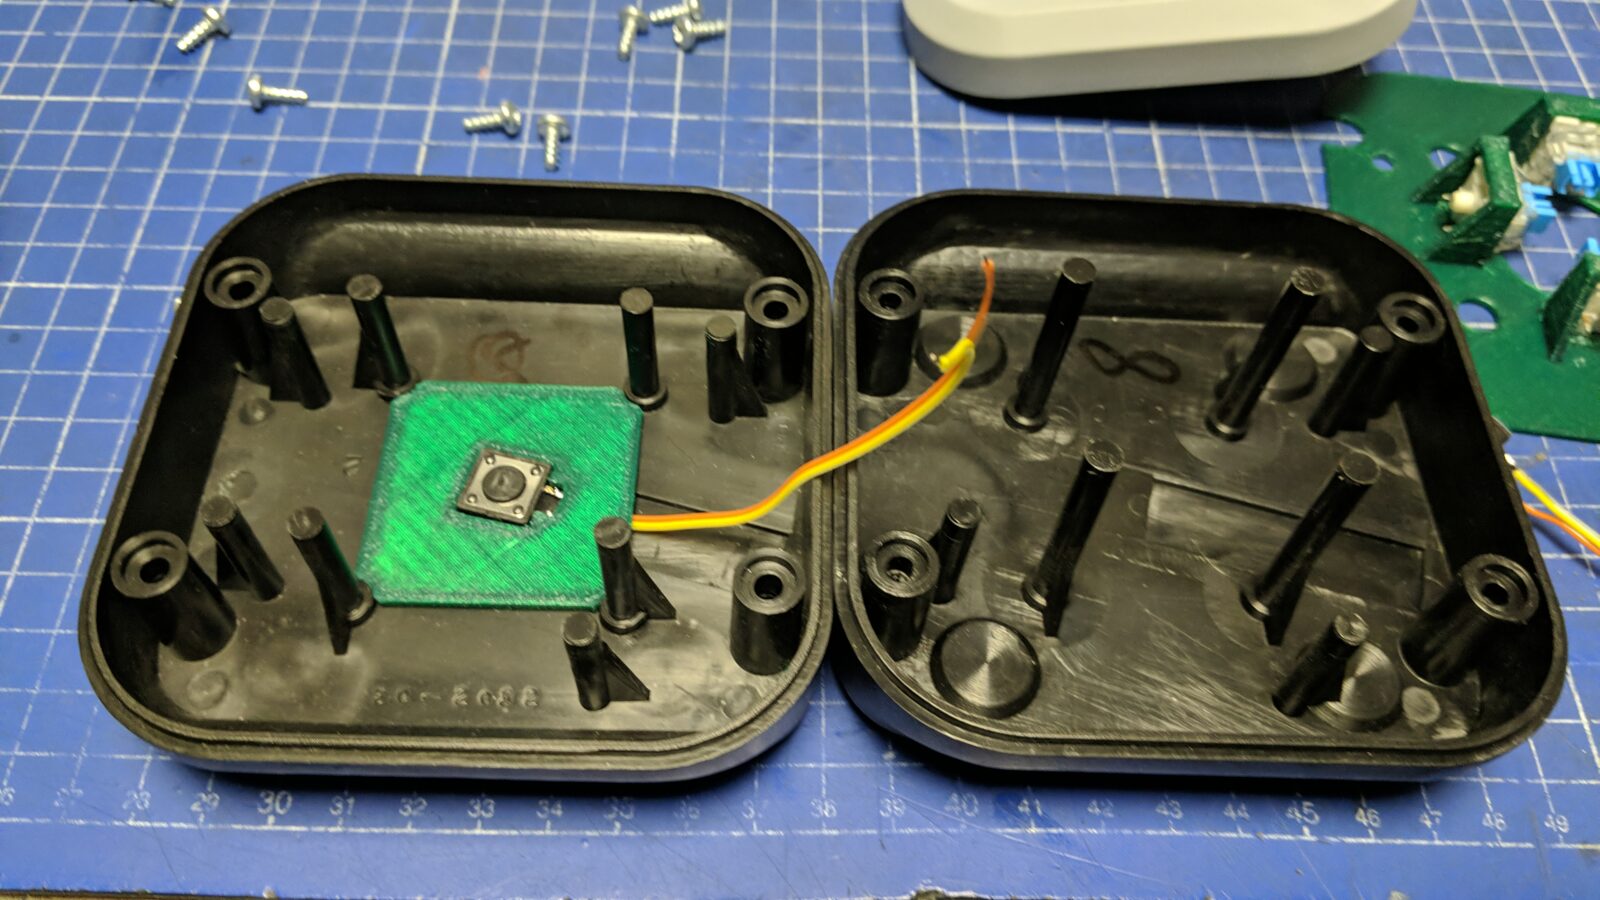
The bottom parts received their TACT switch holders. In the below example, it fits right in the center of the case. This will slightly differ from the other model of the joystick.
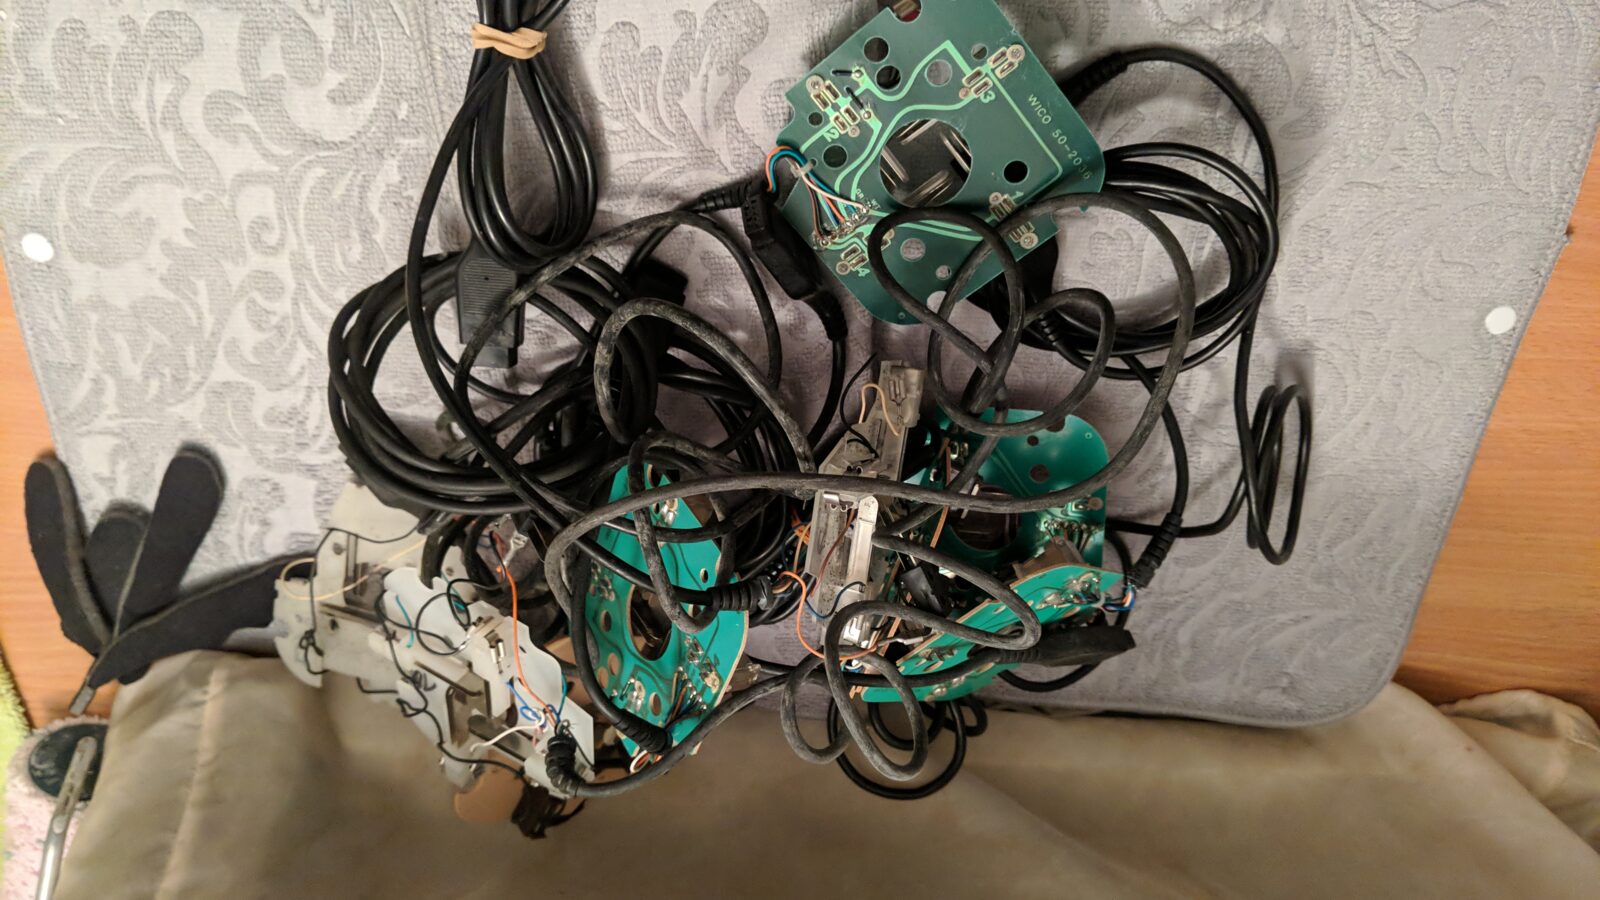
The rest of the wiring.
More parts! MOAR!!! 😀
I had to cut a bit of it to make room for wire. I also drilled two holes for the zip tie.
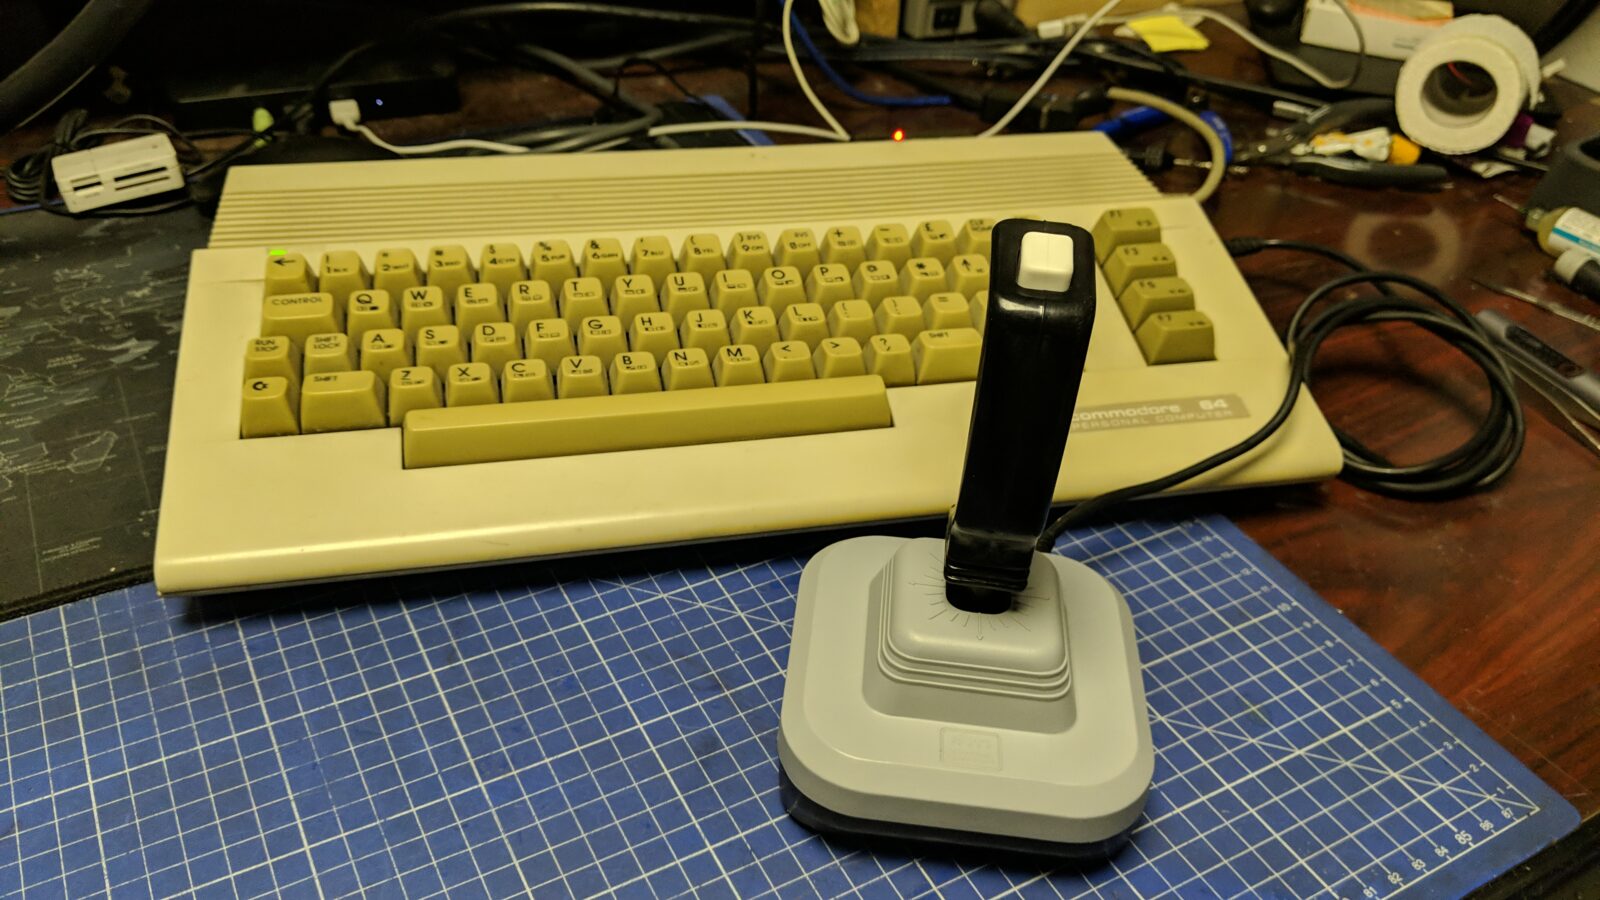
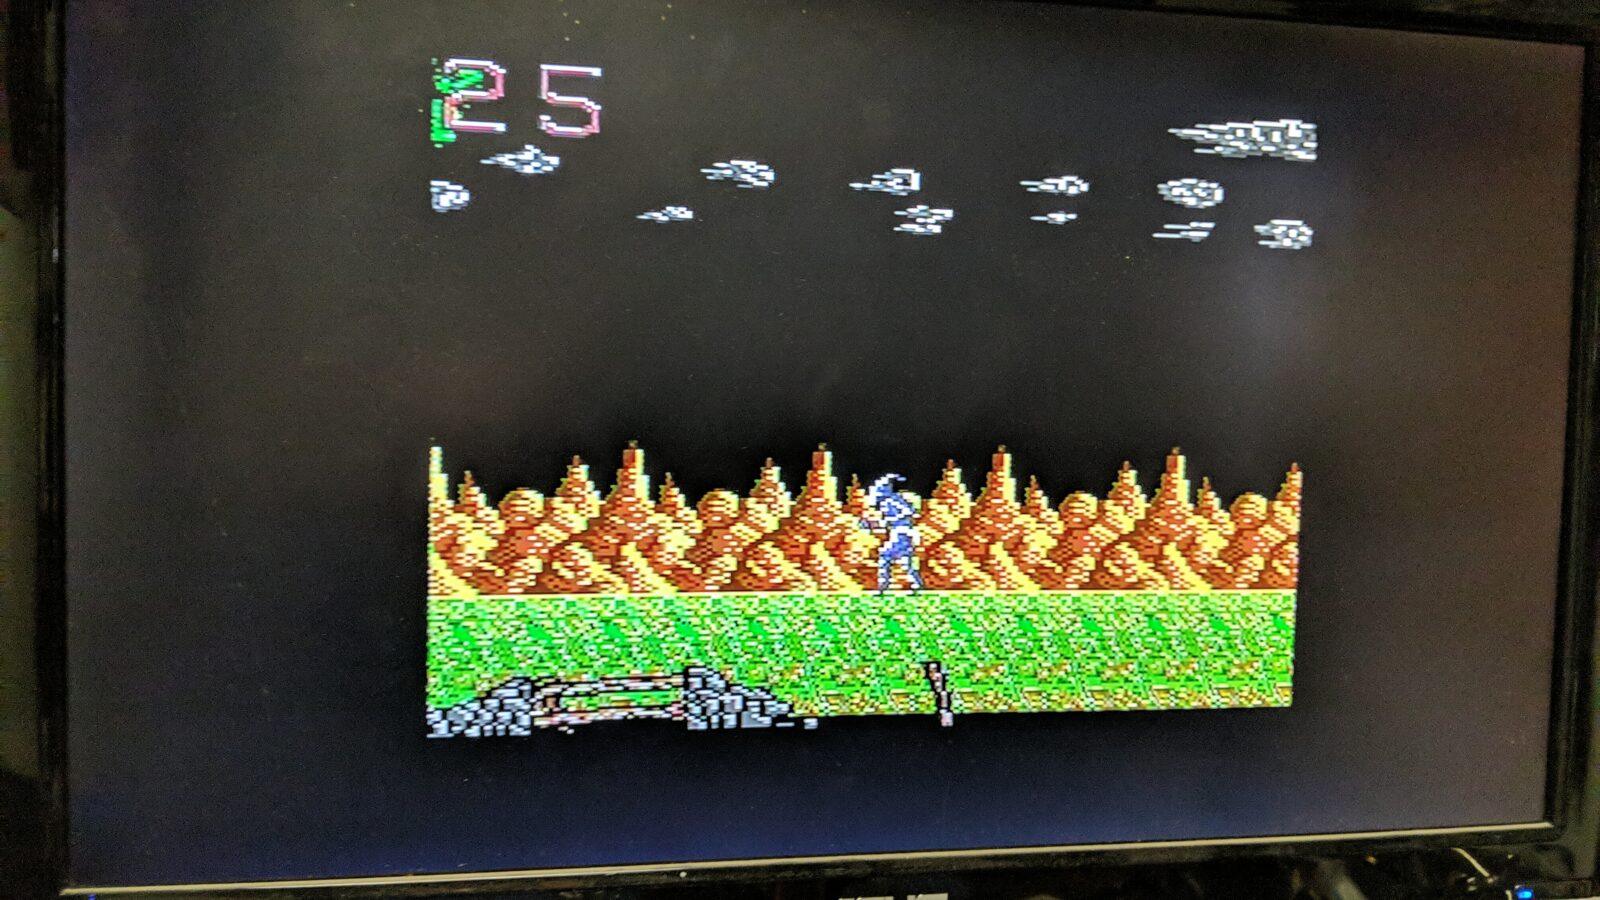
Testing in game
At this stage, I had a fully working prototype so I could run some games and test it thoroughly.
After tests, it quickly turned out that the “hat” is slightly too narrow and that the bounce that presses switches is slightly different in these models. I decided to make my model and 3D print it out of a tough type of UV resin. I also went through several iterations of the “hat” before getting it properly done.
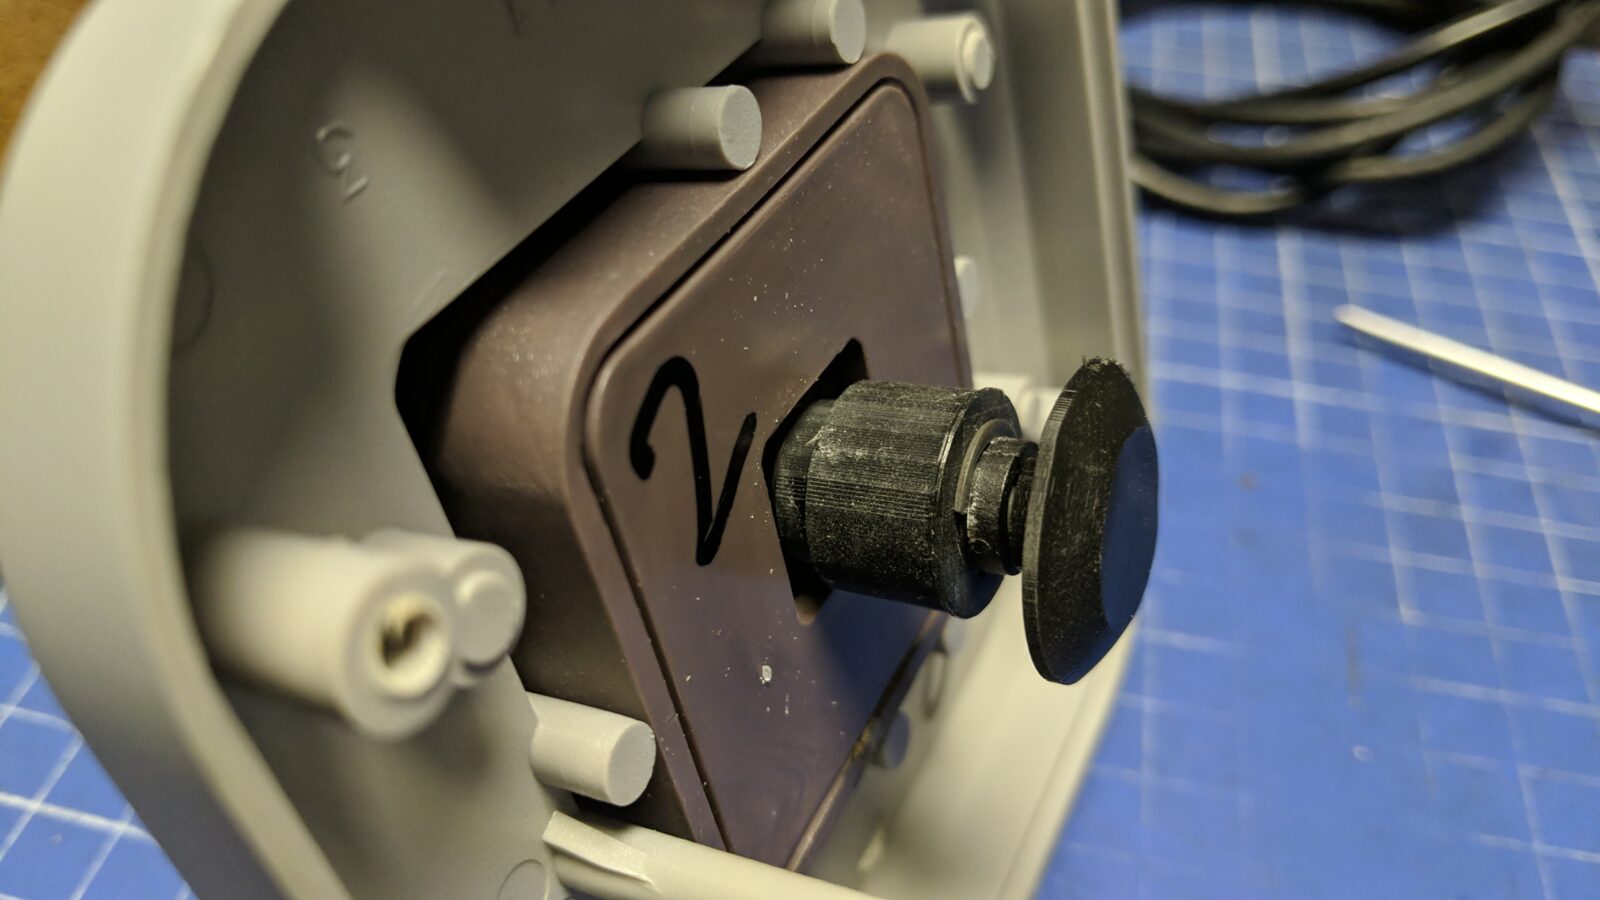
Below, is a minor diff between the bounces which prevented it from working properly.
My 3D-printed version is on the left.
Another set of failed “hats”
The final design and some prints.
The final result
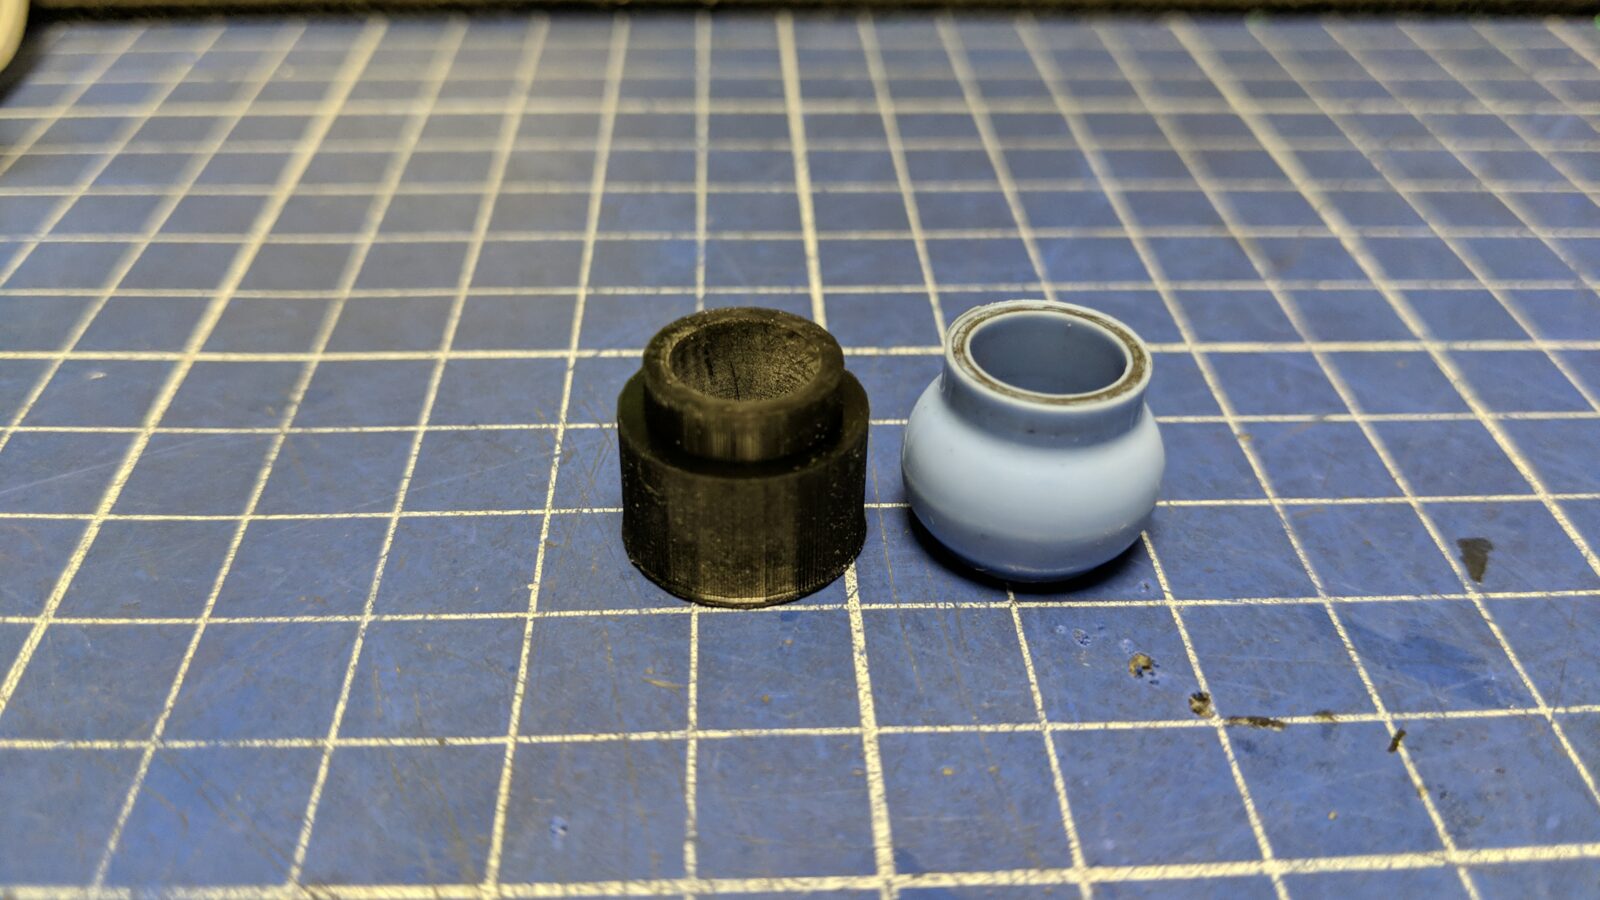
Below is another difference between both models. The one on the left does not use a case for the rubber part.
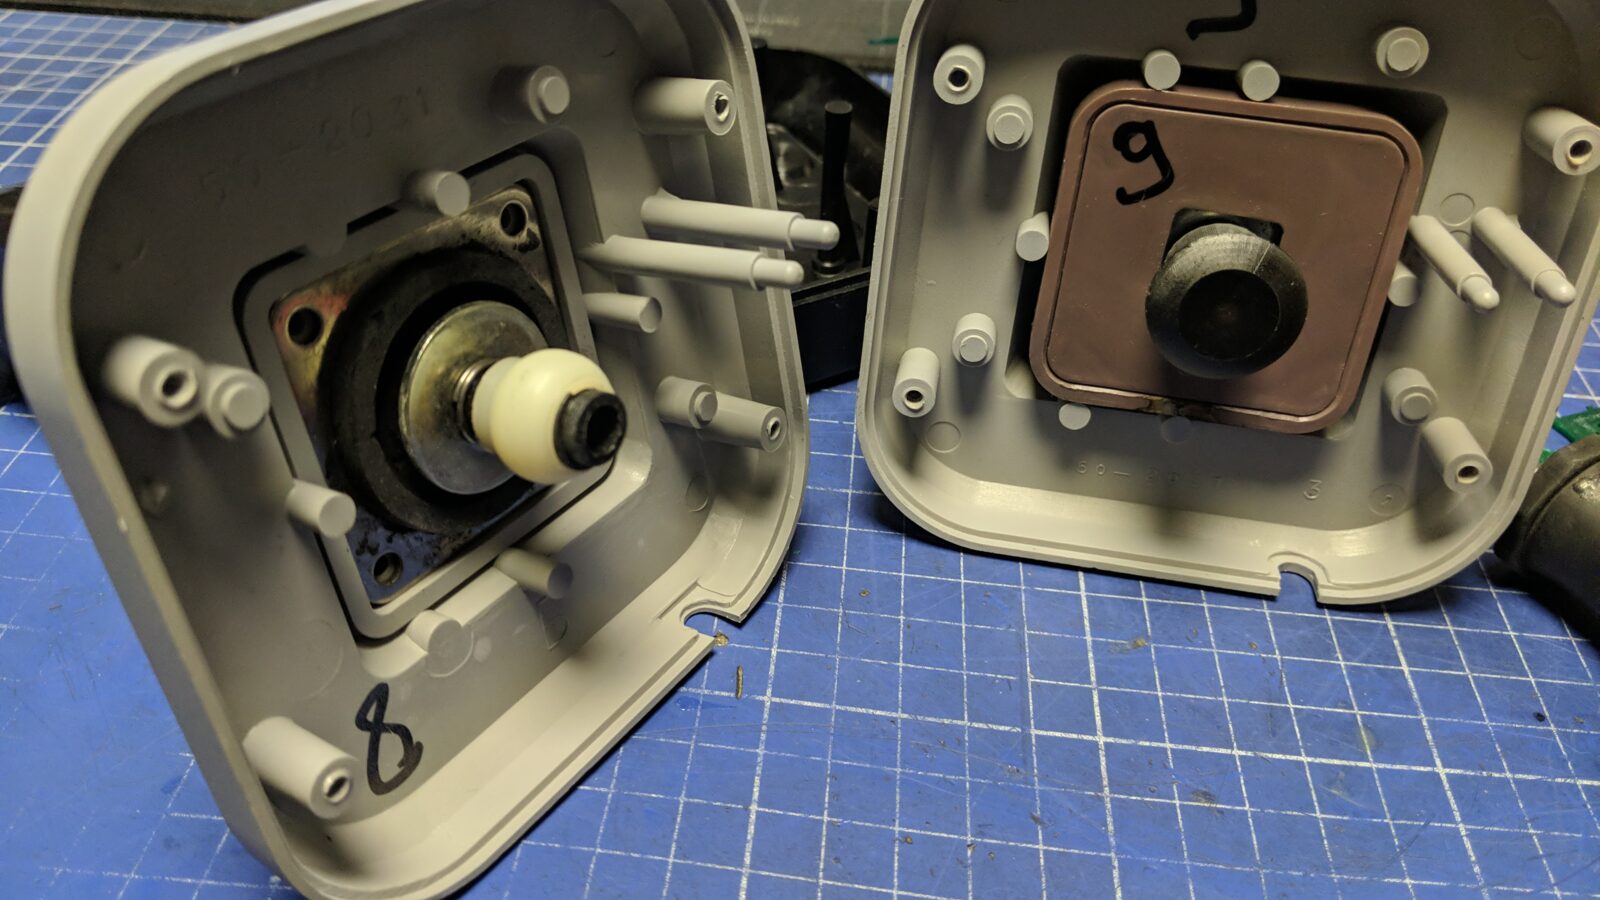
This results in a difference between the bottom parts too. The 3D-printed holder has to be smaller for the bottom part on the right. Plus, the TACT switch ends up a bit elevated because of the slightly different cavity.
While I was solving the above problems, the switch donor came in.
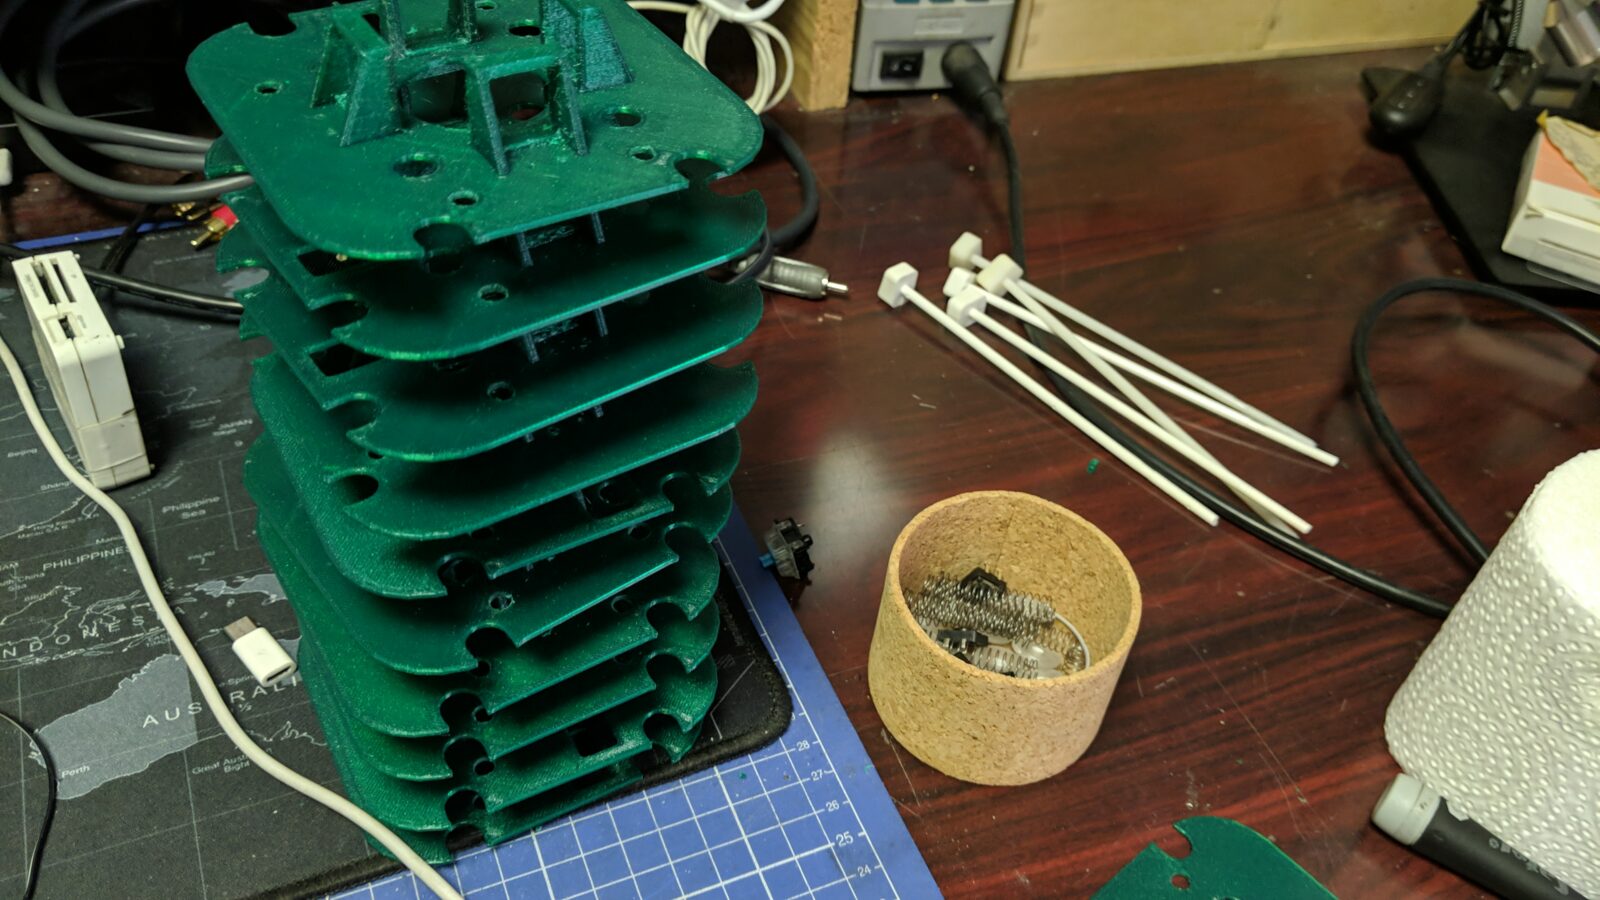
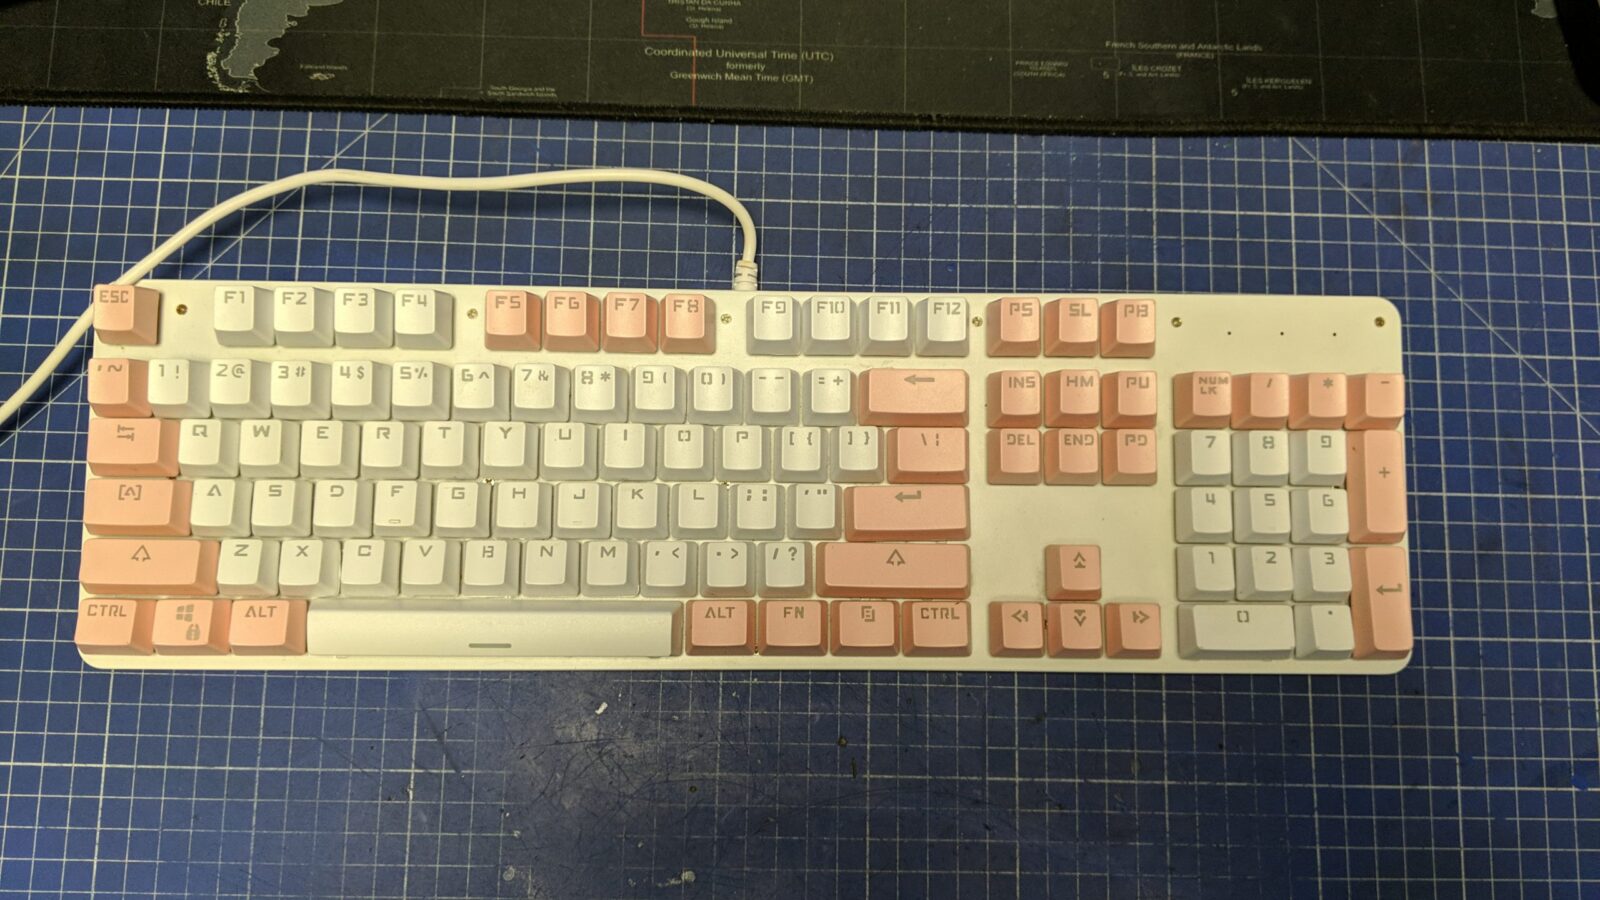
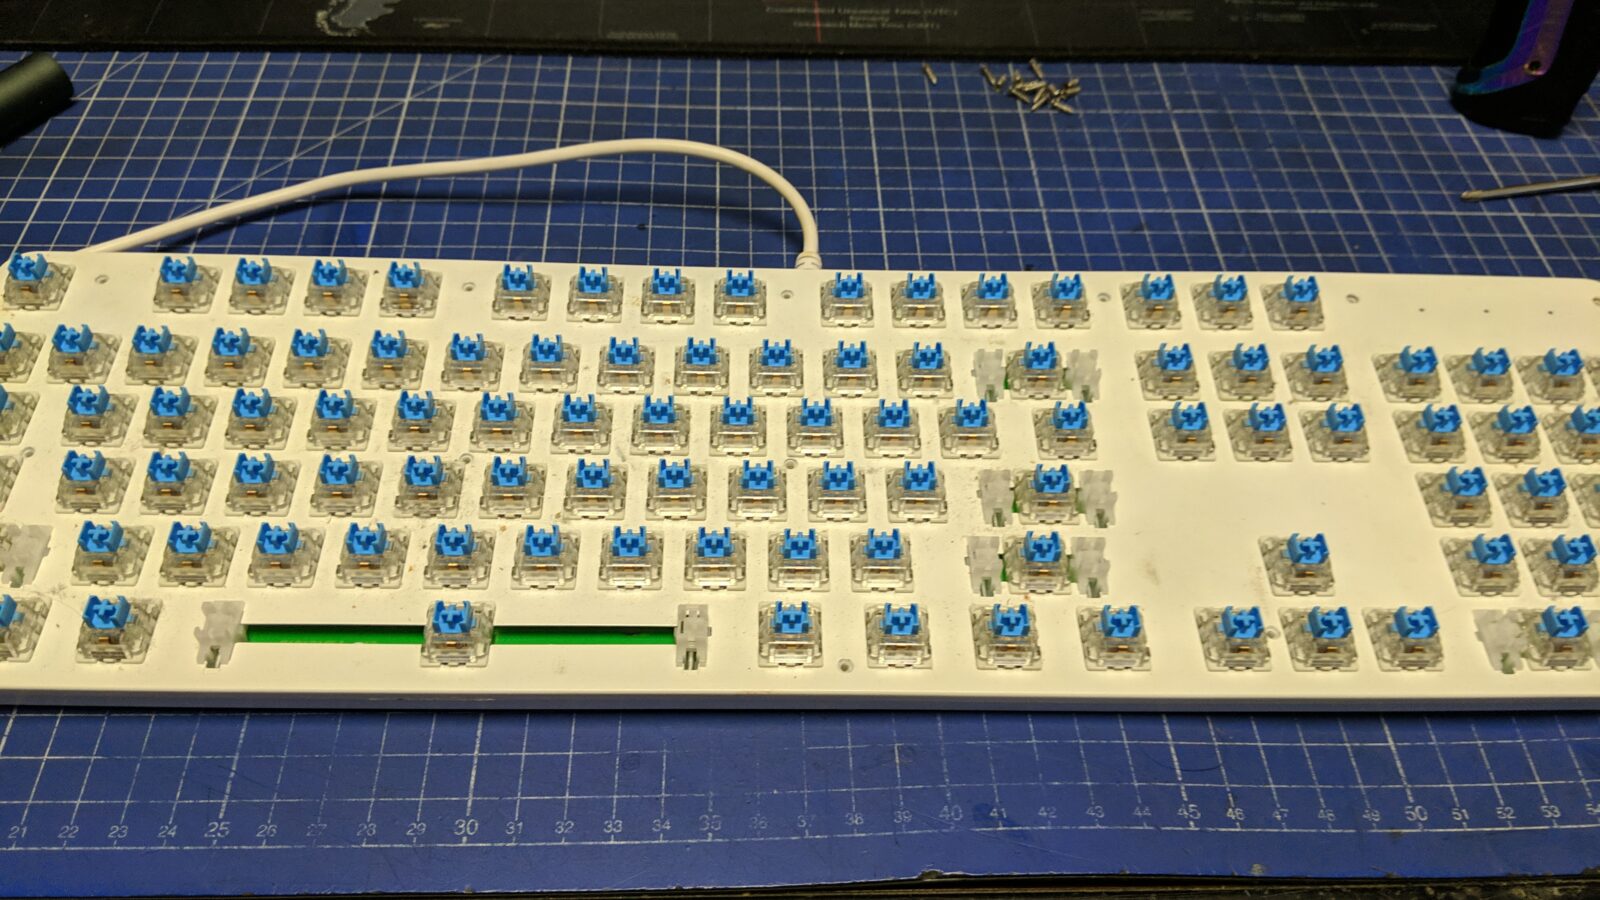
Getting new CherryMX keys is 4-6 times more expensive than getting a second-hand keyboard and desoldering them 🙂 This particular unit was sold to me for around 25 USD because of the broken cable.
The final assembly and minor fixes
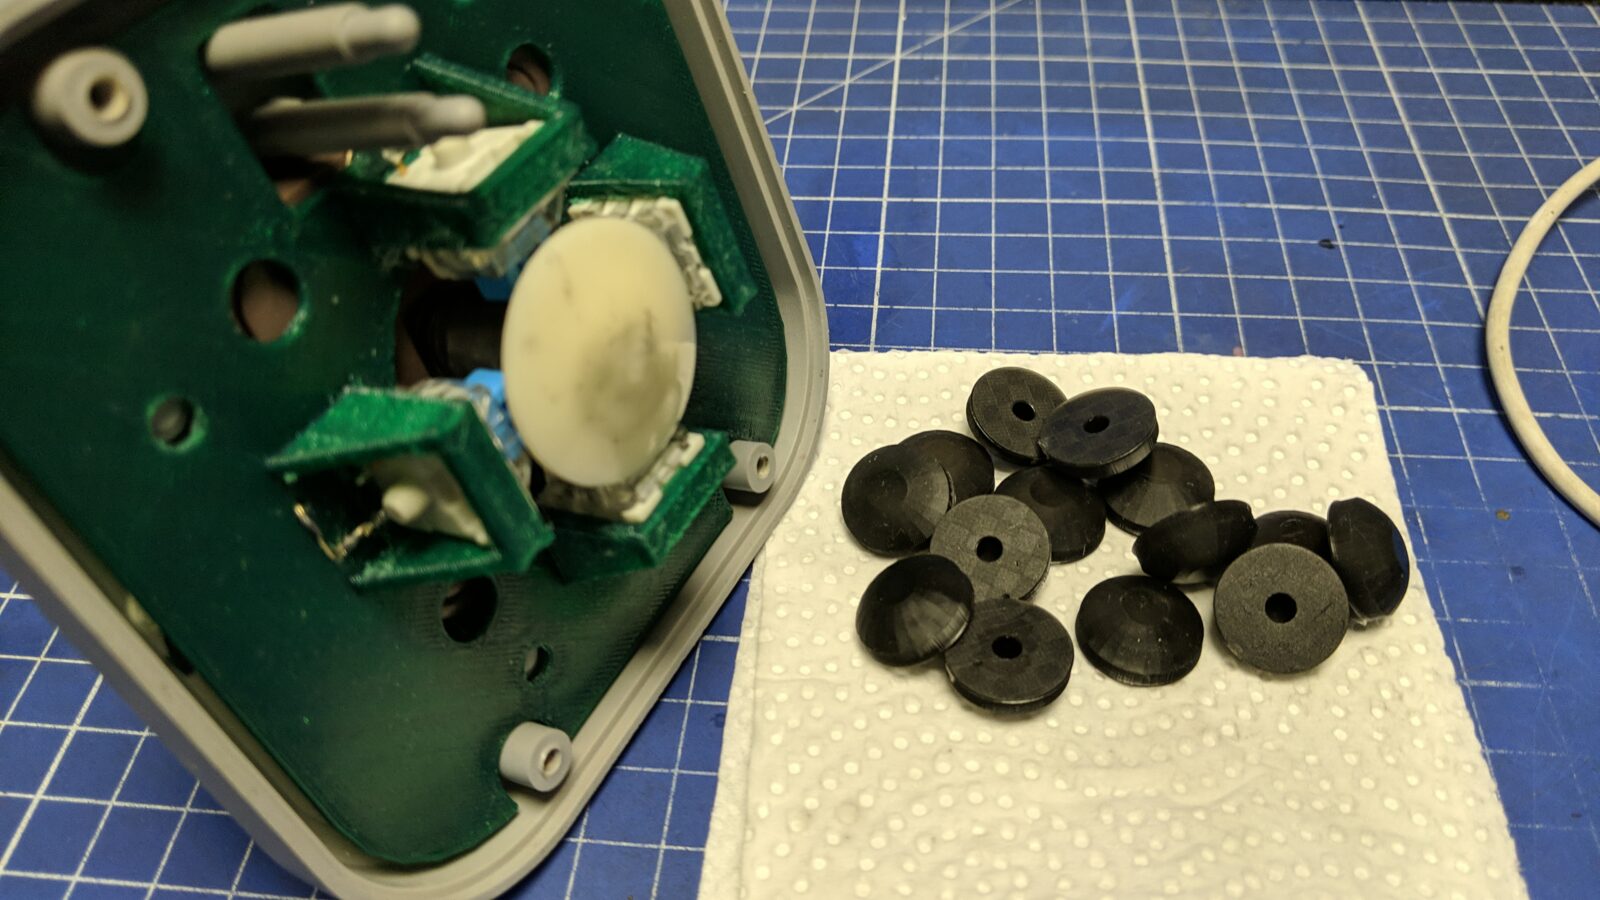
I moved on to the assembly phase fixing some minor problems along the way. Problems like missing rubber pads or broken wire.
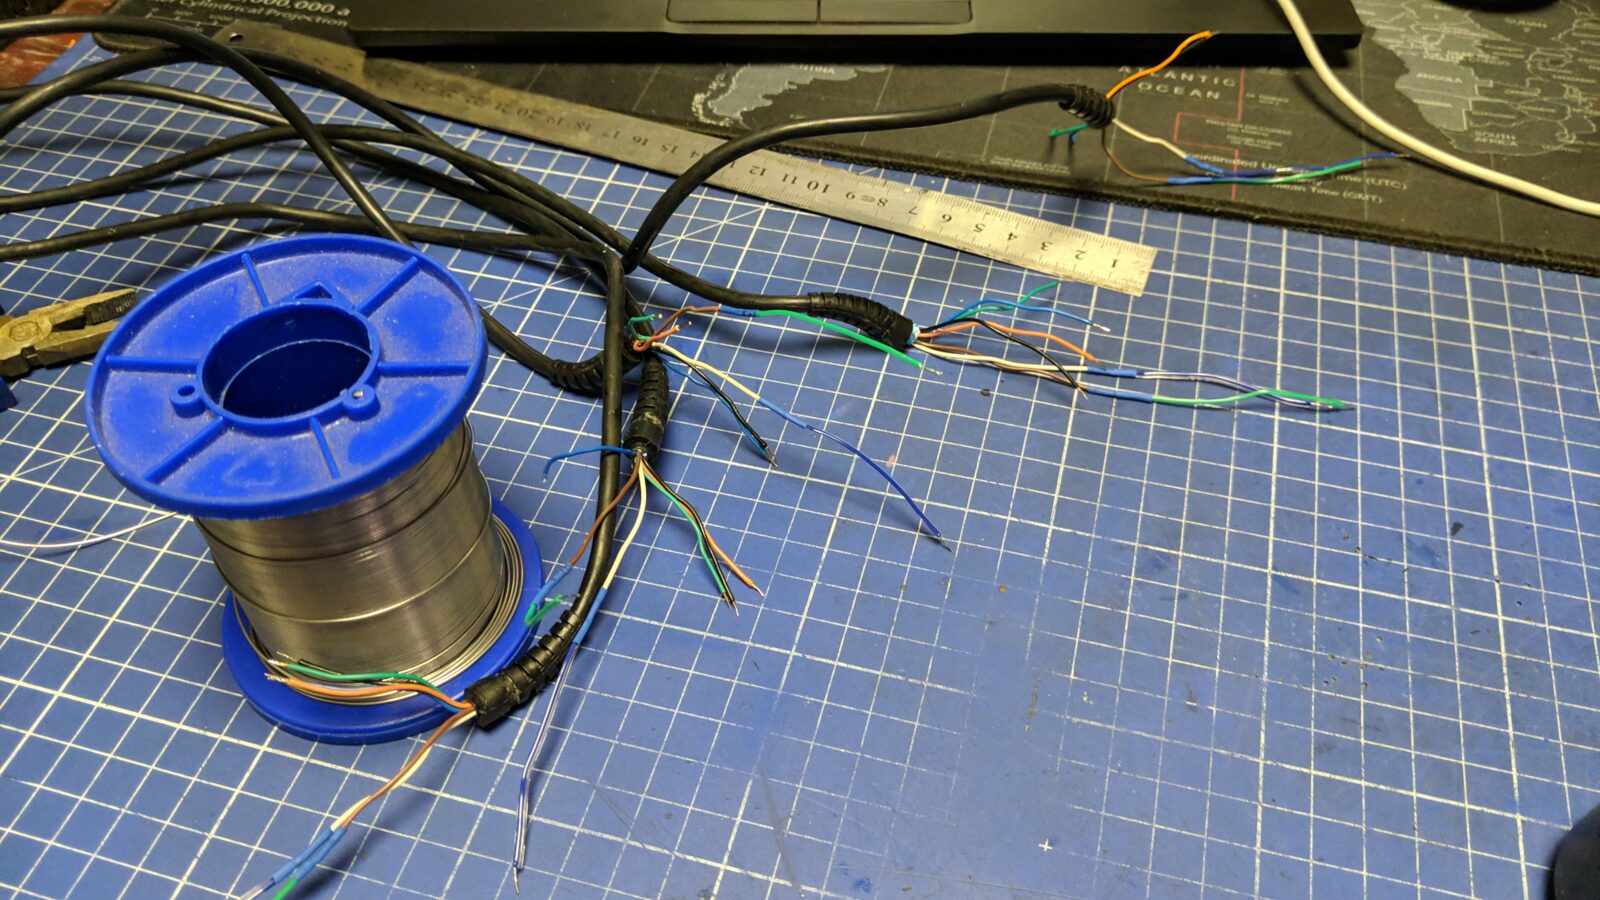
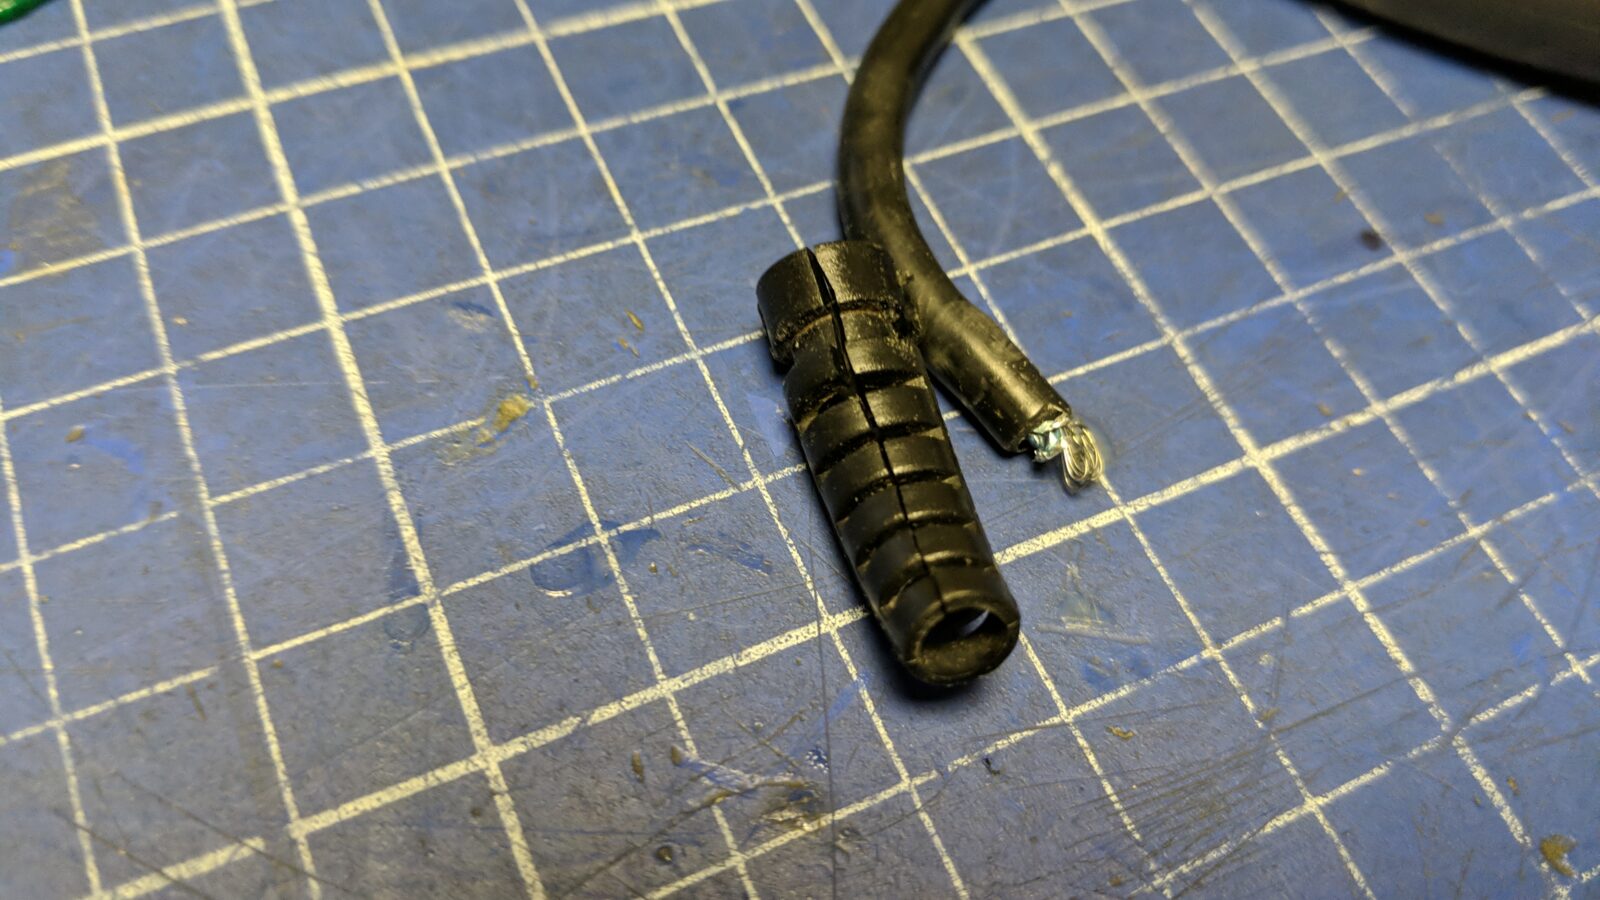
At this stage, I also cleaned the cables and plugs.
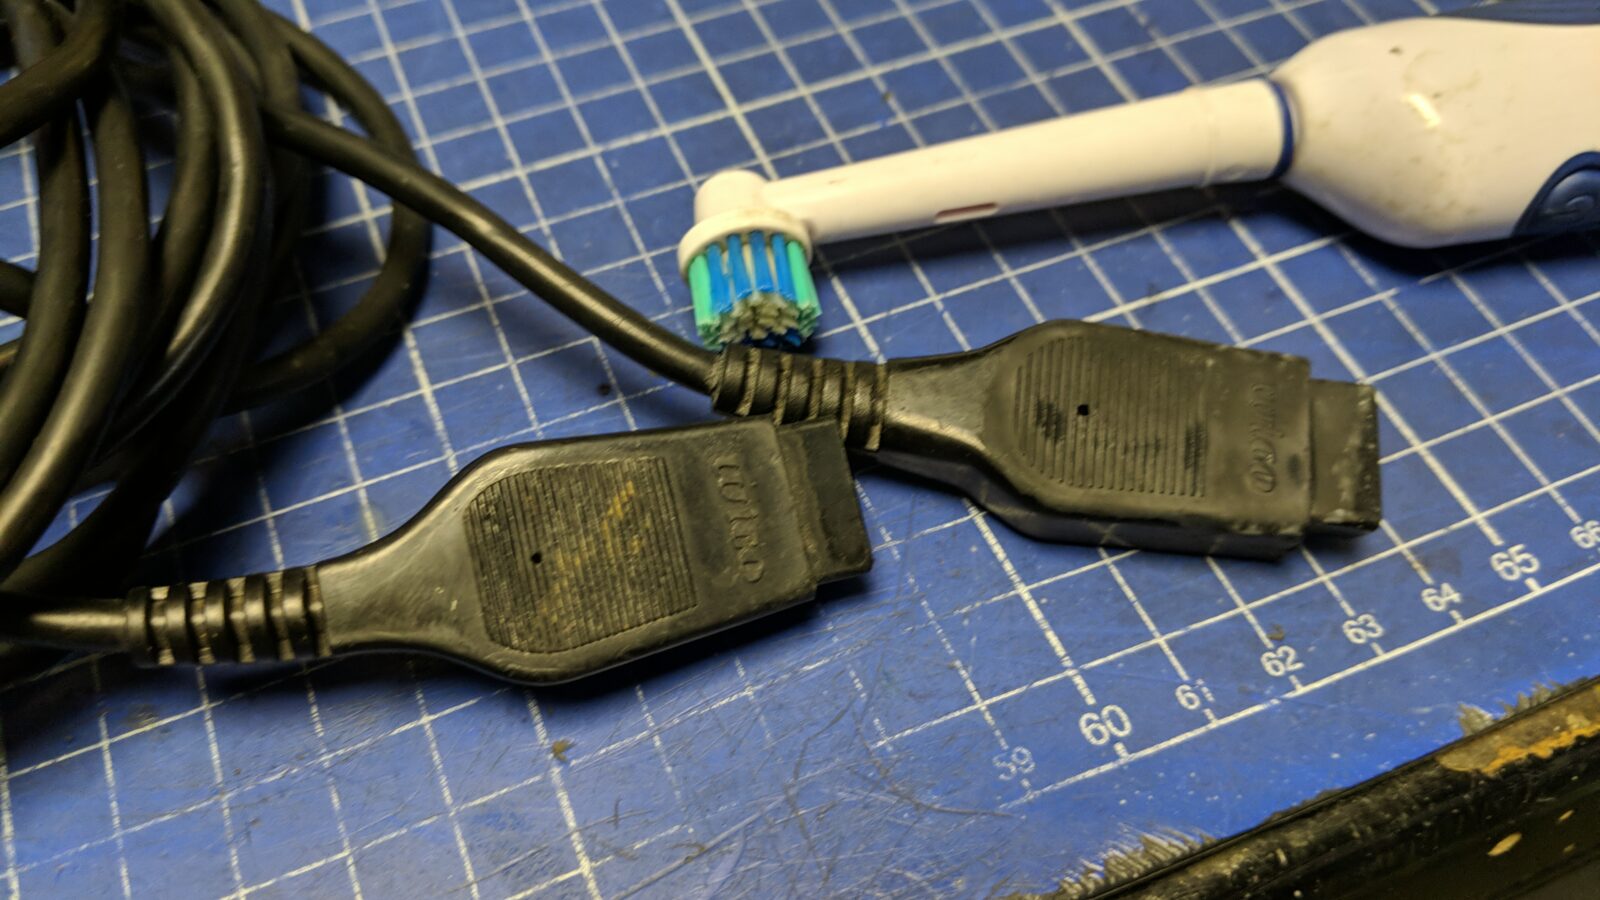
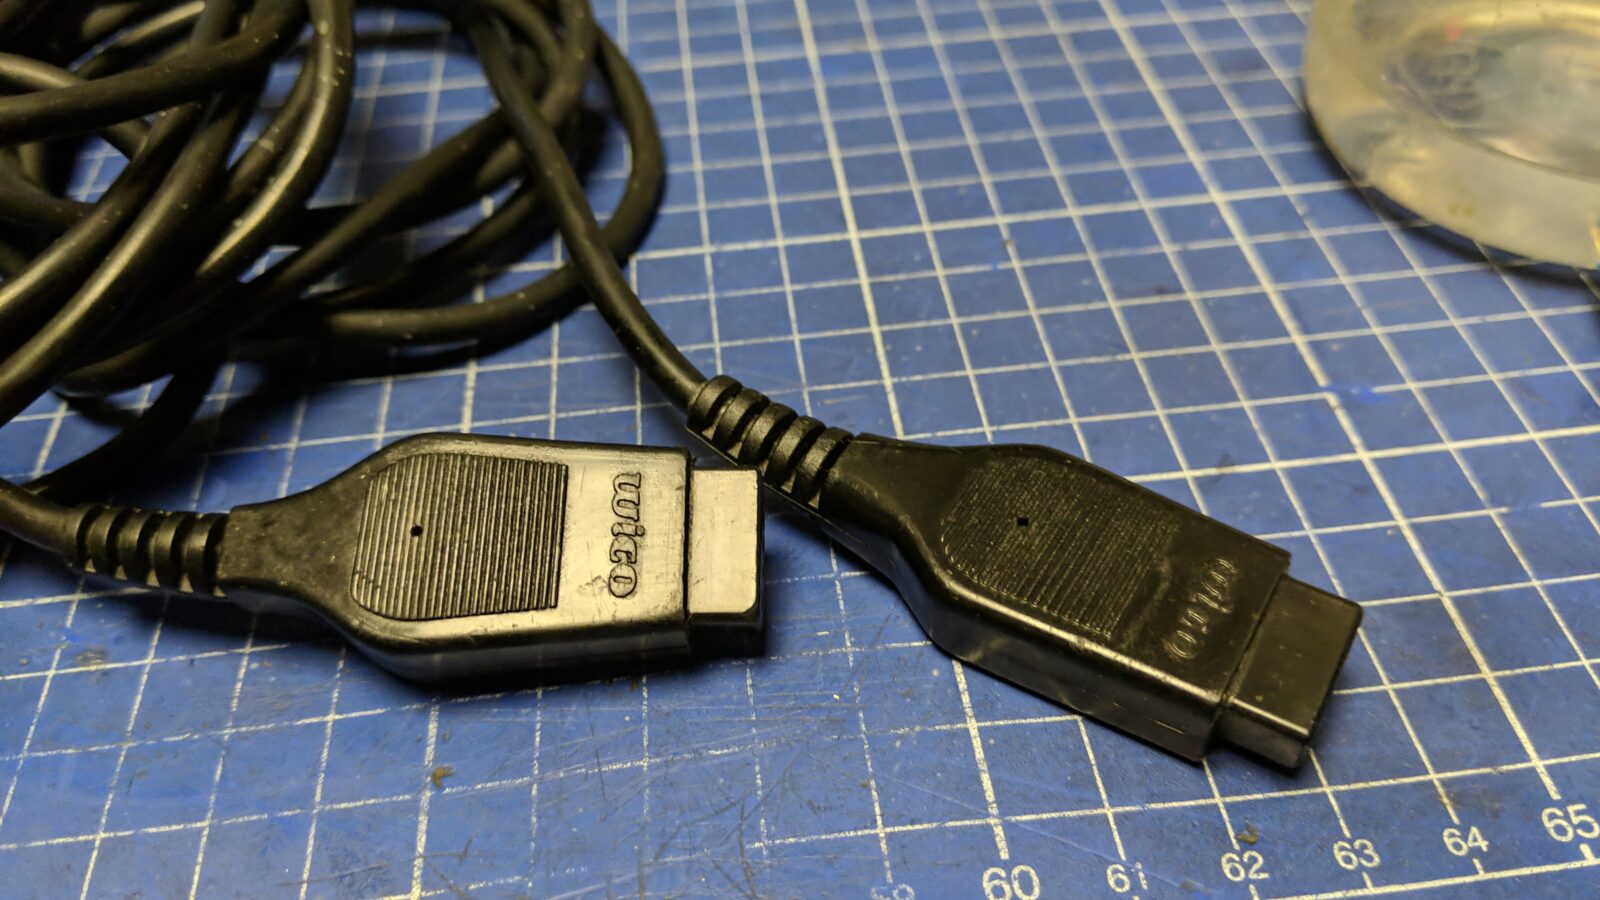
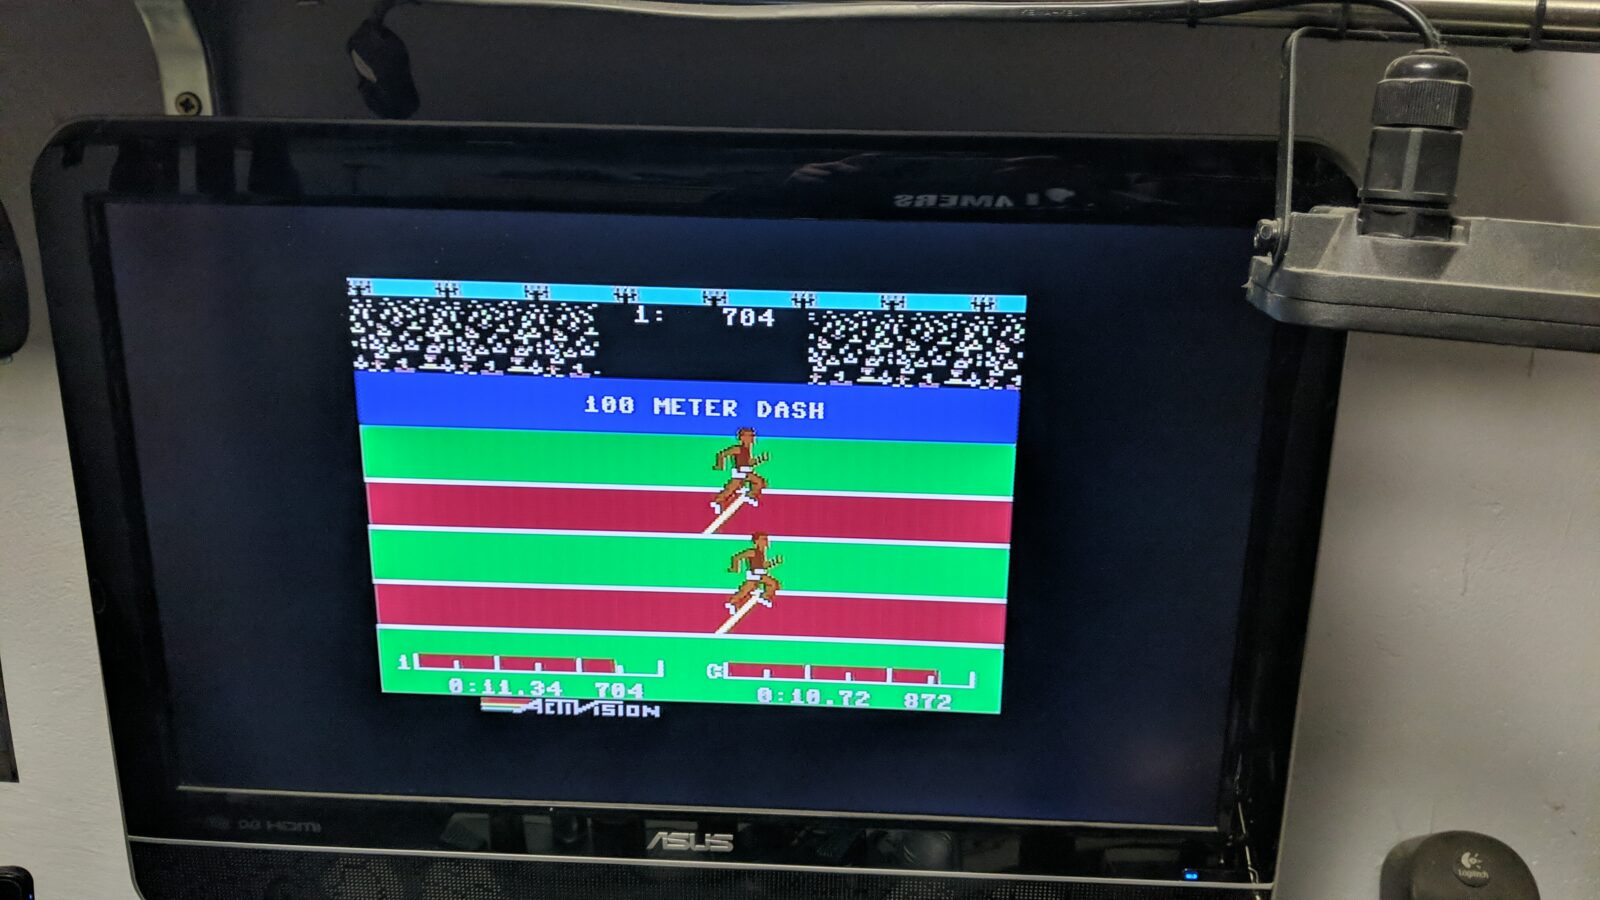
After all the above, I’ve tested every single joystick by playing the famous Decathlon game. Decathlon is a known joystick killer game 😀
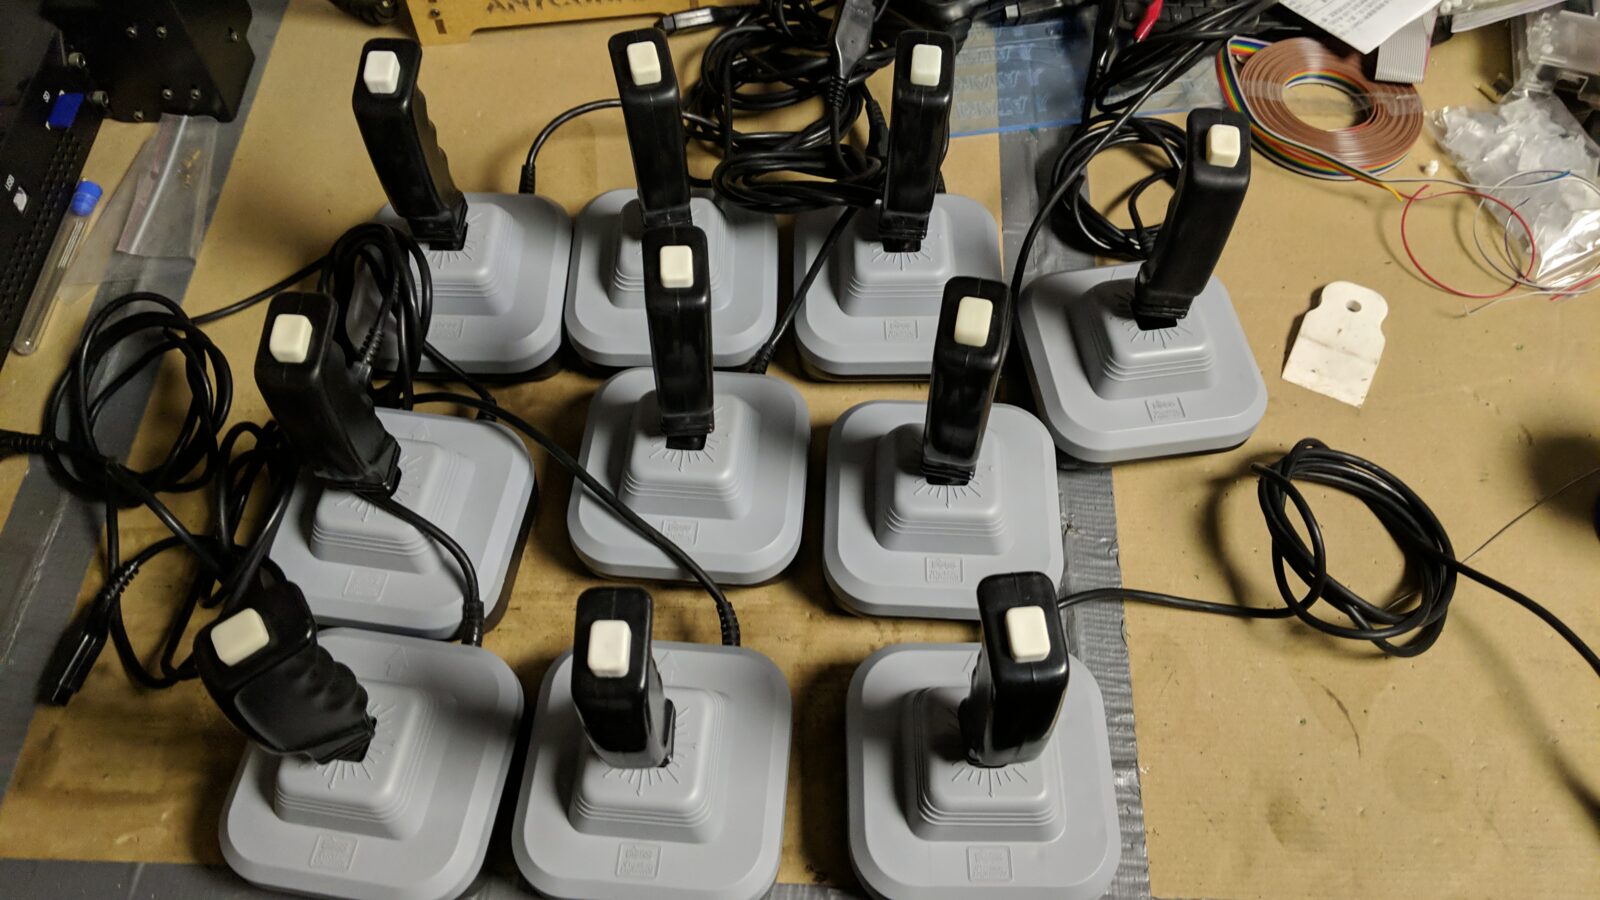
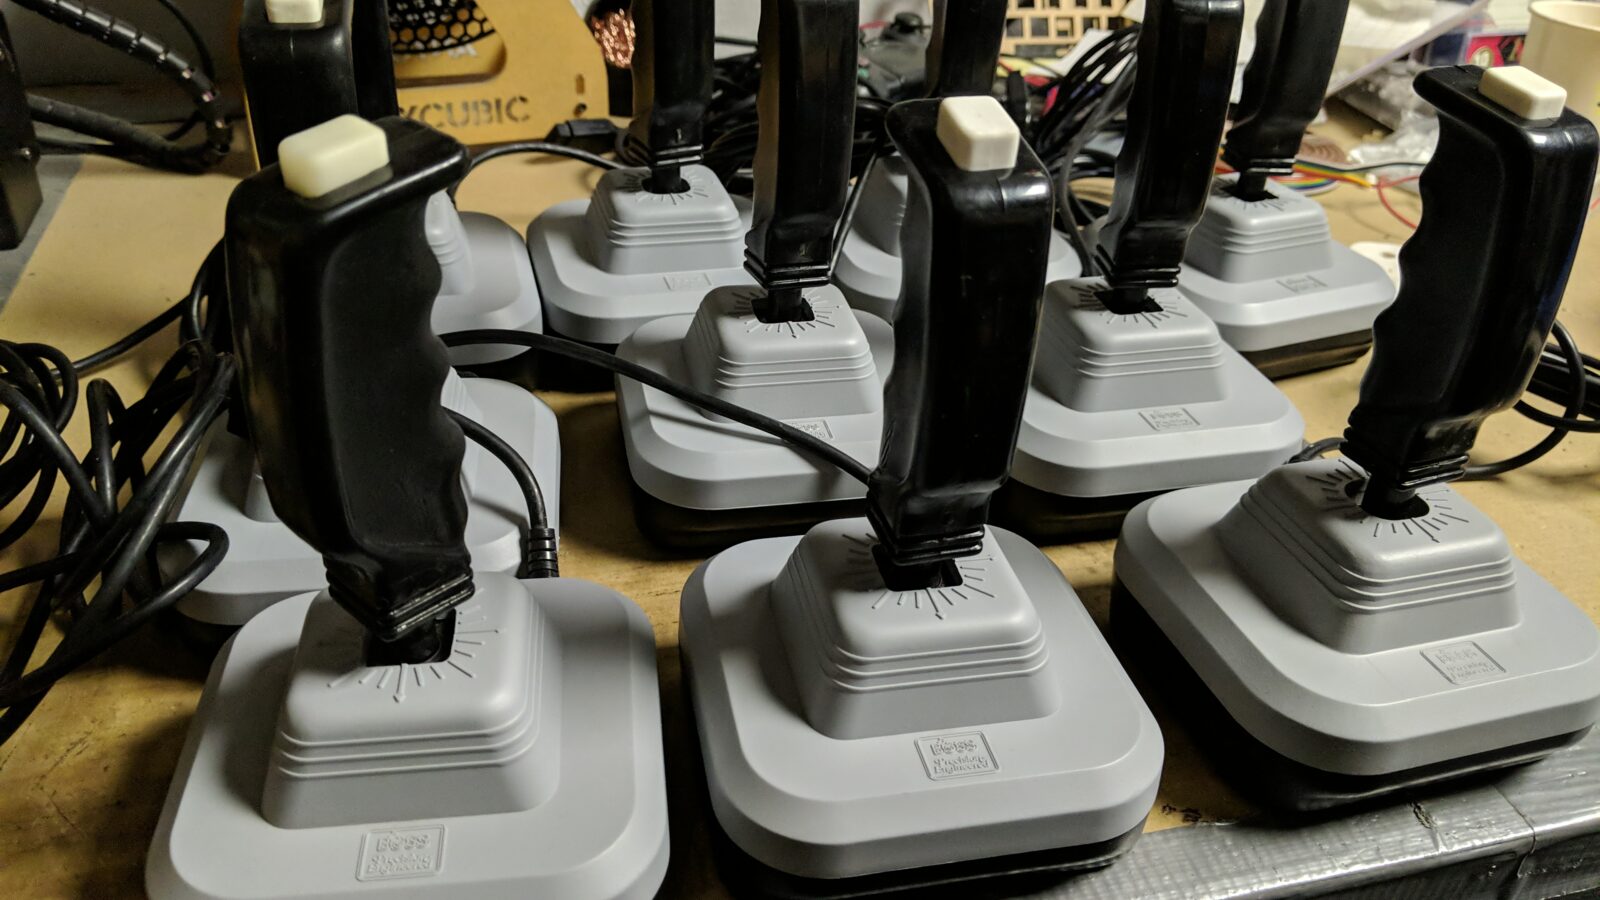
This is it, fully refurbished and modded 10 Wico BOSS joysticks. Mission complete, the mods are fully reversible!
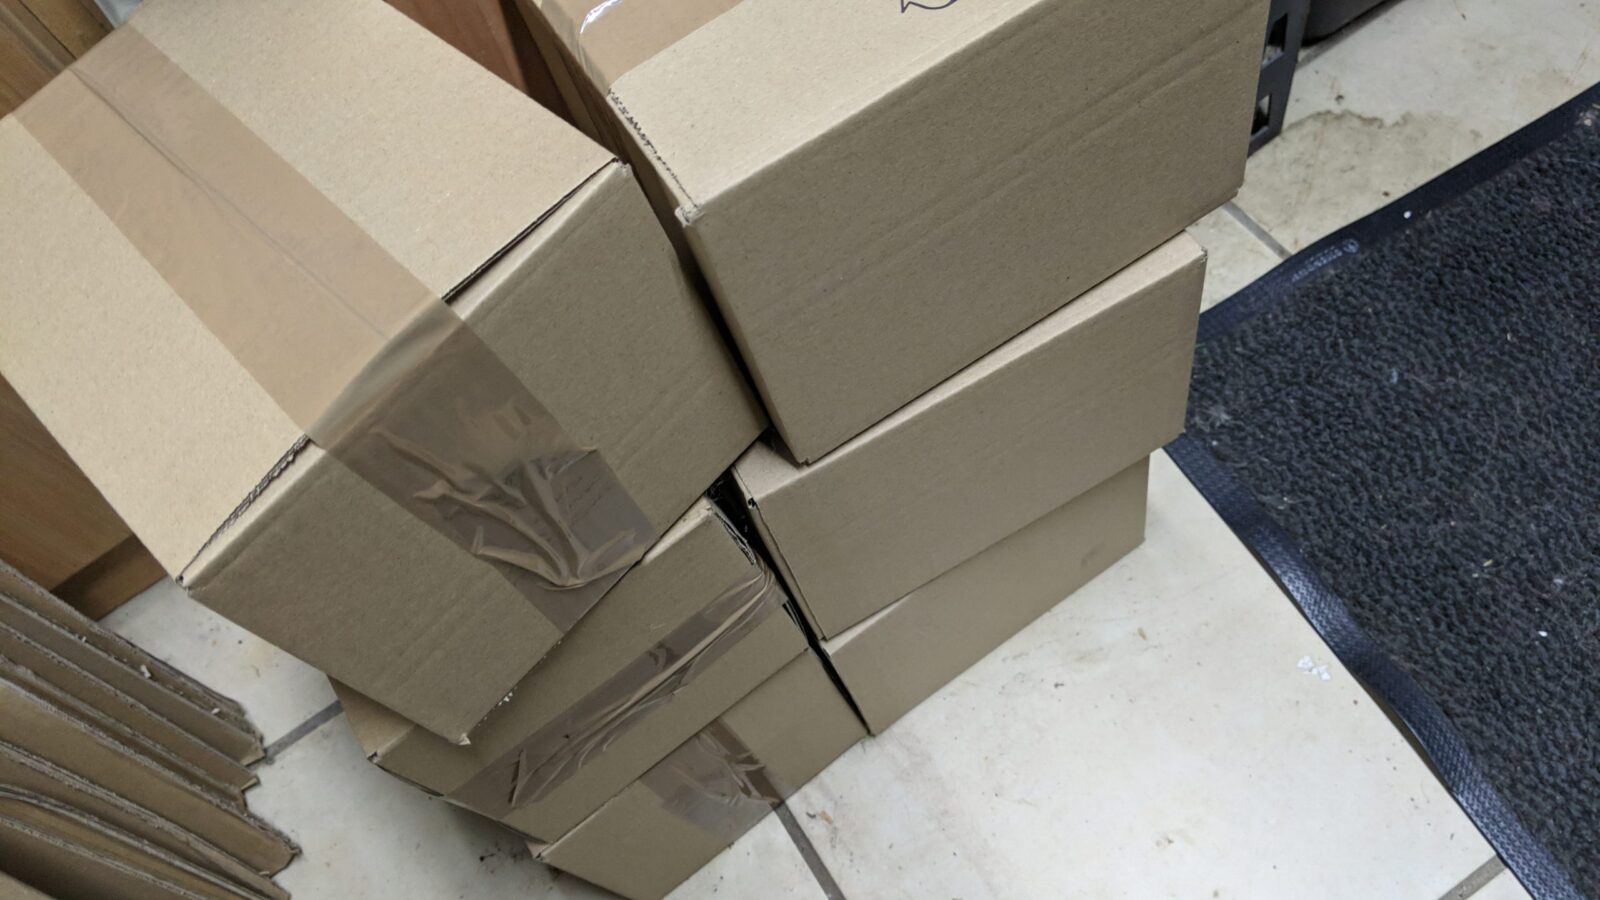
All of the sticks were wrapped in bubble wrap and placed inside the boxes waiting to be sent over to my friend 🙂

This is it! See you in the next post! 🙂
The project STLs
Outro
Please support my work by spreading the word about my work or simply commenting here or on my Facebook, Twitter, Reddit, and other social media platforms.
If you want to get the retro gear I manufacture or hardware modules, please visit shop -> https://retrohax.net/shop/ Don’t bother with a shop anymore. I am closing it. More on this, here.
6 thoughts on “Wico Boss joystick hax”