… or it is simple but with some caveats 🙂
Edited intro
I owe you an explanation guys. When I manufactured these spray paints, I didn’t realize that it will be that hard to ship them overseas or even abroad. As it turned out, pressurized/flammable materials cannot be sent through the air without serious hassle.
Here is some info from a webpage of one of the couriers.
How to ship spray paint internationally?
Aerosols including spray paint can only be sent domestically, as they are classified as dangerous goods because they are flammable. Shipping this kind of paint internationally is not allowed. These items are prohibited from airfreight. Licensed companies transporting spray paint abroad can only deliver it by road.
I am still looking for a solution to deliver it by road in the EU but it looks like it will be really expensive on top of already expensive paint 🙁
If you have any suggestions, please leave a comment with them.
The original blog post starts here
Intro
During my restorations, I’ve often found it impossible to bring back a computer case to its former glory without using spray paint. I’ve mastered my retr0brighting skills to the max but sometimes the plastic is so unevenly yellowed that it cannot be retr0brighted evenly. Sometimes, some plastics become retr0brighted. Very often there is a need to fill cracks or holes with putty and spray painting it afterward is simply a must.
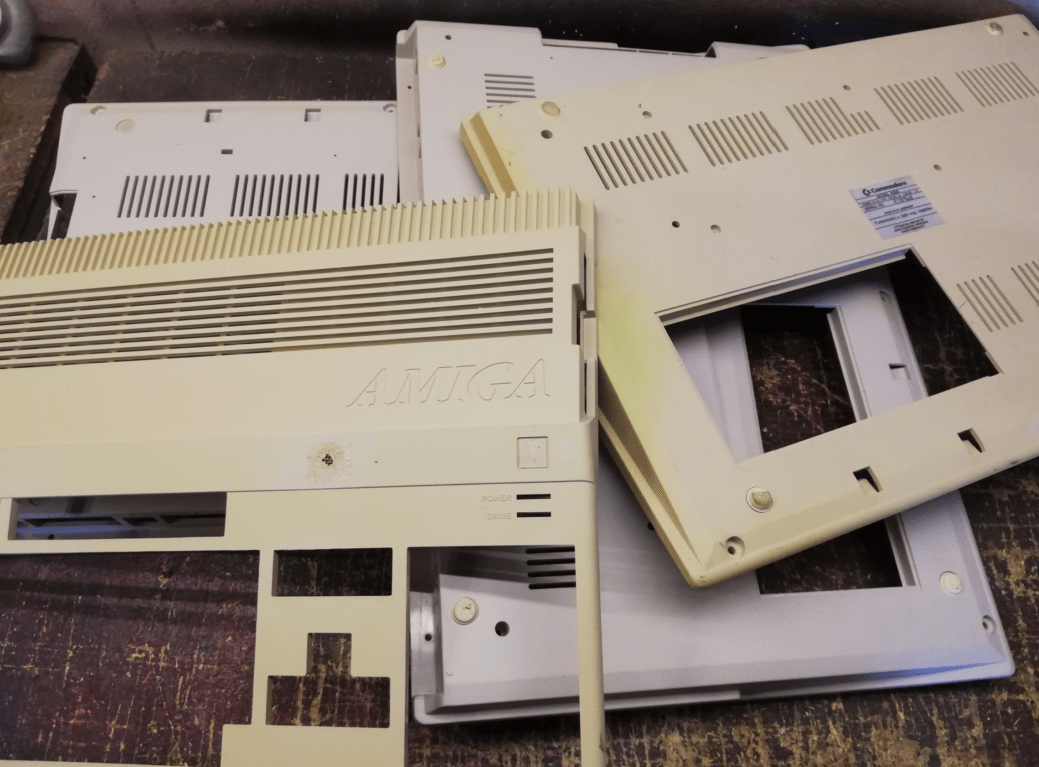
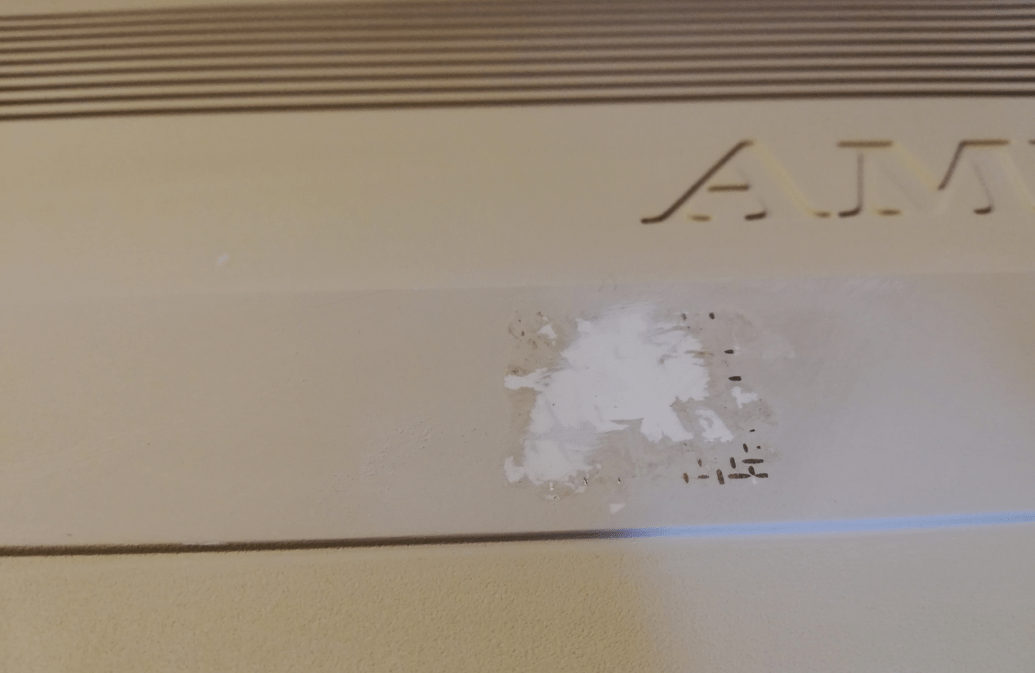

The problem is that there are no matching colors on the market and every painting has to be custom-made. The idea to create custom Retro computer spray paints was born.
Since I am releasing these paint series (available through my webshop), I’ve decided to write a short How-to spray paint a case properly.
This isn’t a complicated procedure but some steps might ruin the whole job if skipped. Let’s get started 🙂
Preparations
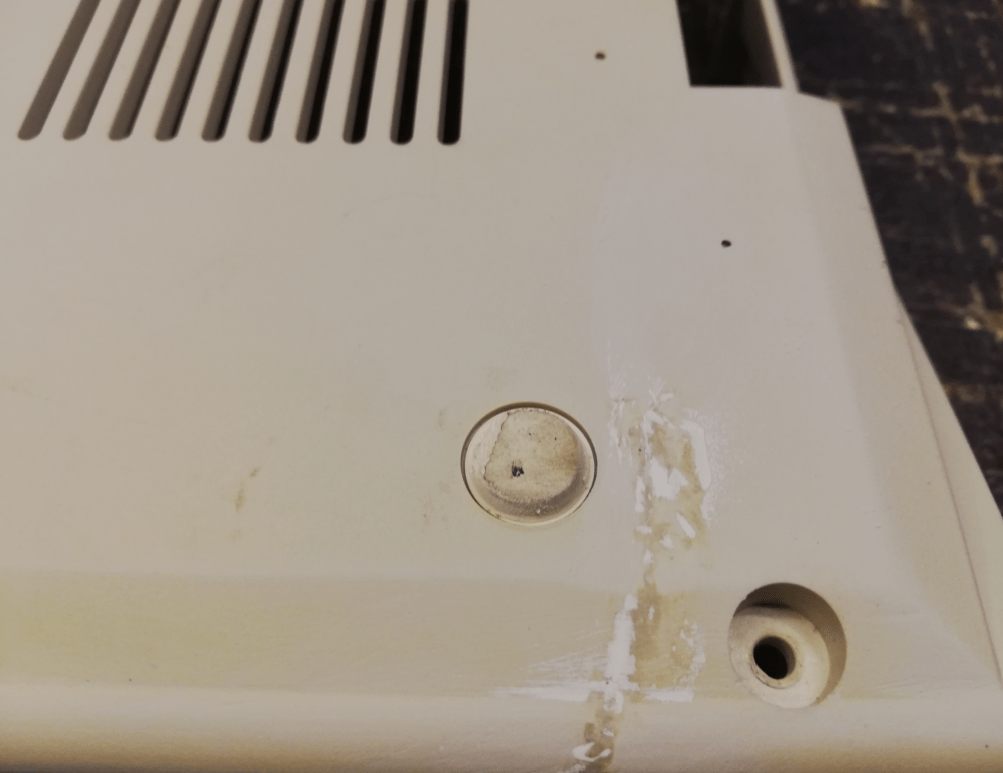
First of all, the plastic part that is going to be painted has to be thoroughly cleaned and de-greased. Usually, I wash it with a brush and a detergent in warm water.
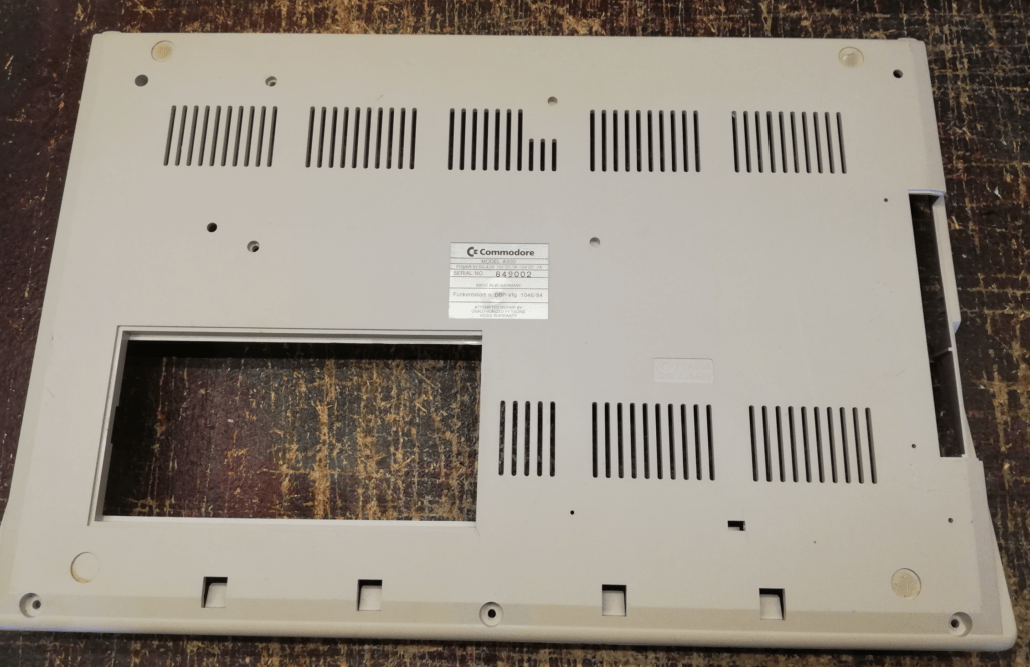
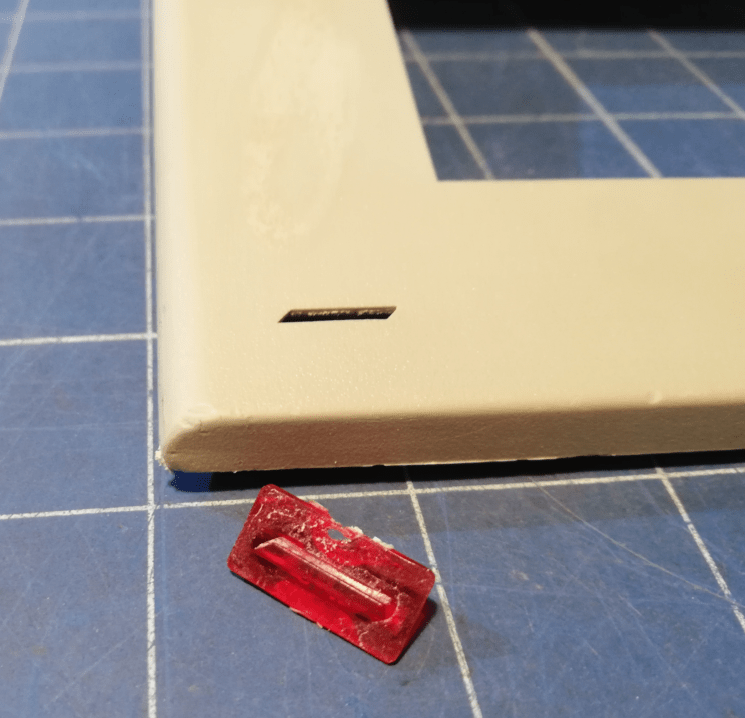
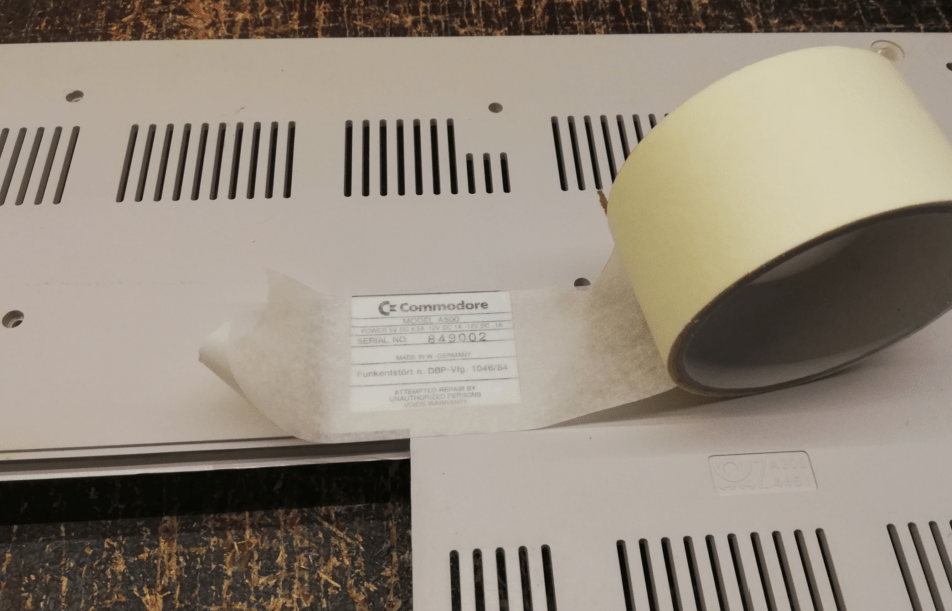
Once a case is nice and clean, we need to remove all badges, rubber stands, or stickers and cover those that cannot be removed.
To remove badges, I usually use a hot air gun set to 100 degrees Celsius or a spray freezer, depending on the badge type.

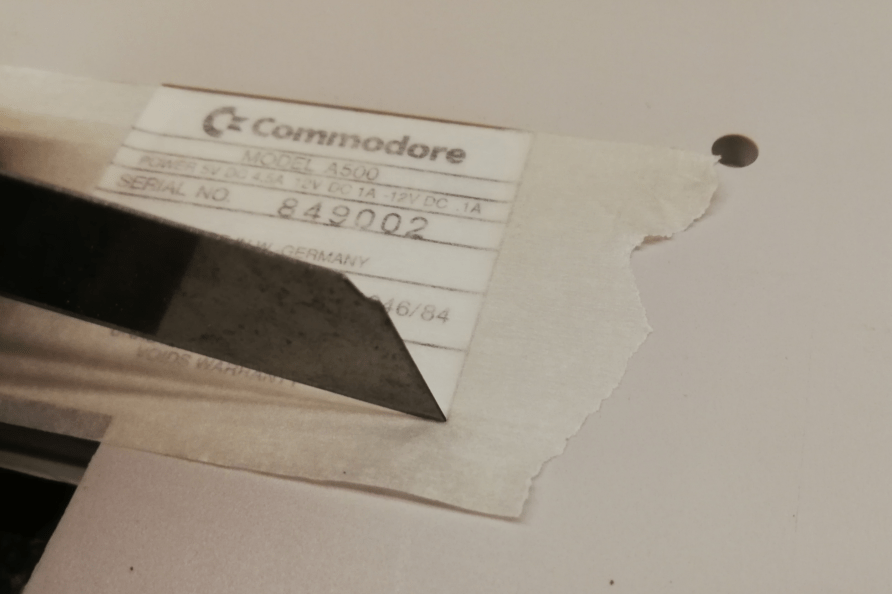
To cover various stickers, I usually use paper painter’s tape which is later cut with a sharp tool.

Applying primer
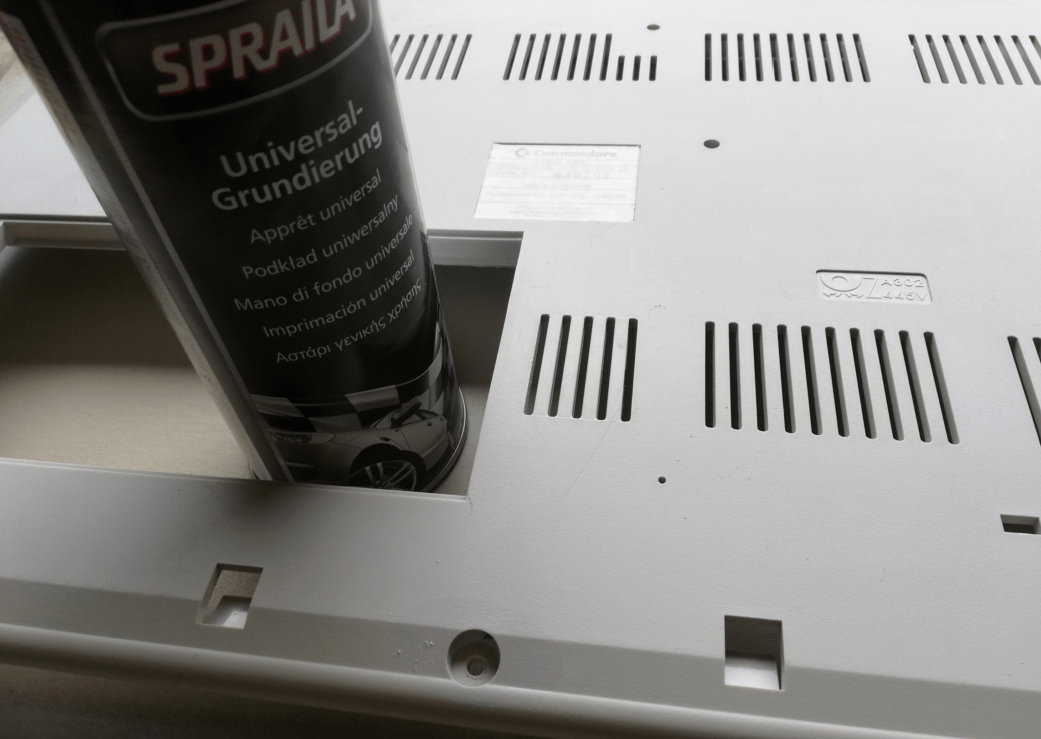
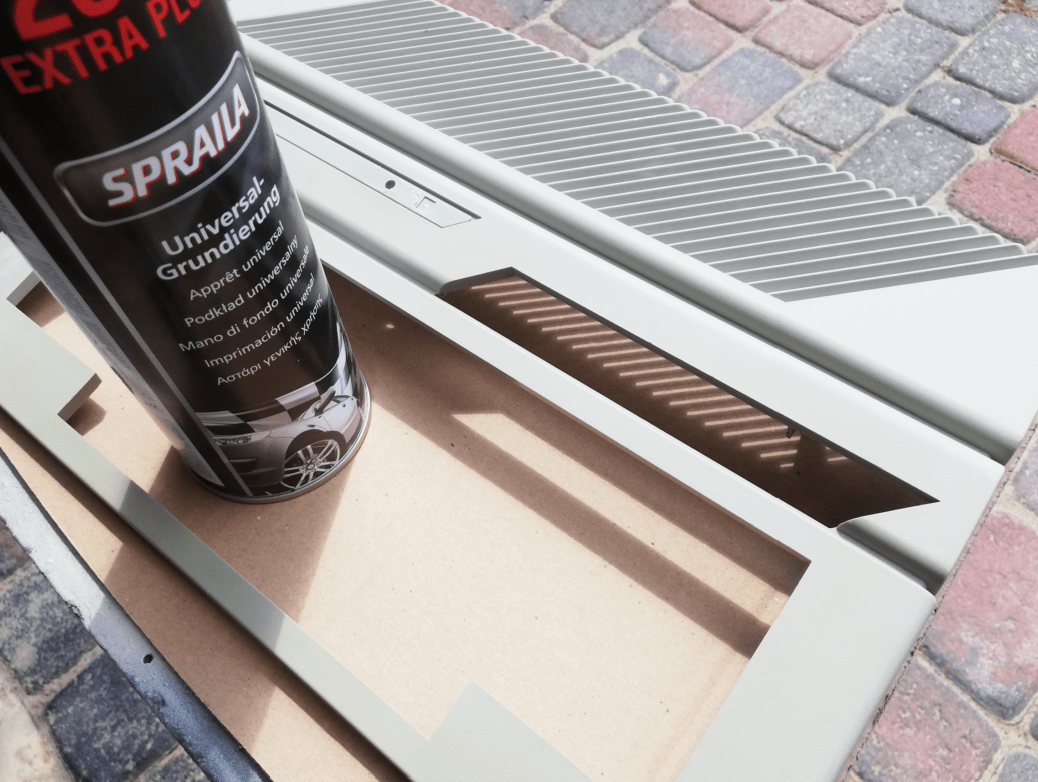
The next step is to apply a thin layer of a plastic primer or undercoating. It is worth mentioning choosing a proper color for an undercoat spray. Get bright undercoating colors if the final color is bright. In my example, I’ve used light grey undercoating.
We only need a thin layer of it but sometimes it has two be done in two rounds. A rule of thumb here is to keep a spray nozzle at least 30 cm away from a part being painted. If a single layer is not enough to cover darker spots, I can always apply another thin layer after 20 minutes.
If possible, apply spray paint outside or in a well-ventilated area. Also, remember to wear at least a face mask or even better, a face mask with a filter. It is not healthy to inhale paint dust and airborne paint solvent.
Final layer painting
Once an undercoat layer is dry (usually after an hour), a final layer can be applied. Again, keep a nozzle at least 30 cm away from a part while painting and if there is a need, apply the second layer.
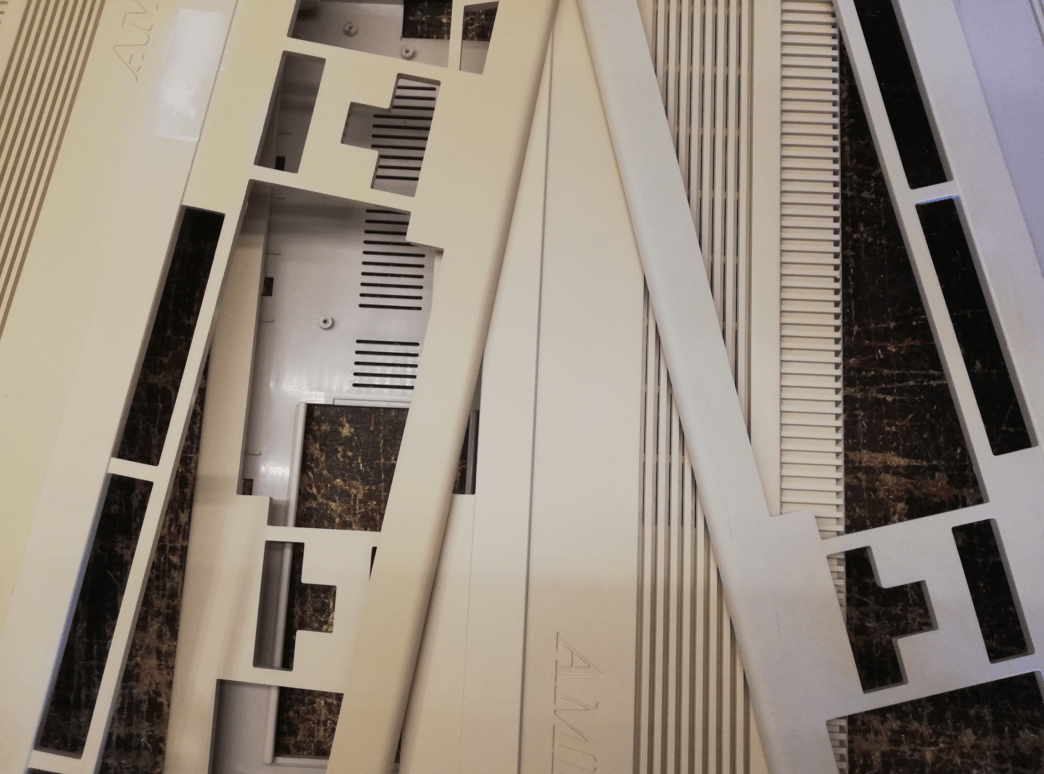
Results
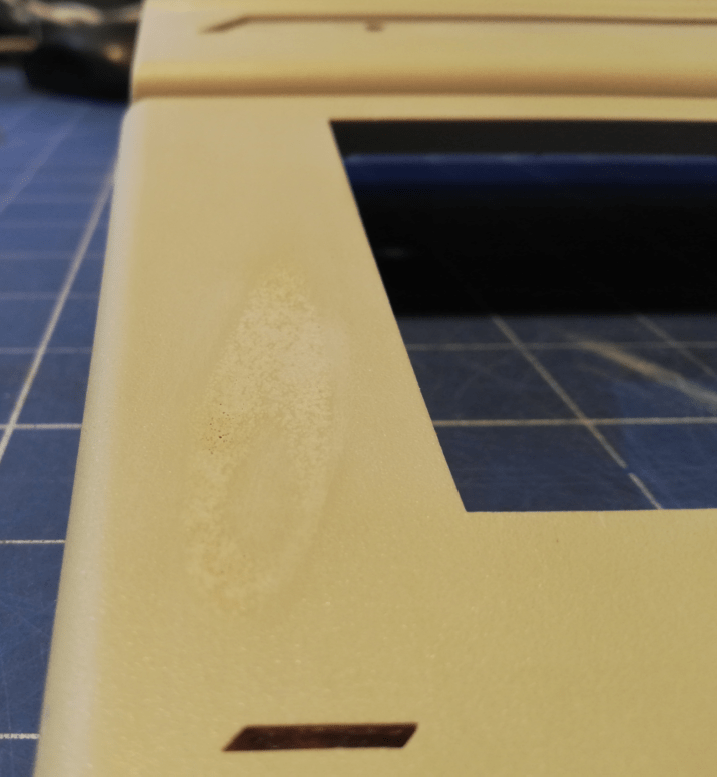
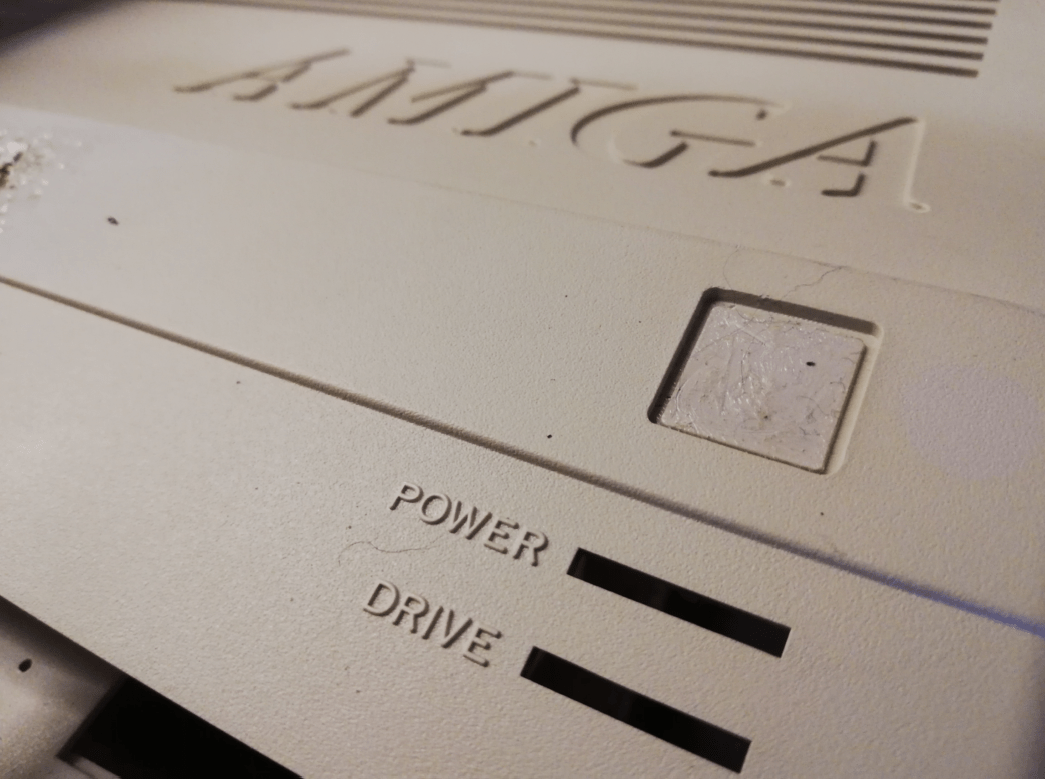
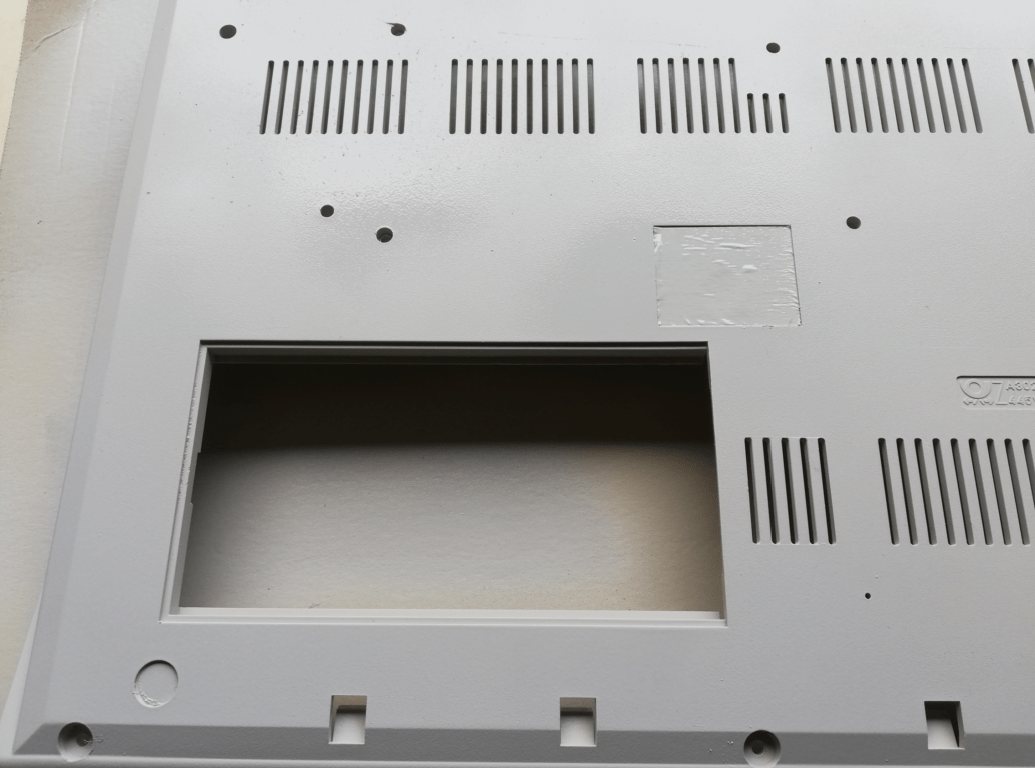
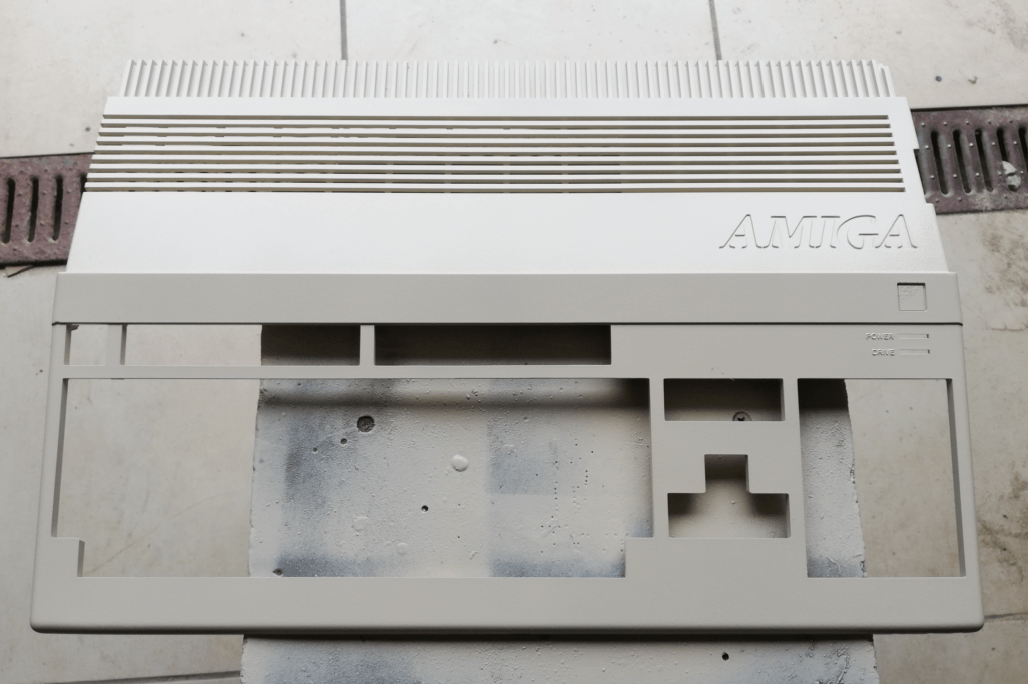
Below are some pics of painted parts.
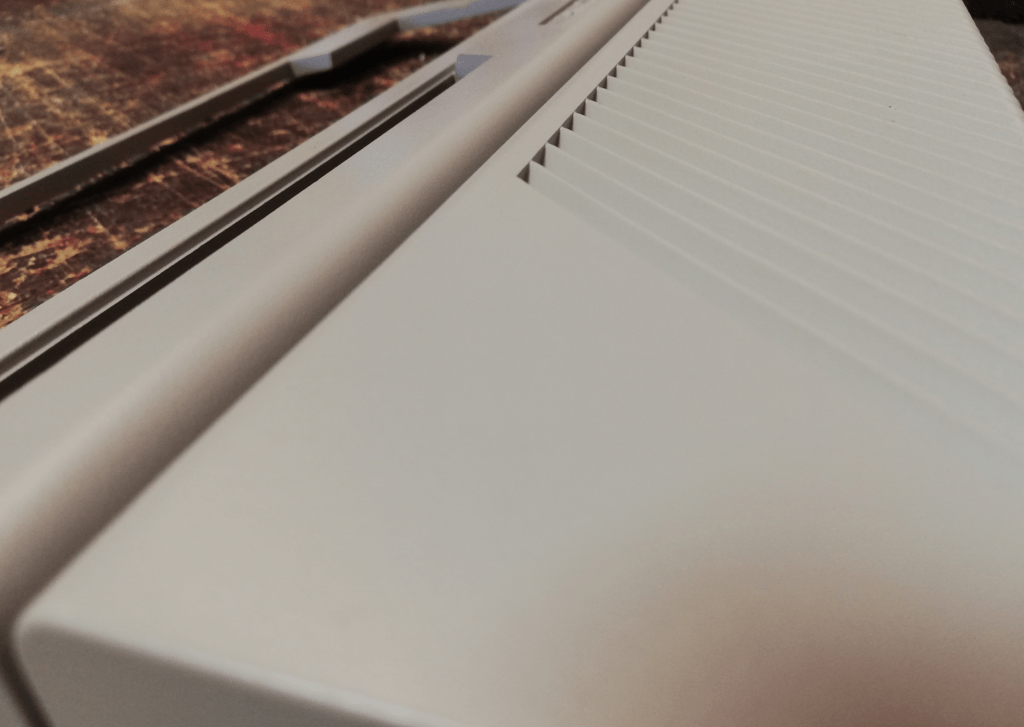

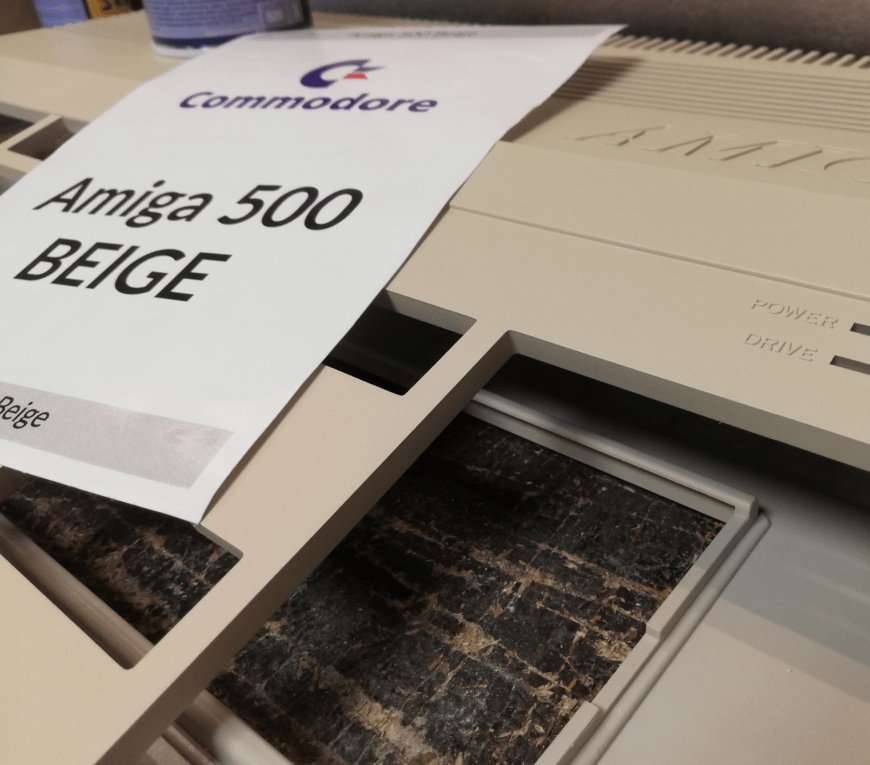
On the left – original and not painted. On the right – over retr0brighted. The spray-painted one is in the middle.
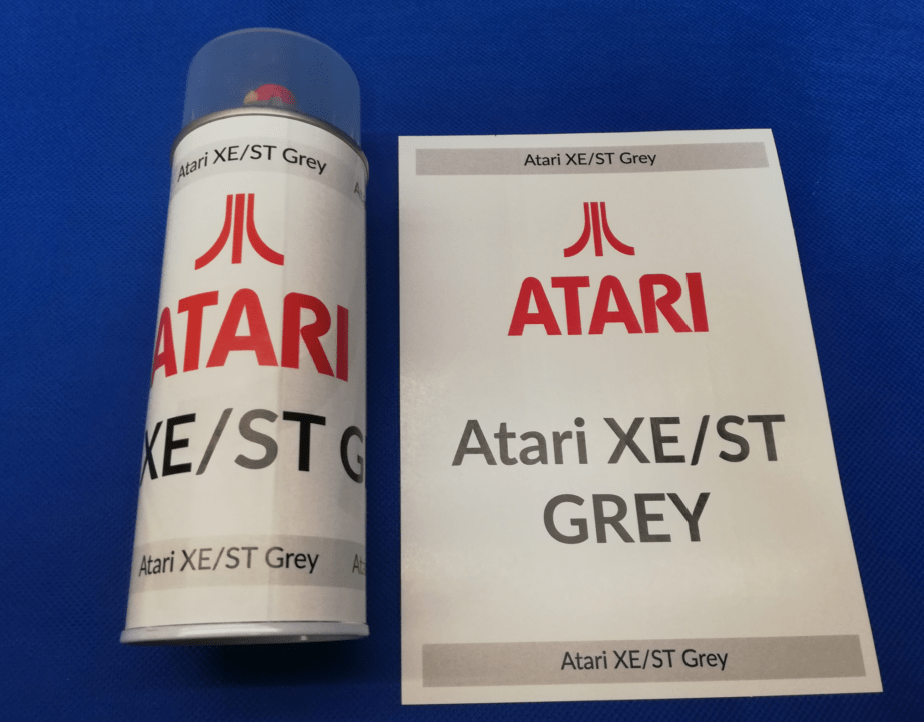
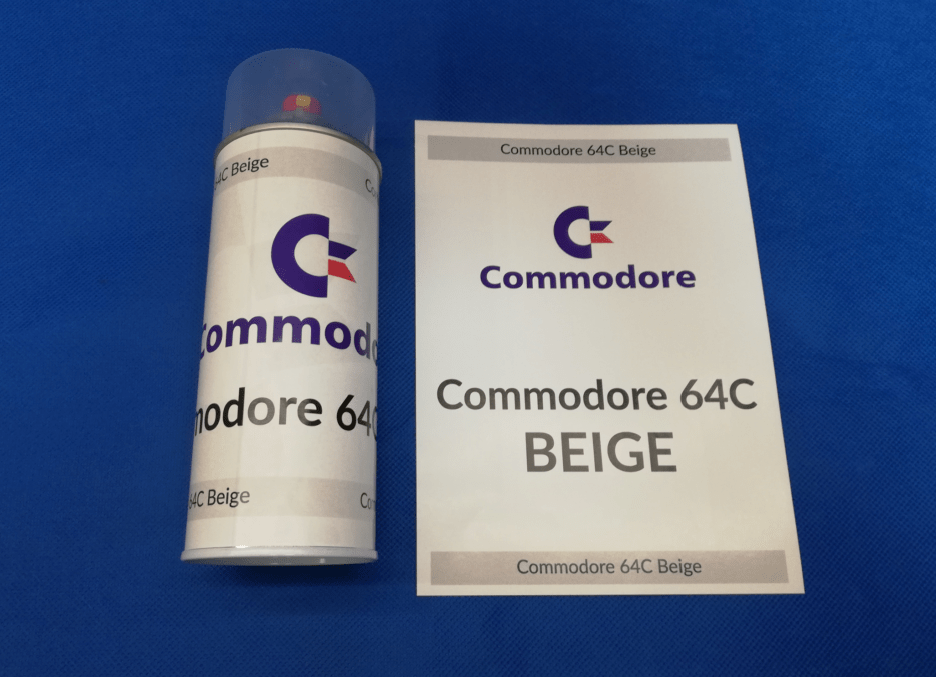
Getting Retro computer spray paints
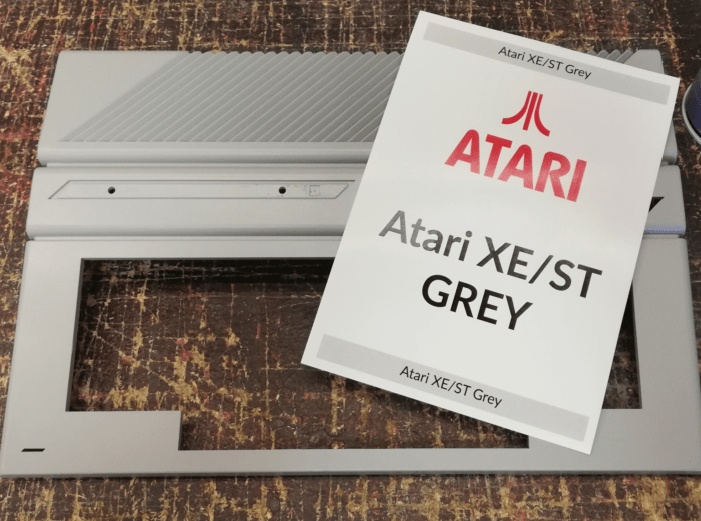
All the above spray paints are available on my webshop.
So far, I’ve managed to manufacture paints for:
Atari XE and ST series – Satin Grey
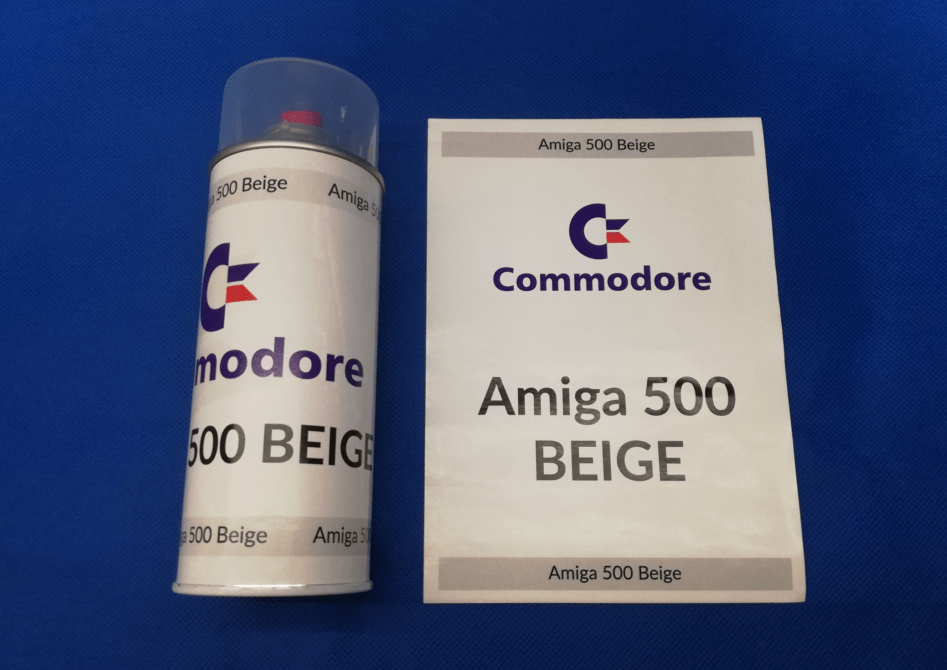
Commodore 64C and 64G – Satin Beige
There are more colors to be made so please leave me a comment on which color you think should be manufactured next.
I hope this post was helpful 🙂
Outro
If you want to get retro gear or hardware modules, please visit our shop -> https://retrohax.net/shop/
Please support our work by commenting here and on Facebook or Twitter
It would need to be shipped by boat over the ocean, and distributed by truck when reaching US mainland. I’m looking for the right matter paint that will match what dell uses on their lids and palm rests. It is some kind of slightly rubberized finish. I’m be happy with this regular paint that would hold up to constant hand rubbing by your palms.
Hi, would it be possible for you to let us know exactly what shade of colors to get so that we could get the proper paint locally, since it’s impossible for you to ship paint?
Thanks!
Randy
Hi, I’ve no idea what shade it is as it was made using computer spectrography. It perfectly matched the given sample – A500, C64, and Atari cases.
Any chance for a VT100 light grey (cream?) and dark brown?
Hi, not really as I’ve withdrew these spray paints from an offer due to shipping difficulties.
Macintosh Platinum Gray should be next 🙂
C64 Breadbin brown!
I’d like an “Amiga4000 white” and “Amiga 1200-whatever-color-that-was”
C64 Breadbin!
These are awesome! I’ve been looking for this solution for a long time. I’d also love it if you’d make IBM beige and IBM grey, I have an XT and and AT that need a little touch up.